
This lesson is made with PSPX9
But is good with other versions.
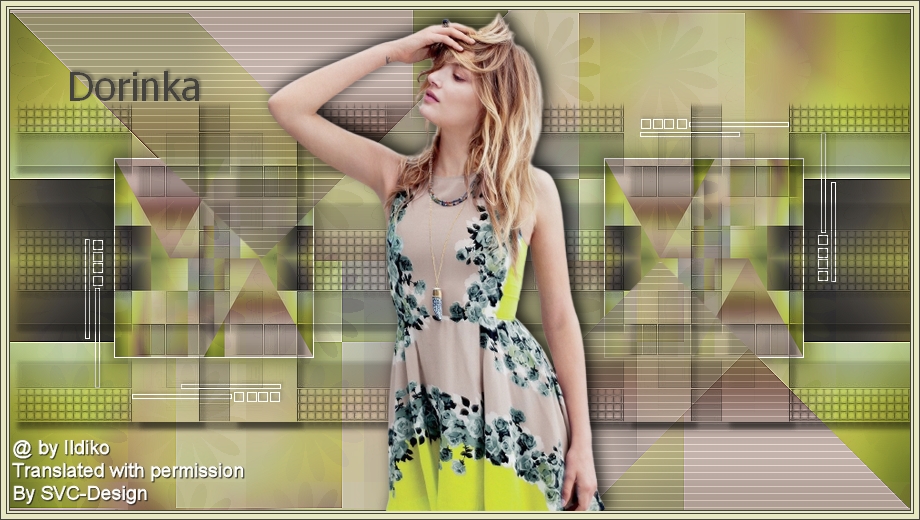
© by SvC-Design

Materialen Download :
Here
******************************************************************
Materials:
ildikokjk_lecke_dorinka_divatkep.png
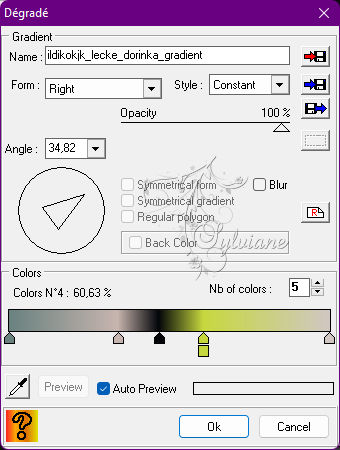
ildikokjk_lecke_dorinka_gradient.dgr
ildikokjk_lecke_dorinka_maszk_1.jpg
ildikokjk_lecke_dorinka_maszk_2.jpg
ildikokjk_lecke_dorinka_maszk_3.jpg
ildikokjk_signo.png
******************************************************************
Plugin:
Filters 8BF : Simple : Quick Tile
Filters : Filters 8BF : Mehdi : Sorting Tiles
Filters : Filters 8BF : Simple : Pizza Slice Mirror
Filters : Filters 8BF : < I.C.NET Software > : Filters Unlimited 2 : Filter Factory Gallery A : Mirror, Mirror
Filters : Filters 8BF : LOTis Filters : Mosaic ToolKit Plus
Filters 8BF : Carolaine and Sensibility : cs_texture
******************************************************************
color palette
:

******************************************************************
methode
When using other tubes and colors, the mixing mode and / or layer coverage may differ
******************************************************************
General Preparations:
First install your filters for your PSP!
Masks: Save to your mask folder in PSP, unless noted otherwise
Texture & Pattern: Save to your Texture Folder in PSP
Selections: Save to your folder Selections in PSP
Open your tubes in PSP
******************************************************************
We will start - Have fun!
Remember to save your work on a regular basis
******************************************************************
1.
Foreground: #e7e8c1
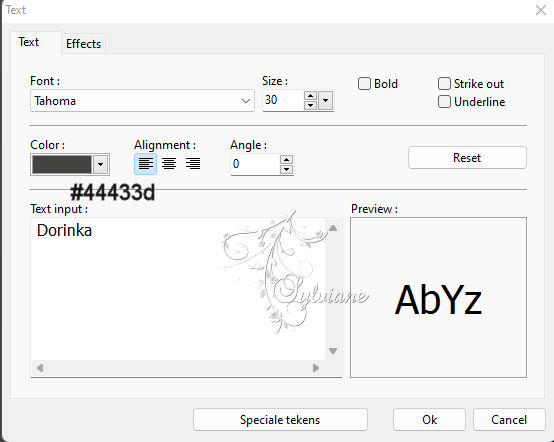
Background:44433d
2.
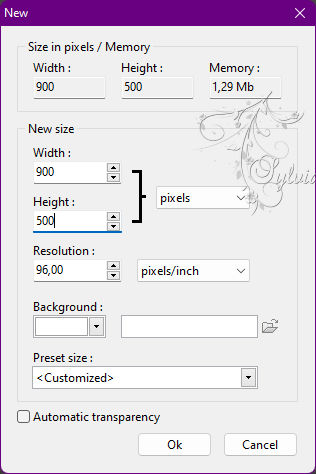
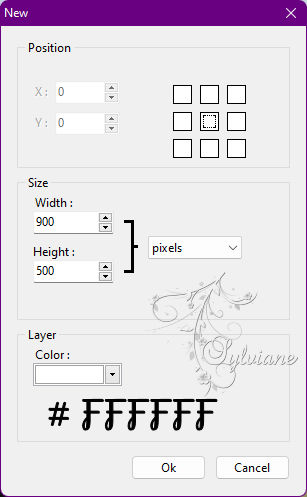
File : New : Width : 900 : Height : 500 : Background : #FFFFFF
Expansion toolbar : Degrade : ildikokjk_lecke_dorinka_gradient
3.
File : Open : ildikokjk_lecke_dorinka_divatkep
Edit : Copy
Edit : Paste
Layer - transform - Rotate 90 to right

Layer : Center layer : Center of image
Layer: Merges with all layers
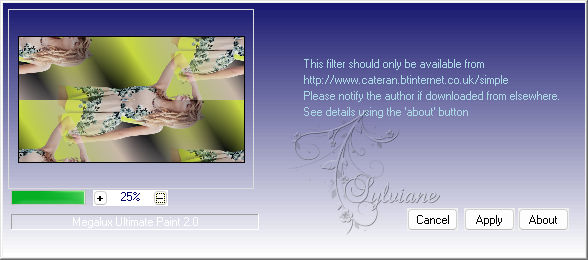
Filters 8BF : Simple : Quick Tile
Filters - visual effect - Gaussian Blur

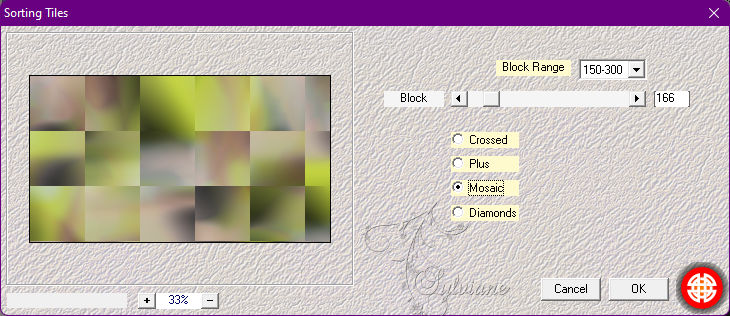
Filters : Filters 8BF : Mehdi : Sorting Tiles
Filters : Filters 8BF : Simple : Pizza Slice Mirror
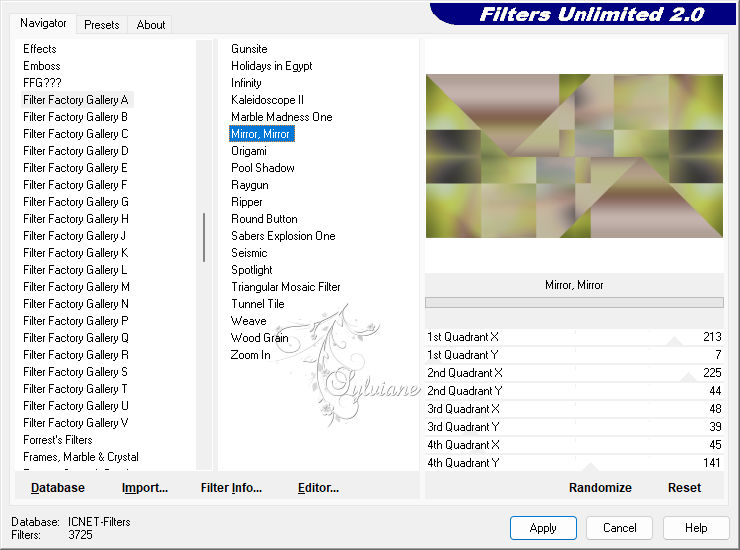
Filters : Filters 8BF : < I.C.NET Software > : Filters Unlimited 2 : Filter Factory Gallery A : Mirror, Mirror
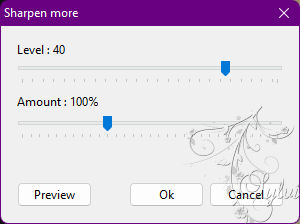
Filters : Sharpen : Sharpen more
Layer : Duplicate
4.
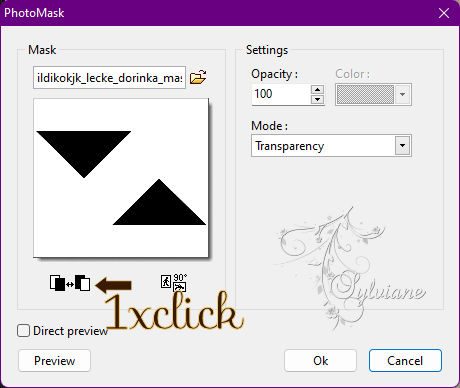
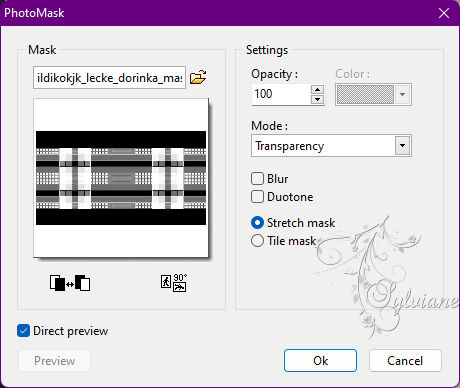
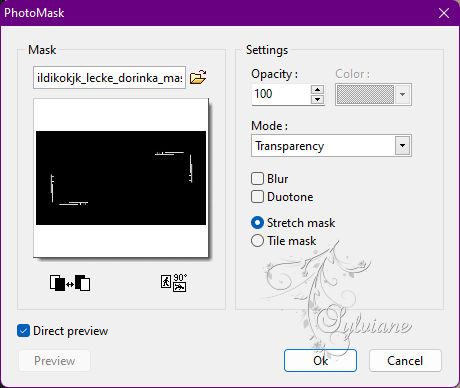
Filters : PhotoMask : ildikokjk_lecke_dorinka_maszk_1
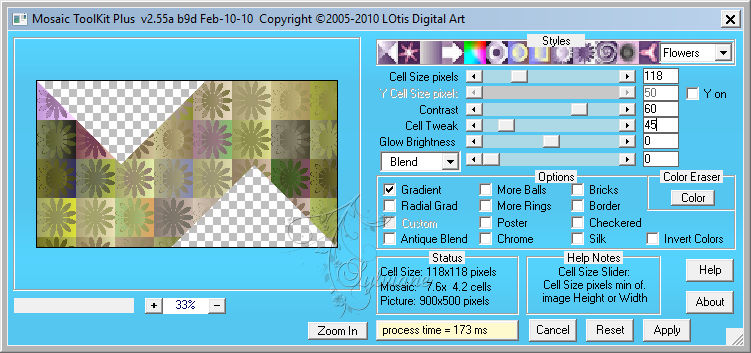
Filters : Filters 8BF : LOTis Filters : Mosaic ToolKit Plus
Layer explorer tool : Opacity : 20 % = blendmode: overlay
5.
Click on the bottom layer
Layer : Duplicate
Layer - order - Bring to front

Now work on this layer further
Filters : PhotoMask : ildikokjk_lecke_dorinka_maszk_1
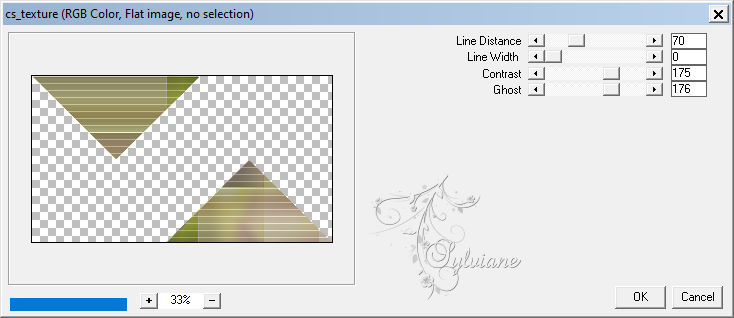
Filters 8BF : Carolaine and Sensibility : cs_texture
Layer explorer tool : Opacity : 80 % = blendmode : Normal
6.
Layer : New : Blank : Color : #FFFFFF
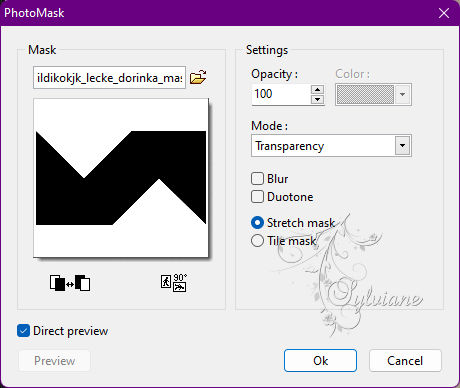
Filters : PhotoMask : ildikokjk_lecke_dorinka_maszk_2
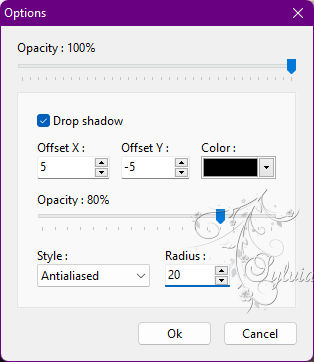
Layer – options – color:#000000
Opacity : 100 % = blendmode: Multiply
Layer : Duplicate
Opacity : 100 % = blendmode : Gamma-
Layer : Duplicate
: Opacity : 100 % = blendmode : Gamma-
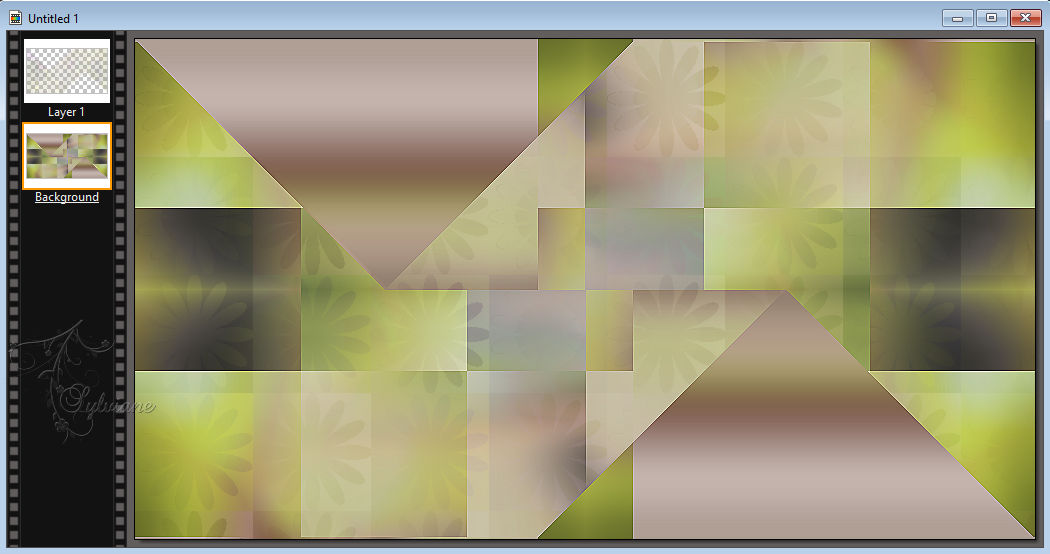
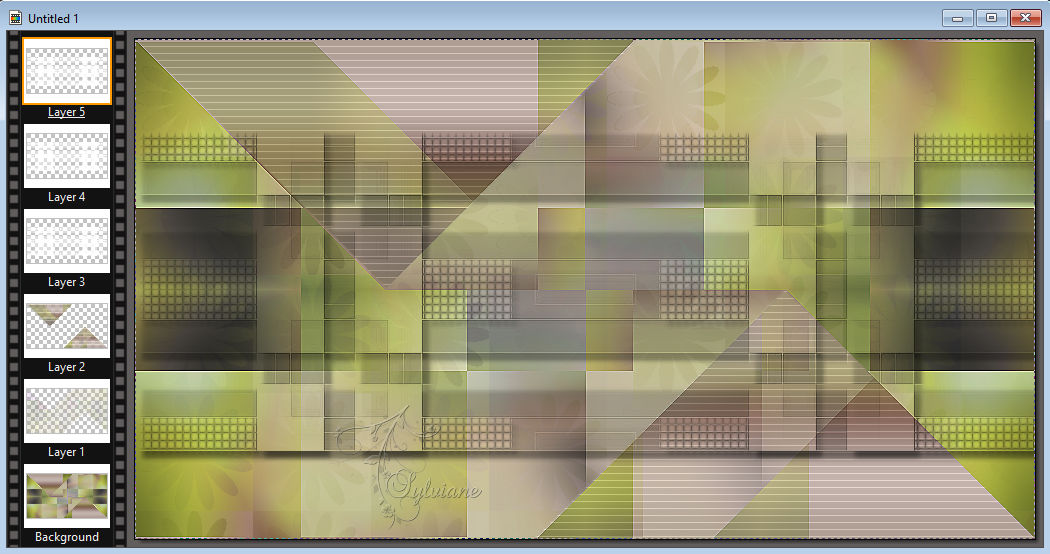
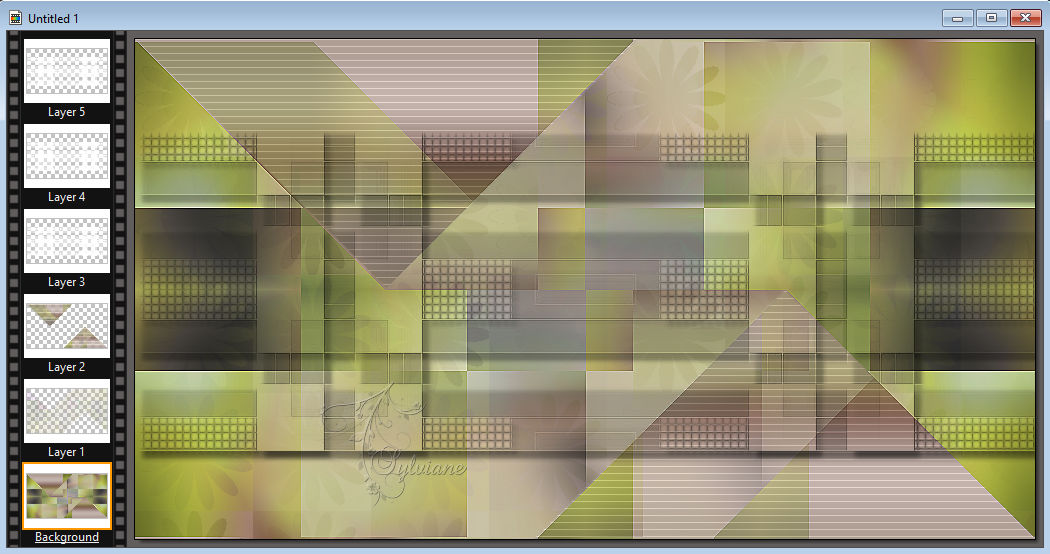
This is what your picture looks like now
7.
This is the most difficult part of the picture, be attentive.
the.
Click on the "Background" layer
Edit : Copy
Edit : Paste as new image
Now work on this layer further
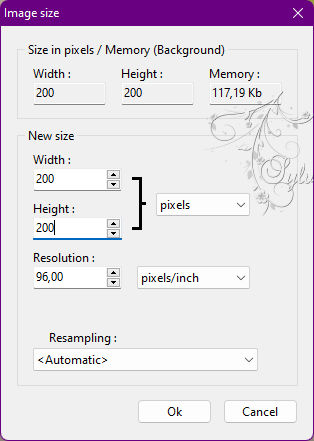
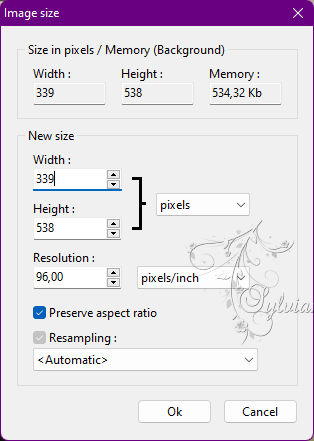
Image : Image Size
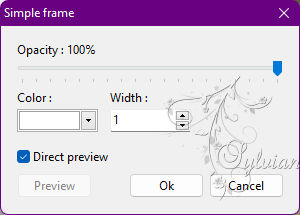
Filters : Frame : Simple Frame
b.,
Copy the small picture onto the picture you started.
Edit : Copy
Edit : Paste
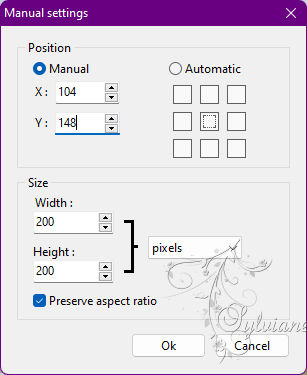
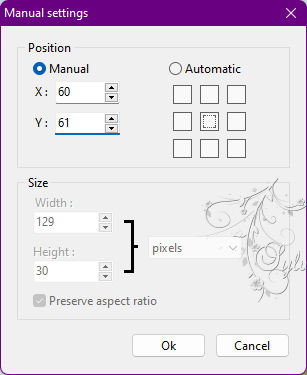
Layer: Manual settings

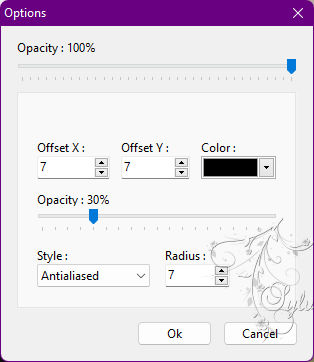
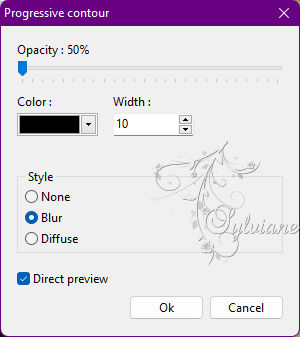
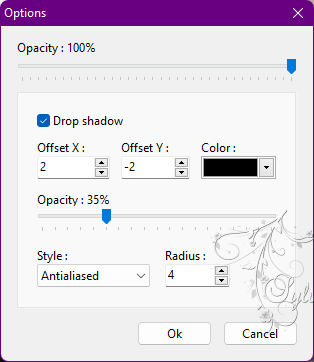
Filter – stylize – progressive contour – color:#000000
Edit : Fade : Progressive contour

Selection : Hide selection
c.,
Now copy the little picture on the picture you started again.
Edit : Copy
Edit : Paste
Layer: Manual settings
Filter – stylize – progressive contour – color:#000000
Edit : Fade : Progressive contour
Selection : Hide selection
08.
Layer : New : Blank : Color : #FFFFFF
Filters : PhotoMask : ildikokjk_lecke_dorinka_maszk_3
Layer – options - Color : #000000
9.
Featured Menu : Subtitles

Effects
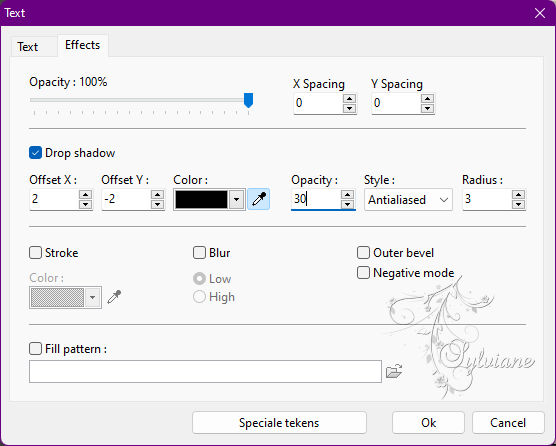
Layer: Manual settings
Layer: Merges with all layers
10.
Image : Outside frame : Width : 1 : Color : #44433d

11.
File : Open : ildikokjk_lecke_dorinka_divatkep
Image : Image Size
Edit : Copy
Edit : Paste
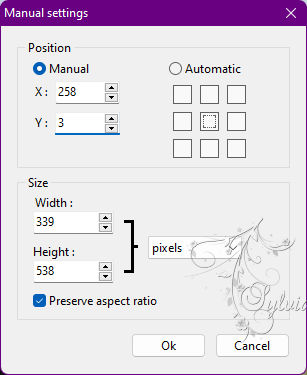
Layer: Manual settings
Layer – options - Color : #000000
Layer: Merges with all layers
13.
Image : Outside frame : Width : 2 : #E7E8C1
Image : Outside frame : Width : 1 : #44433D
Image : Outside frame : Width : 5 : #E7E8C1
Image : Outside frame : Width : 1 : #44433D
14.
File : Save As : JPEG (jpg) : Save
Back
Copyright Translation 2022 by SvC-Design