
This lesson is made with PSPX9
But is good with other versions.
© by SvC-Design
Materialen Download :
Here
******************************************************************
Materials:
deco.pspimage
0c641ce67971101a731cc96de411539b.jpg
Narah_mask_0401.jpg
titulo.pspimage
******************************************************************
Plugin:
Effects – plugin - VM Distortion - Slicer
Effects - plugin - AAA Frames- foto frame
******************************************************************
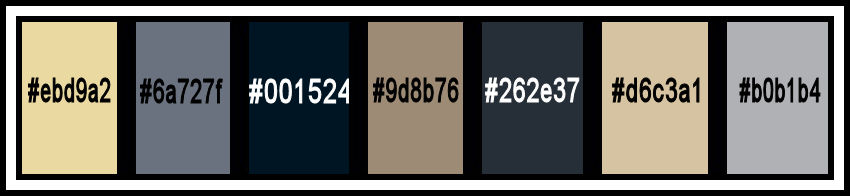
color palette
:
******************************************************************
methode
When using other tubes and colors, the mixing mode and / or layer coverage may differ
******************************************************************
General Preparations:
First install your filters for your PSP!
Masks: Save to your mask folder in PSP, unless noted otherwise
Texture & Pattern: Save to your Texture Folder in PSP
Selections: Save to your folder Selections in PSP
Open your tubes in PSP
******************************************************************
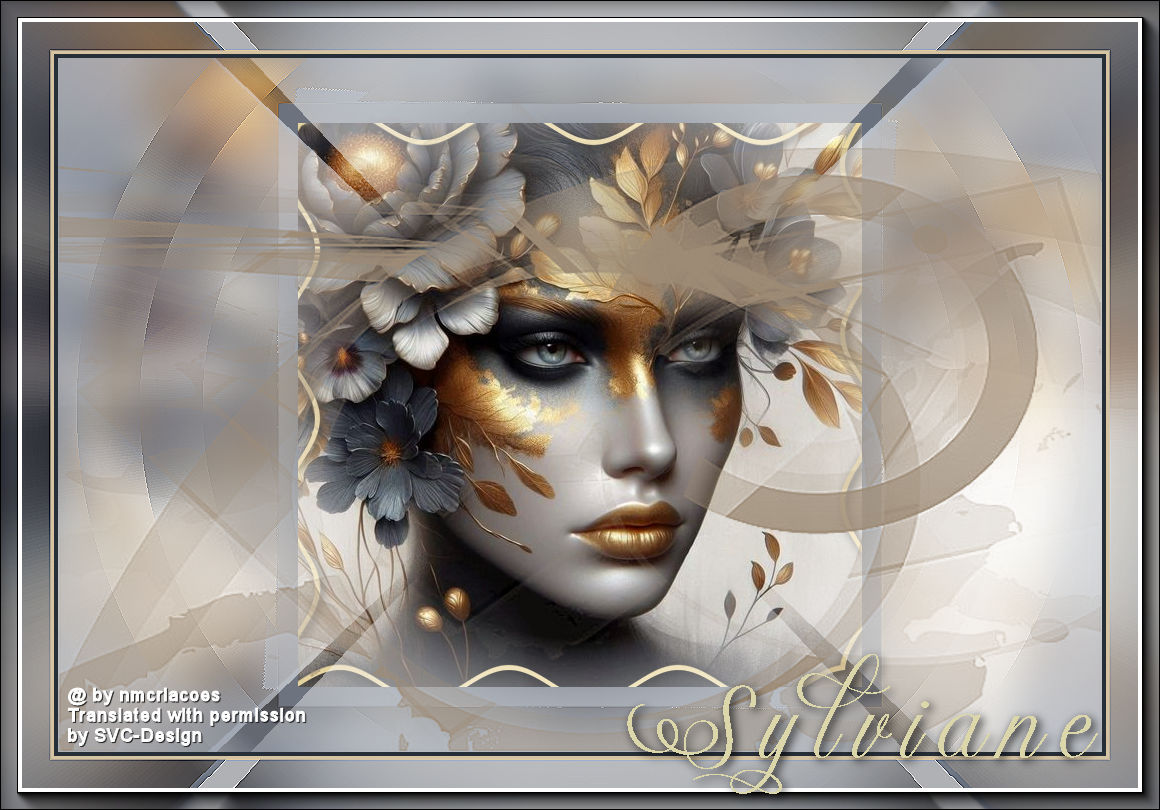
We will start - Have fun!
Remember to save your work on a regular basis
******************************************************************
Choose an image from the internet or one of your own 560x560 pxls
Foreground color : #ebd9a2
1.
Open your image of 560 x 560 px
2.
Selections - Select all
3.
Selection - modify - select borders
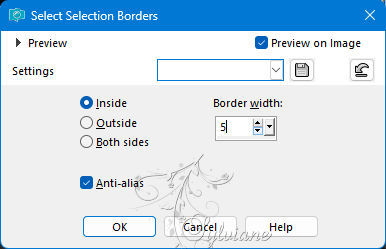
4.
Layers - New raster layer
5.
Flood fill with your foreground color: #ebd9a2
Selections - select nothing
6.
Effects - distortion effects - wave
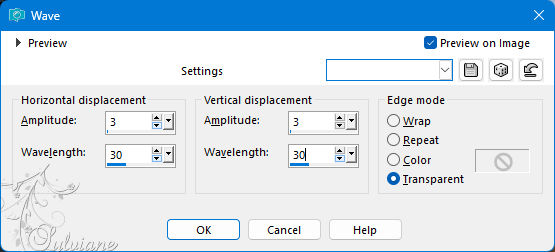
7.
Effects - 3D effects - drop shadow
3/ 3 / 100 / 14 - color:#000000
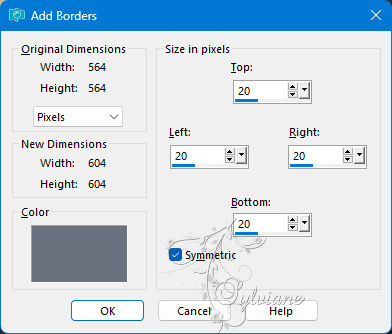
8.
Image - add borders - Symmetric - color:#6a727f
9 .
Edit - copy
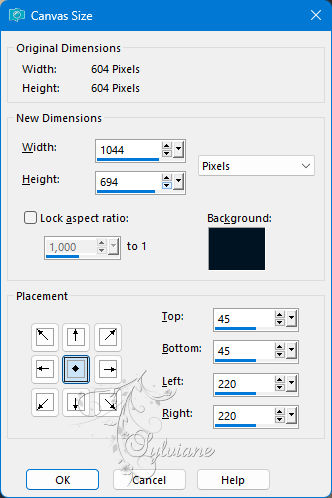
10.
Image - canvas size - background color : #001524
11.
Activate your magic wand and put feather at 0
Select the dark part
Edit - paste into selection
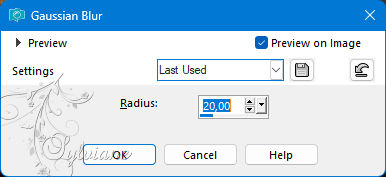
12.
Adjust - blur - gaussian blur
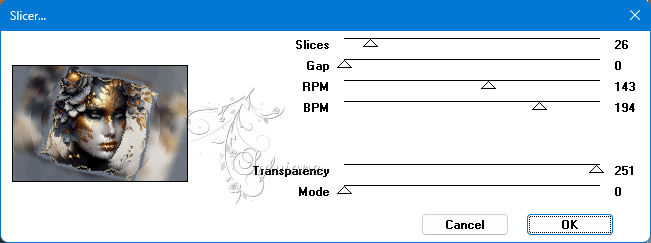
13.
Effects – plugin - VM Distortion - Slicer
14.
Effects - Edge Effects - Enhance
Selection - Select None
15 .
Open deco.psp image
Edit - copy
Edit - paste as a new layer
Blend mode : Screen or to your taste
16.
Layers - New raster layer
Fill with your #9d8b76
Layers - mask load/save - load mask from disk - Narah_mask_0401.jpg
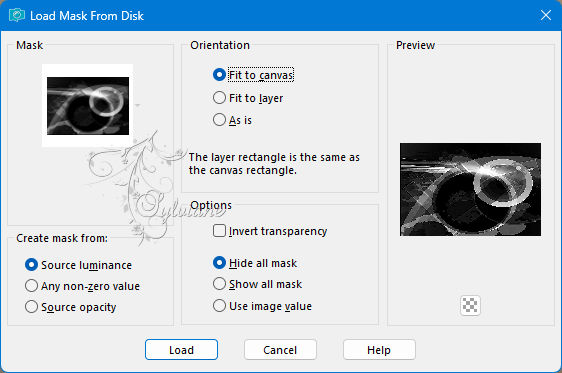
Layers - Merge - Group Merge
Clean if you want some parts of misted face
17
Image - Add borders - Symmetric - 4 px - color:#262e37
Image - add borders - Symmetric - 4px - color:#d6c3a1
Image - add borders - Symmetric - 50px - color:#b0b1b4
18.
Activate magic wand
select the of 50px
19.
Activate again your deco.psp image
Edit - copy
Edit - paste into selection
Effects - Edge Effects - Enhance
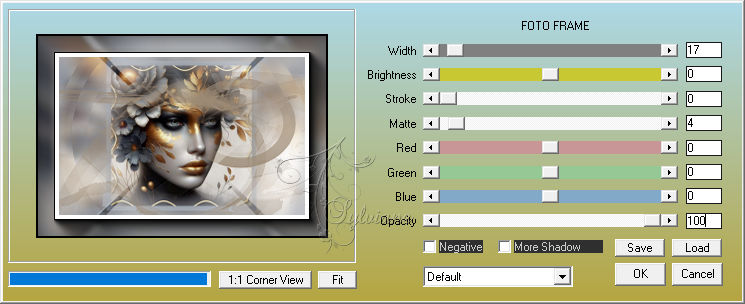
20.
Effects - plugin - AAA Frames- foto frame
Selection - Select None
21.
Open titulo.pspimage
Edit - copy
Edit - paste as a new layer
Activate selection tool (press K on your keyboard)
and fill in the following parameters :
Pos X : 619 - Pos Y : 645
Press M
22.
Put your watermark on it
Layers - merge - merge all layers
23.
Save as jpeg
Back
Copyright Translation 2024 by SvC-Design
------------------------------------------------------------------------------
Thanks to all who created