
This lesson is made with PSPX9
But is good with other versions.
© by SvC-Design

Materialen Download :
Here
******************************************************************
Materials:
1
c59b0e07
deco1 Douceur
deco2
SoniaTubes_9434
******************************************************************
Plugin:
Effects – plugin - Simple - Pizza Slice Mirror
Effects – plugin – Unlimited 2.0 - Andrew’s Filter51/Straight lines 234
Effects – plugin - Alien Skin - Eyes Candy 5 Impact - Perspective Shadow - Drop Shadow Lowest
******************************************************************
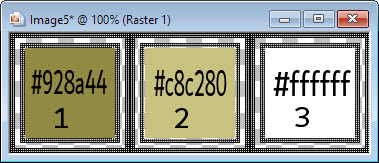
color palette
:
******************************************************************
methode
When using other tubes and colors, the mixing mode and / or layer coverage may differ
******************************************************************
General Preparations:
First install your filters for your PSP!
Masks: Save to your mask folder in PSP, unless noted otherwise
Texture & Pattern: Save to your Texture Folder in PSP
Selections: Save to your folder Selections in PSP
Open your tubes in PSP
******************************************************************
We will start - Have fun!
Remember to save your work on a regular basis
******************************************************************
Open a new transparent image of 950x550 px
foreground :#928a44
background :#c8c280
1.
create radial gradient
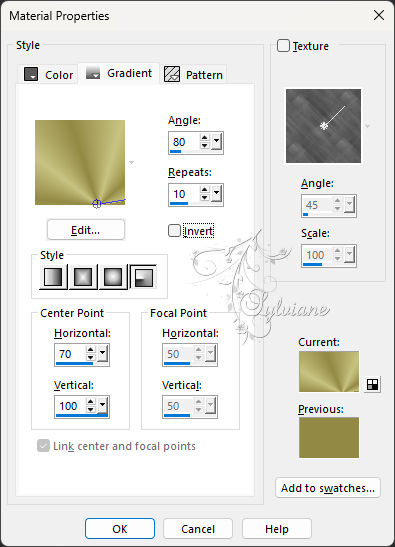
Fill your tag with gardient
2.
Effects – plugin - Simple - Pizza Slice Mirror
3.
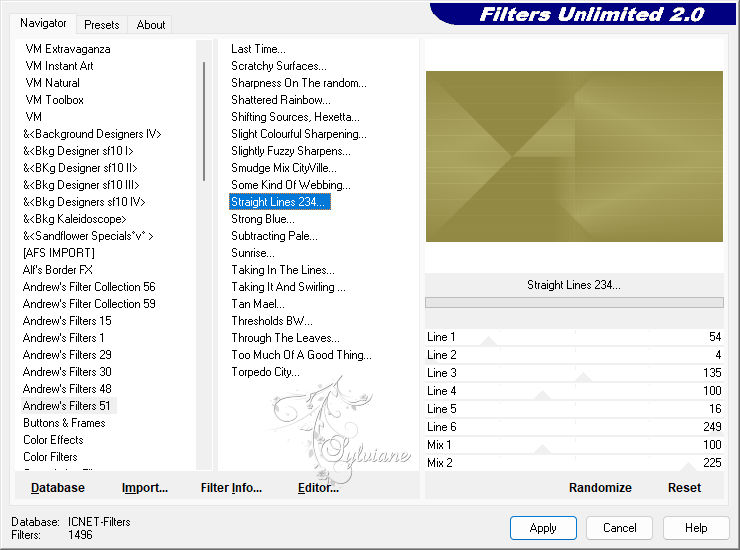
Effects – plugin – Unlimited 2.0 - Andrew’s Filter51/Straight lines 234
4.
Open deco1 Douceur
Edit – Copy
Edit - Paste as new layer
Blend Mode :Zacht Licht
Opacity : 40%
Effects - Edge effects - enhance
Layers – merge – merge down
5.
Layer - New Raster Layer
Fill with #ffffff
Open c59b0e07
Layers - New Mask Layer - From Image - c59b0e07
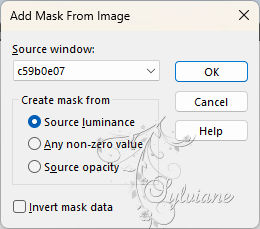
Layers - Merge - Merge Group
6.
Adjust – scharpness – scharpen more
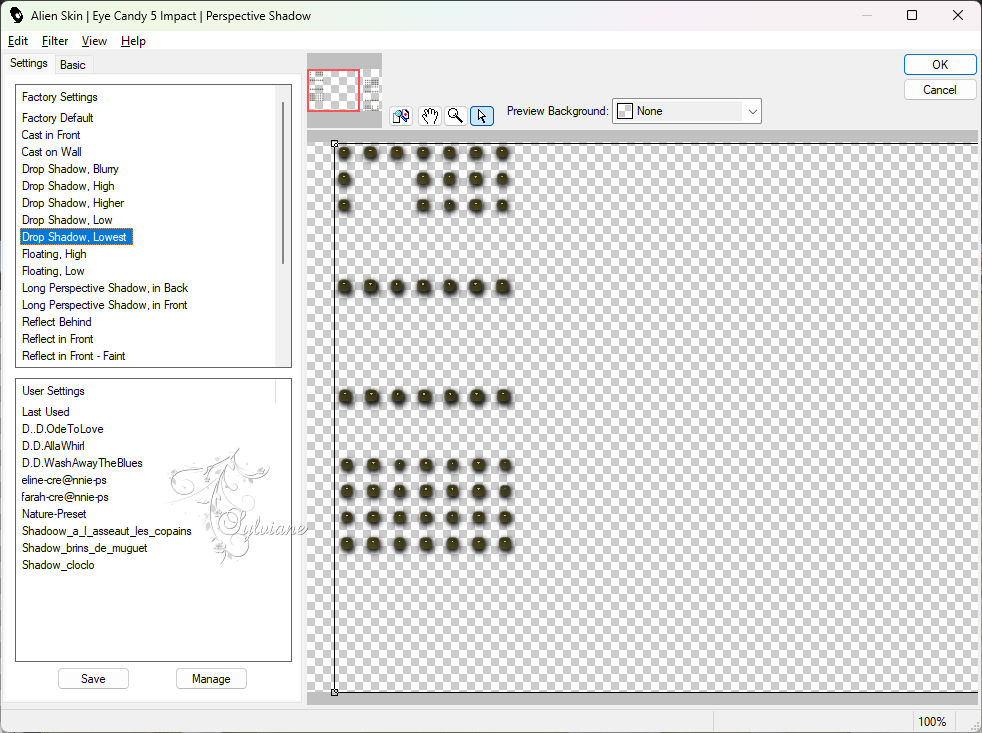
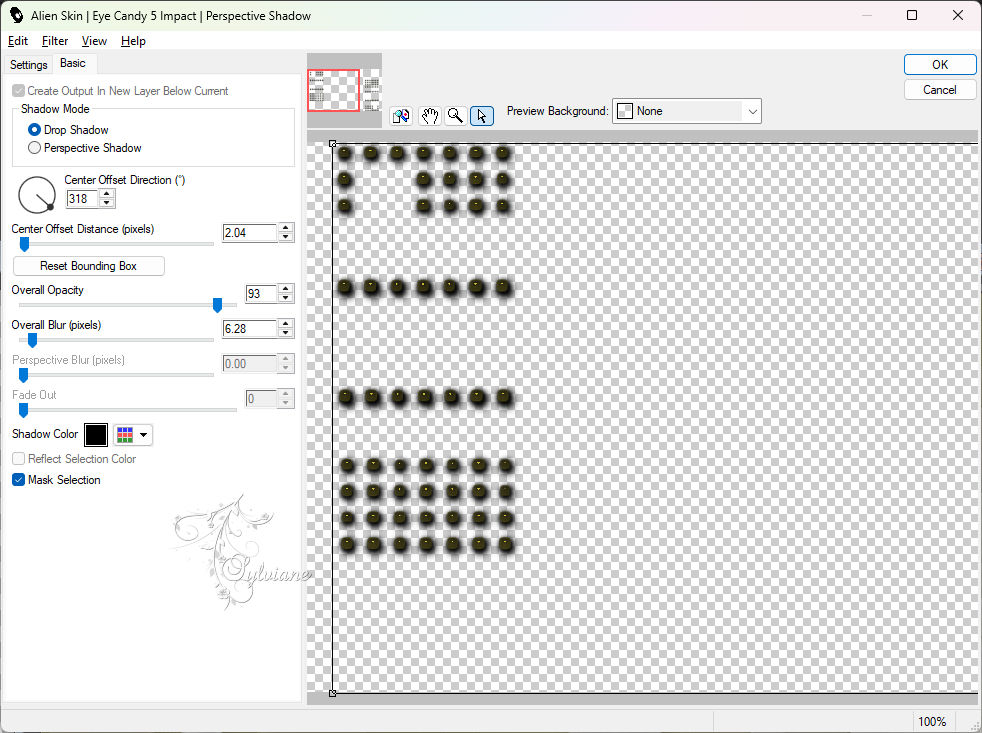
7.
Effects – plugin - Alien Skin - Eyes Candy 5 Impact - Perspective Shadow - Drop Shadow Lowest
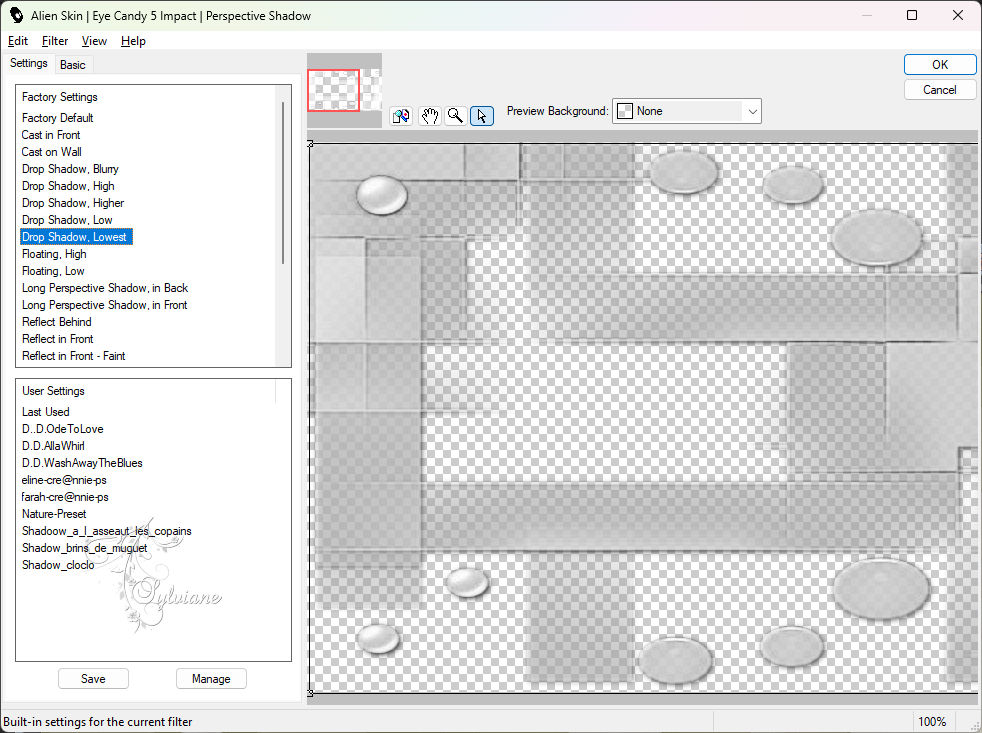
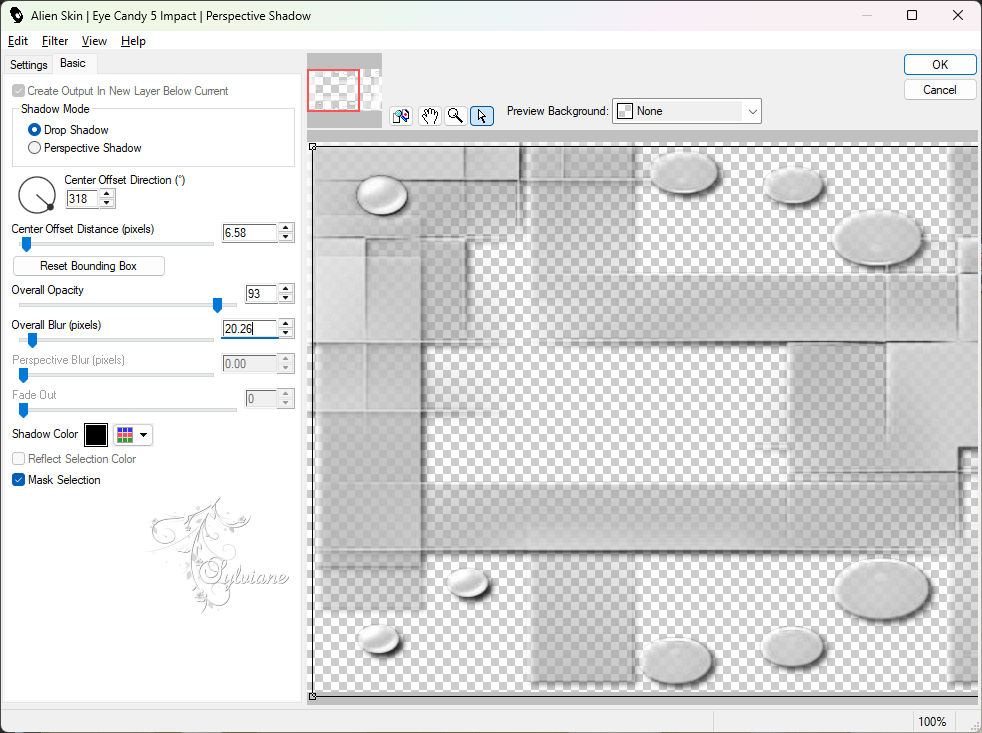
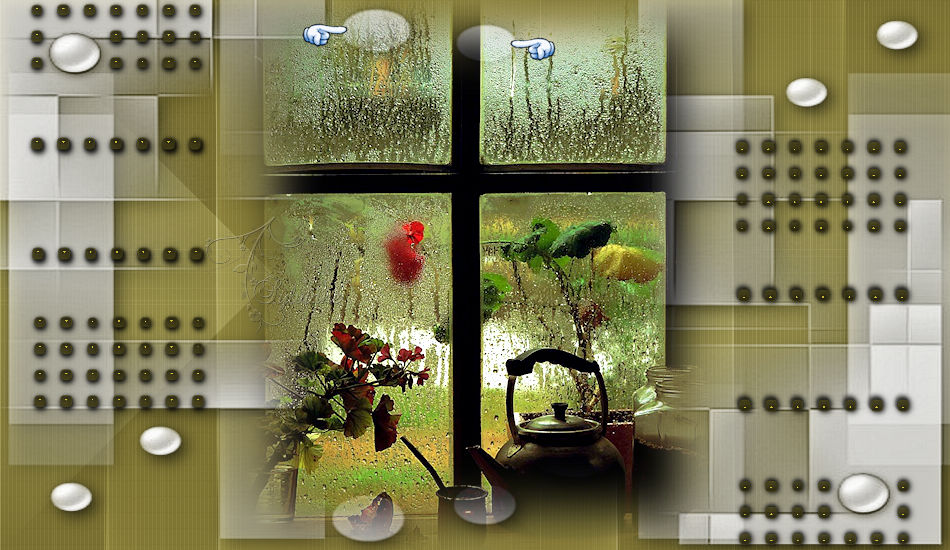
8.
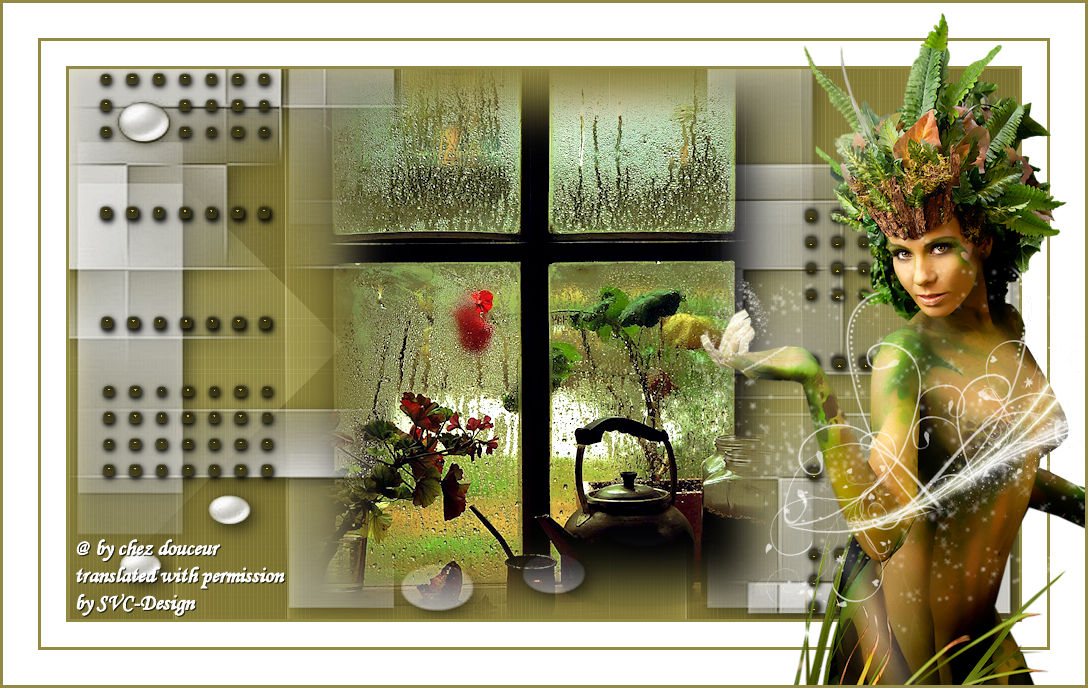
This is what we have:
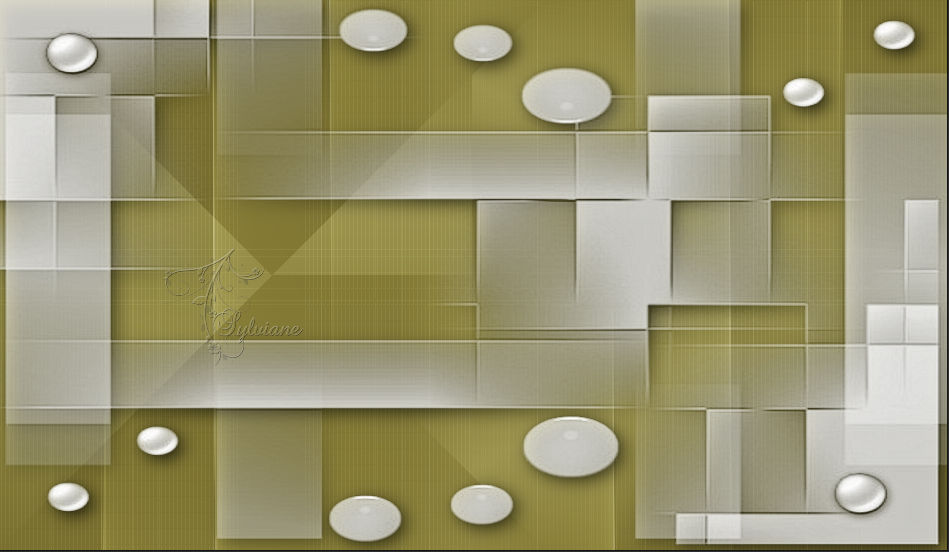
9.
Open deco2
Edit – Copy
Edit - Paste as new layer
Activate selection tool (Press K on your keyboard)
And enter the following parameters:
Pos X : 730 – Pos Y : 133
Press M.
10.
Layers – duplicate
Image - Mirror – mirror Horizontal
Image - Mirror – mirror Vertical
Activate selection tool (Press K on your keyboard)
And enter the following parameters:
Pos X : 25 – Pos Y : 0
Press M.
11.
Layers – merge – merge down
Effects – plugin - Alien Skin - Eyes Candy 5 Impact - Perspective Shadow - Drop Shadow Lowest - default
12.
Open SoniaTubes_9434
Edit – Copy
Edit - Paste as new layer
Don't move it, it's in place
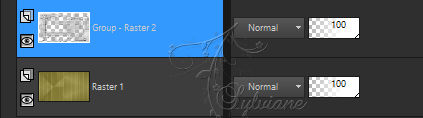
13.
Activate the Mask Layout (Raster 2 Group) and with the eraser erase the effects under the Sonia tube
14.
Image - Add Borders – Symmetric -3px -color : #928a44
Image - Add Borders – Symmetric -25px-colour :#ffffff
15.
Image - Add Borders – Symmetric -3px -color : #928a44
Image - Add Borders – Symmetric -35px - color:#ffffff
16.
Open your main tube
Edit – Copy
Edit - Paste as new layer
format change if necessary
place as in the example
17.
Image - Add Borders – Symmetric -3px - Color : #928a44
put your watermark on it
Image/Resize to 950 px width
Save as JPEG
Back
Copyright Translation 2024 by SvC-Design
------------------------------------------------------------------------------
Thanks to all who created