
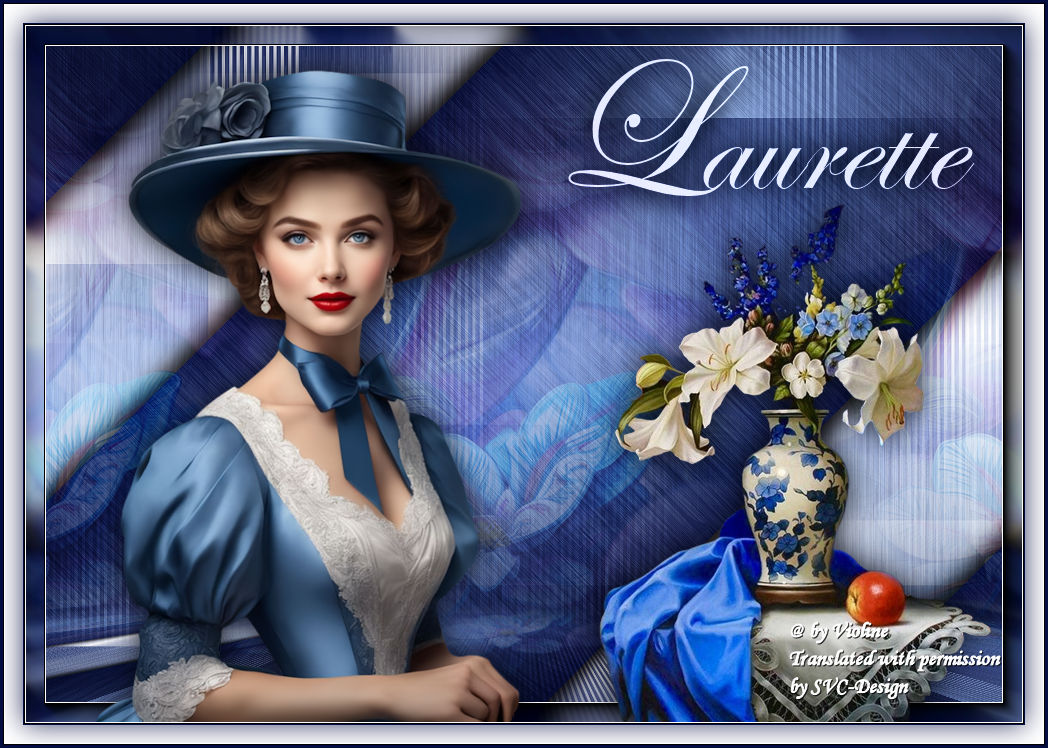
This lesson is made with PSPX9
But is good with other versions.
© by SvC-Design
Materialen Download :
Here
******************************************************************
Materials:
278 Masque ForumChezVIoline.jpg
femme-1521-laurette.png
Fleurs Creachou281123.png
Texte Laurette Creachou281123.png
TUBE_NAISEM_FLORES_130.pspimage
******************************************************************
Plugin:
Effects – plugin - Simple - Diamonds
Effects – plugin - Mura’s meister - Perspective tiling
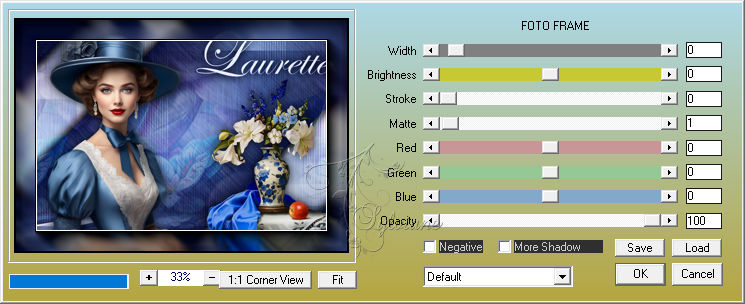
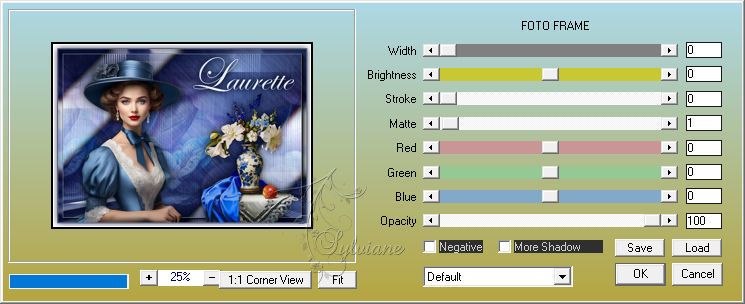
Effects – plugin - AAA Frames - Foto frame
******************************************************************
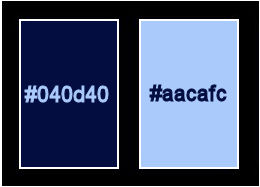
color palette
:
******************************************************************
methode
When using other tubes and colors, the mixing mode and / or layer coverage may differ
******************************************************************
General Preparations:
First install your filters for your PSP!
Masks: Save to your mask folder in PSP, unless noted otherwise
Texture & Pattern: Save to your Texture Folder in PSP
Selections: Save to your folder Selections in PSP
Open your tubes in PSP
******************************************************************
We will start - Have fun!
Remember to save your work on a regular basis
******************************************************************
foreground color: #040d40
background color:# aacafc
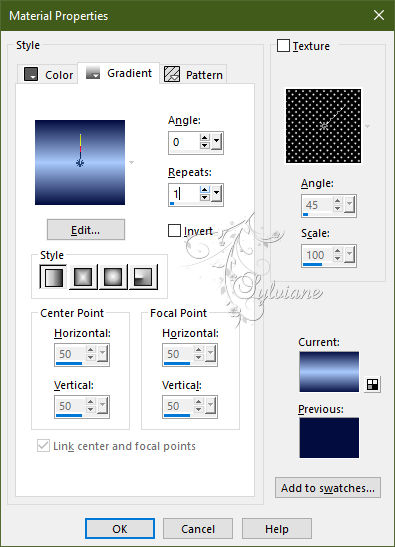
create a linear gradient
angle: 0
repeats : 1
invert : not checked
1.
Open a new transparent image of 1000-700 pixels
Fill in the gradient
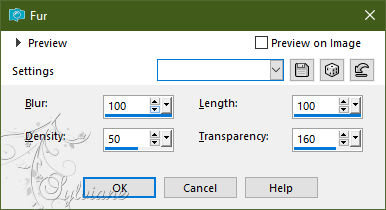
2.
Effecten – Textuureffecten – Fur
3.
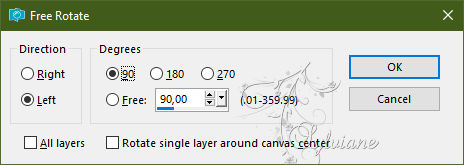
Layers - Duplicate
Image - Free Rotate
4.
Effects - 3 D effects - Drop shadow
0 / 0 / 80 / 40 - color:#000000
5.
Effects – plugin - Simple - Diamonds
6.
Effects - 3 D effects - Drop shadow
0 / 0 / 80 / 40 - color:#000000
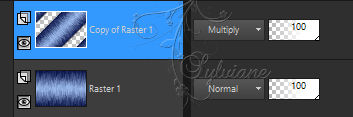
7.
blendmode: Multiply
8.
Place yourself on the bottom layer: Raster 1
Layers - New Raster Layer
Selection - Select All
9.
Open 278 Masque ForumChezVIoline.jpg
Edit – Copy
Edit - Paste into selection
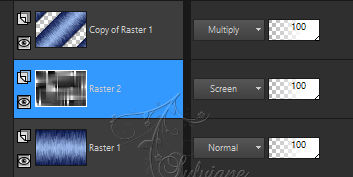
10.
blendmode: Screen
11.
Selection - Select None
12.
Layers - Merge - Merge visible layers
13.
Open Fleurs Creachou281123.png
Delete watermark
Edit – Copy
Edit - Paste as new layer
14.
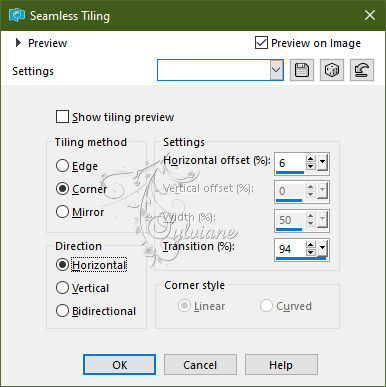
Effects - Image Effects - Seamless Tiling
15.
blendmode: Soft light
16.
Layers - Merge - Merge visible layers
Layers - Duplicate
17.
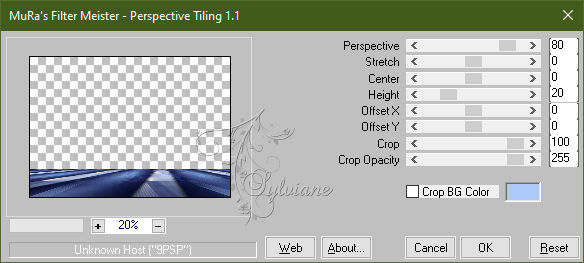
Effects – plugin - Mura’s meister - Perspective tiling
18.
Activate Magic wand tool, feather at 60 - Click on the transparent part.

Press the query key on your keyboard 10 times.
Selection - Select None
Put your feather to 0
19.
Layers - Merge - Merge visible layers
20.
Open femme-1521-laurette.png
Delete watermark
Edit – Copy
Edit - Paste as new layer
21.
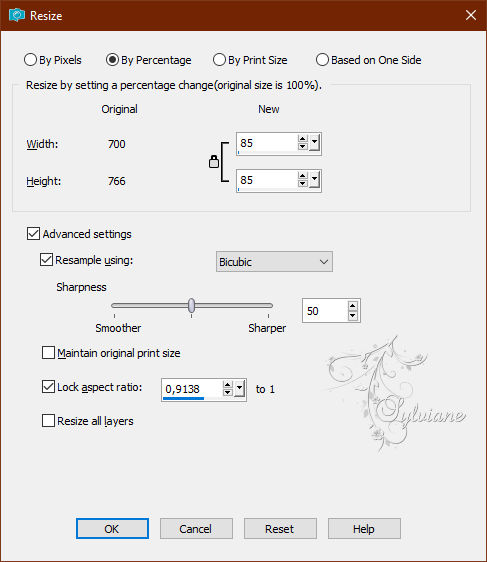
Image - resize by 85%
22.
Activate selection tool (Press K on your keyboard)
And enter the following parameters:
Pos X : 70 – Pos Y : 46
Press M.
23.
Effects - 3 D effects - Drop shadow
0 / 0 / 80 / 40 - color:#000000
24.
Open TUBE_NAISEM_FLORES_130.pspimage
Edit – Copy
Edit - Paste as new layer
25.
Activate selection tool (Press K on your keyboard)
And enter the following parameters:
Pos X : 575 – Pos Y : 180
Press M.
26.
Effects - 3 D effects - Drop shadow
0 / 0 / 80 / 40 - color:#000000
27.
Open Texte Laurette Creachou281123.png
Delete watermark
Edit – Copy
Edit - Paste as new layer
Blendmode : Luminance (legacy)
Opacity: 90%
28.
Effects - 3 D effects - Drop shadow
0 / 0 / 80 / 40 - color:#000000
29.
Activate selection tool (Press K on your keyboard)
And enter the following parameters:
Pos X : 522 – Pos Y : 7
Press M.
30.
Layers - Duplicate
Blendmode : Multiply
31.
Activate "Merged" background layer
Selection - Select All
Image – crop to selection
32.
Layers - Duplicate
33.
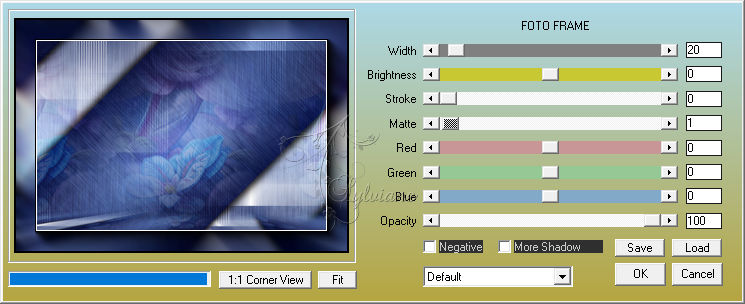
Effects – plugin - AAA Frames - Foto frame
34.
Layer – merge – merge all (flatten)
35.
Effects – plugin - AAA Frames - Foto frame
36.
Image - Add Borders – Symmetric - 1 pixel - foreground color, 040d40
37.
Selection - Select All
Image - Add Borders – Symmetric - 20 pixels – color: white, ffffff
38.
Effects - 3 D effects - Drop shadow
0 / 0 / 80 / 40 - color: #040d40
39.
Selection - Select None
40.
Effects – plugin - AAA Frames - Foto frame
41.
Image - Add Borders – Symmetric - 3 pixels - color, 040d40
42.
Image, resize to 1000 pixels wide
43.
Put your watermark on your work
Layers - merge - merge all.
save as jpg.
Back
Copyright Translation 2023 by SvC-Design
------------------------------------------------------------------------------
Thanks to all who created