
This lesson is made with PSPX9
But is good with other versions.
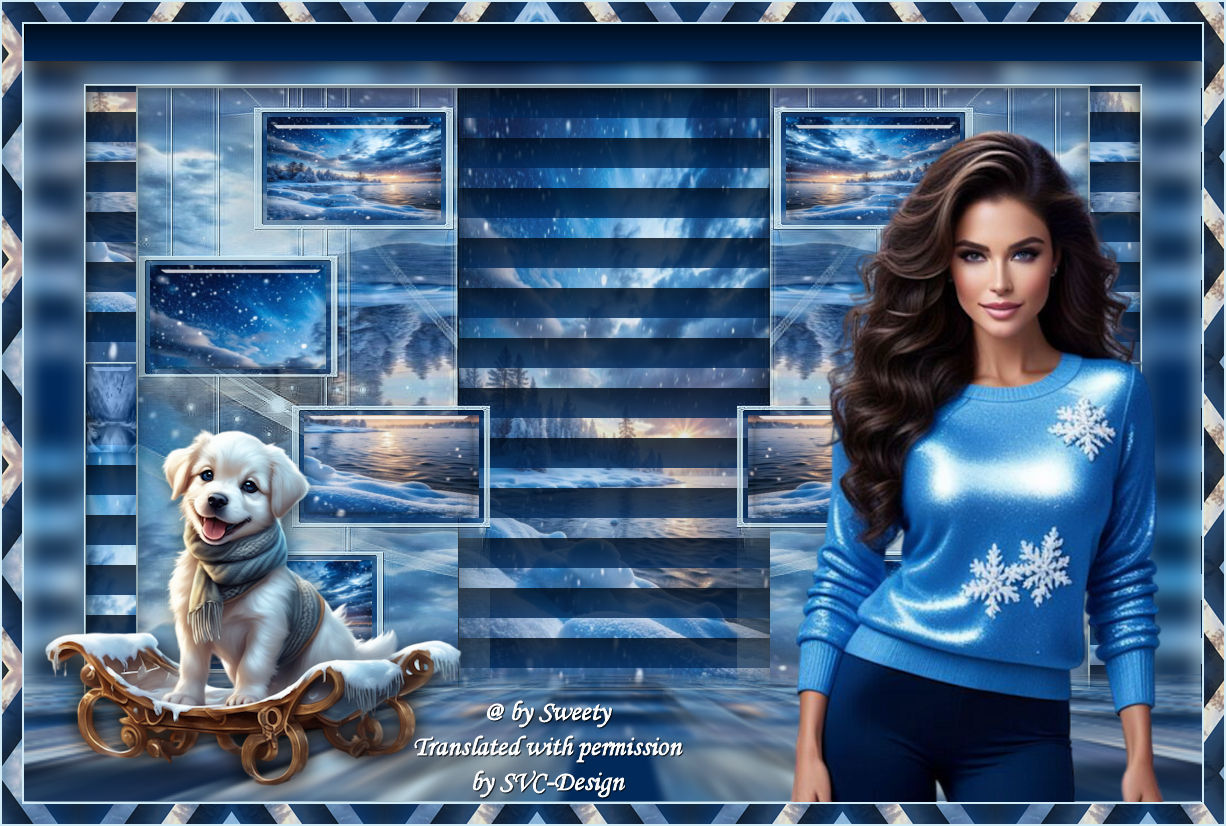
© by SvC-Design

Materialen Download :
Here
******************************************************************
Materials:
b0ff78a59b41c3204d6a5b4c9ce96cd4
Silvie_Mask_Deco0HH
COULEURS VERSION 2
DECO PERSO 1 218 ETAPE 5 JANVIER 2025 SWEETY
DECO PERSO 2 218 JANVIER 2025 SWEETY
SIGNATURE TUTORIELS
SELECTION 1 218.PspSelection
SELECTION 2 218.PspSelection
SELECTION 3 218.PspSelection
SELECTION 4 218.PspSelection
SELECTION 5 218.PspSelection
SELECTION 6 218.PspSelection
SELECTION 7 218.PspSelection
SELECTION 8 218.PspSelection
SELECTION 9 218.PspSelection
cc88cc8ff89ce3f1a3c914c5ff6cc241
JANVIER 2024 MIRA 21 01 24 SWEETY
JANVIER 2025 AMELIA 2 16 01 25 SWEETY
******************************************************************
Plugin:
Effects – plugin – Toadies - Blast'em!
Effects – plugin - Simple - Pizza Slice Mirror
Effects – plugin – VanDerLee - UnPlugged X - Jalusi :
Effects – plugin - MuRa' Filter Meister - Perspective Tiling
******************************************************************
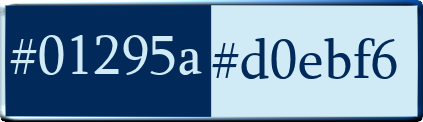
color palette
:
******************************************************************
methode
When using other tubes and colors, the mixing mode and / or layer coverage may differ
******************************************************************
General Preparations:
First install your filters for your PSP!
Masks: Save to your mask folder in PSP, unless noted otherwise
Texture & Pattern: Save to your Texture Folder in PSP
Selections: Save to your folder Selections in PSP
Open your tubes in PSP
******************************************************************
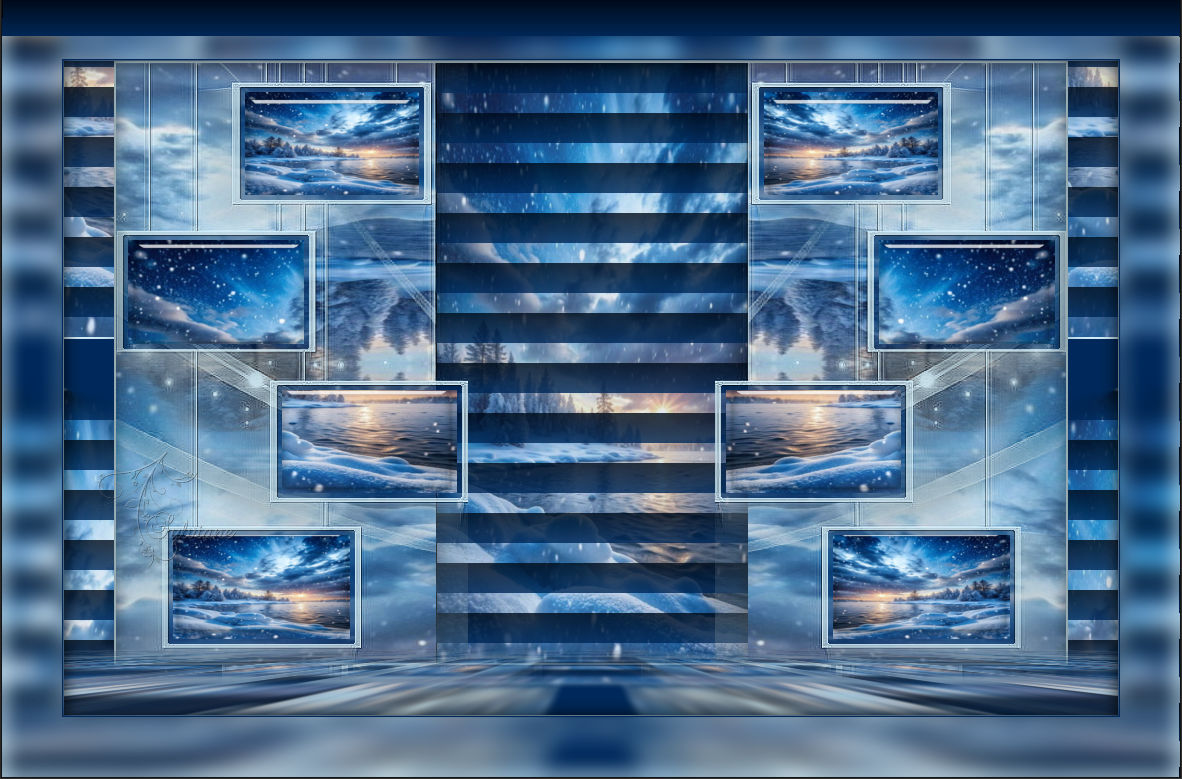
We will start - Have fun!
Remember to save your work on a regular basis
******************************************************************
Foreground(AVP)
Background(ARP)
Color 3:
1.
Choose a pretty picture you like... Select two colors: foreground(AVP) light or dark
background(ARP) dark or light
Open a new transparent image of 950 x600 px
Selections – select All
Open cc88cc8ff89ce3f1a3c914c5ff6cc241
Edit – Copy
Edit - Paste into selection
Selection - Select None
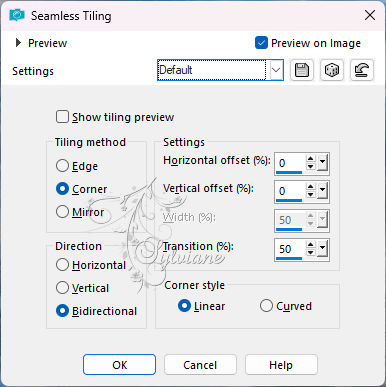
Effects - Image Effects - Seamless Tiling - Default
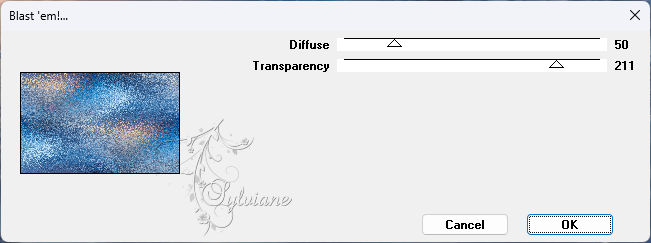
Effects – plugin – Toadies - Blast'em!
==================================================
2.
Layers - New Raster Layer
Fill with the color ARP
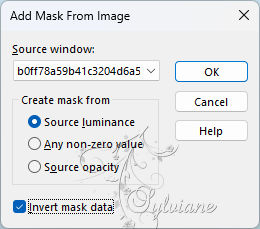
Open b0ff78a59b41c3204d6a5b4c9ce96cd4
Layers - New Mask Layer - From Image - b0ff78a59b41c3204d6a5b4c9ce96cd4
Effects - Edge effects - enhance
Layers - Merge - Merge Group
==================================================
3.
Still on the mask layer(Group-raster 2)...
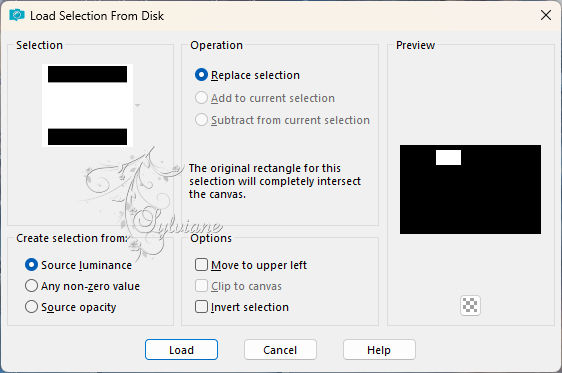
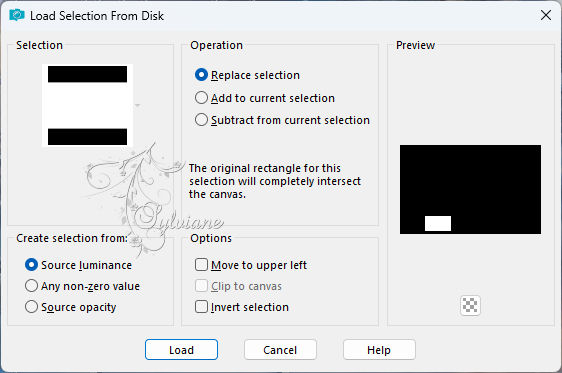
Selections - Load / Save - Load selection from disk - SELECTION 1 218.PspSelection

Selections – modify – expand - 3px
DELETE on keyboard.
Layers - New Raster Layer
Set the opacity of the paint pot to 50 and fill the selection with the AVP color.
Selection - modify - contract - 5px
DELETE or DELETE on keyboard.
Selection - Select None
Layers – arrange – move down
Remember to reset the opacity of the paint pot to 100...
==================================================
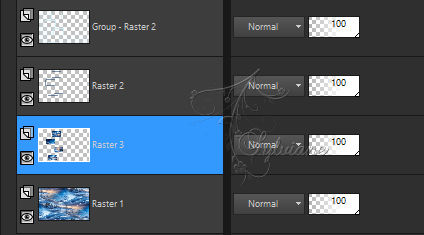
4.
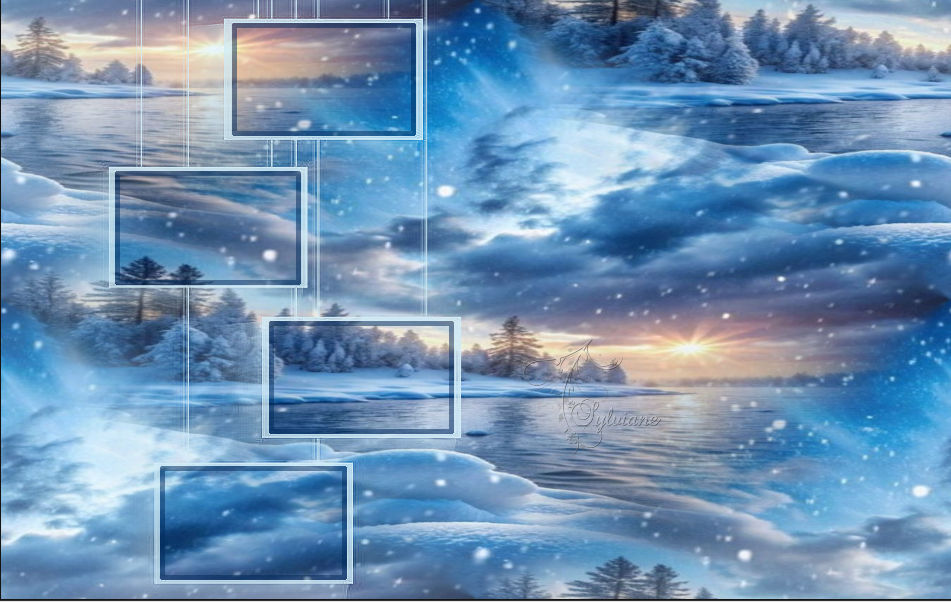
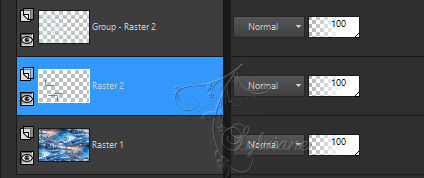
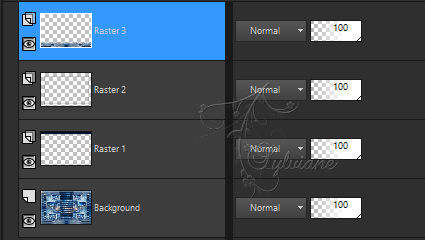
Here we are:(See screenshot)
Selections - Load / Save - Load selection from disk - SELECTION 2 218.PspSelection
Layers - New Raster Layer
Layers – arrange – move down
Open cc88cc8ff89ce3f1a3c914c5ff6cc241
Edit – Copy
Edit - Paste into selection
STAY ON THIS LAYER
Selections - Load / Save - Load selection from disk - SELECTION 3 218.PspSelection (This will cancel the previous selection)
Open cc88cc8ff89ce3f1a3c914c5ff6cc241
Edit – Copy
Edit - Paste into selection
STAY ON THIS LAYER
Selections - Load / Save - Load selection from disk - SELECTION 4 218.PspSelection (This will cancel the previous selection)

Open cc88cc8ff89ce3f1a3c914c5ff6cc241
Edit – Copy
Edit - Paste into selection
Selection - Select None
==================================================
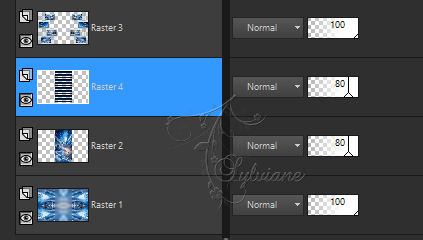
5.
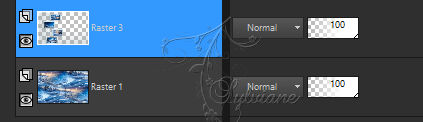
Layer position and result:(See screenshot)
Selections - Load / Save - Load selection from disk - SELECTION 5 218.PspSelection
Open DECO PERSO 1 218 ETAPE 5 JANVIER 2025 SWEETY
Edit – Copy
Edit - Paste into selection
Selection - Select None
activate top layer (Group-raster 2)...
Effects - 3 D effects - Drop shadow
1 / 1 / 60 / 1 – color: Black
Layers – merge – merge down (2x)
==================================================
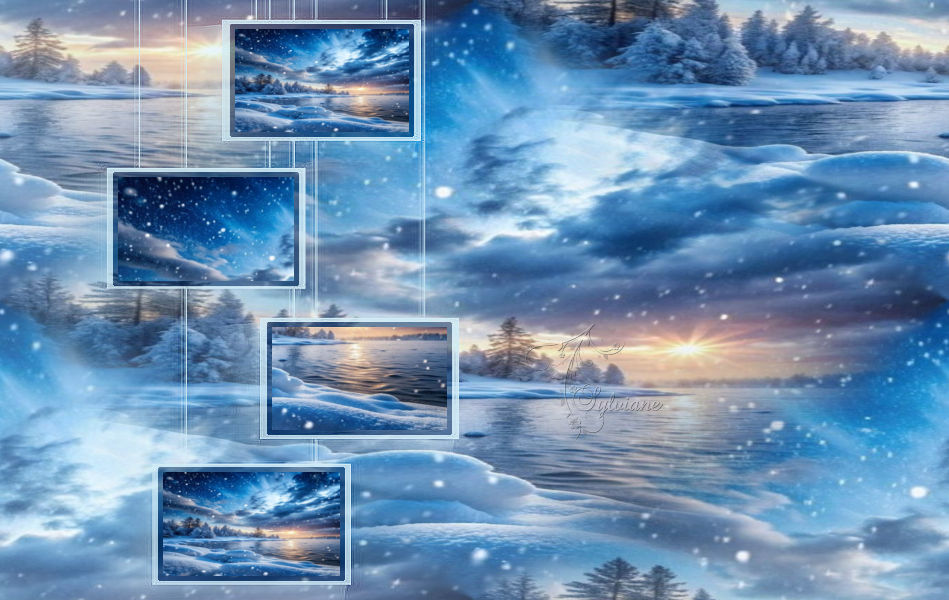
6.
If you've followed me correctly, you should have this:

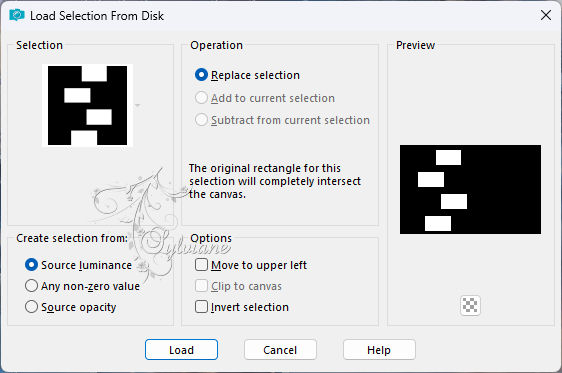
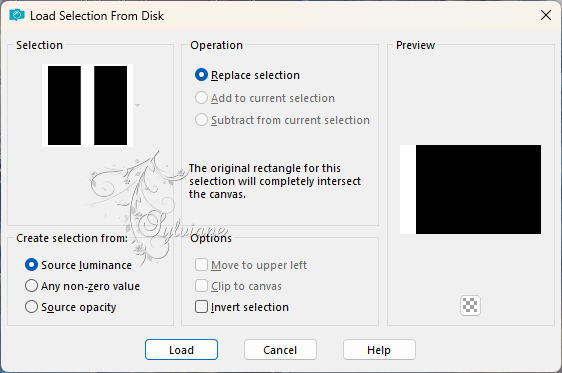
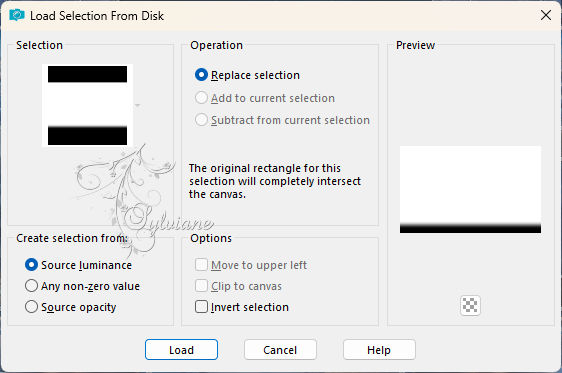
Selections - Load / Save - Load selection from disk - SELECTION 6 218.PspSelection
DELETE or DELETE using the keyboard.
Selection - Select None
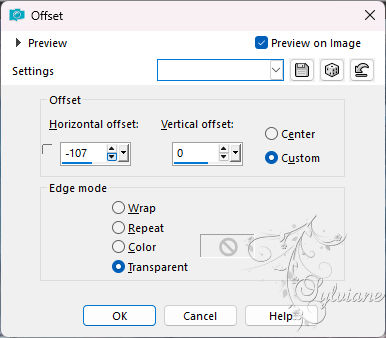
Effects - Image Effects - Offset
==================================================
7.
Still on this layer(Raster 3)...
Activate Selection - Custom selection
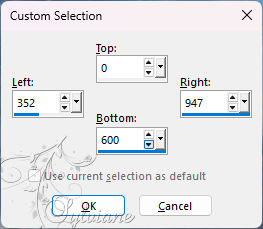
press DELETE on the keyboard.
Selection - Select None
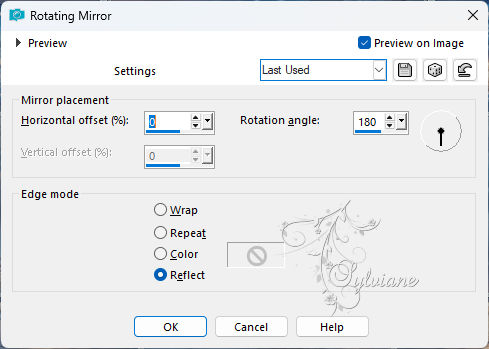
Effects – reflection effects – rotating mirror
==================================================
8.
Go to the BOTTOM layer (Raster 1)
Effects – plugin - Simple - Pizza Slice Mirror(This effect works alone)
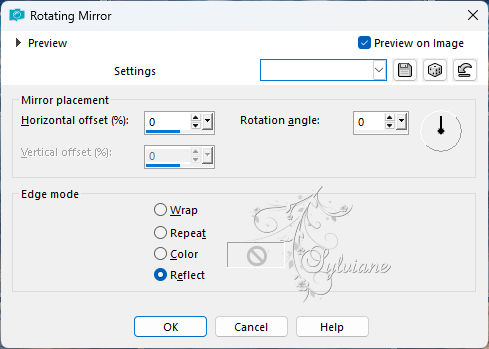
Effects – reflection effects – rotating mirror
Selections - Load / Save - Load selection from disk - SELECTION 7 218.PspSelection
Adjust - blur - gaussian blur
Range: 20.00
Layers - New Raster Layer
Open cc88cc8ff89ce3f1a3c914c5ff6cc241
Edit – Copy
Edit - Paste into selection
Set the opacity of this layer to 80%.
KEEP SELECTION ACTIVE...
==================================================
9.
The selection is still active...
Layers - New Raster Layer
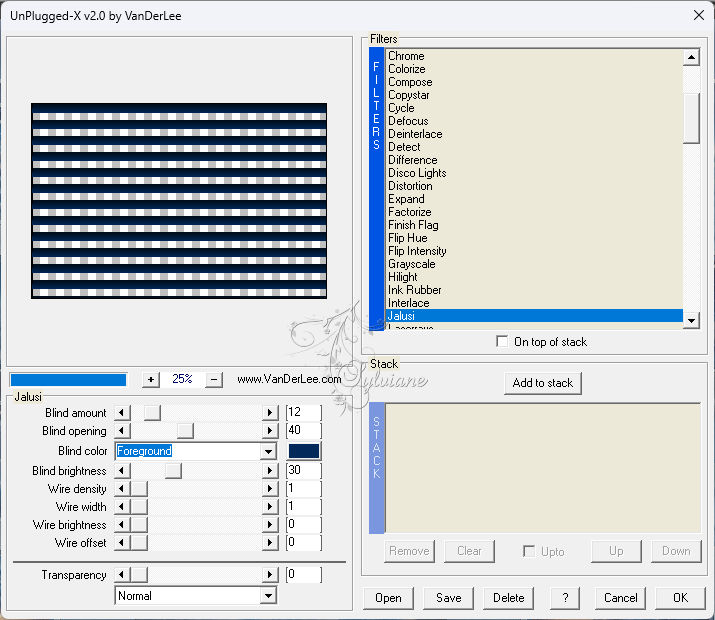
Effects – plugin – VanDerLee - UnPlugged X - Jalusi :

Set the opacity of this layer to 80%.
Selections - Invert
Effects - 3 D effects - Drop shadow
0/0/60/30 -color: Black
Selection - Select None
==================================================
10.
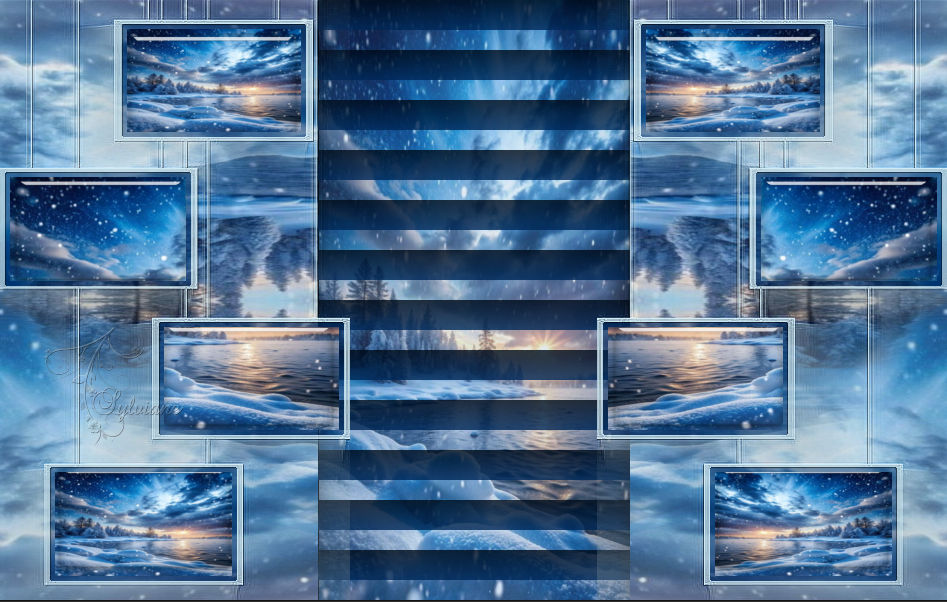
Here we are:
Layers - New Raster Layer
Fill with ARP colour
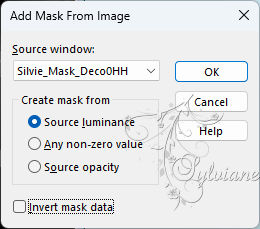
Open the mask * Silvie-mask-deco0HH * on the desktop
Layers - New Mask Layer - From Image - Silvie_Mask_Deco0HH
Effects - Edge effects - enhance
Layers - Merge - Merge Group
Effects – reflection effects – rotating mirror
Layers – arrange – move down (2x)
(Above Raster 1)
Effects - 3 D effects - Drop shadow
0/0/60/30 -color: Black.
Choice of layer mode: (For my2nd version I set it to * Luminance(H) )
Layers - duplicate
Layers – merge – merge down
==================================================
11.
Image - Add Borders – Symmetric -2px – color: ARP
Selections – select All
Image - Add Borders – color: AVP
Effects - Image Effects - Seamless Tiling - default
Selections - Invert
Selections – Promote selections to layer
Selection - Select None
==================================================
12.
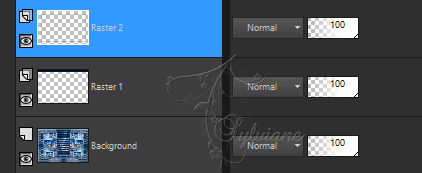
Activate Background
Layer – promote background layer
Layers - duplicate
Layers – arrange – bring to top
Adjust - blur - gaussian blur
Range: 5.00
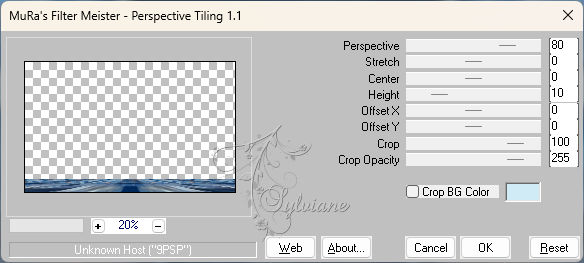
Effects – plugin - MuRa' Filter Meister - Perspective Tiling
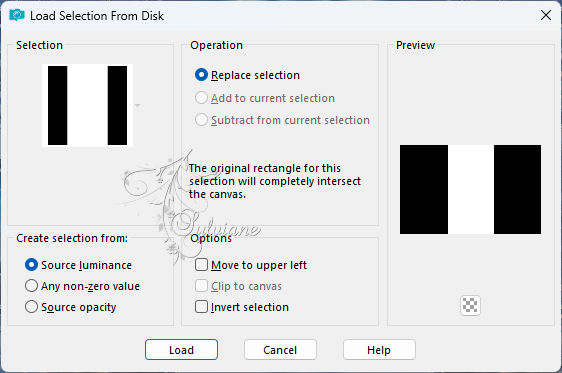
Selections - Load / Save - Load selection from disk - SELECTION 8 218.PspSelection
DELETE on the keyboard (3x)
Selection - Select None
Edit – Copy
edit - paste as a new image
Put aside for a moment, we'll need those for later
==================================================
13.
Activate Promoted Selection
Effects - 3 D effects - Drop shadow
0/0/60/30 – color:Black
Image - Add Borders – Symmetric -2px – color: ARP
Selections – select All
Edit – Copy (Image is saved to memory)
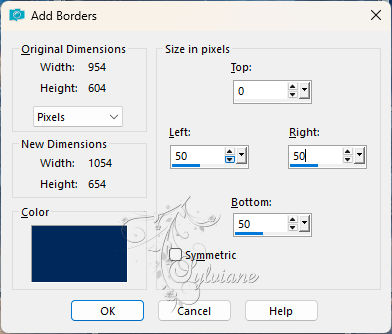
Image - Add Borders – Symmetric – 60px (any colour)
Selections - Invert
Edit - Paste into selection
Adjust - blur - gaussian blur
Range: 10.00
Layers - New Raster Layer
Effects – plugin – VanDerLee - UnPlugged X - Jalusi :
Selection - Select None
==================================================
14.
Selections - Load / Save - Load selection from disk - SELECTION 9 218.PspSelection
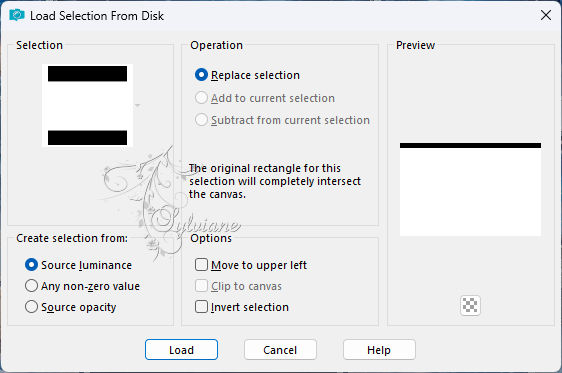
DELETE using the keyboard
Selection - Select None
Selections – select All
Selection - modify - contract – 60px
Selections - Invert
Layers - New Raster Layer
Effects - 3 D effects - Drop shadow
0/0/100/30 – color: Black
Selections - Invert
Selections - modify - select selection borders
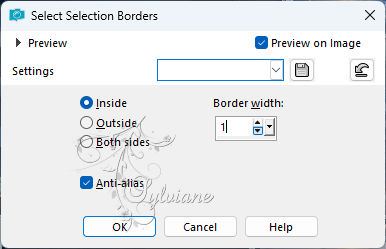
Fill in the AVP colour.
Selection - Select None
==================================================
15.
this is what we have:
Switch to the MIDDLE layer (Raster 1)
Effects - 3 D effects - Drop shadow
0/0/100/30/ Black
Copy/Paste as a new layer the image held at step 12
Effects - Image Effects - Offset
Stretch left and right:
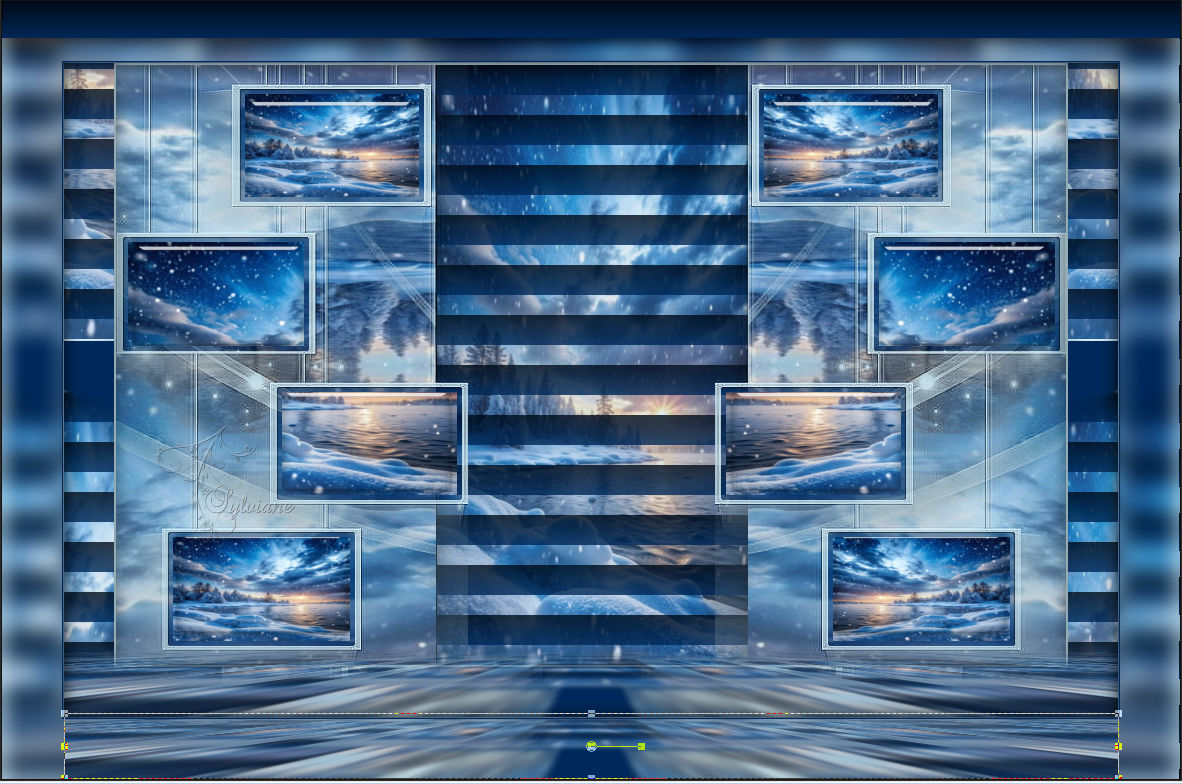
After:
Layers – arrange – bring to top
Display Ruler and Tool selector(K on keyboard): activated ... Move up as shown in the screenshot:
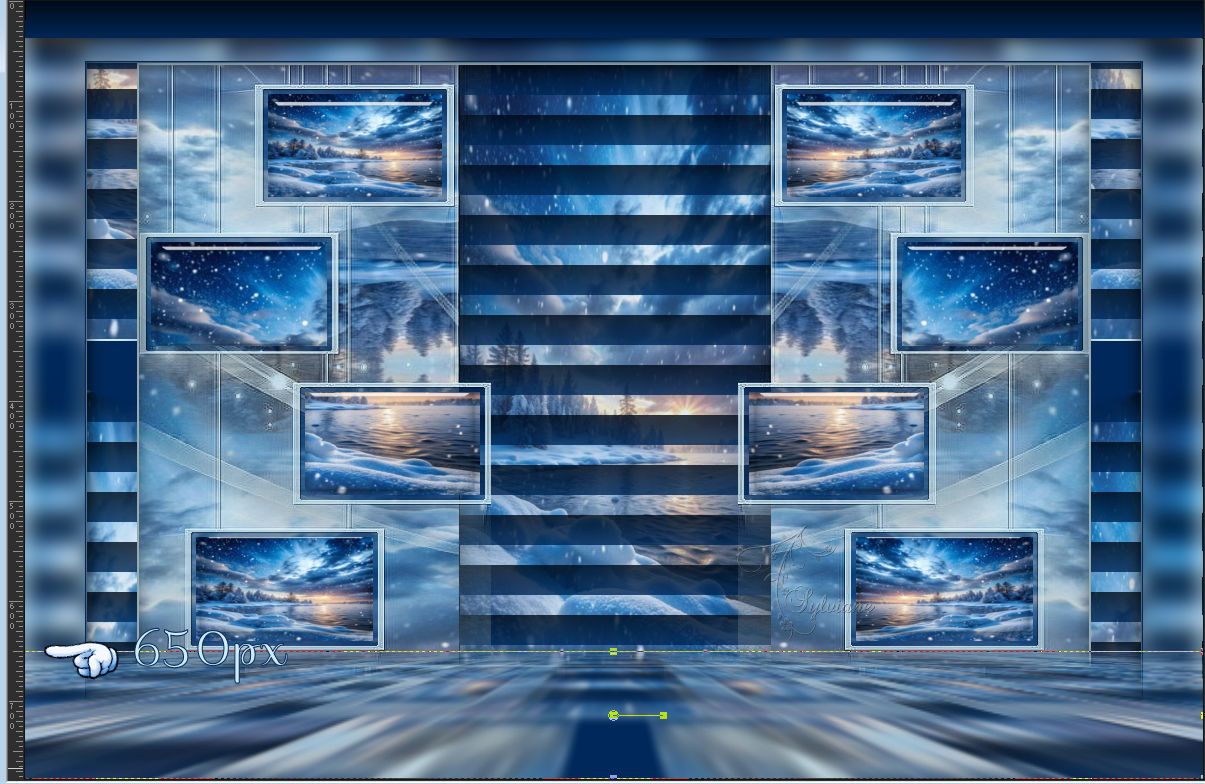
Deactivate the ruler and the selector tool(M on the keyboard)
==================================================
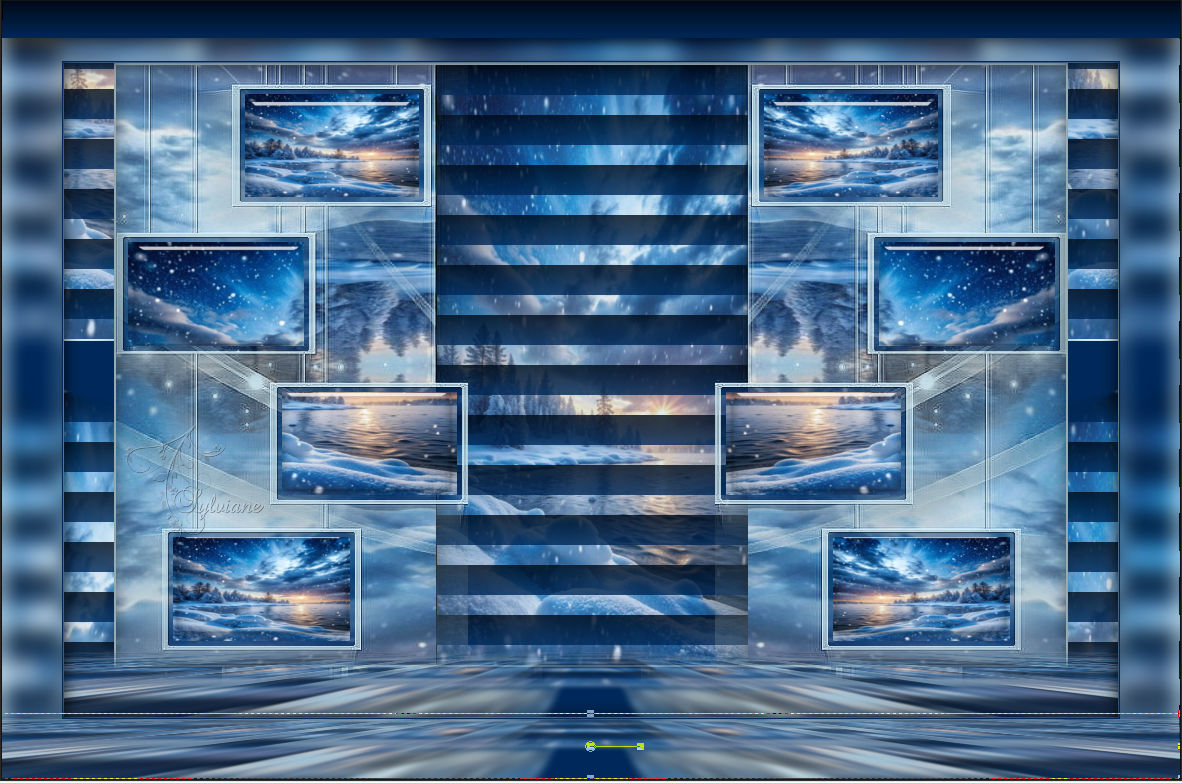
16.
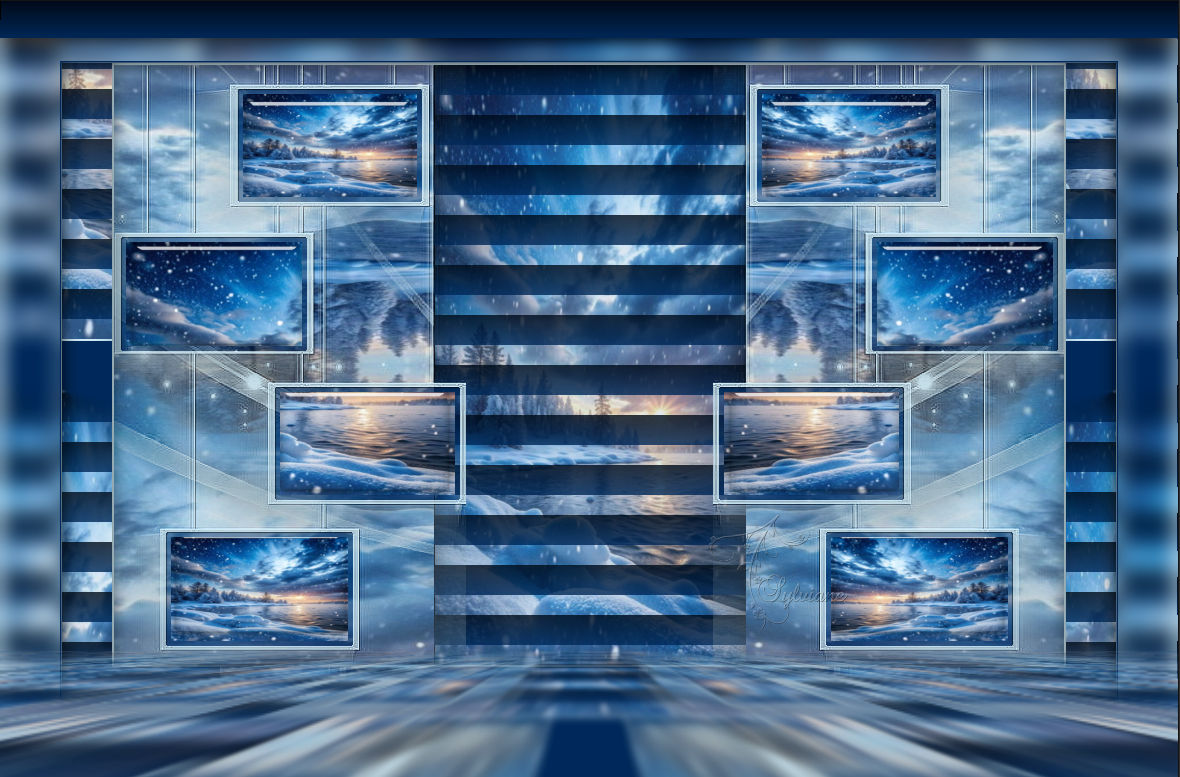
this is what we have:
Open DECO PERSO 2 218 JANVIER 2025 SWEETY
Edit – Copy
Edit - Paste as new layer
don't move it,
blendmode: Luminance(H)
==================================================
17.
Open JANVIER 2025 AMELIA 2 16 01 25 SWEETY
Edit – Copy
Edit - Paste as new layer
Image - Mirror – mirror Horizontal
Image - Resize - 65%
No check mark on resize all layers
Open JANVIER 2024 MIRA 21 01 24 SWEETY
Edit – Copy
Edit - Paste as new layer
Image - Mirror – mirror Horizontal
Image - Resize - 85%
No check mark on resize all layers
Layers - duplicate
Adjust - blur - gaussian blur
Range: 10
Blendmode: Multiply
Opacity: 100
Layers – arrange – move down
==================================================
19.
Image - Add Borders – Symmetric -2px-color AVP
Selections – select All
Image - Add Borders – Symmetric -20 - colour: AVP.
Selections - Invert
effects – reflection effects – pattern

Selection - Select None
Image - Add Borders – Symmetric -2px-color: ARP
==================================================
20.
Add your signature and mine if you wish
Layer – merge – merge all (flatten)
Resize to 950 pixels
Save as JPEG
Back
Copyright Translation 2024 by SvC-Design
------------------------------------------------------------------------------
Thanks to all who created