
This lesson is made with PSPX9
But is good with other versions.
© by SvC-Design
Materialen Download :
Here
******************************************************************
Materials:
alpha_channel_anniversary_sim_leni.pspimage
leni-1.PspGradient
Callitubes-2162mulheres.pspimage
wordart_leni.pspimage
******************************************************************
Plugin:
Plugins - Xenofex1 - Origami
Plugins - Filters Unlimited 2.0 - Bkg Designer sf II > Fan Blades
Plugins - Xero - Fritillary
Plugins - AP Lines - Lines SilverLining - Dotty Grid
Plugins - AP Lines - Lines SilverLining - Line Pattern
Plugins - AP Lines - Lines SilverLining - Dotty Lines
******************************************************************
color palette
:
******************************************************************
methode
When using other tubes and colors, the mixing mode and / or layer coverage may differ
******************************************************************
General Preparations:
First install your filters for your PSP!
Masks: Save to your mask folder in PSP, unless noted otherwise
Texture & Pattern: Save to your Texture Folder in PSP
Selections: Save to your folder Selections in PSP
Open your tubes in PSP
******************************************************************
We will start - Have fun!
Remember to save your work on a regular basis
******************************************************************
COLORS:
#103800 Foreground (dark color)
#d9eeae Background (light color)
1.
Open alpha_channel_anniversary_sim_leni.pspimage
Ventana – Duplicar
Minimiza el original – trabajamos en la copia
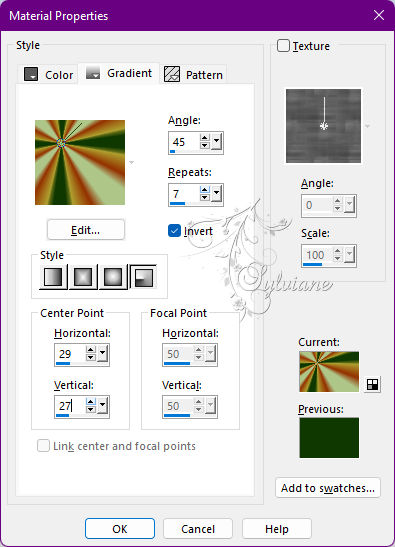
Paint with the gradient leni-1.
Set the gradient to Radial:
Angle 45 > Repeat 7 > invert marked > Center Point Horizontal 29 > Vertical 27
2.
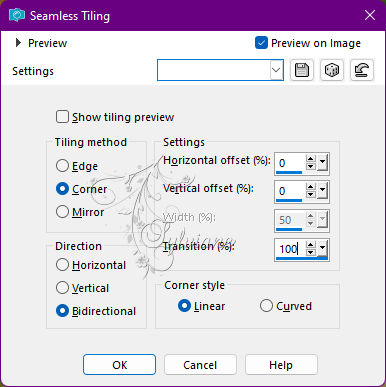
Effects - Image Effects - Seamless Tiling
3.
Adjust - Blur - Gaussian Blur: 25
4.
Layers - Duplicate.
5.
Close the visibility of the Copy of Raster 1 layer.
Activate the Raster layer 1.
6.
Plugins - Xenofex1 - Origami
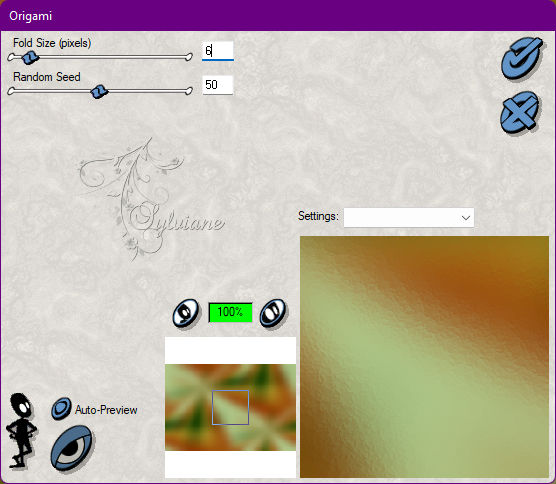
(First will open a window, give OK and then open the effect) 6 > 50
7.
Effects - Edge effects - Enhance.
Open and activate the Copy of Raster 1 layer.
8.
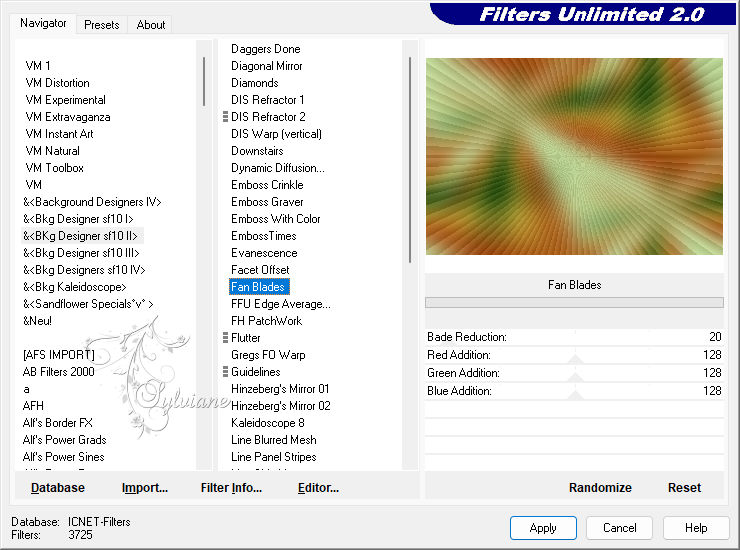
Plugins - Filters Unlimited 2.0 - Bkg Designer sf II > Fan Blades
9.
Effects - Edge effects - Enhance.
Blend Mode: Multiply or another of your choice.
10.
Layers - New Raster Layer.
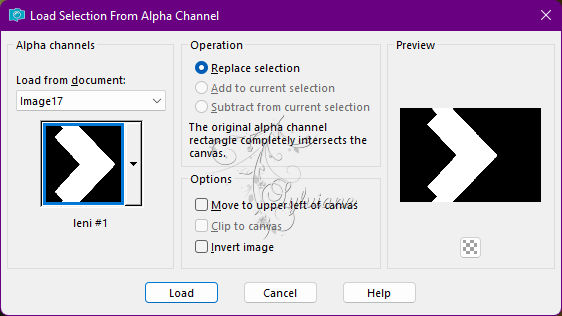
Selection – Load/Save Selection – Load Selection from Alpha Channel - leni #1
Paint with the Radial gradient in use.
Adjust - Blur > Gaussian Blur: 25
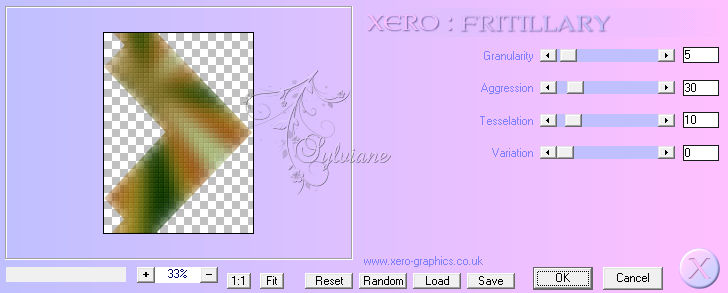
11.
Plugins - Xero - Fritillary
12.
Effects - Edge effects - Enhance.
Effects - 3D Effects - Drop Shadow:
0/ 0/ 80/ 20 - Color: #000000 (black)
13.
Selections - Select None.
Layers - New Raster Layer.
Selection – Load/Save Selection – Load Selection from Alpha Channel - leni #2
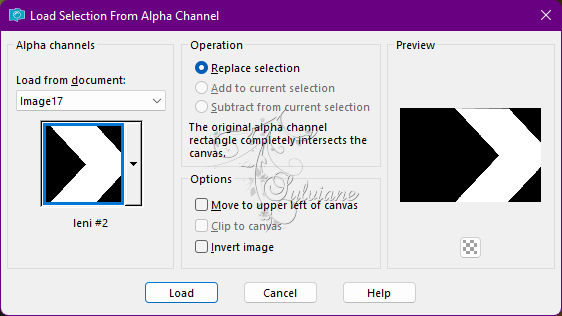
Paint with the Radial gradient in use.
Adjust - Blur - Gaussian Blur: 25
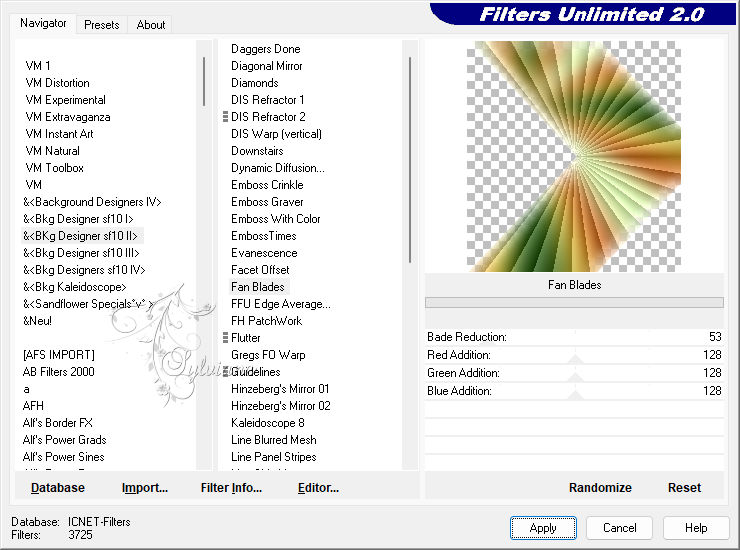
14
Plugins - Filters Unlimited 2.0 - Bkg Designer sf II - Fan Blades
15.
Effects - Edge effects - Enhance.
Blend Mode: Hard Light or another of your choice
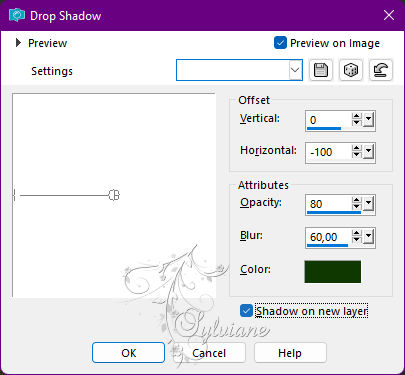
16-
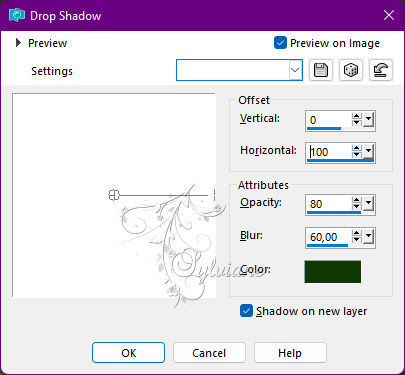
Effects - 3D Effects - Drop Shadow: 0 /-100/ 80/ 60 - Color: #103800 (Foreground)
With Shadow on new layer tagged
17.
Repeat Drop Shadow with Horizontal on 100:
0/ 100/ 80 / 60 - Color: #103800 (Foreground)
With Shadow on new layer tagged
18.
Selections - Select None.
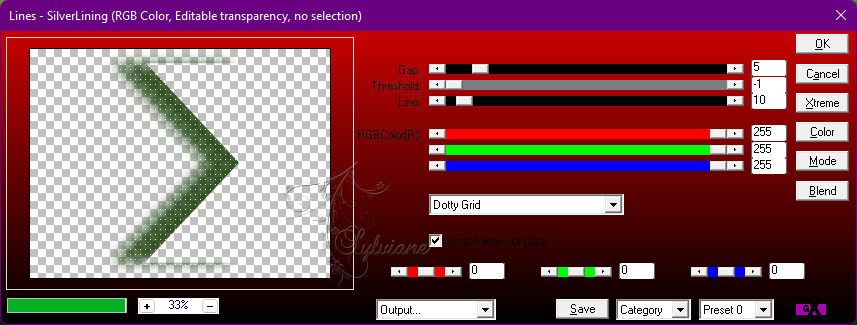
In layer, Raster 3 Shadow 1 Shadow 1 activates...

Plugins - AP Lines - Lines SilverLining - Dotty Grid
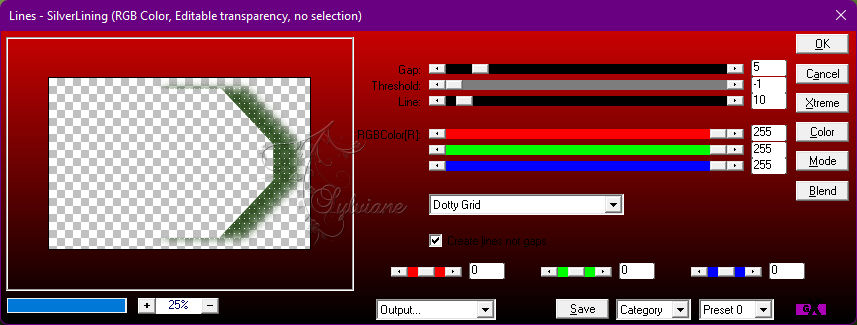
19.
Activate the Raster 3 Shadow 1 layer.
Plugins - AP Lines - Lines SilverLining - Dotty Grid
20.
Activate the top layer (Raster 3)
Layers - New Raster Layer.
Selection – Load/Save Selection – Load Selection from Alpha Channel - leni #3
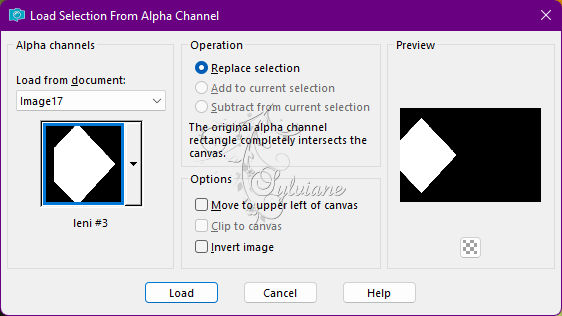
Paint with the Radial gradient in use.
Adjust - Blur - Gaussian Blur: 25
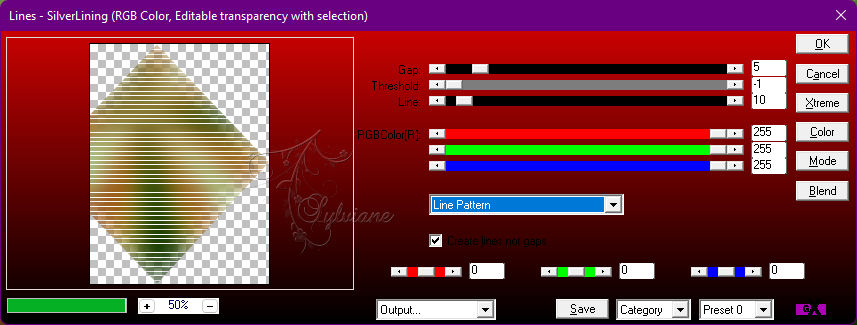
21.
Plugins - AP Lines - Lines SilverLining - Line Pattern
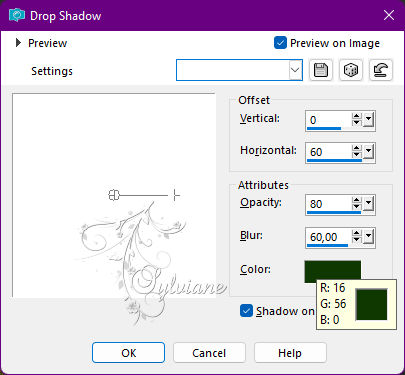
22-
Effects - 3D Effects - Drop Shadow:
0 / 60 / 80 / 60 Color: #103800 (Foreground)
With Shadow on new layer tagged
23.
Selections - Select None.
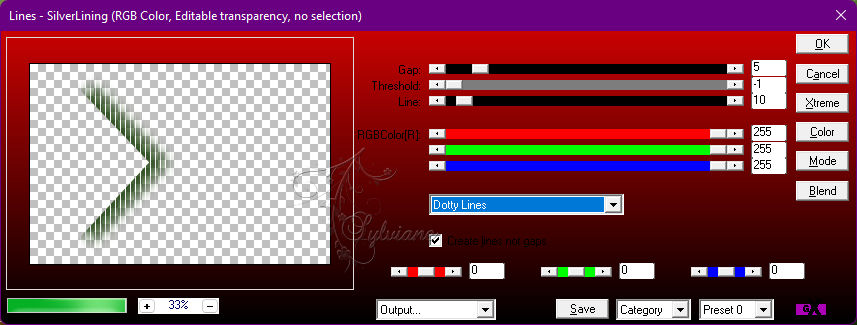
In the active layer Raster 4 Shadow 1...
Plugins - AP Lines - Lines SilverLining - Dotty Lines
24.
Activate the Raster 3 layer
Effects - 3D Effects - Drop Shadow:
0 / 0 / 80 / 20 - Color: #000000 (black)
Uncheck Shadow on new layer
25.
Activate the top layer Raster 4
Effects - 3D Effects - Drop Shadow:
0 / 0 / 80 / 20 - Color: #000000 (black)
26.
Open wordart_leni.pspimage
Edit - Copy
Edit - Paste as New Layer.
Objects - Align - Left.
27.
Edit - Copy special - Copy merged
28.
Image – Add Borders –symmetric - 1px - color: #103800 (Foreground dark color)
Image – Add Borders –symmetric - 3px - color: #d9eeae (Light color background)
Image – Add Borders –symmetric - 1px - color: #103800 (Foreground dark color)
Image – Add Borders –symmetric - 5px - color: #d9eeae (Light color background)
Image – Add Borders –symmetric - 1px - color: #103800 (Foreground dark color)
29.
Selections - Select All.
Image – Add Borders –symmetric - 50px any color
Selections - Invert.
Edit - Paste into Selection.
Adjust - Blur - Gaussian Blur: 25
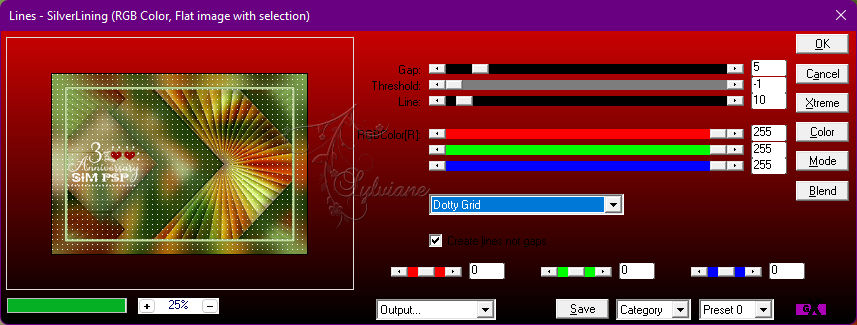
30.
Plugins - AP Lines - Lines SilverLining - Dotty Grid
31.
Selections - Invert.
Effects - 3D Effects - Drop Shadow:
0 / 0 / 100 / 40 - Color: #000000 (black)
Selections - Select None
32.
Open the main tube
Edit - Copy
Edit - Paste as New Layer.
Image - Resize if necessary.
Adjust - Sharpness - Sharpen.
Position at your choice.
Effects - 3D Effects - Drop Shadow of your choice.
33.
Image – Add Borders –symmetric - 1px - color: #103800 (Foreground dark color)
34.
Apply your watermark or signature
Layer – merge – merge all (flatten)
Save as JPEG
Back
Copyright Translation © 2022 by SvC-Design