
This lesson is made with PSPX9
But is good with other versions.
© by SvC-Design
Materialen Download :
Here
******************************************************************
Materials:
BlackDecor_BySoxikibem.png
titulo_mychoicesBySoxikibem.png
******************************************************************
Plugin:
Plugin - Unlimited 2.0 - Bkg Designer sf10 I - ALFs Border Mirror Bevel.
Plugins - Carolaine and Sensibility - CS_Halloween2
Plugins - Italian Editor effect - fiore
Plugins - Italian Editors Effect - Effetto fantasma
Plugins - Filters Unlimited 2.0 - Paper Textures - Canvas Fine
Plugins - Mura's Meister - Copies
Plugins - Mehdi - Sorting Tiles
Plugins - Mura's Meister - Perspective Tiling.
Plugins - AAA Frames - Foto Frame
******************************************************************
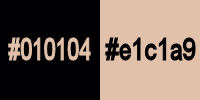
color palette
:
******************************************************************
methode
When using other tubes and colors, the mixing mode and / or layer coverage may differ
******************************************************************
General Preparations:
First install your filters for your PSP!
Masks: Save to your mask folder in PSP, unless noted otherwise
Texture & Pattern: Save to your Texture Folder in PSP
Selections: Save to your folder Selections in PSP
Open your tubes in PSP
******************************************************************
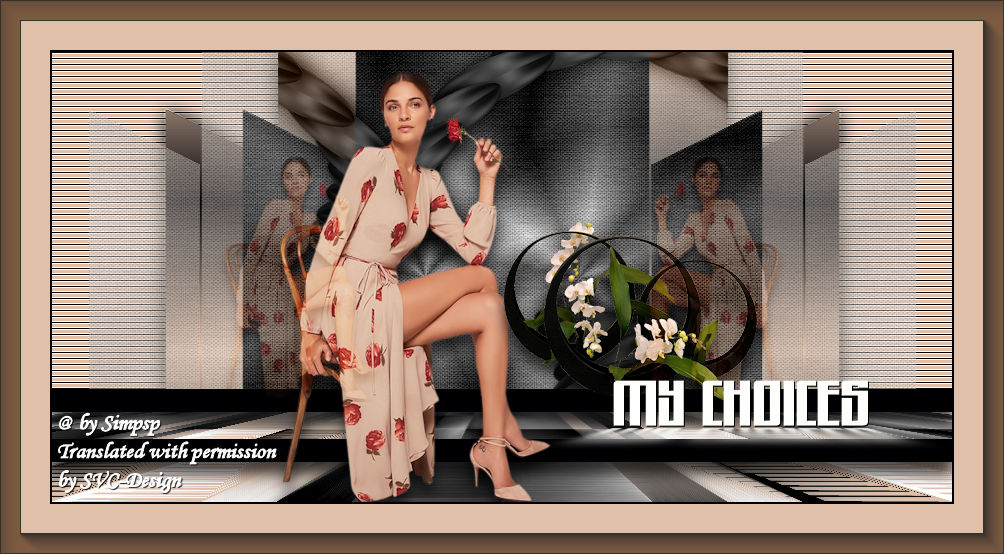
We will start - Have fun!
Remember to save your work on a regular basis
******************************************************************
1.
Open the material on the PSP, duplicate and close the original.
Choose 2 colors to work with.
Foreground #030208
Background #fffffd
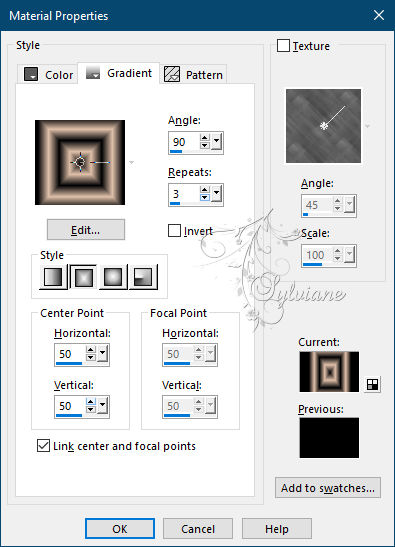
2.
Open a new transparent image of 900x450 pixels
Paint with a Rectangular gradient formed by the chosen colors
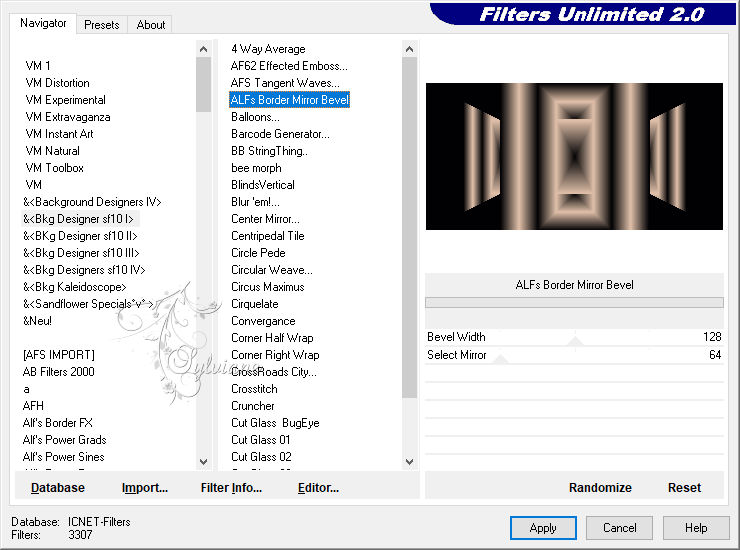
3 .
Plugin - Unlimited 2.0 - Bkg Designer sf10 I - ALFs Border Mirror Bevel
4.
With the Magic Wand tool select as in the print below
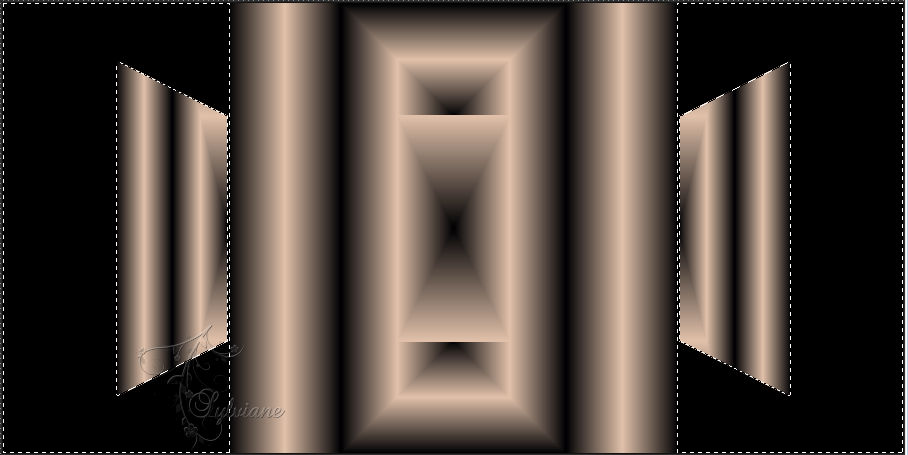
Press the Delete key on the keyboard
5.
Layers - New Raster Layer.
Paint with the color of the background
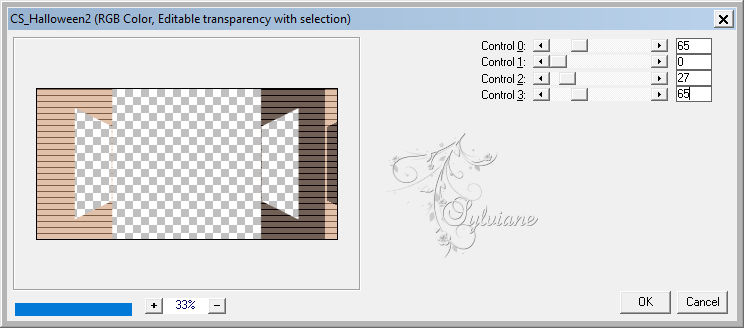
6.
Plugins - Carolaine and Sensibility - CS_Halloween2
Effects - Edge Effects - Enhance
7.
Selections - Invert
Effects - 3D Effects - Drop Shadow: 0/ 0/ 100/ 30 color:#000000
Selections - Select None
8.
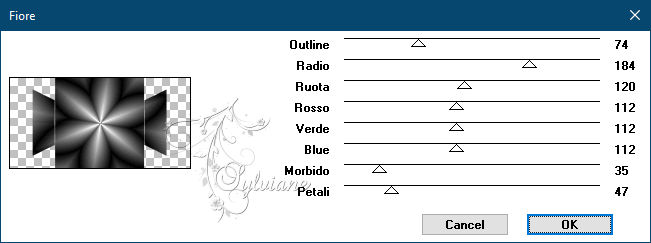
Activate the Raster layer 1
Plugins - Italian Editor effect - fiore
9.
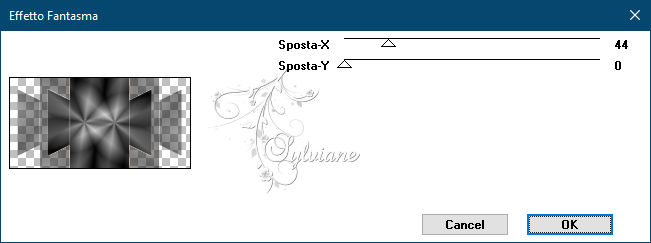
Plugins - Italian Editors Effect - Effetto fantasma
10 .
Layers - Arrange - Bring to Top
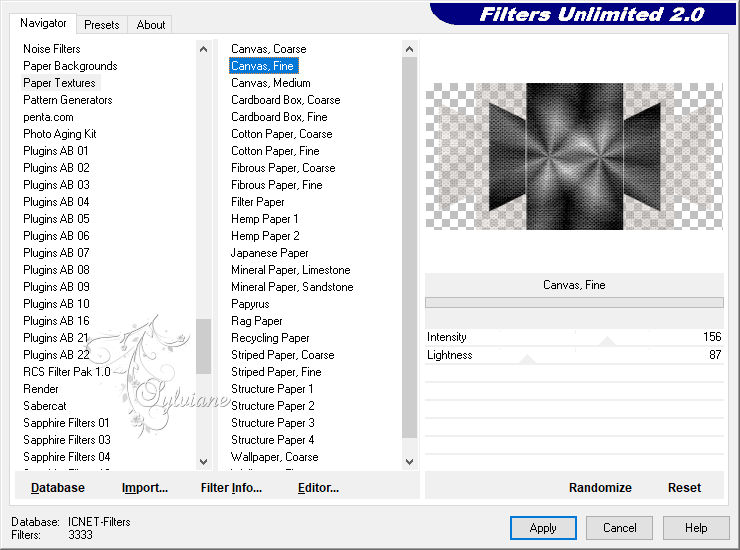
Plugins - Filters Unlimited 2.0 - Paper Textures - Canvas Fine
11.
Layers - New Raster Layer
Paint this Layer with a Linear gradient formed by the colors in use

Layers - Arrange - Send to Bottom
Layers - Merge - Merge Visible
12.
Open BlackDecor_BySoxikibem.png
Edit - Copy
Edit - Paste a New Layer
13.
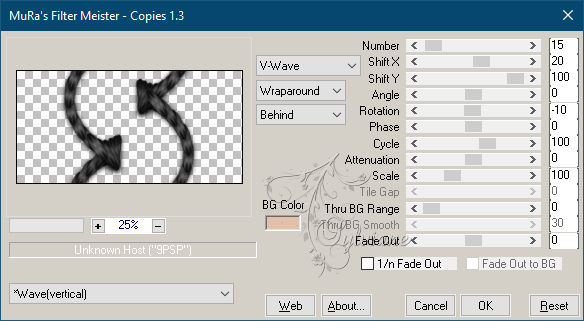
Plugins - Mura's Meister - Copies
14.
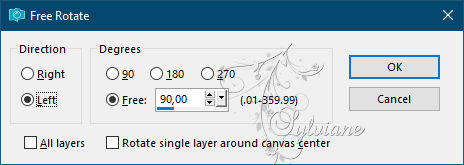
Image - Free Rotate: Left, 90
Adjust - Sharpness - Sharpen
15.
Turn on the Merged layer
Layers - Duplicate
Layers - Arrange - Bring to Top
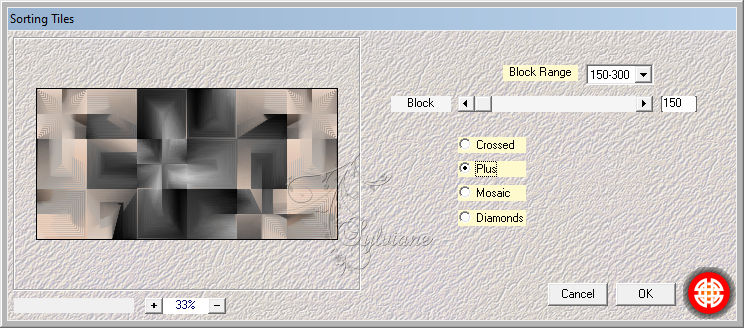
16.
Plugins - Mehdi - Sorting Tiles
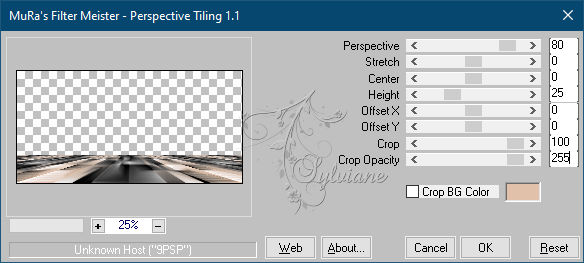
17.
Plugins - Mura's Meister - Perspective Tiling
18.
Layers - New Raster Layer
Activate Selection - Custom selection
Paint the selection with the color of the foreground
Selections - Select None
Effects - 3D Effects - Drop Shadow:
12/ 0/ 75/ 20 color:#000000
19.
Layers - Duplicate
Activate selection tool (Press K on your keyboard)
And enter the following parameters:
Pos X :0 – Pos Y : 384
Press M.
20.
Open Main Tube
Edit - Copy
Edit - Paste a New Layer
Position to the right
Effects - 3D Effects - Drop Shadow of your choice
21.
Layers - Duplicate.
Image - Mirror - Mirror Horizontal
Zoom in so it's like in the print below
Blend Mode: Soft Light
Layers - Duplicate
Image > - Mirror - Mirror Horizontal
22.
Open decorative Tube
Edit - Copy
Edit - Paste a New Layer
Position your choice.
Effects - 3D Effects - Drop Shadow to choose from
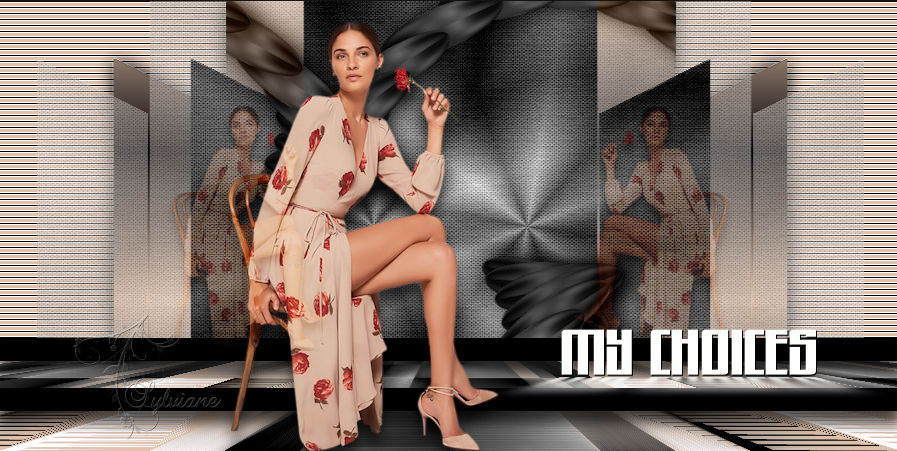
23.
Open titulo_mychoicesBySoxikibem.png
Edit - Copy
Edit - Paste a New layer.
Activate selection tool (Press K on your keyboard)
And enter the following parameters:
Pos X :487 – Pos Y : 328
Press M.
24.
Image - Add Borders - 2 px color foreground
Image - Add Borders - 50px background color
25.
Plugins - AAA Frames - Foto Frame
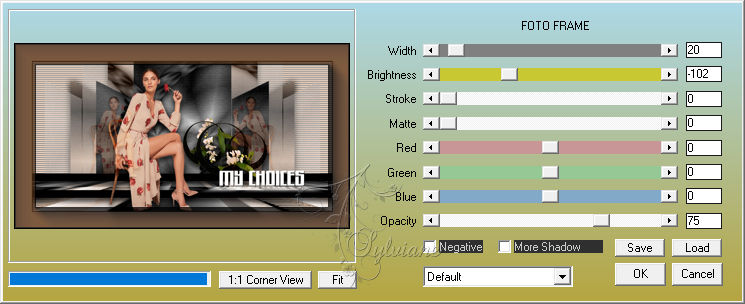
In Opacity change the value according to the colors you are using
26.
If you wish, resize your work
Apply your watermark or signature
Save as JPEG
Back
Copyright Translation © 2021 by SvC-Design