
This lesson is made with PSPX9
But is good with other versions.
© by SvC-Design
Materialen Download :
Here
******************************************************************
Materials:
AlphaLilianaBySoxikibem.pspimage
BacklightBySoxikibem.f1s
DecorLilianaBySoxikibem.png
GraficoBySoxikibem.jpg
TituloLilianaBySoxikibem.png
015PaisagemByPqnaAlice.png
301MulherByPqnaAlice.png
******************************************************************
Plugin:
Plugins - Flaming Pear - Pixel Trash
Plugins - Flaming Pear - Twist
Plugins - Flaming Pear - Swerve
Plugins - Alien Skin Eye Candy 5: Impact - Backlight
Plugins - Mura's Meister - Pole Transform
******************************************************************
color palette
:
******************************************************************
methode
When using other tubes and colors, the mixing mode and / or layer coverage may differ
******************************************************************
General Preparations:
First install your filters for your PSP!
Masks: Save to your mask folder in PSP, unless noted otherwise
Texture & Pattern: Save to your Texture Folder in PSP
Selections: Save to your folder Selections in PSP
Open your tubes in PSP
******************************************************************
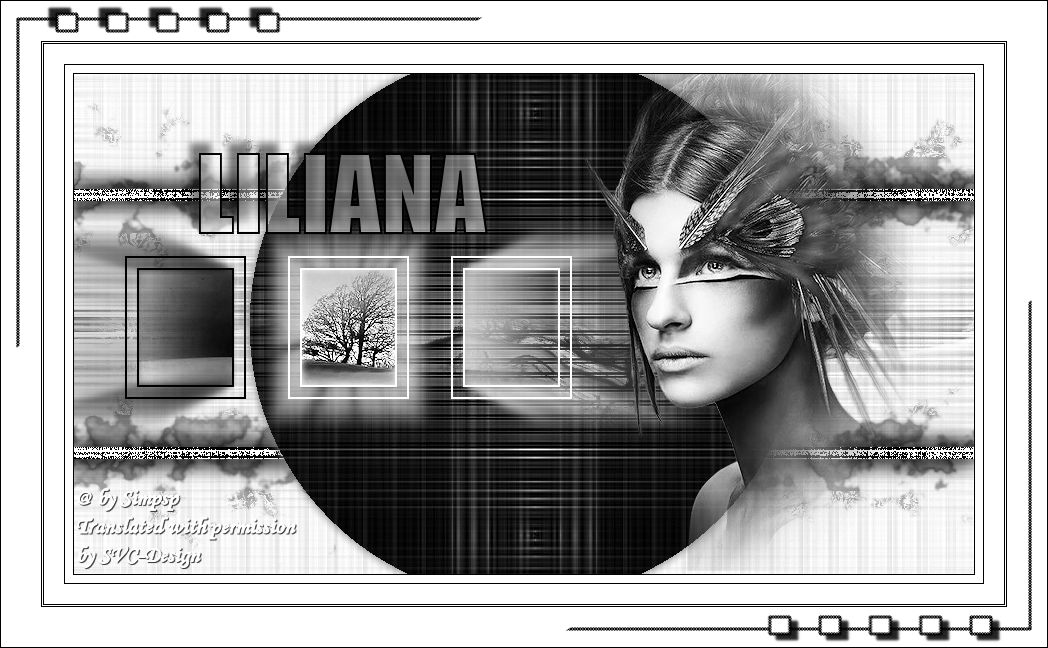
We will start - Have fun!
Remember to save your work on a regular basis
******************************************************************
1.
Open the material on the PSP, duplicate and close the originals.
Choose two colors to work with.
Foreground: #000000
Background: #ffffff
2.
Open AlphaLilianaBySoxikibem.pspimage
Window – Duplicate
Minimize the original – we work on the copy
Selections - Select All.
Open GraficoBySoxikibem.jpg
Edit - Copy
Edit - Paste Into Selections.
Selections - Select None.
3.
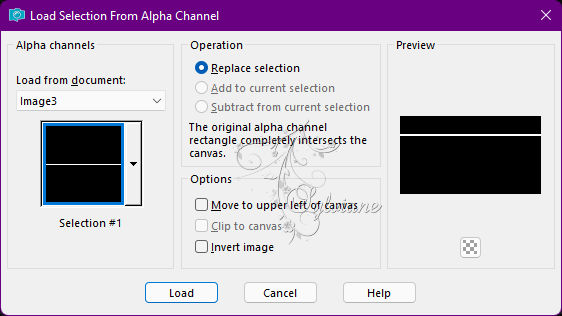
Selections > Load/Save Selections > Load Selection From Alpha Channel: Selection #1.
Selections – Promote selections to layer
Selections - Select None.
Layers - Duplicate.
Image - Mirror - Mirror Vertical.
Layers - merge - Merge Down.
4.
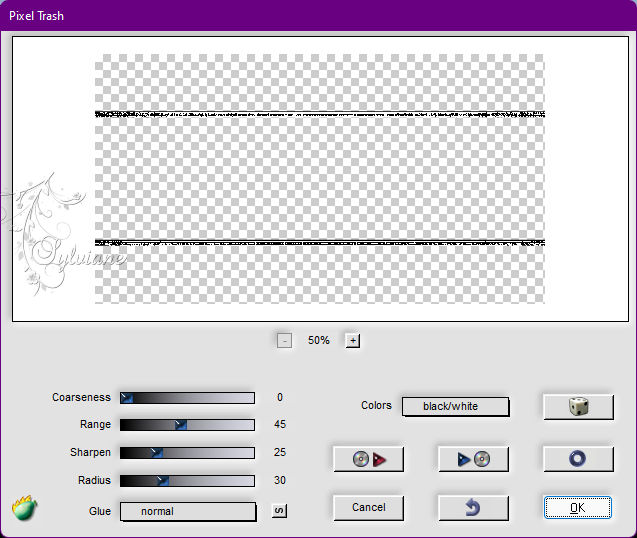
Plugins - Flaming Pear - Pixel Trash
Effects - 3D Effects - Drop Shadow:
0/ 0/100/ 30 - Color: #ffffff (background color).
Edit - Repeat Drop Shadow.
5.
Layers - Duplicate.
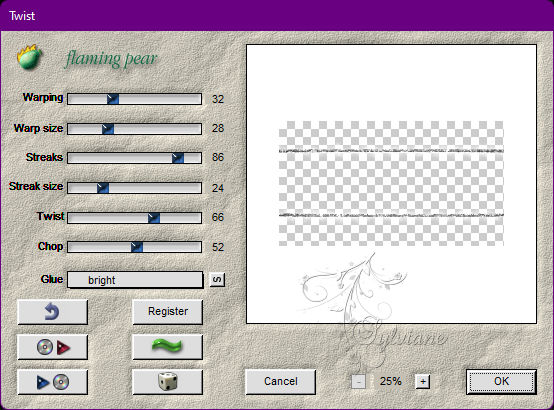
Plugins - Flaming Pear - Twist
Layers - Arrange - Move Down.
Blend Mode: Screen
Opacity: 60%.
6.
Activate Layer Raster 1.
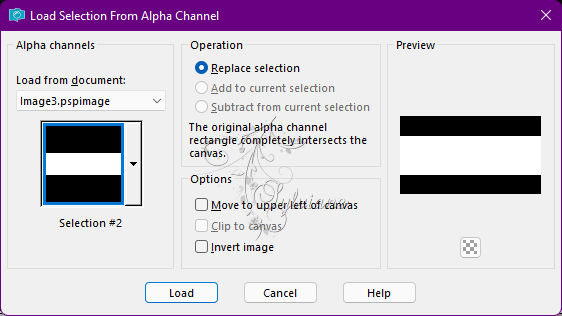
Selections > Load/Save Selections > Load Selection From Alpha Channel: Selection #2
Layers - New Raster Layer.
Open 015PaisagemByPqnaAlice.png
Edit - Copy
Edit - Paste Into Selection.
Selections - Select None.
Effects - Image Effects - Seamless Tiling

7.
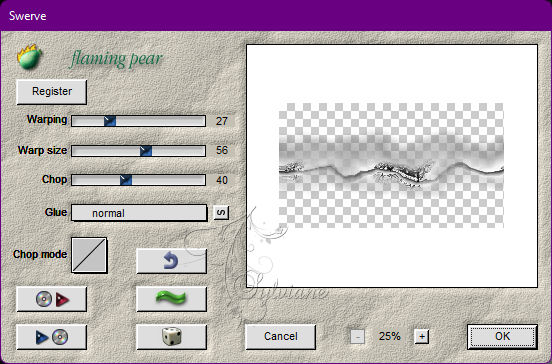
Plugins - Flaming Pear - Swerve
Blend Mode: Overlay.
8.
Activate the Top Layer.
Layers - New Raster Layer.
Selections > Load/Save Selections > Load Selection From Alpha Channel: Selection #3
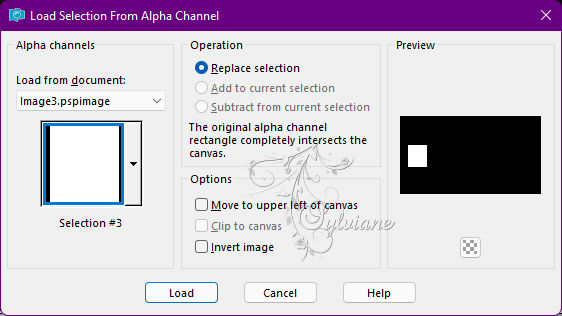
Paint with the color of the background.
Selections - Modify - Contract: 2.
Press the Delete key.
Selections - Modify - Contract: 10.
Paint with the color of the background.
Selections - Modify - Contract: 2.
Press the Delete key.
Selections - Select None.
9.
Layers - Duplicate.
Activate selection tool (Press K on your keyboard)
And enter the following parameters:
Pos X :214 – Pos Y :182
Press M.
Layers - Duplicate.
Activate selection tool (Press K on your keyboard)
And enter the following parameters:
Pos X :377 – Pos Y : 182
Press M.
Layers - Merge Down 2 times.
10.
Selections > Load/Save Selections > Load Selection From Alpha Channel: Selection #4
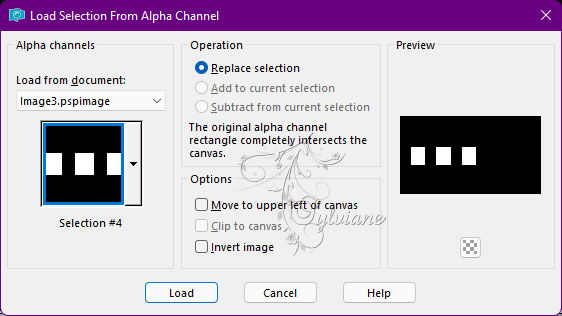
Open 015PaisagemByPqnaAlice.png
Edit - Copy
Edit - Paste as New Layer.
With the Move tool, position the landscape between the three squares
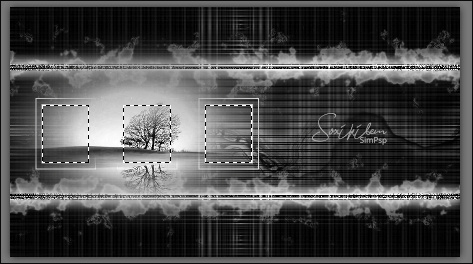
Selections - Invert.
Press the Delete Key.
Selections - Invert.
12.
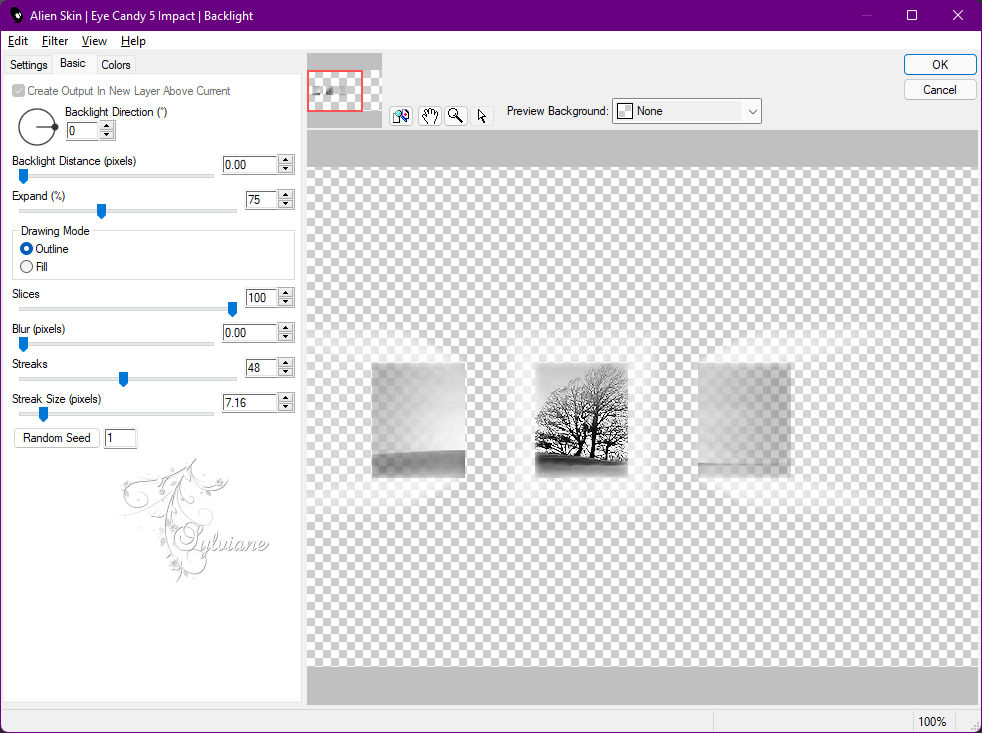
Plugins - Alien Skin Eye Candy 5: Impact - Backlight
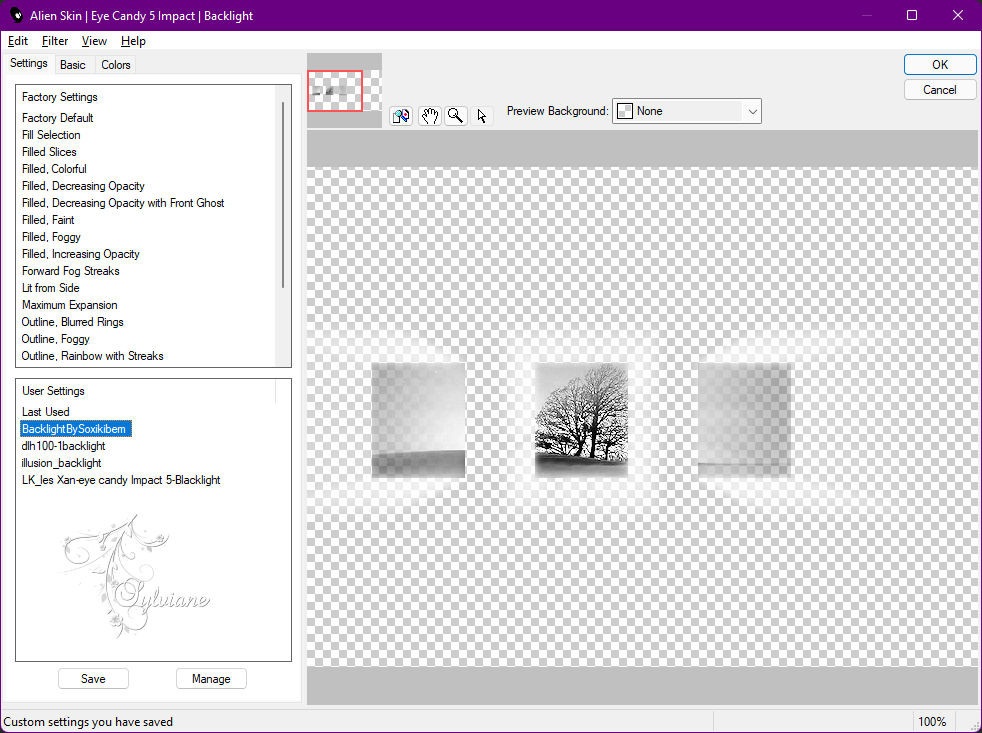
Settings: BacklightBySoxikibem.f1s
or configure The Basic manulmente:
Selections - Select None.
Layers - Merge - Merge Down.
12.
Layers - New Raster Layer.
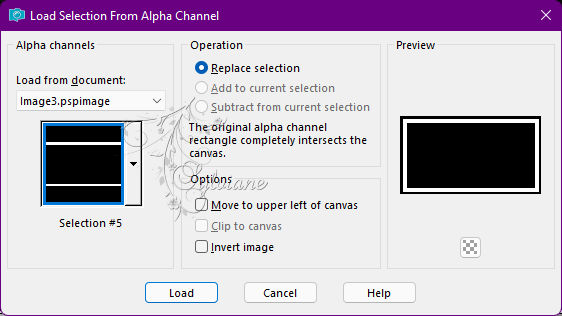
Selections > Load/Save Selections > Load Selection From Alpha Channel: Selection #5
Paint this cm selection the color of the backgound.
Selections - Select None.
13.
Plugins - Mura's Meister - Pole Transform
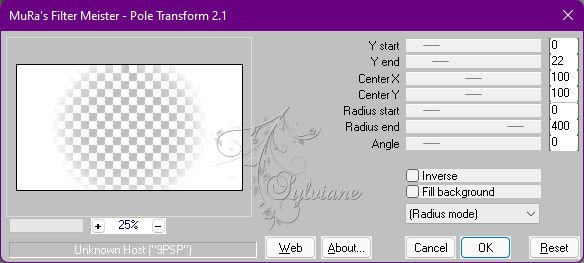
Blend Mode: Difference.
14.
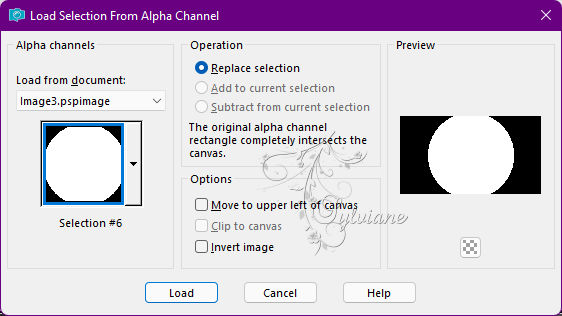
Selections > Load/Save Selections > Load Selection From Alpha Channel: Selection #6
Press the Delete key.
Activate layer promoted selection.
Press the Delete Key.
Activate layer copy of promoted selection.
Press the Delete Key.
Selections - Select None.
Activate the Raster 4 layer (Top layer)
15.
Open 301MulherByPqnaAlice.png
Edit - Copy
Edit - Paste as New Layer.
If using the material, resize by 80%,
Adjust - Sharpness - Sharpen.
Activate selection tool (Press K on your keyboard)
And enter the following parameters:
Pos X :509 – Pos Y : -46
Press M.
Position on the right
Layers - Duplicate
16.
Open TituloLilianaBySoxikibem.png
Edit - Copy
Edit - Paste as New Layer.
Activate selection tool (Press K on your keyboard)
And enter the following parameters:
Pos X :108 – Pos Y : 61
Press M.
17.
Image – Add Borders –symmetric - 1px - Color: Foreground color
Image – Add Borders –symmetric - 8px - Color: Background Color
Image – Add Borders –symmetric - 1px - Color: Foreground color
Image – Add Borders –symmetric - 20px - Color: Background Color
Image – Add Borders –symmetric - 1px - Color: Foreground color
Image – Add Borders –symmetric - 1px - Color: Background Color
Image – Add Borders –symmetric - 1px - Color: Foreground color
Image – Add Borders –symmetric - 40px - Color: Background Color
Image – Add Borders –symmetric - 1px - Color: Foreground color
18.
Open DecorLilianaBySoxikibem.png
Edit - Copy
Edit - Paste as New Layer.
19.
Layers - Merge - Merge All.
If you want to resize your work.
20.
Apply your watermark or signature
Layer – merge – merge all (flatten)
Save as JPEG
Back
Copyright Translation © 2022 by SvC-Design