

This lesson is made with PSPX9
But is good with other versions.
© by SvC-Design
Materialen Download :
Here
******************************************************************
Materials:
035PaisagemByPqnaAlice.png
059FlorByPqnaAlice.png
066_Silvie_Mask_Deco7SS.jpg
AlphaChannel_EAS_BySoxikibem.pspimage
DecorBySoxikibem.pspimage
GlassEASbyXiki.f1s
TituloBySoxikibem.pspimage
TituloSimBySoxikibem.pspimage
******************************************************************
Plugin:
Plugins - Filters Unlimited 2.0 - Toadies - Weaver
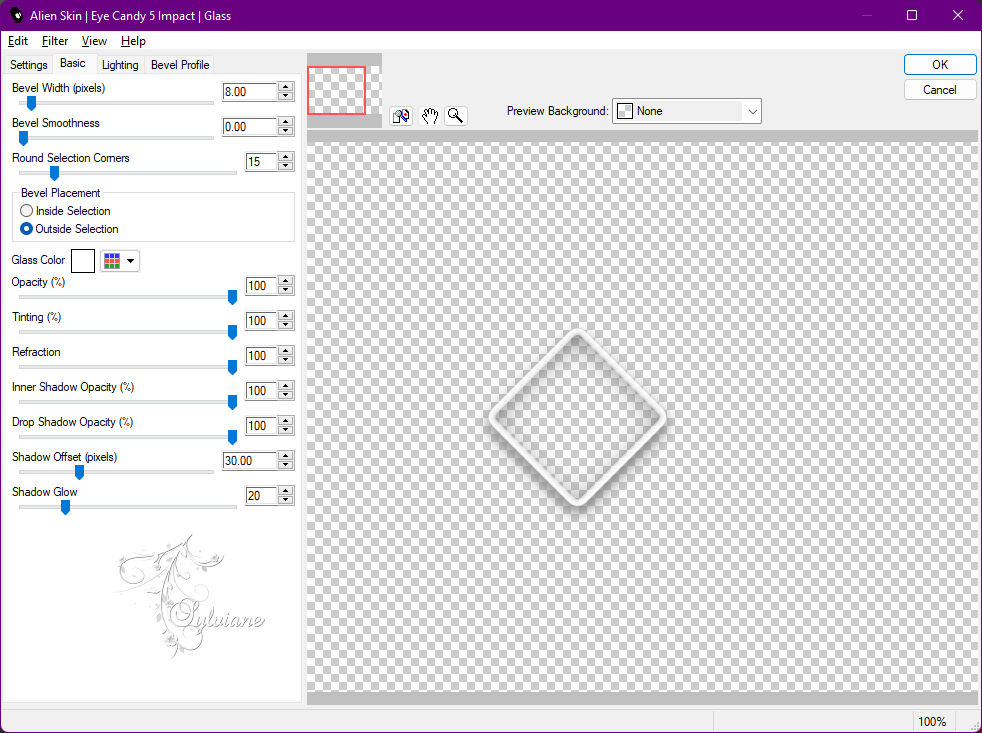
Plugins - Mura's Seamless - Emboss at Alpha
Plugins - Alien Skin - Eye Candy 5 Impact - Glass
******************************************************************
color palette
:
******************************************************************
methode
When using other tubes and colors, the mixing mode and / or layer coverage may differ
******************************************************************
General Preparations:
First install your filters for your PSP!
Masks: Save to your mask folder in PSP, unless noted otherwise
Texture & Pattern: Save to your Texture Folder in PSP
Selections: Save to your folder Selections in PSP
Open your tubes in PSP
******************************************************************
We will start - Have fun!
Remember to save your work on a regular basis
******************************************************************
1.
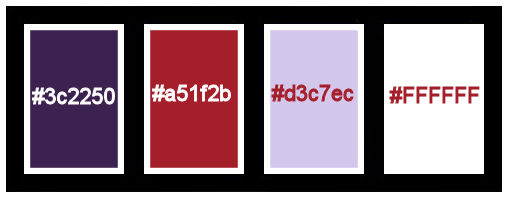
Choose four colors to work with.
Foreground: #3c2250
Background: #a51f2b
Color 3: #d3c7ec
Color 4: #ffffff
2.
Open the AlphaChannel_EAS_BySoxikibem.
Paint with the color of the Foreground.
Selections - Select All.
3.
Open 035PaisagemByPqnaAlice.png
Edit - Copy
Edit - Paste Into Selections.
Selections - Select None.
Effects - Image Effects - Seamless Tiling: Default.
4.
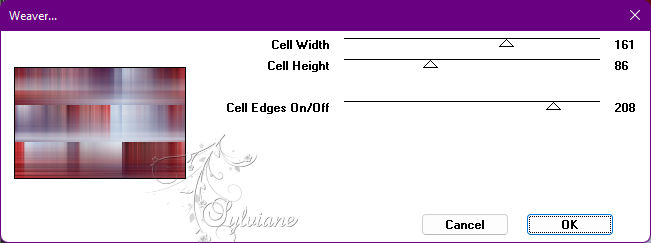
Plugins - Filters Unlimited 2.0 - Toadies - Weaver
5.
Layers - Duplicate.
Image - Mirror - Mirror Vertical.
Image - Mirror - Mirror Horizontal.
Blend Mode: Overlay.
Layers - Merge - Merge Down.
6.
Layers - New Raster Layer.
Selection – Load/Save Selection – Load Selection from Alpha Channel - Selections #1.
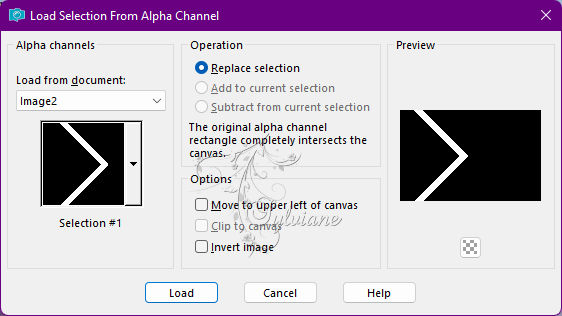
Paint this selection with the color of the Foreground.
Selections - Select None.
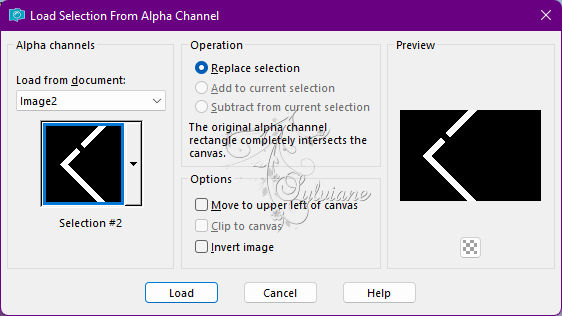
7.
Layers - New Raster Layer.
Selection – Load/Save Selection – Load Selection from Alpha Channel - Selections #2.
Paint this selection with the background color.
Selections - Select None.
Layers - Merge - Merge Down.
8.
Activate Layer Raster 1.
Layers - New Raster Layer.
Selection – Load/Save Selection – Load Selection from Alpha Channel - Selections #5.
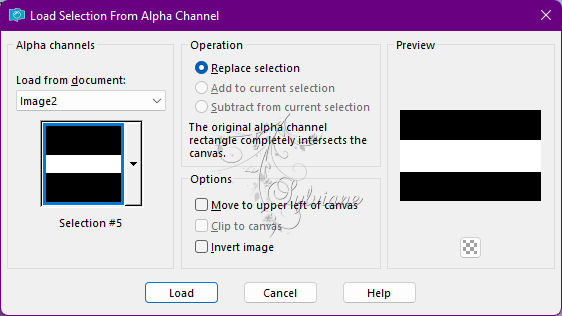
Paint with color 4 (white), changing the Opacity of Flood Fill to 50%.
Selections - Select None.
9.
Selection – Load/Save Selection – Load Selection from Alpha Channel - Selections #6.
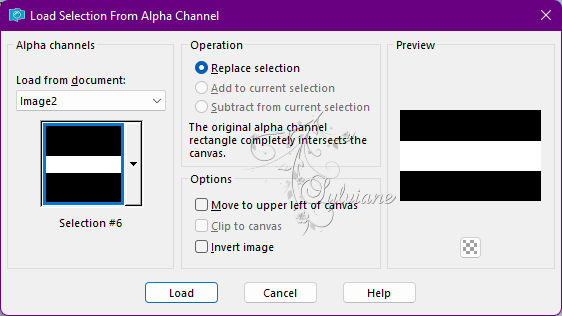
Press the Delete key on the keyboard.
Paint the selection with the color of the Background (Flood Fill: Opacity: 50%).
Selections - Select None.
10.
Back in Opacity from Flood Fill for 100%.
Selection – Load/Save Selection – Load Selection from Alpha Channel - Selections #7
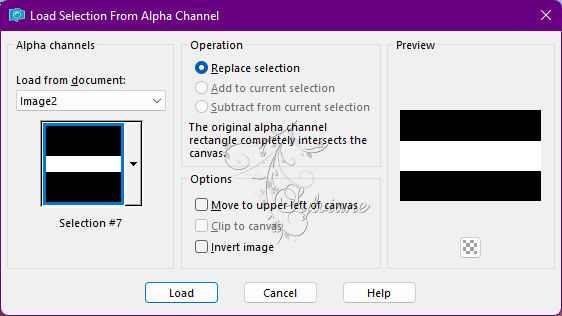
Press the Delete key on the keyboard.
Paint the selection with the color of the Foreground.
Selections - Select None.
11.
Selection – Load/Save Selection – Load Selection from Alpha Channel - Selections #8
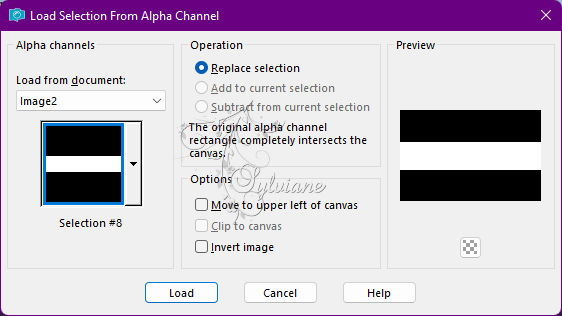
Press the Delete key on the keyboard.
Layers - New Raster Layer.
Open 035PaisagemByPqnaAlice.png
Edit - Copy
Edit - Paste Into Selection.
12.
Adjust - Blur - Motion Blur: Angle 300, Strength 100
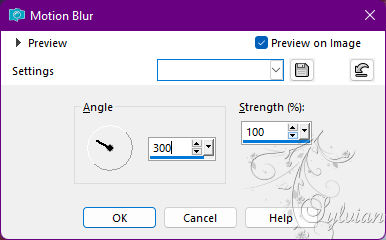
Edit - Repeat Motion Blur.
Selections - Select None.
Effects - Edge Effects - Enhance.
Layers - Duplicate.
Image - Mirror – mirror Horizontal
Image - Mirror - Vertical Mirror
Layers - Merge - Merge Down.
Layers - Duplicate.
Image - Mirror – mirror Horizontal
Blend Mode: Multiply.
Layers - Merge - Merge Down.
Objects - Align - Center in Canvas
13.
Layers - New Raster Layer.
Selection – Load/Save Selection – Load Selection from Alpha Channel - Selections #8
Open 035PaisagemByPqnaAlice.png
Edit - Copy
Note: If you use the misted material apply: Image > Mirror > Mirror Horizontal before copying.
Edit - Paste Into Selection.
Selections - Select None.
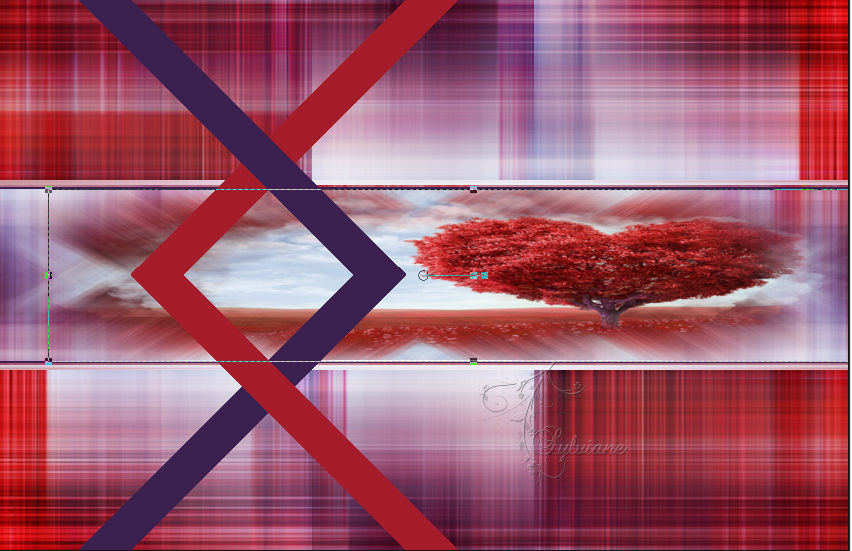
Move the landscape a little to the right, if you are using the material, the position is:
Position X 50, Position Y 189.
Crop Tool - Merge Opaque.
Adjust - Sharpness - Sharpen.
14.
Activate Layer Raster 3.
Layers - Duplicate.
Blend Mode: Dissolve.
15.
Activate Layer Raster 2.
Layers - New Raster Layer.
Paint with color four (white).
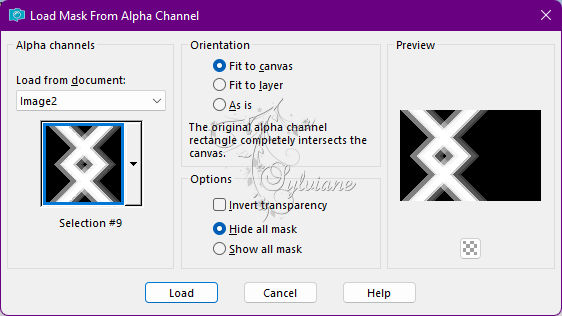
Layers – load/save mask – load mask from alpha channel - Selection #9.
Layers - Merge - Merge Group.
Blend Mode: Overlay.
Layers - Arrange - Move Down.
16.
Plugins - Mura's Seamless - Emboss at Alpha: Default.
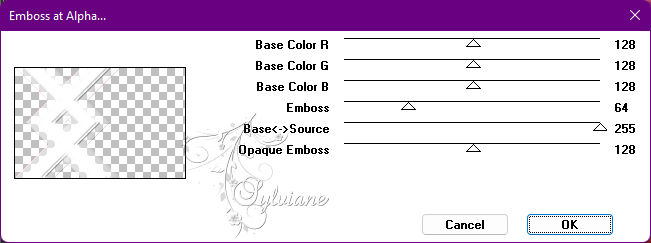
Edit - Repeat Emboss at Alpha.
17.
Activate Layer Raster 2.
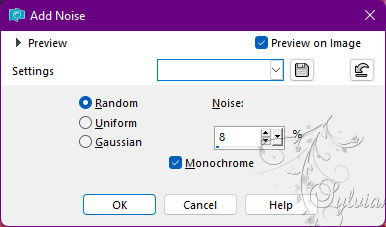
Adjust - Add/Remove Noise - Add Noise: Random, Noise 8, Monochrome tagged
Effects - 3D Effects - Drop Shadow:
0/ 0/ 100 / 20 - Color: Foreground color.
Edit - Repeat Drop Shadow.
18.
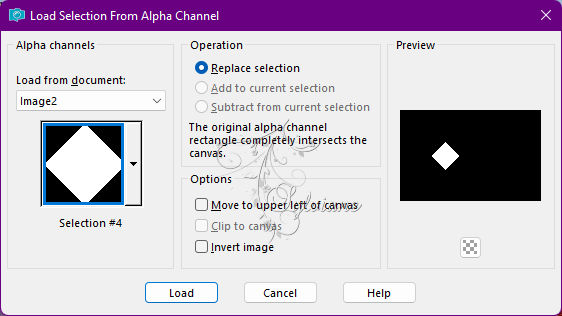
Layers - New Raster Layer.
Selection – Load/Save Selection – Load Selection from Alpha Channel - Selections #4
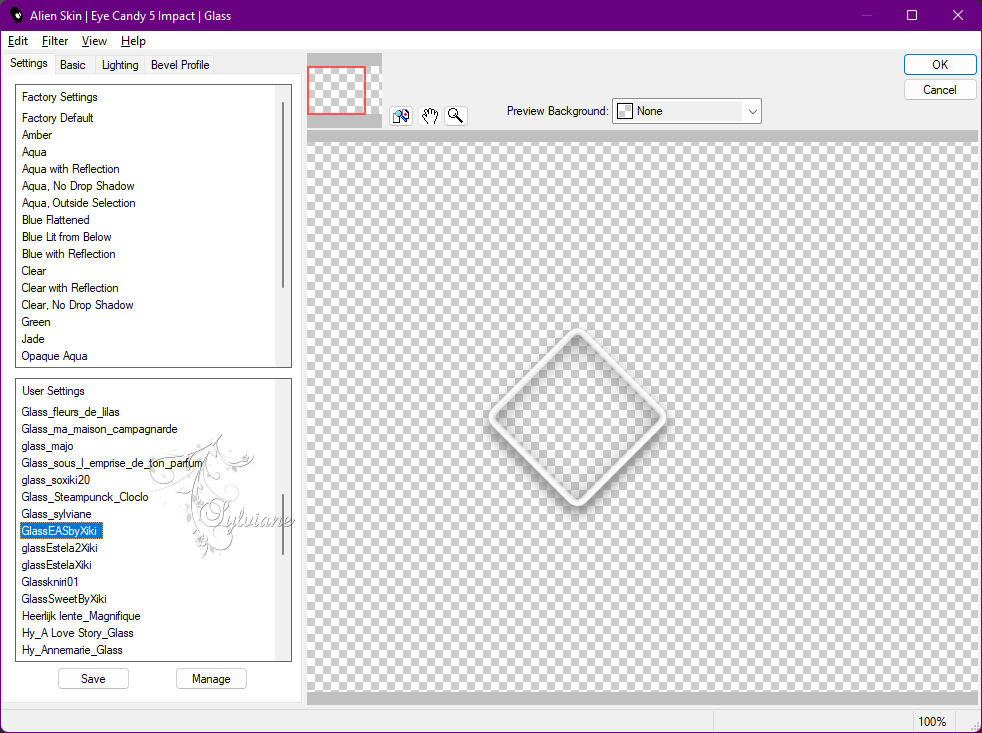
Plugins - Alien Skin - Eye Candy 5 Impact - Glass
GlassEASbyXiki
or the following settings:
Selections - Select None.
19.
Activate Layer Raster 1.
Layers - New Raster Layer.
Paint with color four (white).
Layers – new mask layer - from image - 066_Silvie_Mask_Deco7SS

Layers - Merge - Merge Group.
Effects - Image Effects - Seamless Tiling
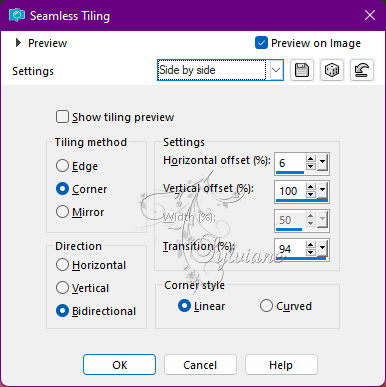
Blend Mode: Dodge - Opacity 80%.
20.
Activate the Top Layer (Raster 6)
Open TituloBySoxikibem.pspimage
Choose one of the titles: I Love or I Love.
Edit - Copy.
Edit - Paste as New Layer.
Position a little to the right at the top or at your choice.
21.
Open TituloSimBySoxikibem.pspimage
Edit - Copy
Edit - Paste as New layer.
Position to the right or at your choice.
22.
Open 059FlorByPqnaAlice.png
Edit - Copy
Edit - Paste as New Layer.
Position at your choice.
Effects - 3D Effects - Drop Shadow of your choice or other effect you prefer.
23.
Image – Add Borders –symmetric - 1px - Color: Foreground color
Image – Add Borders –symmetric - 3px - Color: Background Color
Image – Add Borders –symmetric - 1px - Color: Foreground color
Image – Add Borders –symmetric - 20px - Color: four (White)
Image – Add Borders –symmetric - 5px - Color: Foreground color
Image – Add Borders –symmetric - 5px - Color: three color
Image – Add Borders –symmetric - 40px - Color: color four (white)
Image – Add Borders –symmetric - 5px - Color: color of three
Image – Add Borders –symmetric - 5px - Color: Foreground color
24.
Open DecorBySoxikibem.pspimage
Edit - Copy
Edit - Paste as New Layer.
25.
Apply your watermark or signature
Layer – merge – merge all (flatten)
Save as JPEG
Back
Copyright Translation © 2022 by SvC-Design