
This lesson is made with PSPX9
But is good with other versions.
© by SvC-Design
Materialen Download :
Here
******************************************************************
Materials:
AS Tube req-09g.pspimage
tituloCassiaBySoxiki.png
woman33_ESpigai.pspimage
******************************************************************
Plugin:
Plugins - Richard Roseman - Pixelate - v1.2
Plugins - AAA Frames - Photo Frame
Plugins - Richard Roseman - Halftone
Plugins - Flaming Pear - Flexify2
Plugins - Mura's Meister - Copies
******************************************************************
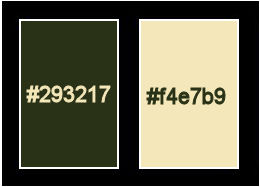
color palette
:
******************************************************************
methode
When using other tubes and colors, the mixing mode and / or layer coverage may differ
******************************************************************
General Preparations:
First install your filters for your PSP!
Masks: Save to your mask folder in PSP, unless noted otherwise
Texture & Pattern: Save to your Texture Folder in PSP
Selections: Save to your folder Selections in PSP
Open your tubes in PSP
******************************************************************
We will start - Have fun!
Remember to save your work on a regular basis
******************************************************************
1.
Foreground: #293217
Background: #f4e7b9
2.
Open a new transparent image of 900x550px
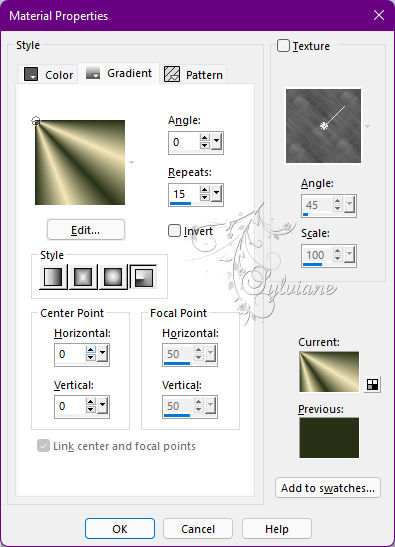
Paint with a Radial gradient formed by the chosen colors:
3.
Layers - Duplicate.
Image - Mirror - Mirror Horizontal.
Image - Mirror - Mirror Vertical.
Blend Mode: Overlay.
Layers - Merge - Merge Visible.
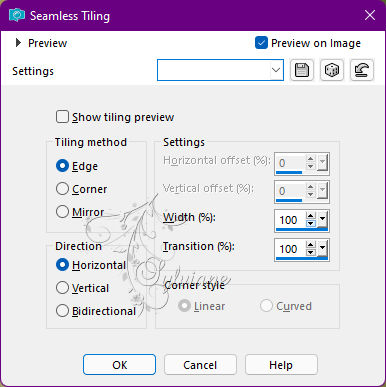
4.
Effects - Image Effects - Seamless Tiling
5.
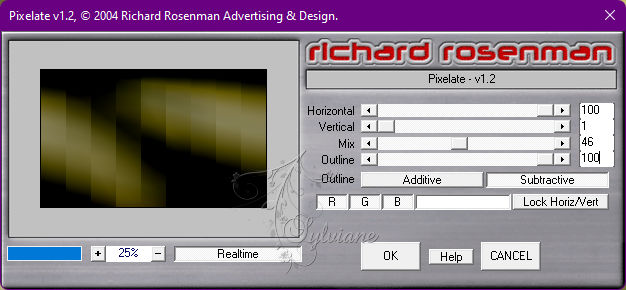
Layers - Duplicate.
Plugins - Richard Roseman - Pixelate - v1.2
6.
Effects - Edge Effects - Enhance.
Edit - Repeat Enhance
Image - Mirror - Mirror Horizontal.
blend Mode: Luminence or another you prefer.
If you are using dark colors, decrease the visibility of this layer slightly.
7.
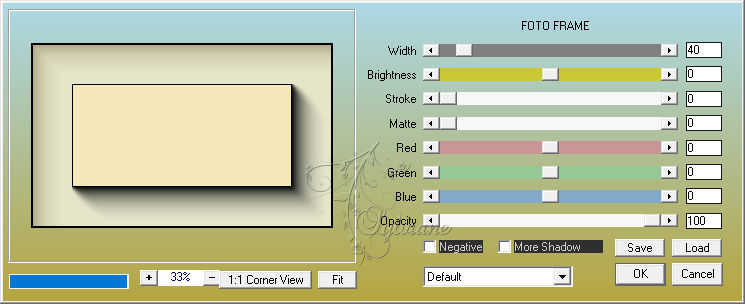
Layers - New Raster Layer.
Paint this layer with the background color.
Plugins - AAA Frames - Photo Frame: Default
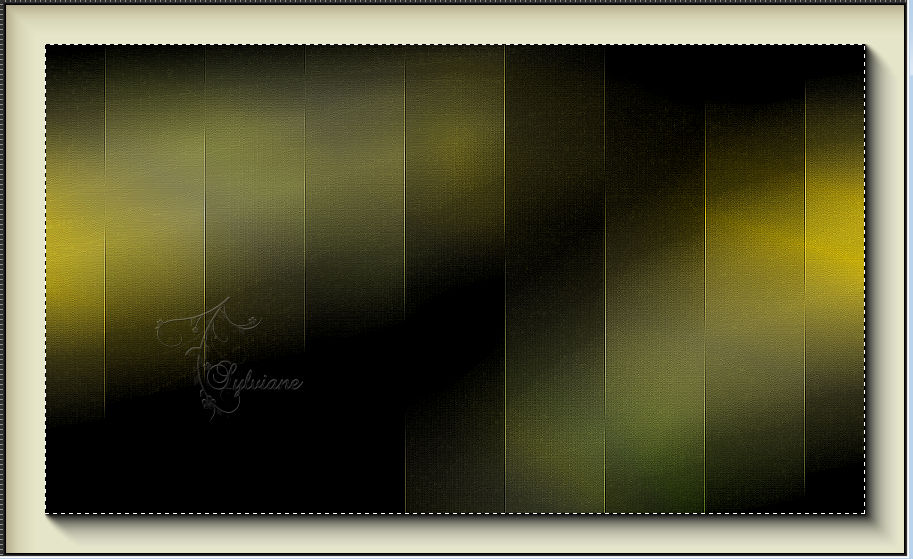
8.
With the Magic Wand: Tolerance and Feather 0 tool, select the center rectangle.
Press the Delete key on the keyboard.
Selections - Select None.
9.
Layers - Duplicate.
Close the visibility of the Copy of Raster 1 layer.
Activate Layer Raster 1.
Effects - Distortion Effects - Wave

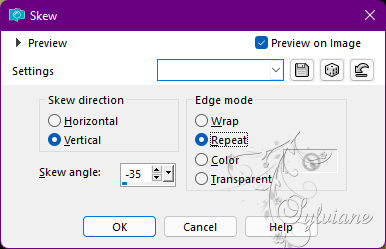
10.
Effects - Geometric Effects - Skew
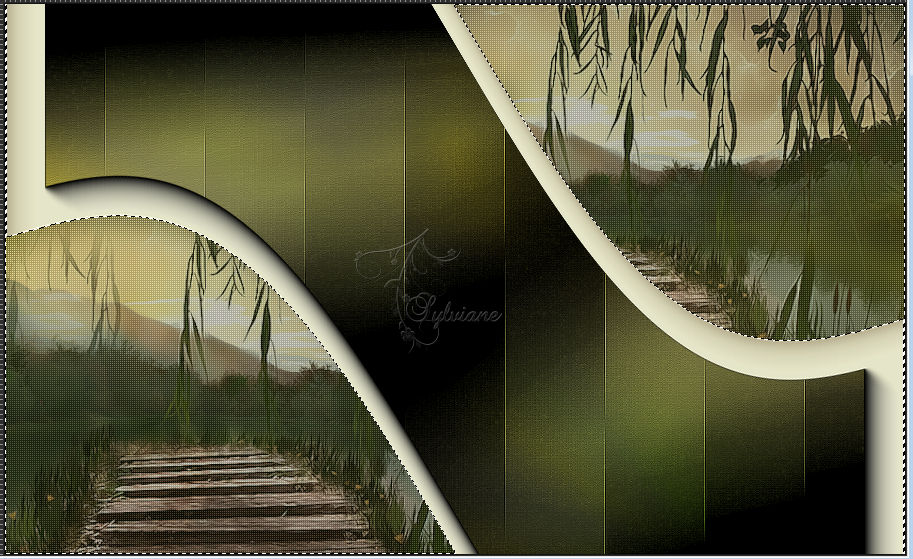
11.
With the Magic Wand: Tolerance and Feather 0 tool, select as in the example:
Press the Delete key on the Keyboard

12.
Layers - New Raster Layer.
Paint this selection the color of the background.
Plugins - Richard Roseman - Halftone
Outline: with the background color and background with the color of the foreground
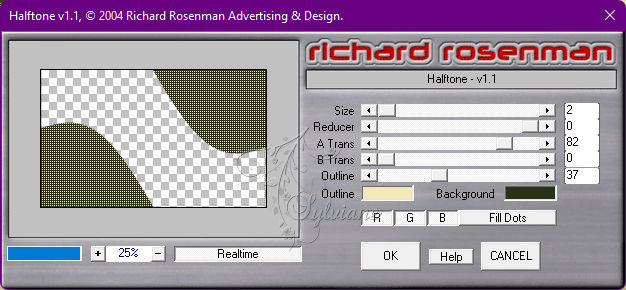
Opacity 70%.
13.
Layers - New Raster Layer.
Activate the Clone Brush tool and configure as below

Right-click on the Misted Landscape.
Go back to work and within the right-hand selection in the superiror corner
left-click 2 or 3 times, or
as you want the landscape image to appear

Go back to the landscape and choose another point, click with
the left mouse button. Get back to work, and in the selection
on the left side below, right-click
as many times as it takes to appear the landscape according to your taste.
Adjust - Sharpness - Sharpen.
Edit - Repeat Sharpen.
*If you have questions about how to use this tool,
click on the image below to watch an explanatory video*
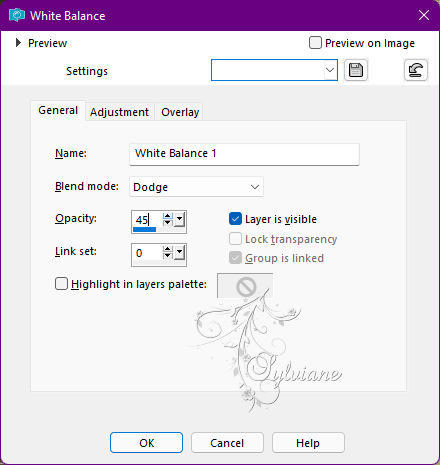
14.
Layers - New Adjustment Layer - White Balance:
Blend Mode: Dodge
Opacity: 45%.
If you prefer use another blend mode.
15.
Layers - New Raster Layer.
Effects - 3D Effects - Cutout
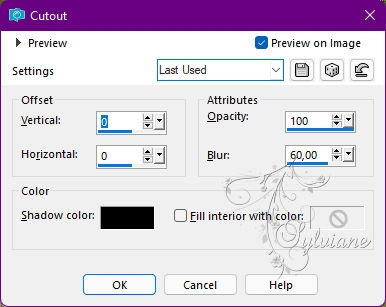
Selections - Select None.
16.
Activate Layer Raster 1.
Effects - Texture Effects - Blinds.
With the color of the foreground
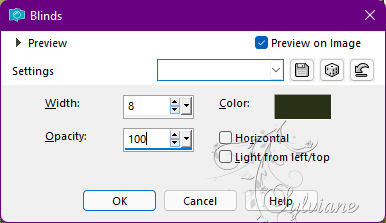
Adjust - Sharpness - Sharpen.
17.
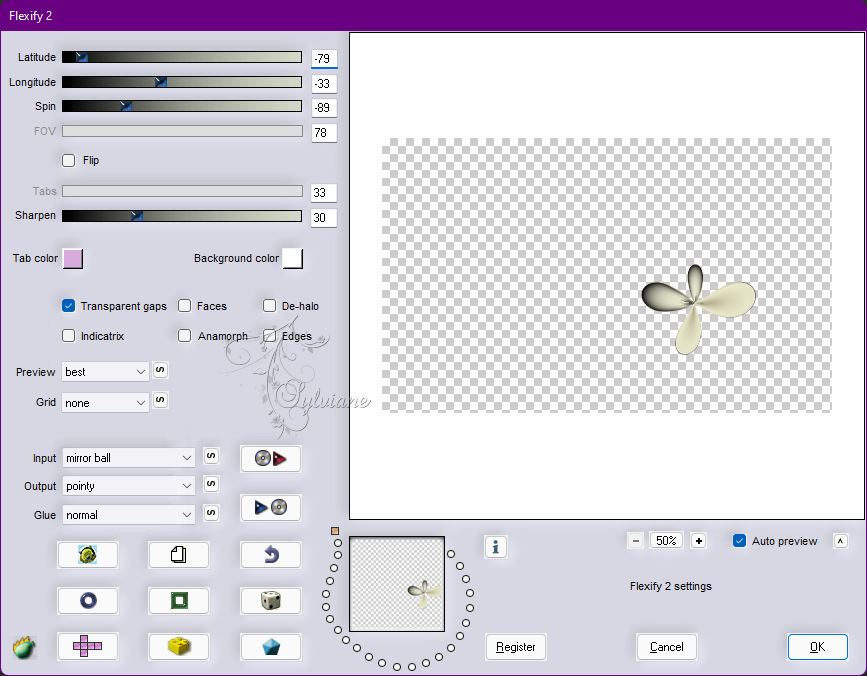
Enable and open the visibility of the Copy of Raster 1 layer.
Plugins - Flaming Pear - Flexify2
18.
Layers - Duplicate.
Plugins - Mura's Meister - Copies
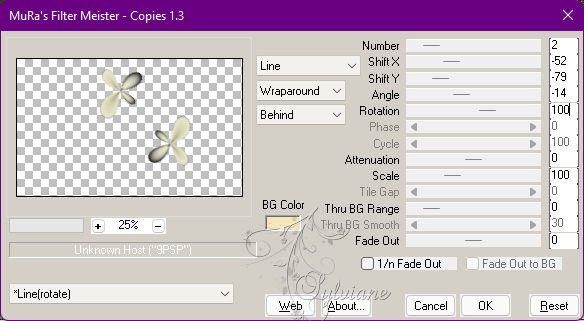
Activate selection tool (Press K on your keyboard)
And enter the following parameters:
Pos X : 456 – Pos Y : 67
Press M.
19.
Adjust - Sharpness - Sharpen.
Effects - 3D Effects - Drop Shadow:
0/ 0/100/10 - Color: Background color.
20.
Activate Copy of Raster 1
Image - Resize: 50%, all layers cleared.
Adjust - Sharpness - Sharpen.
Activate selection tool (Press K on your keyboard)
And enter the following parameters:
Pos X : 30– Pos Y : 136
Press M.
21.
Activate the Raster 3 layer, to which we apply clone brush.
(For the second example I put the tube above the Raster layer 4)
Open woman tube
Edit - Copy
Edit - Paste as New Layer.
Position to the left.
Effects - 3D Effects - Drop Shadow:
0/ 0/100/10 - Color: Background color.
22.
Open tituloCassiaBySoxiki.png
Edit - Copy
Edit - Paste as New Layer.
Activate selection tool (Press K on your keyboard)
And enter the following parameters:
Pos X : 429 – Pos Y :306
Press M.
23.
Image - Add Borders – Symmetric - 1px - color: background.
Edit - Copy.
Selections - Select All.
Image - Add Borders – Symmetric -50px with any color.
Selections - Invert.
Edit - Paste Into Selection.
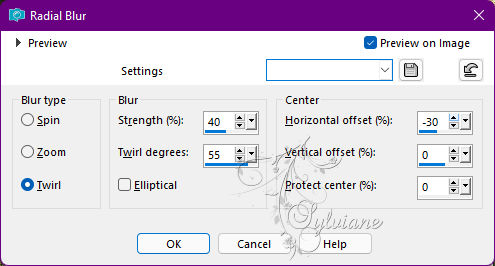
24.
Adjust - Blur - Radial Blur
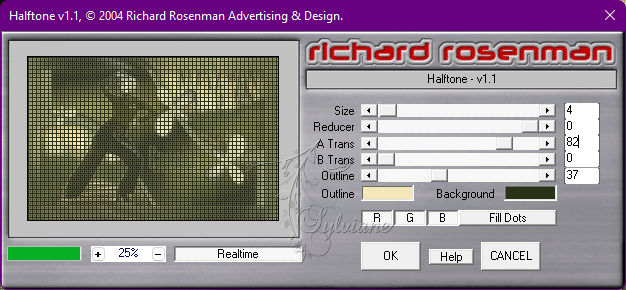
25.
Plugins - Richard Roseman - Halftone
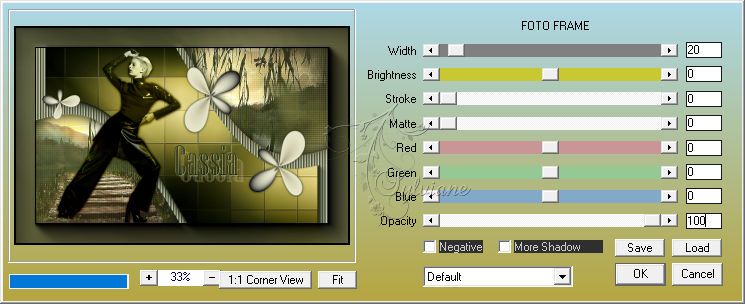
26.
Plugins - AAA Frames - Foto Frame
27.
Selections - Invert.
Effects - 3D Effects - Drop Shadow:
19/ 19/ 25/ 0 - Color: Background color.
Selections - Select None.
28.
Apply your watermark or signature.
Layer – merge – merge all (flatten)
Save as JPEG
Back
Copyright Translation © 2022 by SvC-Design