
This lesson is made with PSPX9
But is good with other versions.
© by SvC-Design
Materialen Download :
Here
******************************************************************
Materials:
CAL-MSK-011.jpg
solar_shadow.f1s
5979.pspimage
abstract-background-16.jpg
alpha_solar.pspimage
deco1.pspimage
deco2.pspimage
titre.pspimage
******************************************************************
Plugin:
Plugin - Mehdi - WavyLab 1.1
Plugin - Background Designer IV - Frame Gradient Switcher
Plugin - L&K - Jouri
Plugin - Carolaine and Sensibility - CS-Halloween2
Plugin - L&K - Adonis
Plugin - EyeCandy 5 Impact - Perspective Shadow
******************************************************************
color palette
:

******************************************************************
methode
When using other tubes and colors, the mixing mode and / or layer coverage may differ
******************************************************************
General Preparations:
First install your filters for your PSP!
Masks: Save to your mask folder in PSP, unless noted otherwise
Texture & Pattern: Save to your Texture Folder in PSP
Selections: Save to your folder Selections in PSP
Open your tubes in PSP
******************************************************************
We will start - Have fun!
Remember to save your work on a regular basis
******************************************************************
Foreground: color 1, dark
Background: color 2, light
1.
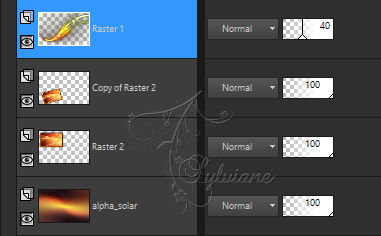
open the alpha_solar layer
Duplicate window and close original
Rename "raster 1"
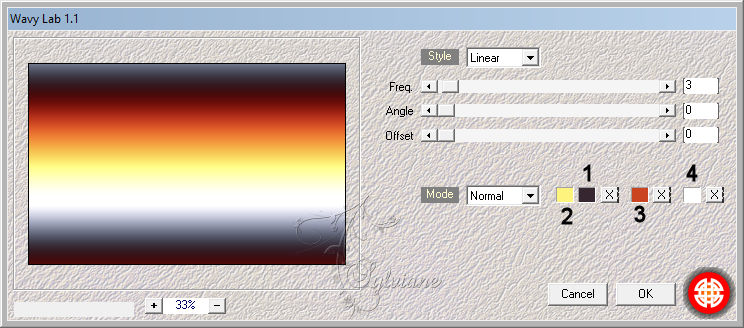
2.
Plugin - Mehdi - WavyLab 1.1
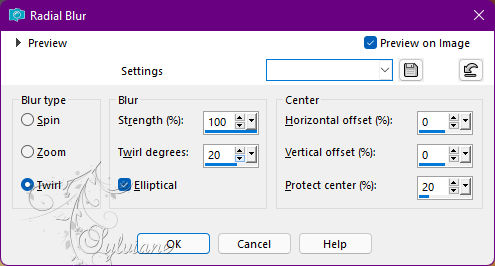
3.
Adjust - blur - radial blur
4.
layer - duplicate
Image - Mirror – mirror Horizontal
Image - Mirror - Vertical Mirror
Blending mode : multiply
Opacity : 85
Layers – merge – merge down
5.
Activate deco1.pspimage
Edit - copy
Feedback on your work
Selection - Select All
Layers - New Raster Layer
Edit - Paste into selection
Selection - Select None
I lowered the opacity to 40
6.
Effects - 3 D effects - Drop shadow
0/0/80/40 color:#000000
7.
Layers - New Raster Layer
Selections - Load / Save - Load selection from Alpha Channel -
Load selection 1
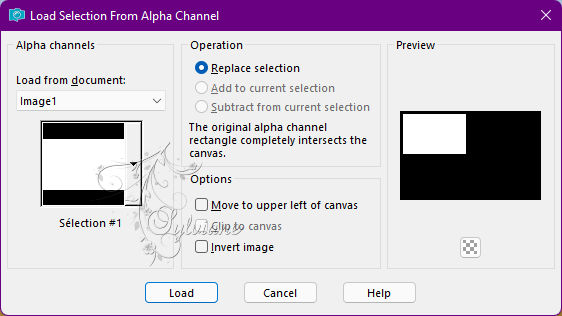
Activate abstract-background-16.jpg
Edit - copy
Edit - Paste into selection
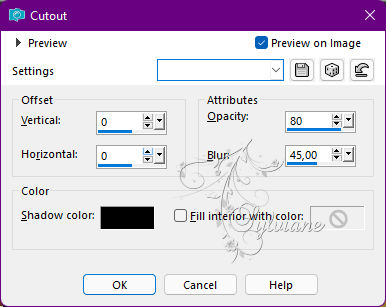
Layers - New Raster Layer
Effects - 3D effects – Cutout
Layers – merge – merge down
8.
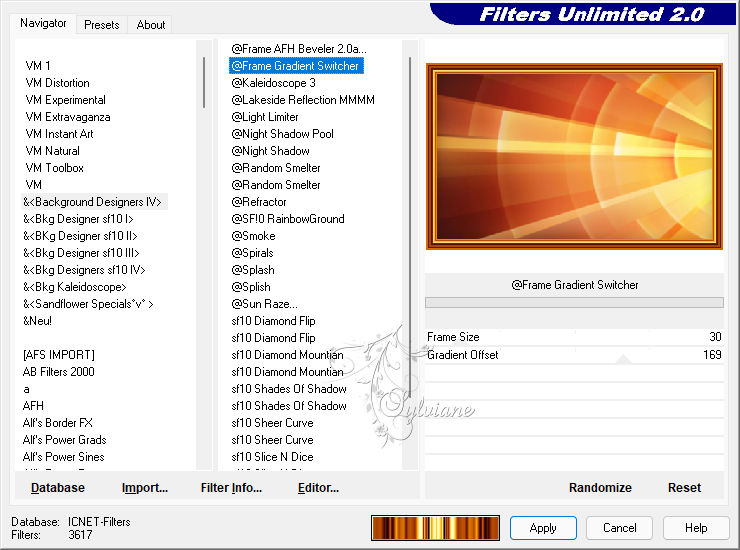
Plugin - Background Designer IV - Frame Gradient Switcher
9.
Effects - 3 D effects - Drop shadow
0/0/80/40 color:#000000
Selection - Select None
10.
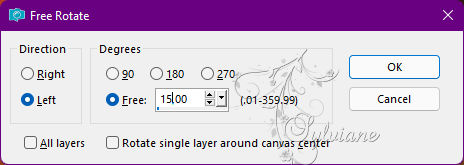
layer duplicate
resize to 80%
Free rotation image
Activate selection tool (Press K on your keyboard)
And enter the following parameters:
Pos X : 27 – Pos Y : 280
Press M.
11.
activate the deco1 layer
move it all the way to the top in the layers palette
make the bottom layer active in the layer panel
Your layers:
12-
Activate the bottom layer
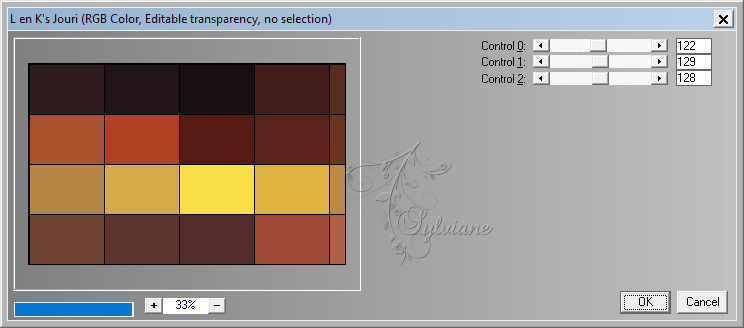
Plugin - L&K - Jouri
13.
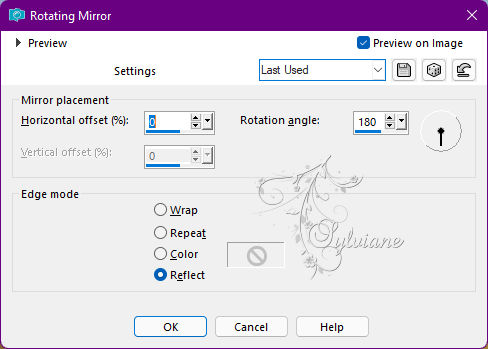
Effects – reflection effects – rotating mirror
14.
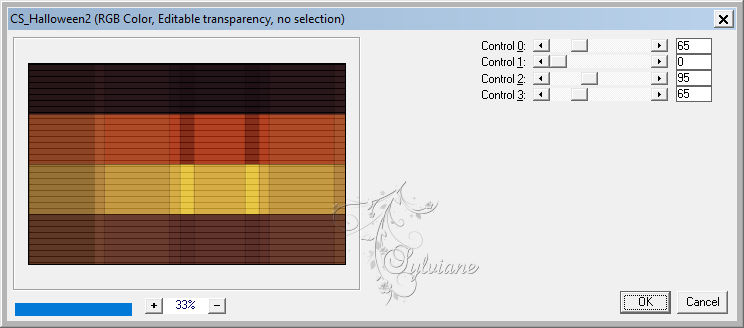
Plugin - Carolaine and Sensibility - CS-Halloween2
15.
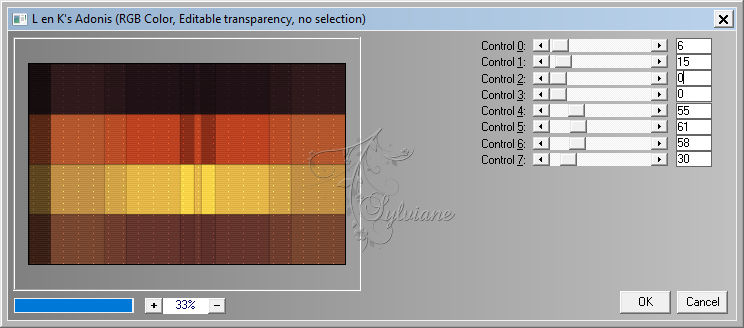
Plugin - L&K - Adonis
16.
Layers - New Raster Layer
Fill with color 4
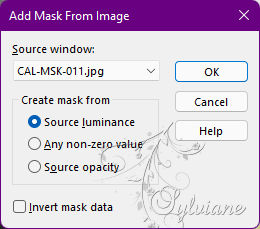
Layers - New Mask Layer - From Image - CAL-MSK-011.jpg
remove the mask layer
Layers - Merge - Merge Group
17.
Effects - 3 D effects - Drop shadow
0/0/80/40 color:#000000
Blend mode on Dodge, or depending on your image
18.
place yourself on the raster 3 (the frame)
activate deco2.pspimage
Edit - copy
Edit - Paste as new layer
Activate selection tool (Press K on your keyboard)
And enter the following parameters:
Pos X : 133 – Pos Y : 60
Press M.
Effects - 3 D effects - Drop shadow
1/1/80/4 color:#000000
19
Activate 5979.pspimage
Edit - copy
Edit - Paste as new layer
Image resize to 75%, a single layer
20.
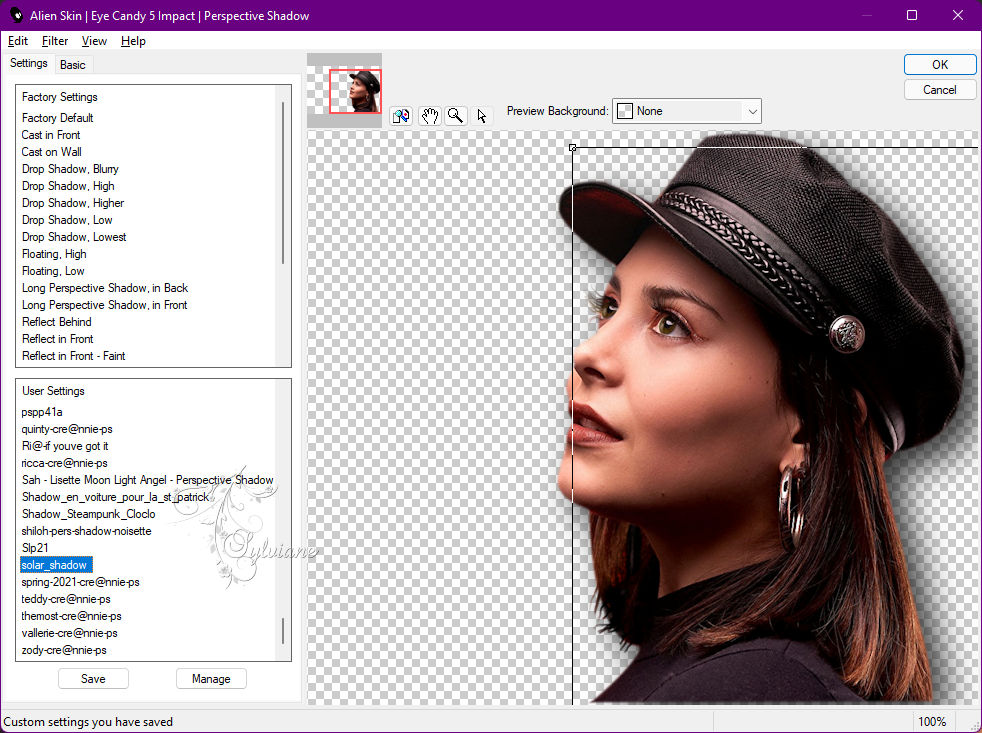
Plugin - EyeCandy 5 Impact - Perspective Shadow
21.
place yourself on the bottom
Edit copy
Image - Add Borders – Symmetric - 2 pxls color 2
Image - Add Borders – Symmetric - 4 pxls color 1
Image - Add Borders – Symmetric - 2 pxls color 2
22.
Selection - Select All
Image - Add Borders – Symmetric - 25 pxls color 4
Selections - Invert
Edit - Paste into selection (your background in memory)
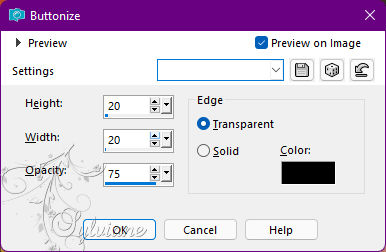
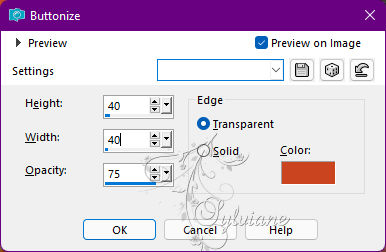
Effects – 3D effects - Buttonize
Selection - Select None
23.
Image - Add Borders – Symmetric - 2 pxls color 2
Image - Add Borders – Symmetric - 4 pxls color 1
Image - Add Borders – Symmetric -2 pxls color 2
Selection - Select All
Image - Add Borders – Symmetric - 60 pxls color 4
Selections - Invert
Edit - Paste into selection (your background in memory)
24.
Effects – 3D effects – Buttonize - color 3
25.
Selections - Invert
Effects - 3 D effects - Drop shadow
0/0/80/40 color:#000000
Edit repeat drop shadow
Selection - Select None
26.
Activate titre.pspimage
Edit - copy
Edit - Paste as new layer
Place well
Effects - 3 D effects - Drop shadow
1/1/80/40 color:#000000
27.
new layer to affix your signature
Image - Add Borders – Symmetric – 1 pixel – color:#000000
Resize to 1000 pxls wide
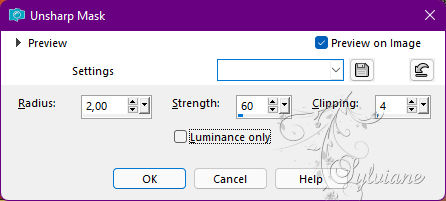
Adjust - sharpness - unsharp mask
Save as JPEG
Back
Copyright Translation © 2022 by SvC-Design