
This lesson is made with PSPX9
But is good with other versions.
© by SvC-Design

Materialen Download :
Here
******************************************************************
Materials:
Masque-149-Azalee
rio_extrude
rio_extrude2
rio_shadow
alpha_rio
Mina@.5201 uccellini 04.18
phare3
rio_tubed_by_thafs
******************************************************************
Plugin:
Plugin – Mehdi - Wavy Lab 1.1
Plugin - Mehdi - Sorting tiles
Plugin – simple - blintz
Plugin - Simple - Left right wrap
Plugin – graphics plus – vertical mirrror
Plugin – Alien Skin - Eye Candy5 Impact - Extrude
Filtro – Alien skin - Eye Candy5 Impact - Perspective shadow
Plugin – AP 01 Innovations – Lines – Silverlining – Dotty grid
Plugin - Flaming Pear - Flexify2
Plugin – Unlimited 2.0 - Image enhancement - Sharpen
Plugin - Mura's Meister - Perspective tiling
Plugin - Graphis Plus - Quick tile I
Plugin - AAA Frame - Foto frame
******************************************************************
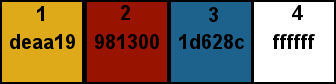
color palette
:
******************************************************************
methode
When using other tubes and colors, the mixing mode and / or layer coverage may differ
******************************************************************
General Preparations:
First install your filters for your PSP!
Masks: Save to your mask folder in PSP, unless noted otherwise
Texture & Pattern: Save to your Texture Folder in PSP
Selections: Save to your folder Selections in PSP
Open your tubes in PSP
******************************************************************
We will start - Have fun!
Remember to save your work on a regular basis
******************************************************************
Foreground: deaa19 (clear)
Background: 981300 (dark)
1.
open the alpha_rio layer
Duplicate window and close the original
Rename "raster1".
2 .
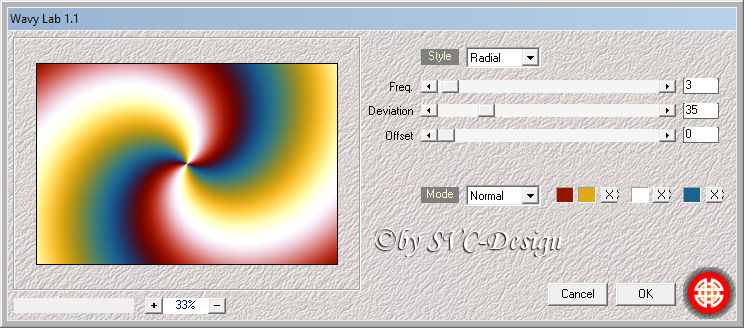
Plugin – Mehdi - Wavy Lab 1.1
3 .
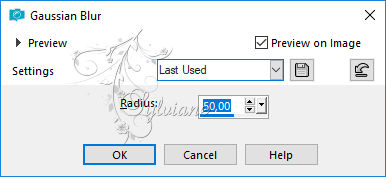
Adjust - blur - gaussian blur
4 .
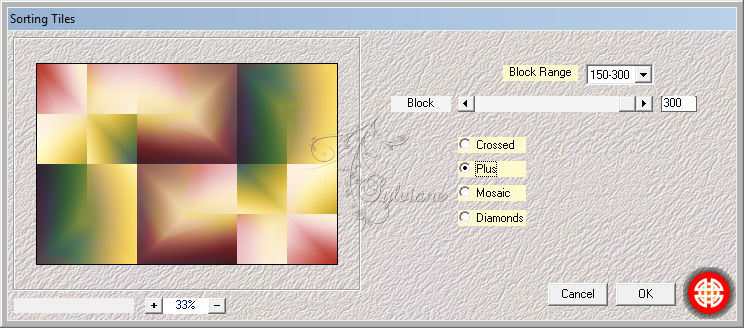
Plugin - Mehdi - Sorting tiles
5 .
Plugin – simple - blintz
Plugin - Simple - Left right wrap
6.
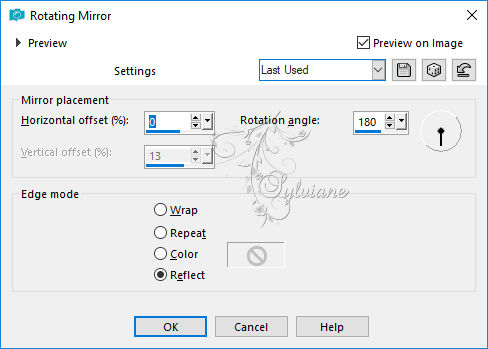
Effects – reflection effects – rotating mirror
7 .
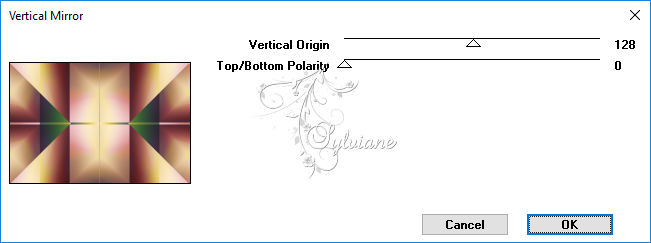
Plugin – graphics plus – vertical mirrror
8.
Layers - New Raster Layer
Fill with color 4
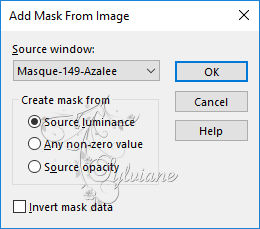
New layer mask from an image
Apply the mask-149 - Azalee.jpg
Effects - edge effects – enchance more
Layers - Merge - Merge Group
Blend mode: Overlay
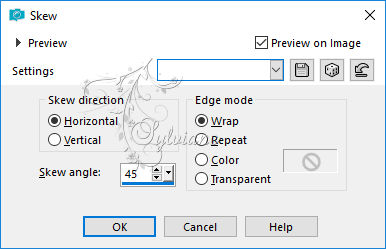
9 .
Effects - geometric effects – skew
10 .
Plugin – AlienSkin - Eye Candy5 Impact - Extrude
Setting: rio_extrude
Basic: solid color, put your color 2
And ok
11 .
Filtro – Alien skin - Eye Candy5 Impact - Perspective shadow
Setting: rio_shadow and ok
Layers - Merge - Merge visible layers
12 .
Selections - Load / Save - Load selection from Alpha Channel -
Load the selection 1
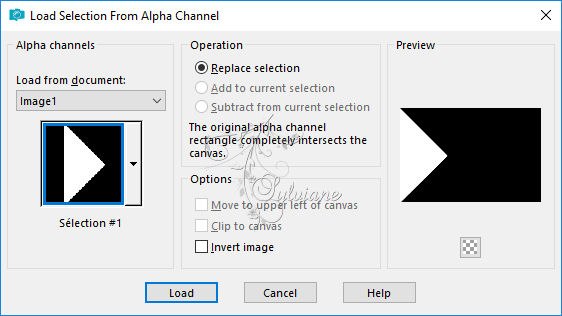
Selections – Promote selections to layer
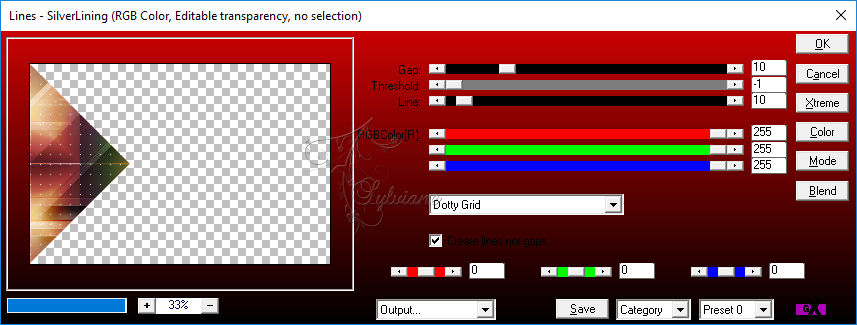
Selection - Select None
Plugin – AP 01 Innovations – Lines – Silverlining – Dotty grid
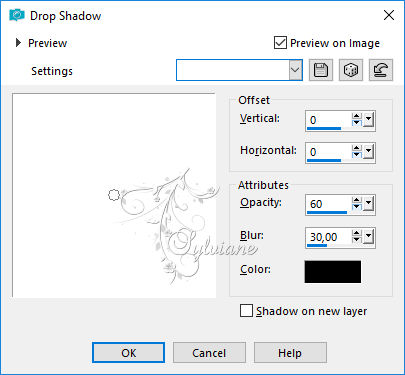
13 .
Effects - 3D effects - Drop shadow
14
layer - duplicate
image - mirror - mirror horizontal
Layer - Merge – merge down
15 .
Image – image effects – seamless Tiling
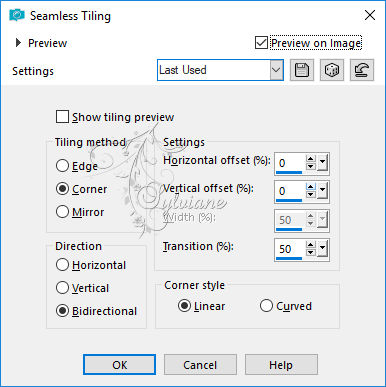
16 .
Plugin - Flaming Pear - Flexify2
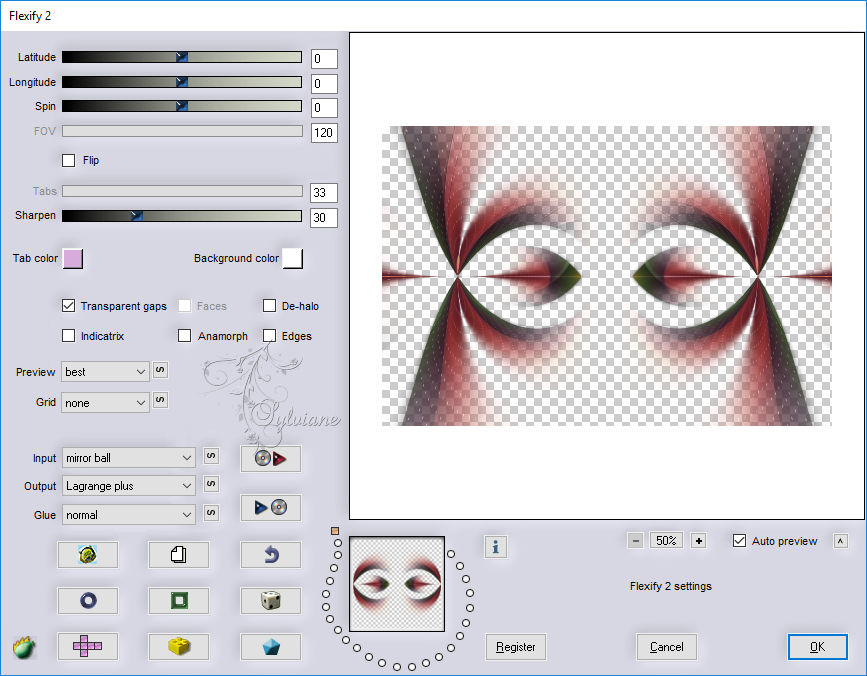
blend mode: luminance
opacity :80
17.
Plugin - Eye Candy5 Impact - Perspective shadow - same parameters
Layers - Merge - merge visible
18.
layer - new layer
Selections - Load / Save - Load selection from Alpha Channel -
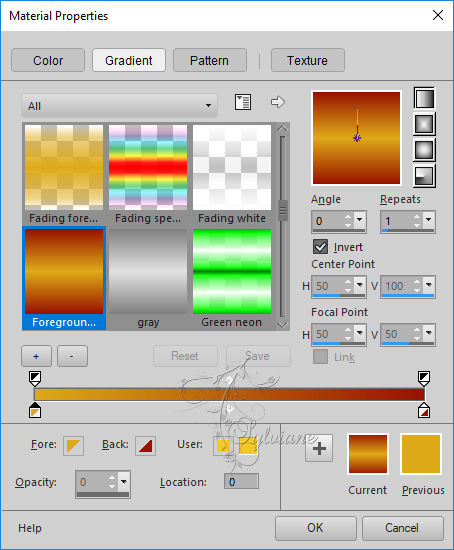
Load the selection 2

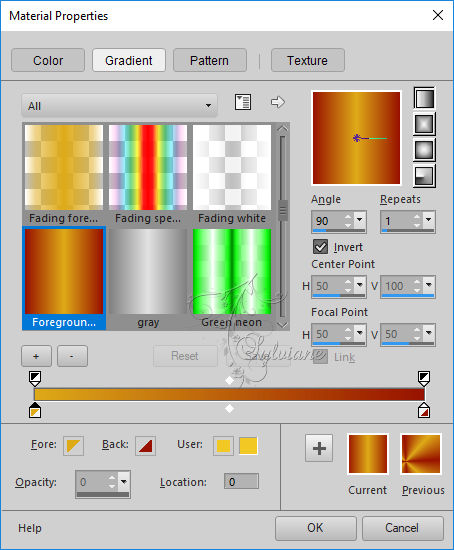
Fill in this linear gradient
Color1 in the foreground
Couleur2 in the background
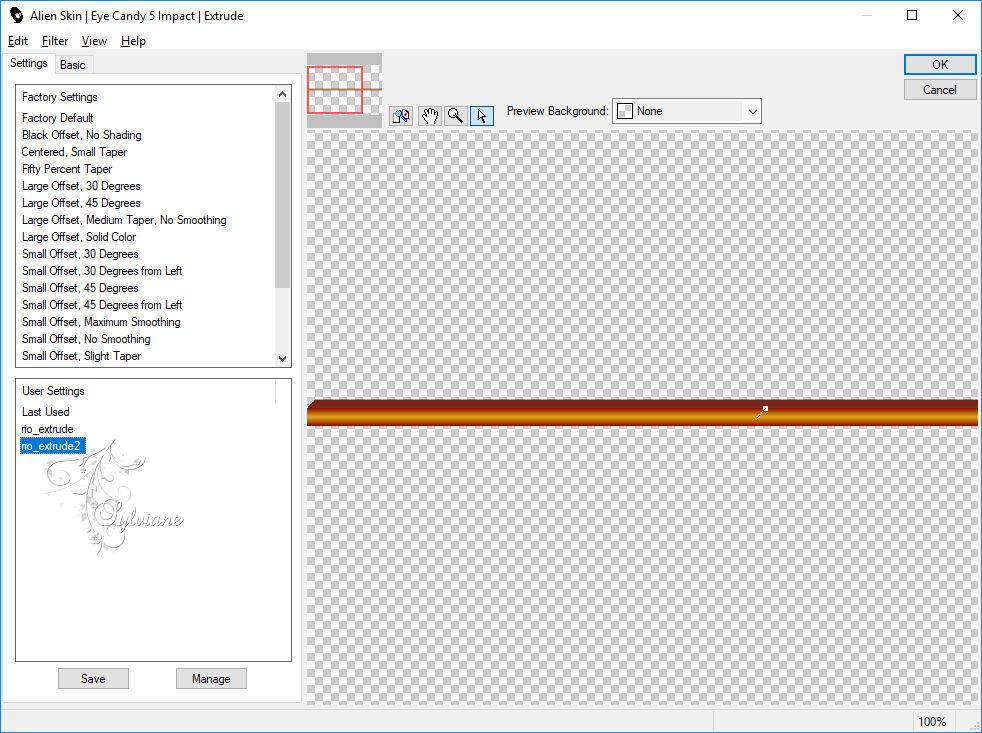
Selections – no selection
Plugin - Eye Candy5 Impact - Extrude
Setting: rio_extrude2 and ok
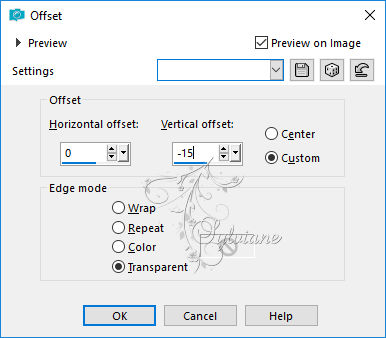
18.
Effects - image effects – offset
19.
place yourself on the bottom
open phare3
Edit - copy
Edit - paste as new layer
Do not move he is well placed
Image redraw at 80%,
all layers unchecke
20.
activate the top layer
open Mina@.5201 uccellini 04.18
Edit - copy
Edit - paste as new layer
Image resize 60%
all unchecked layers
21.
Effects - 3D effects - Drop shadow - as before (in memory)
22.
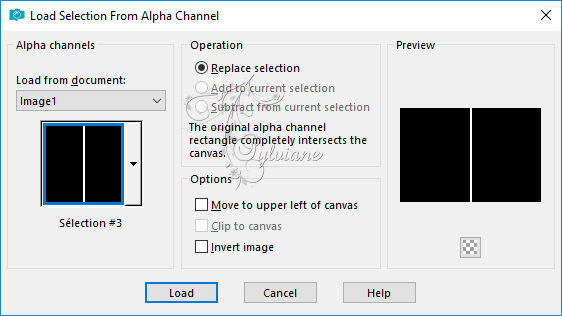
Activate the bottom layer
Selections - Load / Save - Load selection from Alpha Channel -
Load the selection 3
Layer - New layer
Fill in this linear gradient
Selections – no selection
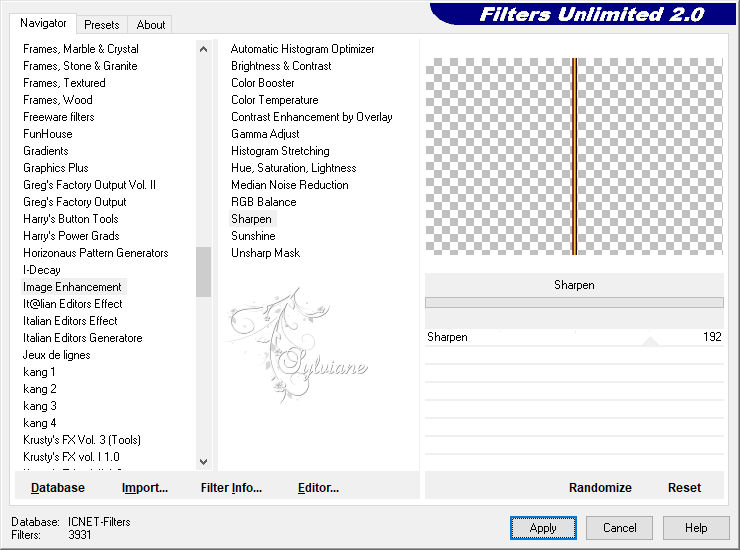
23.
Plugin – Unlimited 2.0 - Image enhancement, Sharpen, default
Blend mode: Luminance (legacy)
Layer - merge - merge down
24 -
Layer - duplicate
Layer rearrange move up stack
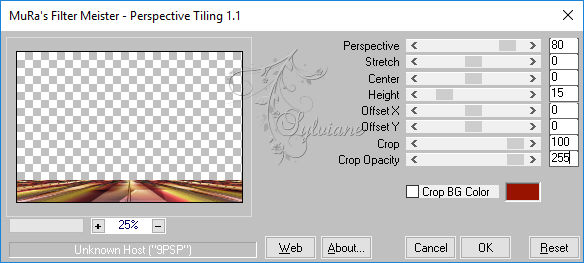
Plugin - Mura's Meister - Perspective tiling
25.
Effects - 3D effects - Drop shadow
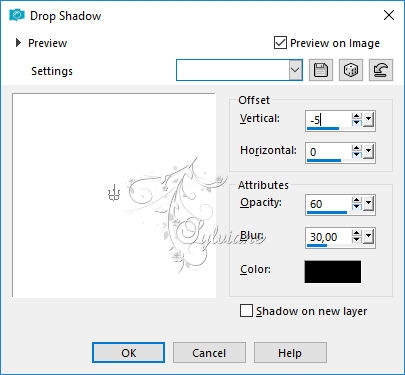
Image resize at 80%
all unchecked layers
Place well
Adjust - Sharpness - Sharpen
27.
Plugin - Eye Candy5 Impact - Perspective shadow
Setting: rio_shadow and ok
28.
place yourself on the bottom
edit - copy
Image - add borders - 1 px - color 2
Image - add borders - 3 pxls - color 1
Image - add borders - 1 px - color 2
Image - add borders - 5 pxls - color 3
Image - add borders - 1 px - color 2
Image - add borders - 3 pxls - color 1
Image - add borders - 1 px - color 2
Selections - Select all
Image - add borders - 20 pxls - color: white
Selections – invert
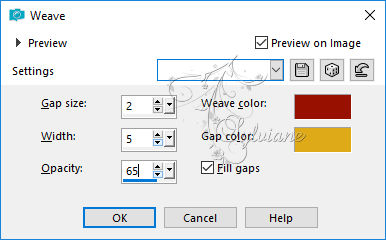
Effects - texture effect – wave
Selections – no selection
Image - add borders - 1 px - color 2
Image - add borders - 3 pxls - color 1
Image - add borders - 1 px - color 2
Selections - Select all
Image - add borders - 50 pxls - white color
Selections - invert
Edit - paste in the selection
Adjust - blur - Gaussian blur
29.
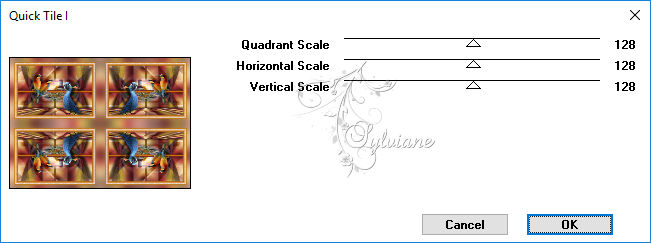
Plugin - Graphis Plus - Quick tile I
30.
Selection - Invert
Effects - 3D effects - Drop shadow
Selections – no selection
31.
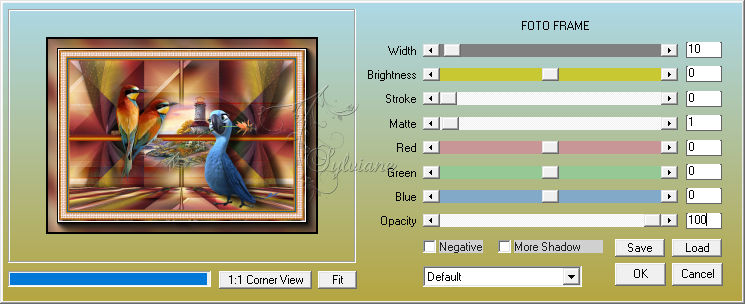
Plugin - AAA Frame - Foto frame
New layer to affix your signature
Image - add borders - 1 px - color: black
Resize to 900 pxls wide
Adjust - sharpness - unsharp mask
Save as jpeg
opslaan als JPG
Back
Copyright Translation © 2018 by SvC-Design