
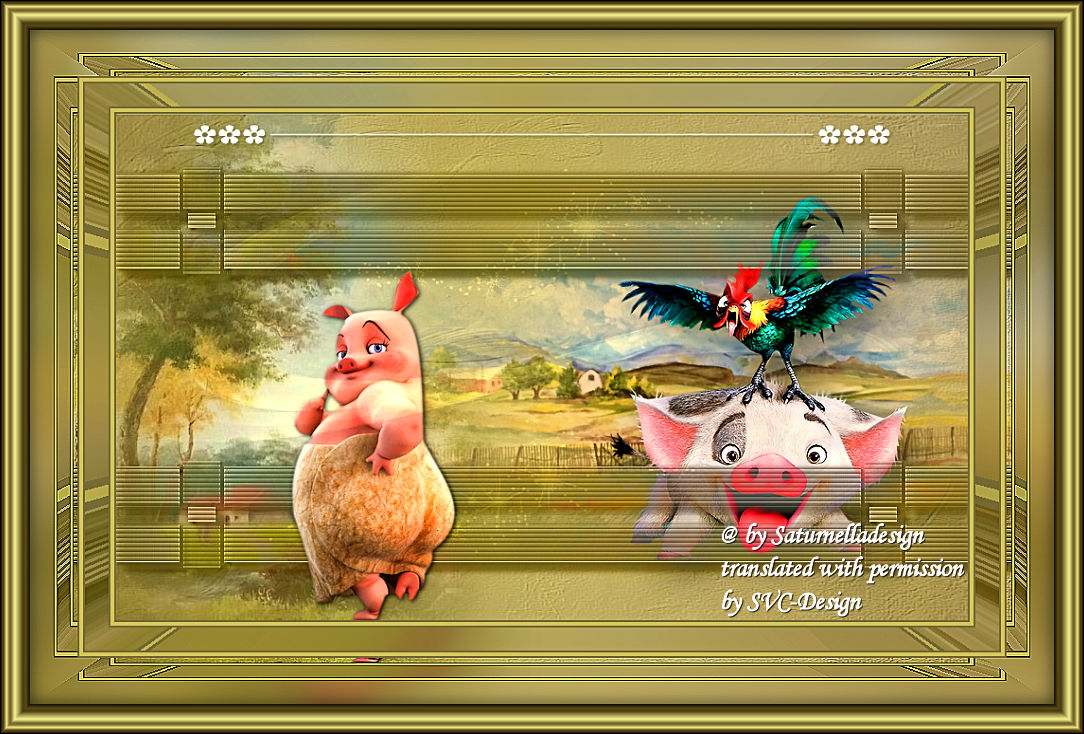
This lesson is made with PSPX9
But is good with other versions.
© by SvC-Design
Materialen Download :
Here
******************************************************************
Materials:
background4_sat.jpg
cadre.pspimage
camp-26.pspimage
deco01.pspimage
h5JmKDeni00MorGZNXFJr4Pj9yU.pspimage
sat-ani43.pspimage
sat-ani61.pspimage
******************************************************************
Plugin:
Plugin - Eye Candy5 Impact - Perspective shadow
Plugin - Filter Factory B - Button Deluxe
Plugin - Alf’s border Fx - Mirror bevel
Plugin - AAA Filter - Custom
******************************************************************
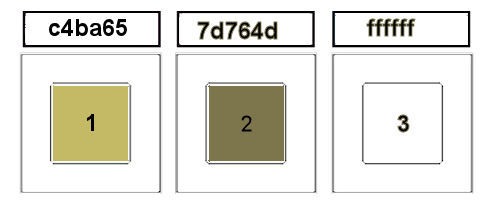
color palette
:
******************************************************************
methode
When using other tubes and colors, the mixing mode and / or layer coverage may differ
******************************************************************
General Preparations:
First install your filters for your PSP!
Masks: Save to your mask folder in PSP, unless noted otherwise
Texture & Pattern: Save to your Texture Folder in PSP
Selections: Save to your folder Selections in PSP
Open your tubes in PSP
******************************************************************
We will start - Have fun!
Remember to save your work on a regular basis
******************************************************************
Foreground: Color 1
Background: Color 2
1.
Open a new transparent image of 900x550 pixels
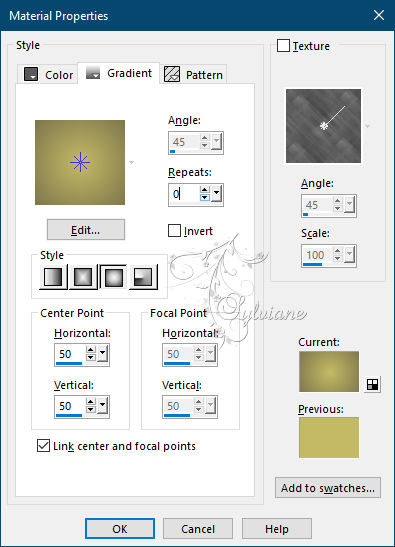
Fill with this halo gradient
2 .
Layers - New Raster Layer
Selection - Select All
Open background4_sat.jpg
Edit – Copy
Edit - Paste into selection
Selection - Select None
3.
Adjust – scharpness – scharpen more
Blend Mode:soft light
Layers - Merge - Merge visible layers
4.
Open camp-26.pspimage
Edit – Copy
Edit - Paste as new layer
Place on the left
5.
Open h5JmKDeni00MorGZNXFJr4Pj9yU.pspimage
Edit – Copy
Edit - Paste as new layer
Place to the right
6.
Open sat-ani61.pspimage
Edit – Copy
Edit - Paste as new layer
Resize 2 times to 75%
Adjust – scharpness – scharpen
Plugin - Eye Candy5 Impact - Perspective shadow:
Setting cochonnet_shadow
place it as in the example
7.
Layers - New Raster Layer
Fill in color 3
Layers - New Mask Layer - From Image - ildiko@create0028_mask.jpg
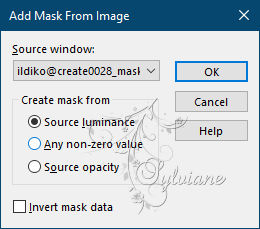
Effects - Edge Effects - Enhance
Layers - Merge - Merge Group
Blend Mode: Luminance ( legacy)
8.
Effects - Texture Effects - Blinds
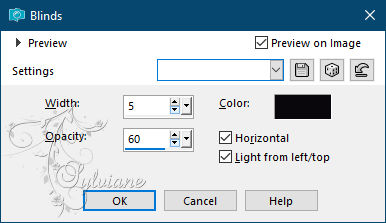
9.
Effects - 3D effects - Drop shadow
8/8/100/5 - color 2
10.
Plugin - Eye Candy5 Impact - Perspective shadow:
Setting : drop shadow lowest
11.
Open sat-ani43.pspimage
Edit – Copy
Edit - Paste as new layer
Image resize to 75%, single layer
Place left
12.
Plugin - Eye Candy5 Impact - Perspective shadow:
Setting : drop shadow lowest
13.
Open deco01.pspimage
Edit – Copy
Edit - Paste as new layer
Activate selection tool (Press K on your keyboard)
And enter the following parameters:
Pos X : 82 – Pos Y : 12
Press M
14.
Effects - 3D effects - Drop shadow
2/2/60/2 color:#000000
15.
Layers - New Raster Layer
Fill in your light color
Layers - New Mask Layer - From Image - Coly-mask28.jpg
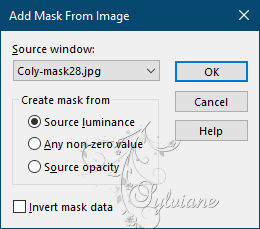
Effects - Edge Effects - Enhance
Layers - Merge - Merge Group
Blend Mode: dodge
opacity :24(see according to your colors)
Image miroir miroir horizontal
16.
Layers - Merge - Merge visible layers
Edit – Copy
Image - Add Borders -2 pixels - color 2
Image - Add Borders -4 pixels - color 1
Image - Add Borders -2 pixels color 2
17-
Selection - Select All
Image - Add Borders -25 pixels - color 3
Selections - Invert
Edit - Paste into selection
Adjust - blur - gaussian blur
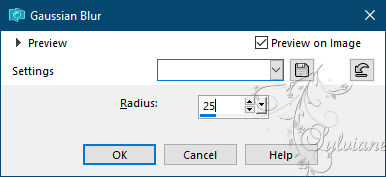
18.
Plugin - Filter Factory B - Button Deluxe -deflaut
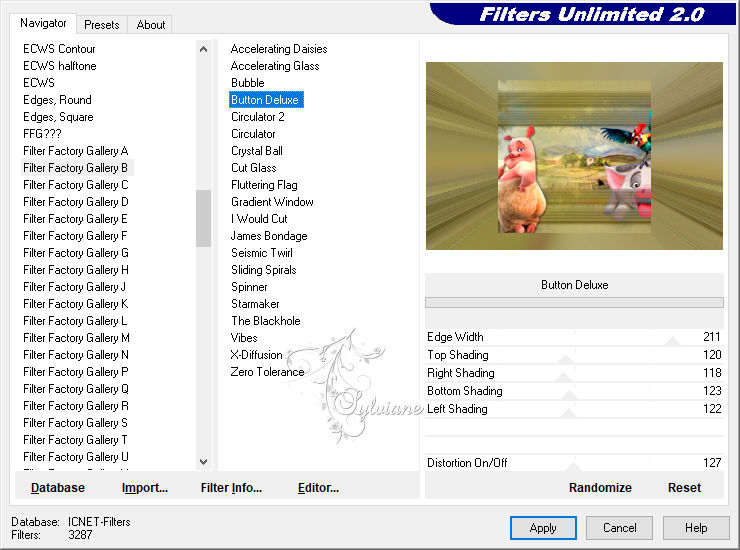
Selection - Select None
19.
image ajouter des bordures
Image - Add Borders -2 pixels - color 2
Image - Add Borders -4 pixels - color 1
Image - Add Borders -2 pixels color 2
20.
Selection - Select All
Image - Add Borders -50 pixels - color 3
Selections - Invert
Edit - Paste into selection
21.
Adjust - blur - gaussian blur - as before
22.
Plugin - Alf’s border Fx - Mirror bevel - standard
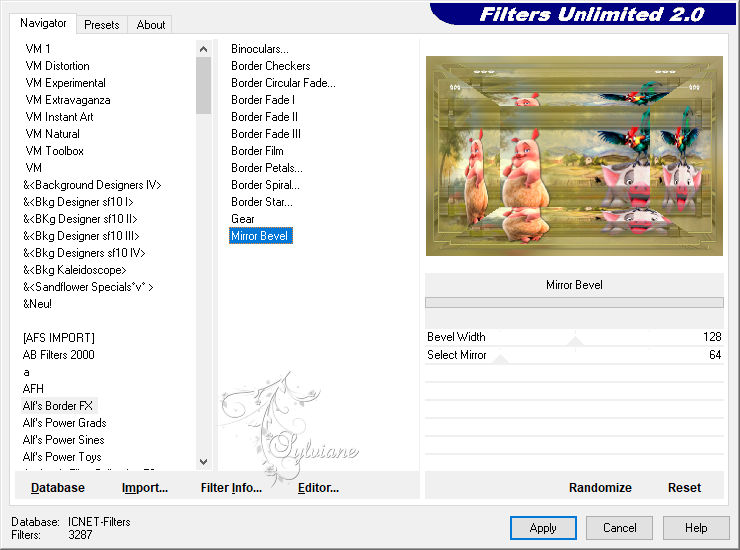
Effects - Edge Effects - Enhance
Selection - Select None
22 .
Plugin - AAA Filter - Custom
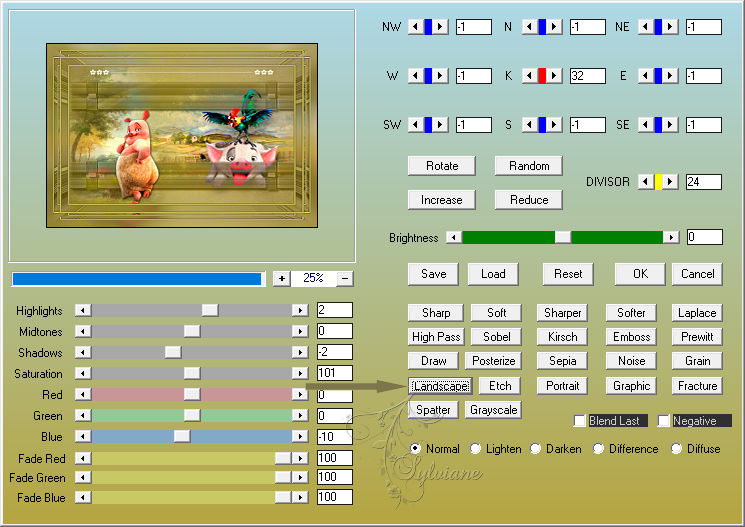
23.
Edit – Copy
open cadre.pspimage
Select the interior with the magic wand
Back on your tag
Edit - Paste into selection
24.
Effects - 3D effects – Cutout
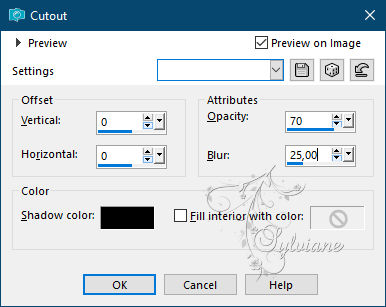
Selection - Select None
25.
Image - Add Borders -1 pixels color #000000
Image resize to 950 pxls wide
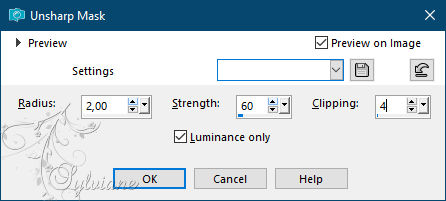
Adjust - sharpness - unsharp mask
put your watermark on it
Layer – merge – merge all (flatten)
Back
Copyright Translation © 2021 by SvC-Design