
This lesson is made with PSPX9
But is good with other versions.
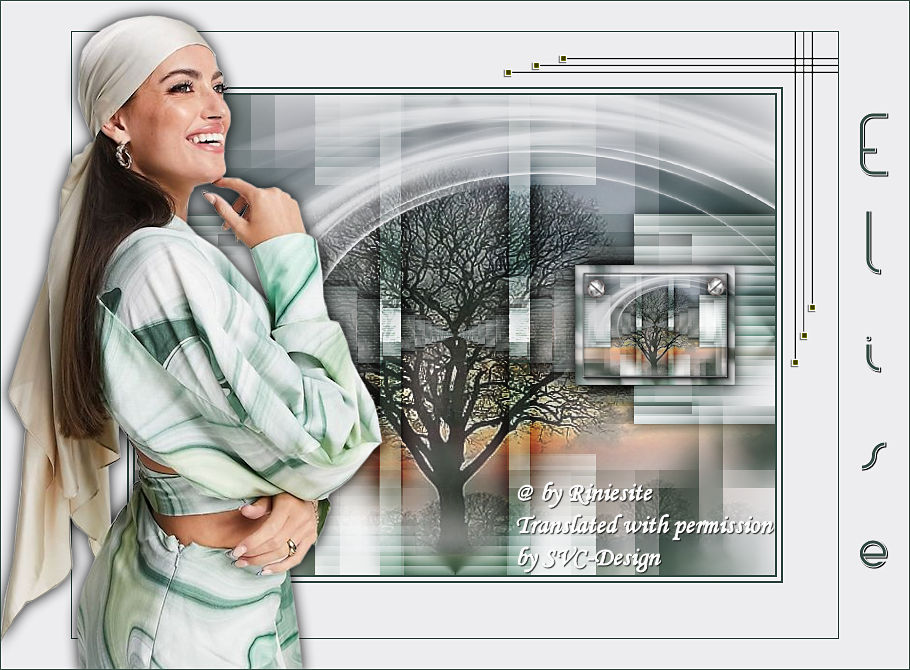
© by SvC-Design
Materialen Download :
Here
******************************************************************
Materials:
LD-model-1465.psp
LoisAnn.ttf
RB_Alfa_Elise.psp
Schroefje.PspTube
Silvie_Mask_Abstract99L.psp
strepen.png
twente delden.psp
******************************************************************
Plugin:
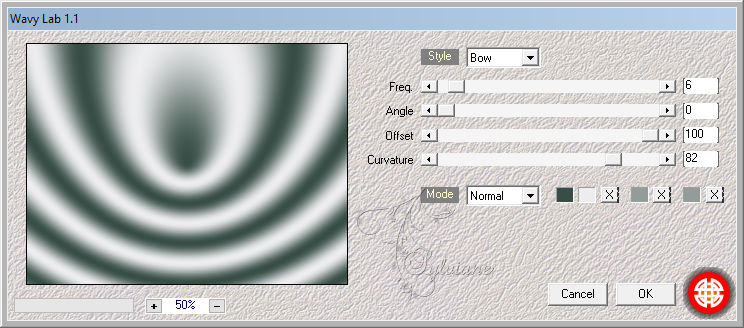
Effects - plugin - Mehdi - Wavy Lab.
Effects – plugin - Mehdi - Sorting Tiles
Effects - Plugins - Filters Unlimited 2.0. - Toadies - What Are You?
Effects – plugin - Filters - AAA Frames - Photo Frame.
******************************************************************
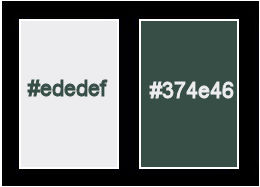
color palette
:
******************************************************************
methode
When using other tubes and colors, the mixing mode and / or layer coverage may differ
******************************************************************
General Preparations:
First install your filters for your PSP!
Masks: Save to your mask folder in PSP, unless noted otherwise
Texture & Pattern: Save to your Texture Folder in PSP
Selections: Save to your folder Selections in PSP
Open your tubes in PSP
******************************************************************
We will start - Have fun!
Remember to save your work on a regular basis
******************************************************************
1.
Tool Pipette - Choose from your tube person a light foreground color and a dark background color.
2.
Activate RB_Alfa_Elise.
3.
Effects - plugin - Mehdi - Wavy Lab.
4.
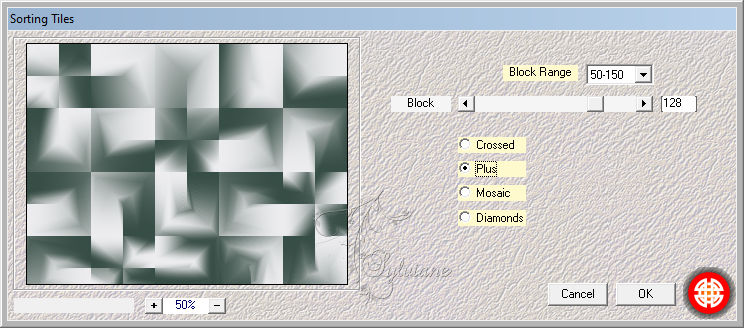
Effects – plugin - Mehdi - Sorting Tiles
5.
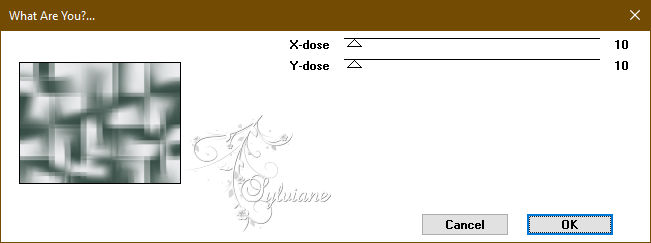
Effects - Plugins - Filters Unlimited 2.0. - Toadies - What Are You?
6.
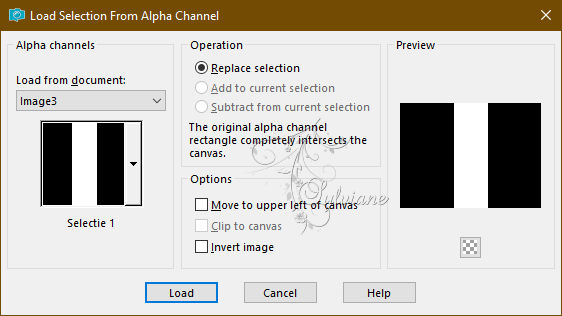
Selections - Load / Save - Load selection from Alpha Channel - Selection 1
7.
Selections – Promote selections to layer
8.
Effects - 3D effects - Drop shadow
0/0/85/35 - color:#000000
9.
Selection - Select None
10.
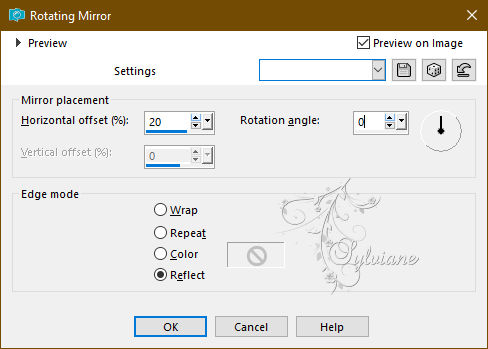
Effects - Reflection Effects - Rotating Mirror.
11.
Layers - Duplicate.
12.
Image - Mirror.
13.
Layers - Merge - Merge down.
14.
Layers - Properties - Blend mode: Overlay.
15.
Layer palette - Activate layer Raster 1.
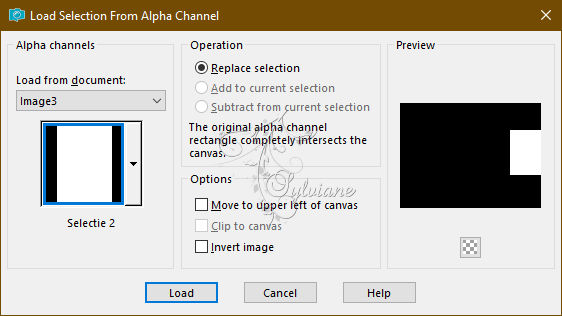
16.
Selections - Load / Save - Load selection from Alpha Channel - Selection 2.
17.
Selections – Promote selections to layer
18.
Effects - Texture Effects - Blinds

19.
Effects - 3D Effects - Drop shadow
0/0/80/20 – color:#000000
20.
Selection - Select None
21.
Layers - Duplicate.
22.
Image - Mirror.
23.
Layers - Merge - Merge down.
24.
Layers - Duplicate
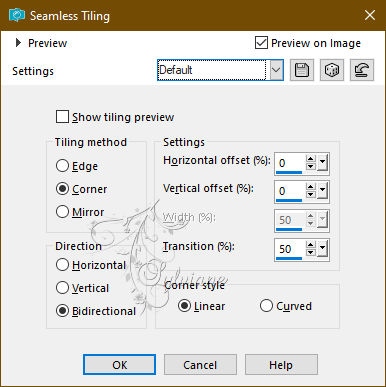
25.
Effects - Image Effects - Seamless Tiling - Default.
26.
Blend mode: Screen
27.
Activate raster 1
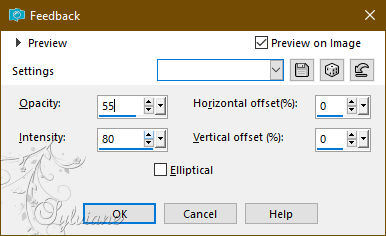
28.
Effects – reflection effects – feedback
29.
Activate raster 1
30.
Activate twente delden.psp
Edit - Copy.
31.
Back to your image.
Edit - Paste as a new layer.
32.
resize if necessary
33.
Opacity: 70.
34.
Activate the top layer
35.
Layers - New raster layer.
36.
Fill the layer with your foreground color
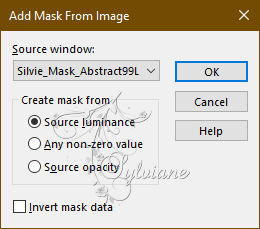
37.
Layers - New mask layer - From image - Silvie_Mask_Abstract99L.
38.
Layers - Merge - Merge group.
39.
Image - Mirror.
40.
Effects - 3D Effects - Drop shadow
2/2/50/35 – color:#000000
41.
Layer – merge – merge all (flatten)
42.
Layers - Duplicate.
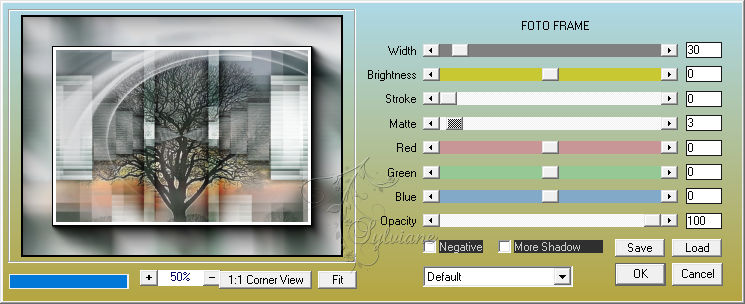
43.
Effects – plugin - Filters - AAA Frames - Photo Frame.
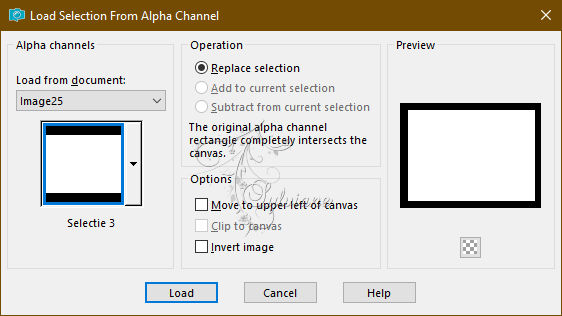
44.
Selections - Load / Save - Load selection from Alpha Channel - Selection 3.
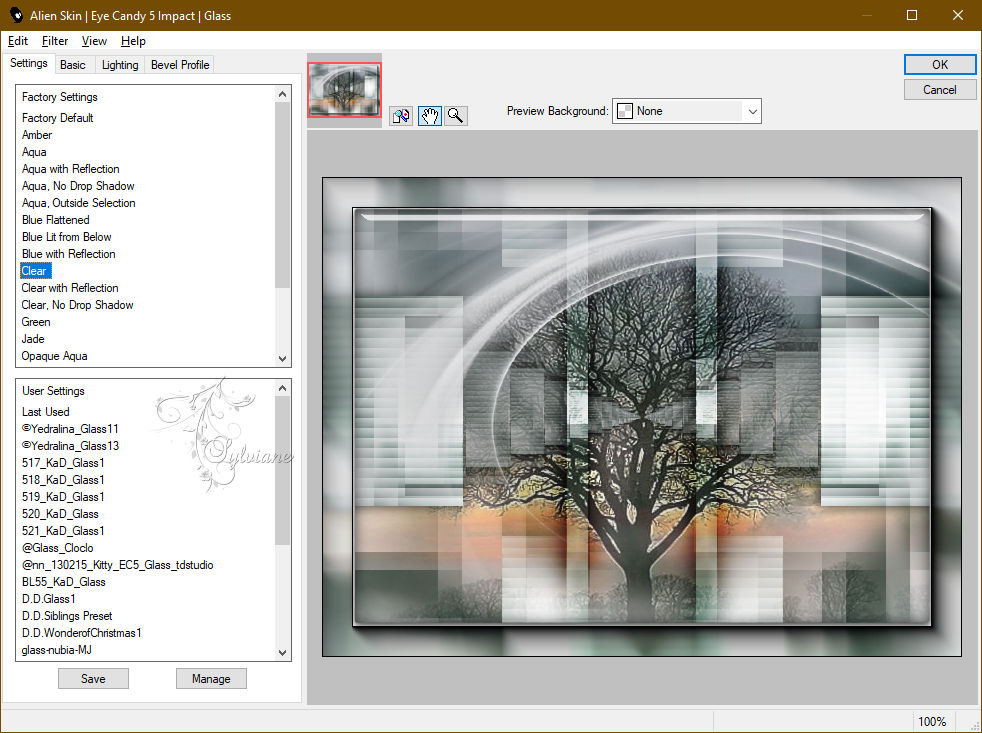
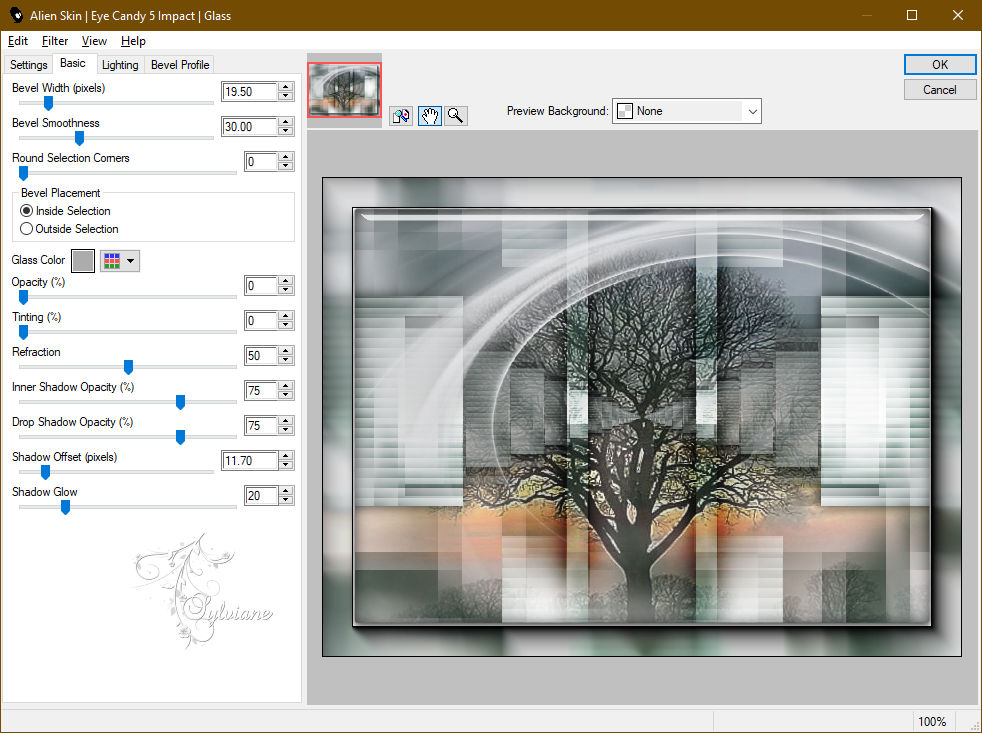
45.
Effects - Plugins - Alien Skin Eye Candy 5: Impact - Glass.
46.
Selection - Select None
47.
Image - Resize - 25%.
No check mark on resize all layers
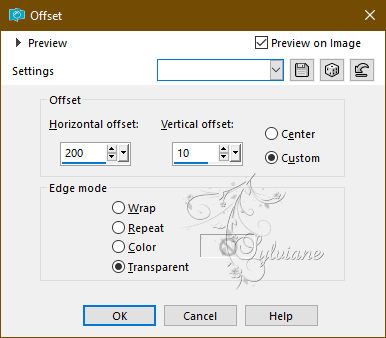
48.
Effects - Image Effects - Offset
49.
Effects - 3D Effects - Drop shadow
0/0/100/20 – color:#000000
50.
Layers - Duplicate.
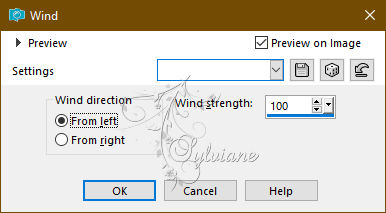
51.
Effects - Distortion Effects - Wind.
52.
Blend Mode: Overlay.
53.
Layers - Arrange - Down.
54.
Activate the top layer.
55.
Layers - New raster layer.
56.
Picture Brush Tool - Search by the arrow: Screw.
Scale: 80 - Step: 200 - Placement mode and Selection mode: Random.
Click on the upper left corner of picture.

57.
Layers - Duplicate.
58.
Move tool - put it on the other side of the image.
59.
Layers - Merge - Merge down.
60.
Effects - 3D Effects - Drop shadow - Settings are right.
61.
Image - Add Borders – Symmetric -2 pixels - Background color
62.
Image - Add Borders – Symmetric -4 pixels. Foreground color pixels.
63.
Image - Add Borders – Symmetric -2 pixels - Background color
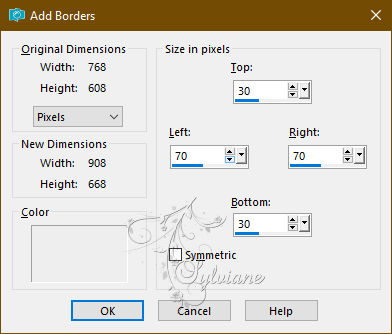
64.
Image - Add Borders – Symmetric -55 pixels. Foreground color
65.
Activate the deco stripes.
Edit - Copy.
66.
Back to your image.
Edit - Paste as a new layer.
67.
If necessary - Adjust – hue and saturation – colorize: Choose a matching color.
68.
Slide this nicely in the upper right corner.
69.
Image - Add Borders – Symmetric - 1pixel - Background color
70.
Image - Add borders - Foreground color
71.
Activate your tube person.
Edit - Copy.
72.
Back to your image.
Edit - Paste as a new layer.
73.
resize if necessary
74.
Move your tube to a nice spot in your image.
75.
Effects - 3D Effects - Drop shadow - As you like.
76.
Text tool - Font and Size of your choice - Anti-alias: Smooth - Direction - Vertical and right - Stroke Thickness: 0 - Create as: Vector.
Type your text and put it nicely in the last border.
77.
Effects - 3D Effects - Drop shadow - As you like.
78.
Image - Add Borders – Symmetric - 1pixel - Background color
79.
Put your watermark.
80.
Layer – merge – merge all (flatten)
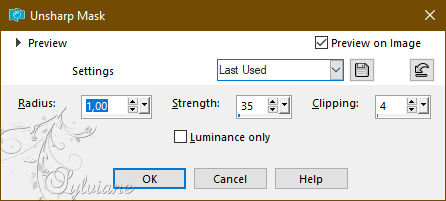
81.
Adjust - Sharpness - Unsharp mask.
82.
Save as JPEG
Back
Copyright Translation 2023 by SvC-Design
------------------------------------------------------------------------------
Thanks to all who created