But is good with other versions.
******************************************************************
Materials:
kleuren-248.jpg
lighthouse.jpg
lighthouse1-Ri@.png
lighthouse2-Ri@.png
lighthouse3-Ri@.png
Narah_Mask_1166.jpg
Ri@lighthouse248.f1s
tekst-834 - Lighthouse - Ri@.pspimage
tekst-lighthouse-Ri@.png
******************************************************************
Plugin:
Effects - Plugins - – Unlimited – Render – clouds - {fore-/background color}
Effects - Plugins - Alien Skin - Eye Candy 5 - Impact - Backlight
******************************************************************
color palette
:

******************************************************************
methode
When using other tubes and colors, the mixing mode and / or layer coverage may differ
******************************************************************
General Preparations:
First install your filters for your PSP!
Masks: Save to your mask folder in PSP, unless noted otherwise
Texture & Pattern: Save to your Texture Folder in PSP
Selections: Save to your folder Selections in PSP
Open your tubes in PSP
******************************************************************
We will start - Have fun!
Remember to save your work on a regular basis
******************************************************************
Foreground color # 9396a8
Background color # ffffff
Extra color # e1e0e6
1.
Open a new image 900 - 600 pixels transparent.
Selections - select all.
Open lighthouse.jpg
Edit - copy.
Back to your image.
Edit - paste into selection.
Selection - Select None
Effects - Image Effects - Seamless Tiling - default.
2.
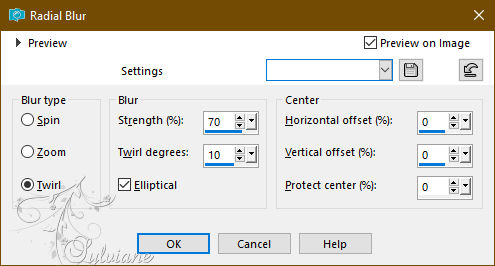
Adjust - blur - radial blur.
3.
Adjust - blur - gaussian blur
range 15.
Layers - duplicate.
Effects - Plugins - – Unlimited 2.0– Render – clouds - {fore-/background color}
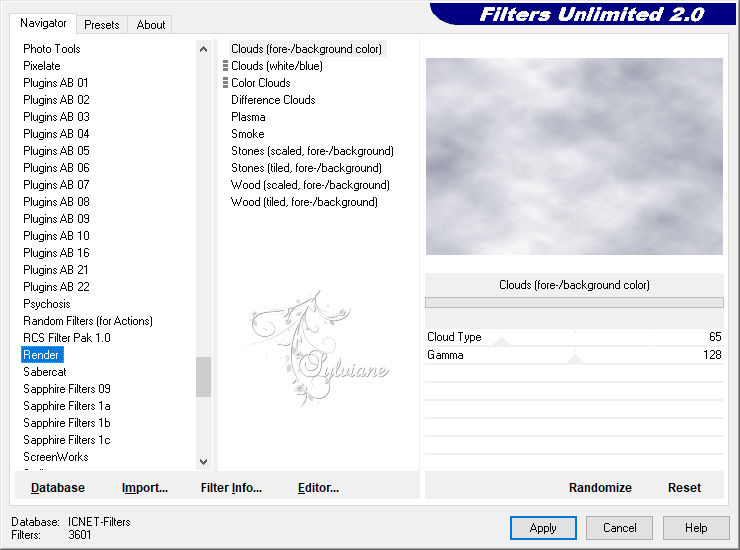
Blend mode - Overlay.
Layers - merge - merge all layers.
3.
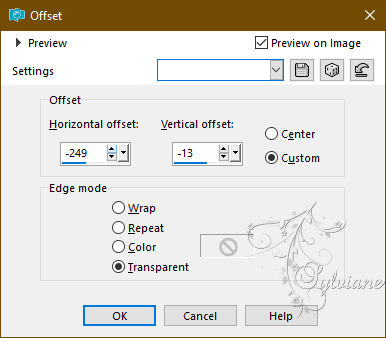
Open lighthouse1-Ri@.png
Edit - copy.
Back to your image.
Edit - paste as a new layer.
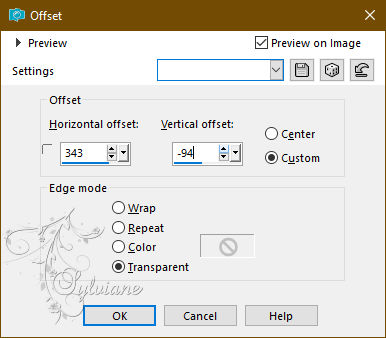
Effects - image effects - offset.
4.
Open lighthouse2-Ri@.png
Edit - copy.
Back to your image.
Edit - paste as a new layer.
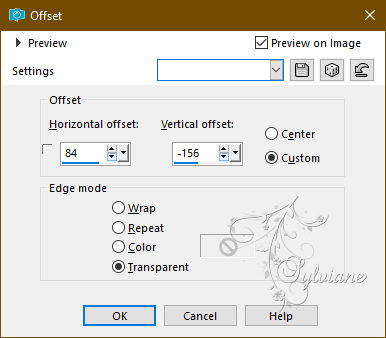
Effects - image effects - offset.
3.
Open lighthouse3-Ri@.png
Edit - copy.
Back to your image.
Edit - paste as a new layer.
Effects - image effects - offset.
4.
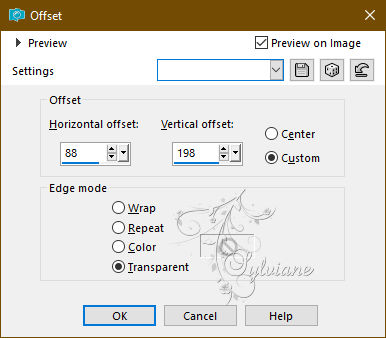
Open tekst-834 - Lighthouse - Ri@.pspimage
Edit - copy.
Back to your image.
Edit - paste as a new layer.
Effects - image effects - offset.
Layers - duplicate.
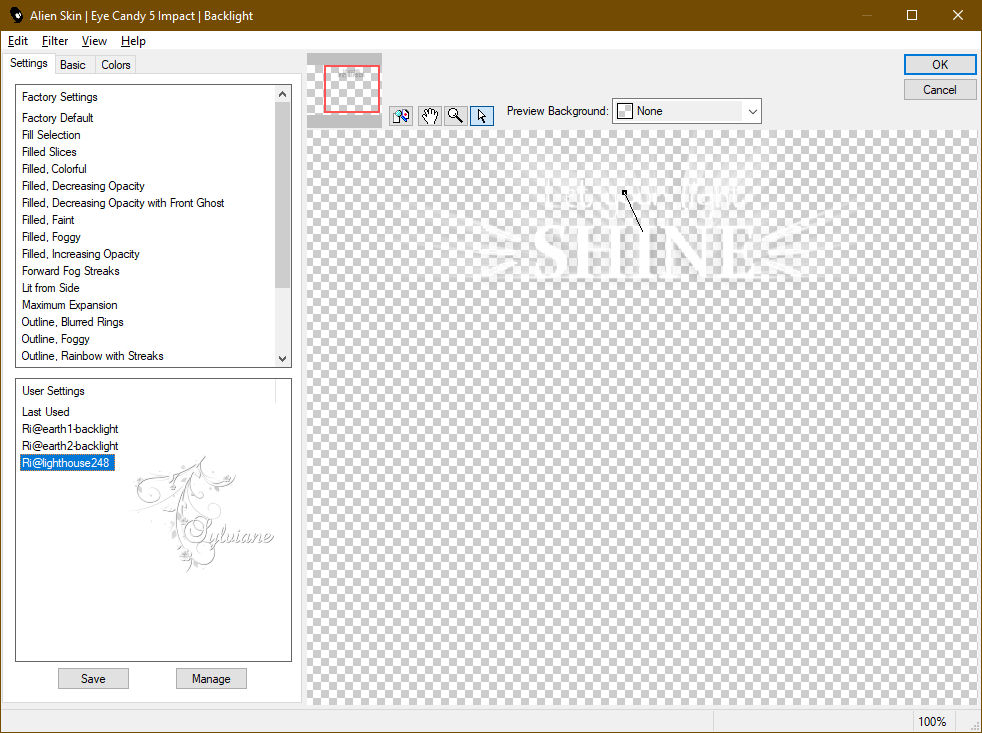
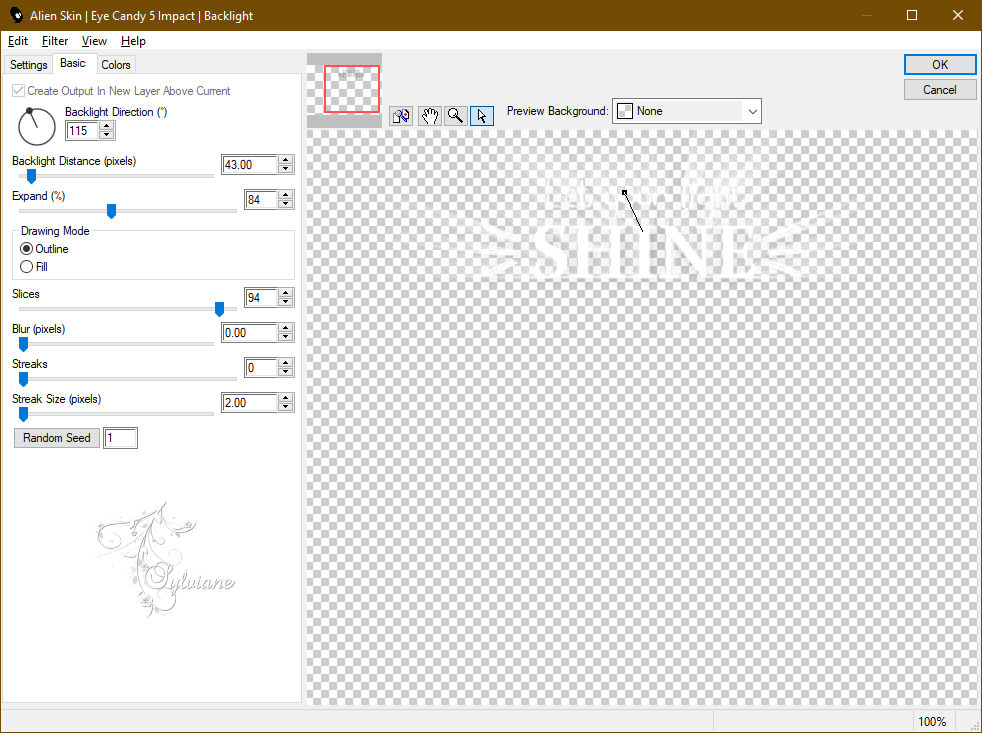
Effects - Plugins - Alien Skin - Eye Candy 5 - Impact - Backlight.
setting Ri@lighthouse248
Layers - arrange - move down.
Activate the top layer.
5.
Layers - new raster layer
Fill the layer with the background colour.
Layers - New Mask Layer - From Image -
Narah_Mask_1166
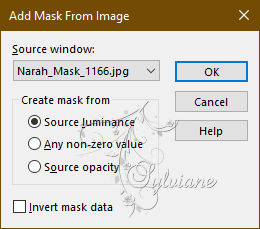
Layers - merge - merge group.
Layer opacity 72.
Layers - merge - merge all layers.
6.
Image - add borders - 2 pixels foreground colour.
Image - Add Borders – Symmetric -3 pixels - extra colour #e1e0e6.
Image - Add Borders – Symmetric -2 pixels - background colour.
Image - Add Borders – Symmetric -5 pixels - foreground colour.
Image - Add Borders – Symmetric -5 pixels - background colour.
Image - Add Borders – Symmetric -2 pixels - extra colour # e1e0e6.
Image - Add Borders – Symmetric - 40 pixels - background colour.
7.
Open tekst-lighthouse-Ri@.png
Edit - copy.
Back to your image.
Edit - paste as a new layer.
Place the tube at the top in the light border - like my example.
8.
Open the tube you chose yourself.
Edit - copy.
Back to your image.
Edit - paste as a new layer.
Place the tube on the bottom right.
Give the tube a nice drop shadow.
9.
Place your name or watermark.
Layers - merge - merge all layers.
Image - add borders - 2 pixels extra colour # e1e0e6.
Image - resize - 600 pixels - longest sides.
Save as JPEG
Back
Copyright Translation 2023 by SvC-Design
------------------------------------------------------------------------------
Thanks to all who created