
This lesson is made with PSPX9
But is good with other versions.
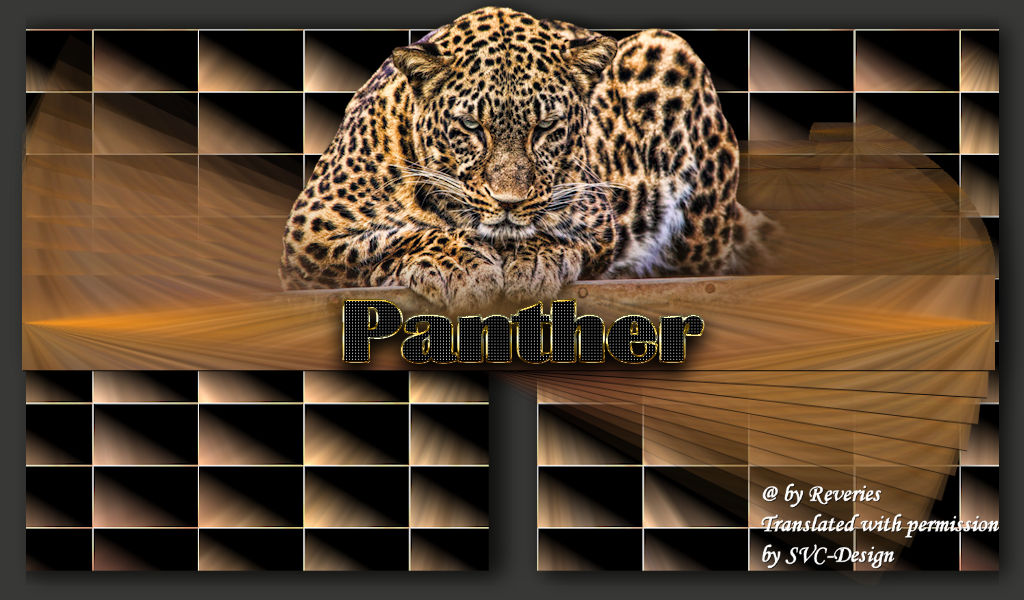
© by SvC-Design

Materialen Download :
Here
******************************************************************
Materials:
lettre_nkt.png
panther_nkt.png
******************************************************************
Plugin:
Plugin - Mura’s Meister - copies.
Plugin – Unlimited 2.0 - Kiwi's , - Setzboard
******************************************************************
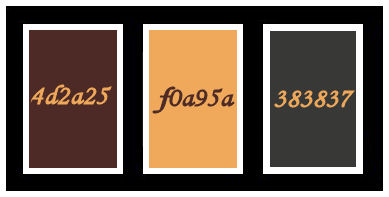
color palette
:
******************************************************************
methode
When using other tubes and colors, the mixing mode and / or layer coverage may differ
******************************************************************
General Preparations:
First install your filters for your PSP!
Masks: Save to your mask folder in PSP, unless noted otherwise
Texture & Pattern: Save to your Texture Folder in PSP
Selections: Save to your folder Selections in PSP
Open your tubes in PSP
******************************************************************
We will start - Have fun!
Remember to save your work on a regular basis
******************************************************************
Clipping by my care and with his authorization.
1.
Open a new transparent document 1024 x 600.
Put in the first plan the color 4D2a25 and in the background the color f0a95a.
Make a linear gradient. Angle 0, repeat 1, inverted not checked, center and source everything to 50.
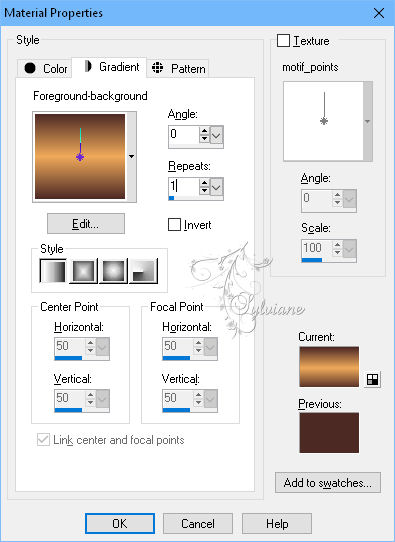
Fill the layer.
2.
Layers - New Raster Layer
Selection - select All.
Open panther_nkt.png
Edit – Copy
Edit - Paste into selection
Selection - Select None
3.
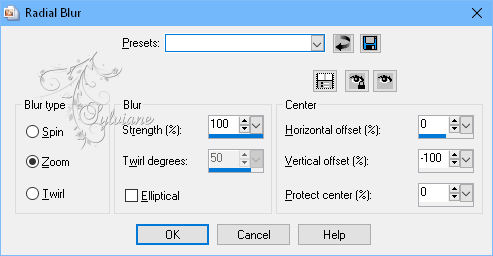
Adjust - blur - radial blur
Effects - Image Effects - Seamless Tiling - (default).
Layers - Merge - Merge visible layers
Layers – Duplicate
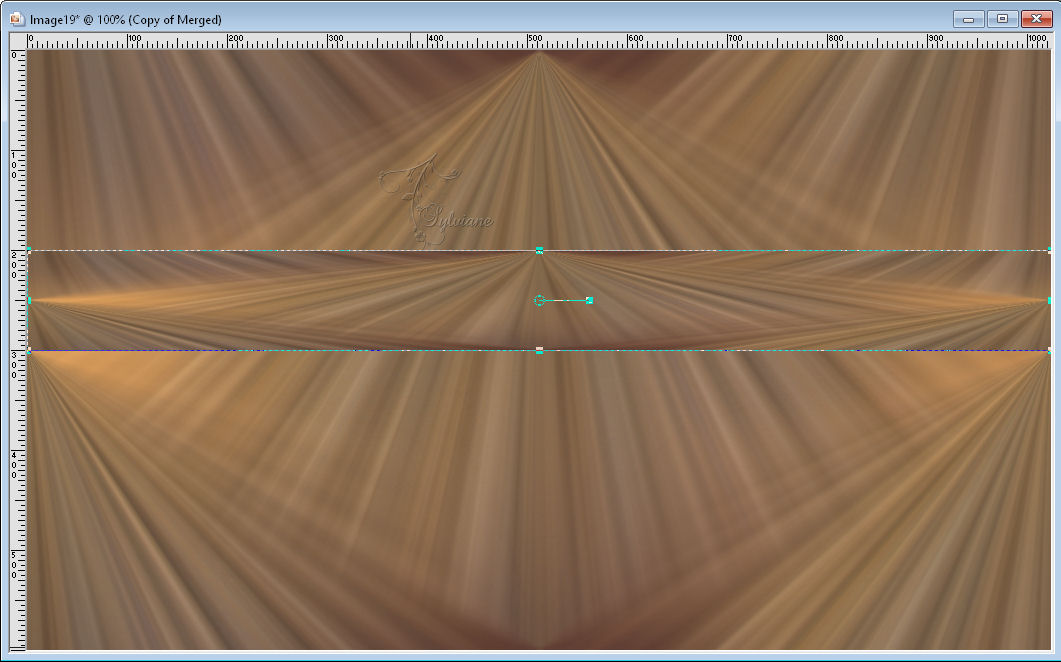
4.
remain on the duplicated layer.
Tools, select (keyboard shortcut K) position yourself on the handle of the top and down to 200. Idem with the handle of the bottom, up to 300.
Effects - 3D effects - Drop shadow
1/1/100/1 color :#000000
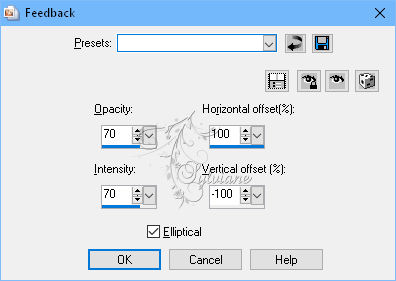
5.
Effects – reflection effects – feedback
6.
Objects – align – center in canvas
Plugin - Mura’s Meister - copies.
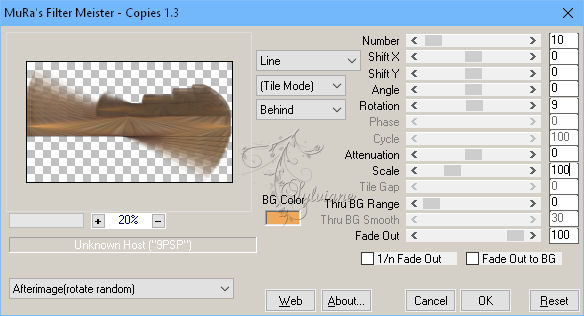
Resize image to 95%.
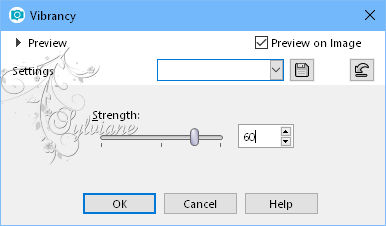
7.
Adjust - hue, and saturation - vibrancy
intensity 60.
Effects - 3D effects - Drop shadow
-4/13/50/40 color:#000000
8.
Activate on the layer below.
9.
Plugin – Unlimited 2.0 - Kiwi's , - Setzboard
Fachgrösse: 29.
Resize image to 95%.
Effects - 3D effects - Drop shadow
2/8/70/30 color:#000000
Plugin - simple - left right wrap - default.
Resize image to 95%.
Effects - 3D effects - Drop shadow
2/8/70/30 color:#000000
10.
Layers - New Raster Layer
Layers - Arrange - Move Down
fill it with the color 383837
11.
Open panther_nkt.png
Edit – Copy
Edit - Paste as new layer
and place-all at the top of the layers.
Effects - 3D effects - Drop shadow
-4/13/50/30 color:#000000
12.
resize it to 70%
and align it on the central bar as on the print screen.
13.
Open lettre_nkt.png
Edit – Copy
Edit - Paste as new layer
place the to your convenience.
14.
Sign your work
Layers - merge – merge all ( Flatten)
Save as JPEG
Back
Copyright Translation © 2018 by SvC-Design
