
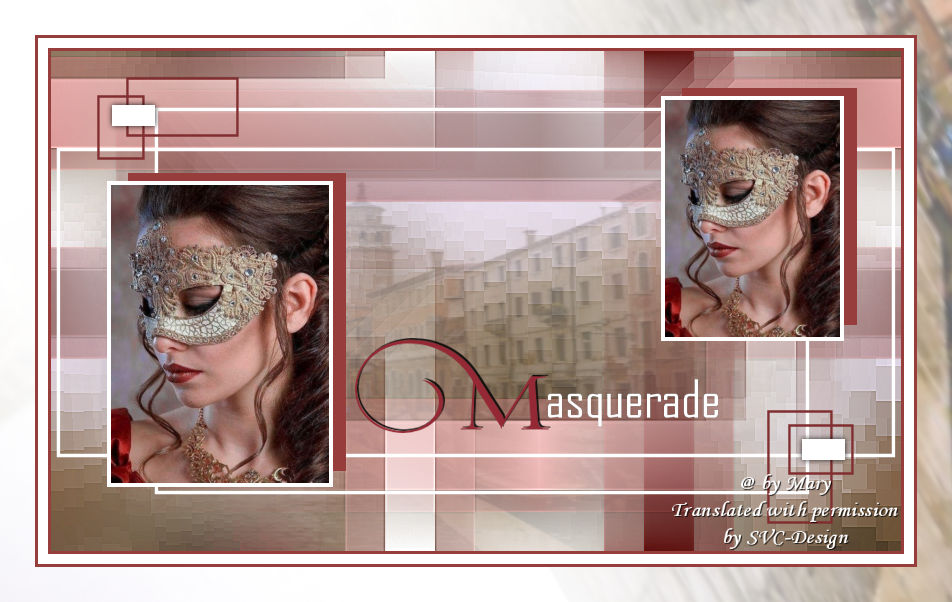
This lesson is made with PSPX9
But is good with other versions.
© by SvC-Design

Materialen Download :
Here
******************************************************************
Materials:
.png
3058-marytube-2025
3059tube-mts-2025
maszkabál-kere -dekor1 mts-2025
maszkabal-keret-dekor-2025
SzÍnek
Text
******************************************************************
Plugin:
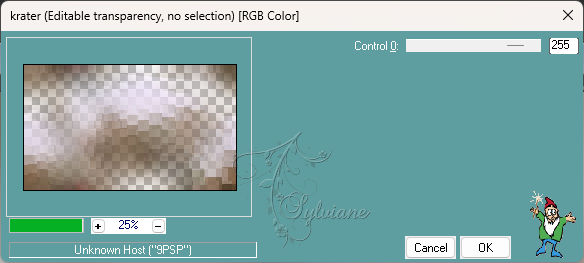
Effects – plugin - PspShares - hdj1- Krater
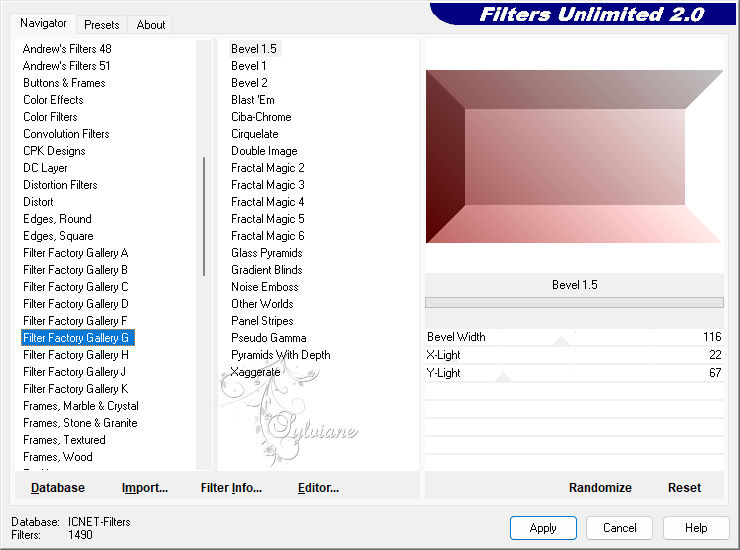
Effects – plugin - Filter Factory Gallery -G - Bevel 1.5....
Effects – plugin - Toadies - What Are You?
******************************************************************
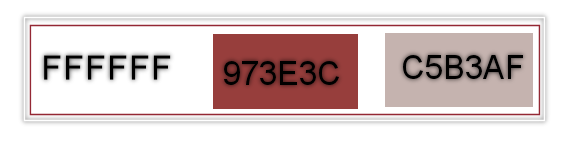
color palette
:
******************************************************************
methode
When using other tubes and colors, the mixing mode and / or layer coverage may differ
******************************************************************
General Preparations:
First install your filters for your PSP!
Masks: Save to your mask folder in PSP, unless noted otherwise
Texture & Pattern: Save to your Texture Folder in PSP
Selections: Save to your folder Selections in PSP
Open your tubes in PSP
******************************************************************
We will start - Have fun!
Remember to save your work on a regular basis
******************************************************************
1.
Open a new transparent image of 850x500 px
2.
Fil with #FFFFFF
3.
Layers - New Raster Layer
4.
Selections - Select All....
5.
Open 3058-marytube-2025
Edit - Copy
6.
Edit -Paste Into Selection...
7.
Selections - Select None
8.
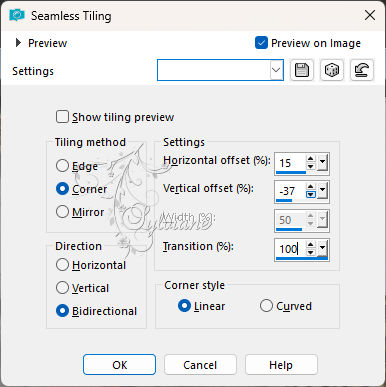
Effects - Image Effects - Seamles Tiling...
9.
Adjust - blur - gaussian blur
Range : 30
10.
Effects – plugin - PspShares - hdj1- Krater
11.
Layers - Merge - Merge Down.
12.
Adjust – scharpness – scharpen more
13.
Layers - New Raster Layer
14.
Maak een lineaverloop

15.
Effects – plugin - Filter Factory Gallery -G - Bevel 1.5....
16.
Activate selection tool
make a selection
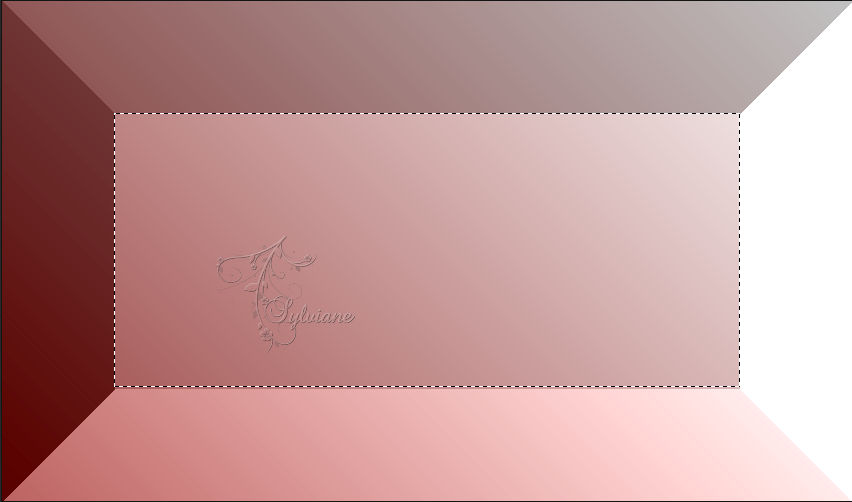
Edit – Cut
Selection - Select None
17.
Image - Resize -80%
No check mark on resize all layers
18.
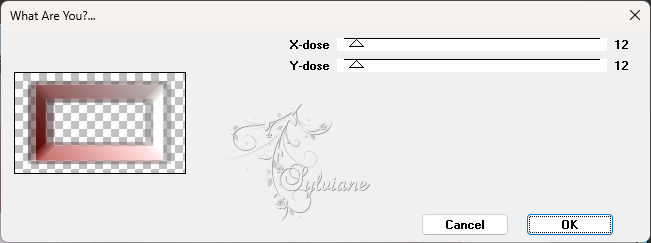
Effects – plugin - Toadies - What Are You?
19.
Effects - Image Effects - Seamles Tiling...
20.
Adjust- Sharpness - Sharpen More.
21.
Activate Raster 1
22.
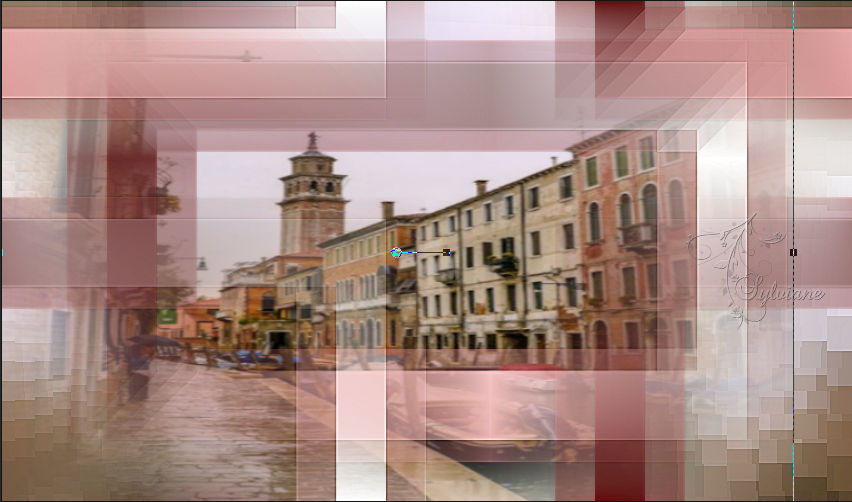
Open 3058-marytube-2025
Edit - Copy
Edit - Paste as new layer
Adjust as shown in the picture below.
23.
Opacity. 24
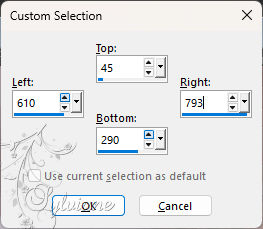
24.
Activate Selection - Custom selection

25.
Layers - New Raster Layer
Fill with :# FFFFFFFF
26.
Selection - modify - contract – 4px
Edit - Cut.
28.
Layers - New Raster Layer
29.
Open 3059tube-mts-2025
Edit – Copy
Edit - Paste into selection
30.
Selections - Select None
31.
Effects - 3D Effects - Drop Shadow:
-12/17/100/0 – color:#731f29
32.
this is we have:
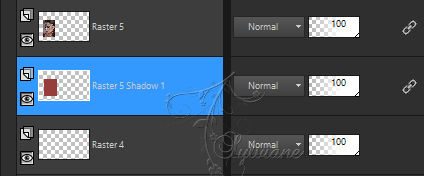
33.
Layers – arrange – move down
34.
this is we have:
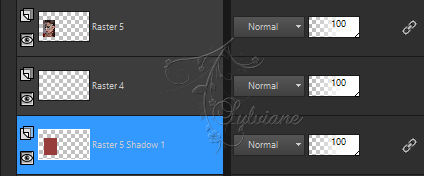
35.
Activate the top layer
Layers – merge – merge down (2x)
36.
Activate Selection - Custom selection
37.
Layers - New Raster Layer
Fill with:# FFFFFFFF
38.
Selection - modify - contract – 4px
Edit - Cut.
39.
Layers - New Raster Layer
Open 3059tube-mts-2025
Edit – Copy
Edit - Paste into selection
Selections - Select None
40.
Effects - 3D Effects - Drop Shadow:
-12/17/100/0 – color:#731f29
41.
Layers – arrange – move down
42.
Activate the top layer
Layers – merge – merge down (2x)
43.
open maszkabal-keret-dekor-2025
Edit – Copy
Edit - Paste as new layer
Layers – arrange – move down(2x)
44.
Open maszkabál-kere -dekor1 mts-2025
Edit – Copy
Edit - Paste as new layer
45.
Image - Add Borders – Symmetric -3 px - color:#973 e3c
46.
Image - Add Borders – Symmetric -10 px – color:# FFFFFF
47.
Image - Add Borders – Symmetric -3 px – color:# 973 e3c
48.
Image - Add Borders – Symmetric - 35 px – color:# FFFFFFFF
49.
activate magic wand and select the white border
50.
Open 3058-marytube-2025
51.
Open material properties – activate pattern
and look for these , with this setting
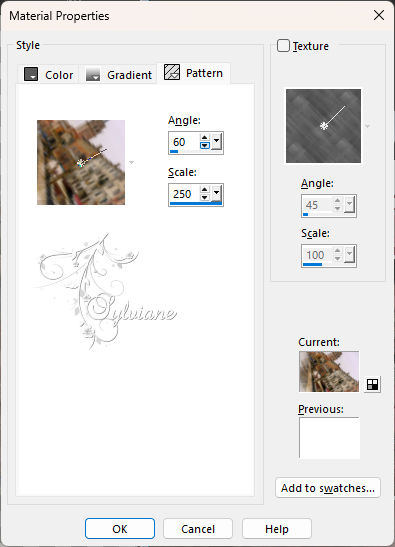
Layers - New Raster Layer
fill selection with pattern
Opacity: 60%
52.
Selections - Select None
53.
Open Tekst
Edit - Copy
Edit - Paste as new layer
place as in the example
58.
put your watermark on it
also put the author's watermark on it
Layer – merge – merge all (flatten)
Save as JPEG
Back
Copyright Translation 2024 by SvC-Design
------------------------------------------------------------------------------
Thanks to all who created