
This lesson is made with PSPX9
But is good with other versions.
© by SvC-Design

Materialen Download :
Here
******************************************************************
Materials:
Gabry -woman 386
Kat_0633
mds10576kerzensänder pspimage
******************************************************************
Plugin:
Plugin - L en K landsiteofwonders - Pia
Plugin – Unlimited 2.0 – Filter Fatory Gallery D - Vertigo
Plugin – FM Tile Tools, Saturation Emboss
Plugin – Mura Meister – Perspective Tiling
Plugin – Unlimited 2.0 – Render – Clouds (fore-/background color)
Plugin – Artistic – Rough Pastels
Plugin – FM Tile Tools - Emboss
******************************************************************
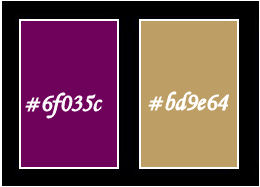
color palette
:
******************************************************************
methode
When using other tubes and colors, the mixing mode and / or layer coverage may differ
******************************************************************
General Preparations:
First install your filters for your PSP!
Masks: Save to your mask folder in PSP, unless noted otherwise
Texture & Pattern: Save to your Texture Folder in PSP
Selections: Save to your folder Selections in PSP
Open your tubes in PSP
******************************************************************
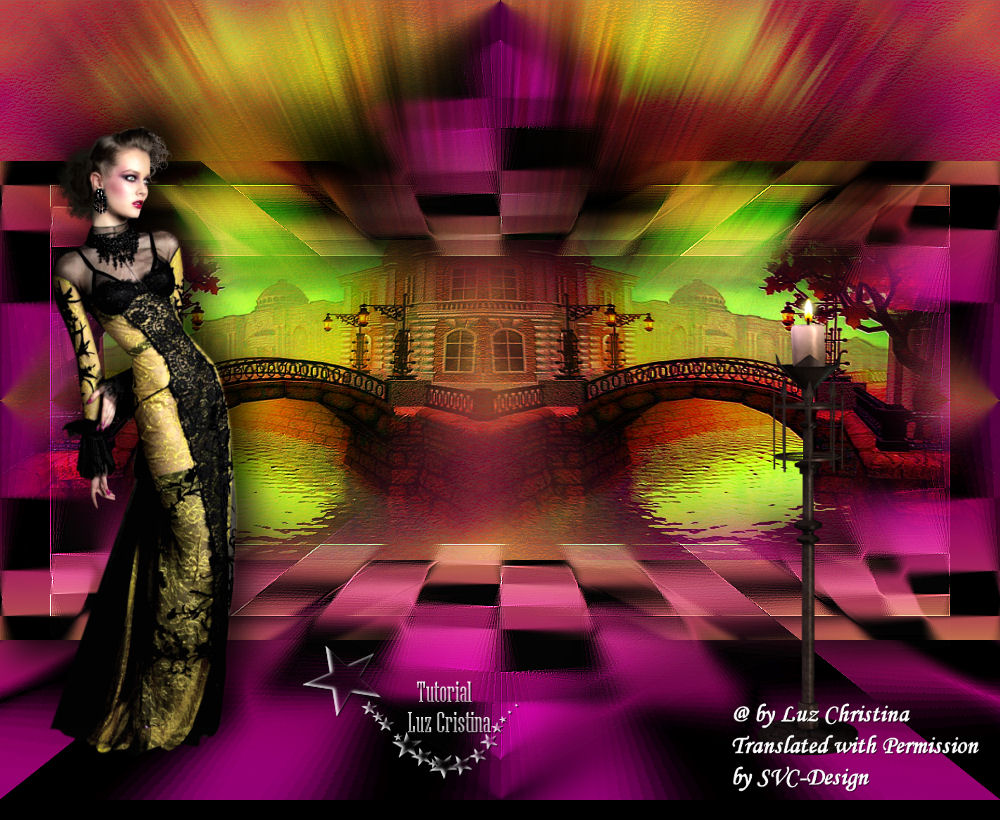
We will start - Have fun!
Remember to save your work on a regular basis
******************************************************************
1.
Open a new transparent image of 1000 X 800pixels
******************************************************************
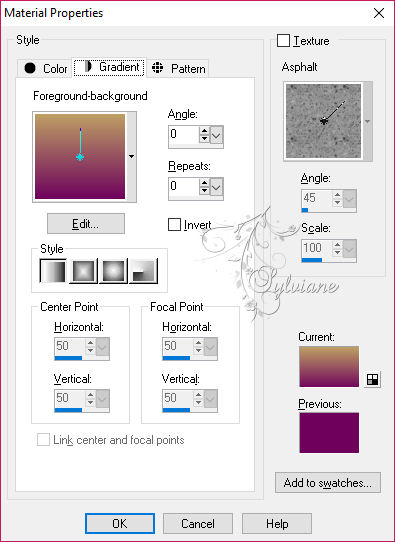
2.
foreground color palette # 6f035c and background with # bd9e64
Make a linear gradient with angle: 0 ,repet: 0 and paint
Fill this layer with the Gardient
******************************************************************
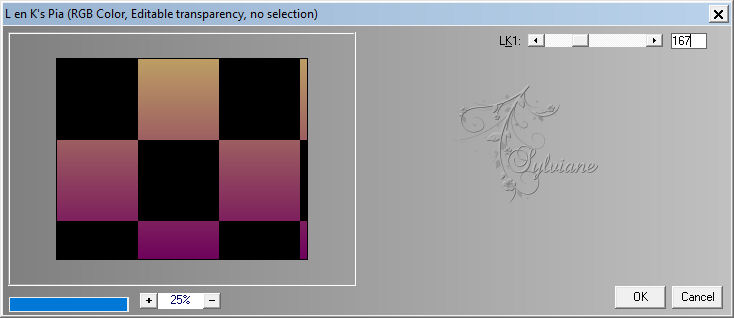
3.
Plugin - L en K landsiteofwonders - Pia
with 167
******************************************************************
4.
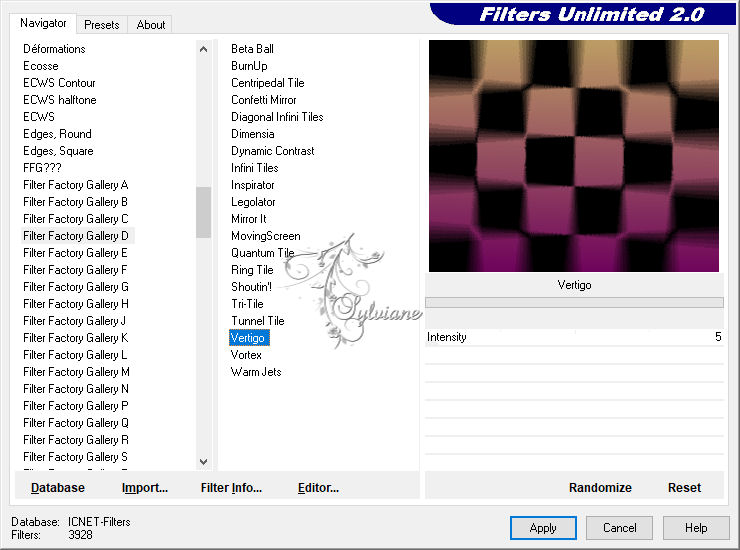
Plugin – Unlimited 2.0 – Filter Fatory Gallery D - Vertigo
with 5.
We apply the effect twice times
******************************************************************
5.
Plugin – FM Tile Tools, Saturation Emboss
(you already know that the heel is never missing)
******************************************************************
6.
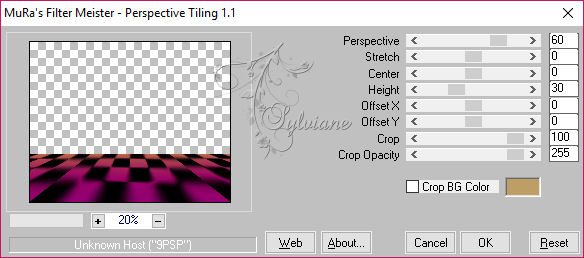
Plugin – Mura Meister – Perspective Tiling
******************************************************************
7.
Layers - duplicate
Layer duplicate
(duplicate 2 times)
Image - Mirror - Vertical Mirror
Layers - merge - merge down
******************************************************************
8.
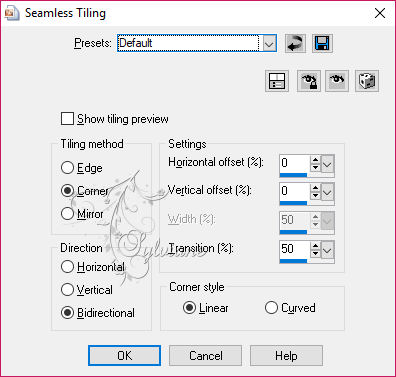
Effects - Image Effects - Seamless Tiling - default
******************************************************************
9.
Effects - 3D effects - Drop shadow
20 / 8 / 80 / 50 – color:#000000
******************************************************************
10.
Open Kat_0633
Edit - Copy
Edit - Paste as new layer
we do it to the left,
Layers – Duplicate
Image - Mirror - Flip Horizontal
******************************************************************
11.
Layer / merge / merge down and arrange move down this layer.
Blend mode : hard light
******************************************************************
12.
Layers - New Raster Layer
Layers – Arrange – Send to Bottom
Fill with Gardient from beginning
******************************************************************
13.
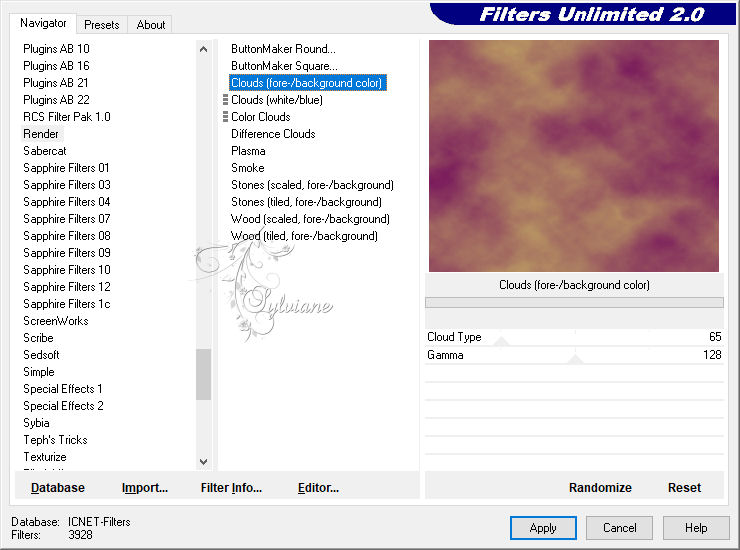
Plugin – Unlimited 2.0 – Render – Clouds (fore-/background color)
******************************************************************
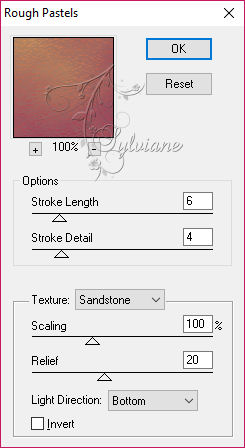
14.
Plugin – Artistic – Rough Pastels
******************************************************************
15.
Plugin – FM Tile Tools, Saturation Emboss
******************************************************************
16.
We activate copy of raster 1
Layers – Duplicate
Image - Resize - 90%
Blend mode: screen.
In their free change the blends however they want
******************************************************************
17.
Plugin – FM Tile Tools - Emboss
******************************************************************
18.
Effects - edge effects – enchance
******************************************************************
19.-
Open Gabry -woman 386
Edit - Copy
Edit - Paste as new layer
Effects - 3D effects - Drop shadow
-14 18 80 50 color:#000000
Put it on the left
******************************************************************
20.
Open mds10576kerzensänder pspimage
Edit - Copy
Edit - Paste as new layer
Effects - 3D effects - Drop shadow
-14 18 80 50 color:#000000
Put it on the right
******************************************************************
21.
Activar de misted tube
Layers - Duplicate
Adjust - blur - radial blur
Activate selection tool (Press K on your keyboard)
And enter the following parameters:
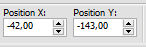
Layers - Arrange - Move Down
Plugin – FM Tile Tools - Emboss
I closed all the layers above to see better.
Already achieved this, they open their layer again and we will now if at the end
******************************************************************
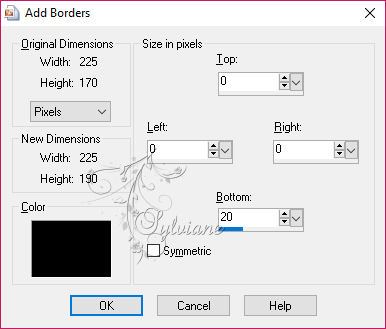
22.
Image - Add Borders -
******************************************************************
23.
Save as JPG
Back
Copyright Translation © 2017 by SvC-Design