

This lesson is made with PSPX9
But is good with other versions.
© by SvC-Design

Materialen Download :
Here
******************************************************************
Materials:
aditascreations_mask_06.jpg
Calitubes-39mulheres.pspimage
Loiva_seleção renov.PspSelection
Loiva_seleção renov1.PspSelection
Loiva_seleção renov2.PspSelection
******************************************************************
Plugin:
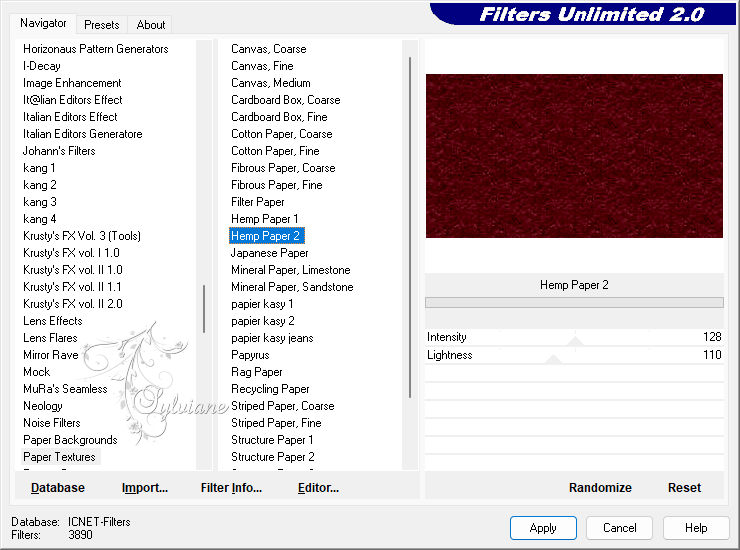
plugin - Unlimited 2.0 - paper textures - Hemp Paper 2
Plugin - VM toolbox - Blast
******************************************************************
color palette
:

******************************************************************
methode
When using other tubes and colors, the mixing mode and / or layer coverage may differ
******************************************************************
General Preparations:
First install your filters for your PSP!
Masks: Save to your mask folder in PSP, unless noted otherwise
Texture & Pattern: Save to your Texture Folder in PSP
Selections: Save to your folder Selections in PSP
Open your tubes in PSP
******************************************************************
We will start - Have fun!
Remember to save your work on a regular basis
******************************************************************
1.
Open a new transparent image of 898x500 px
paint with a dark color taken from your tube
2.
Layers - New Raster Layer
paint with a light color from your tube.
3.
Layers – Load/save mask – Load mask from disk - aditascreations_mask_06.jpg
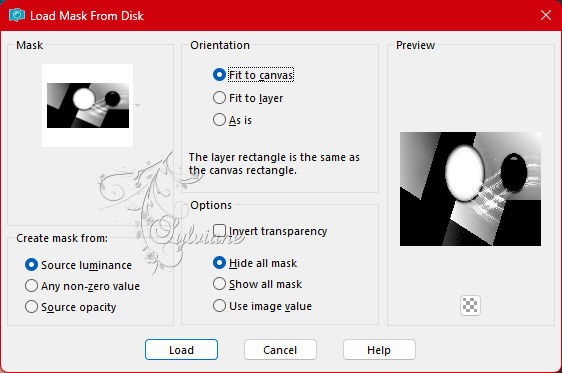
Layers - Merge - Merge Group
4.
Open aditascreations_mask_06.jpg
Edit - Copy
Edit - Paste as new layer
5.
Selections - Load / Save - Load selection from disk - Loiva_seleção renov.PspSelection

Press on delete
Do not remove the selection.
6.
Activate layer raster 1,
Selections - Invert
Do not deselect.
7.
plugin - Unlimited 2.0 - paper textures - Hemp Paper 2
8.
Selection - Select None
Activate Raster 2
9.
Selections - Load / Save - Load selection from disk - Loiva_seleção renov1.PspSelection

10.
Press on delete.
11.
Blend mode - Luminance (L)
12.
With the layer mask activated,
Selections - Load / Save - Load selection from disk - Loiva_seleção renov2.PspSelection

13.
Plugin - VM toolbox - Blast
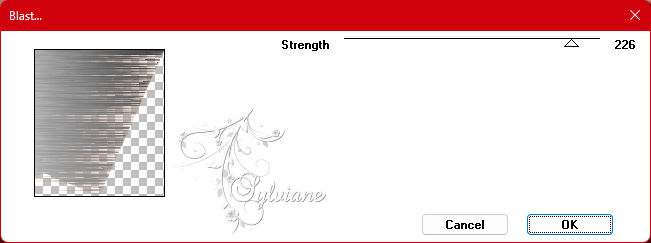
Selection - Select None
14.
Open your Calitubes-39mulheres.pspimage
Edit - Copy
Edit - Paste as new layer
resize if necessary
Image - Mirror - Horizontal Mirror
place it as in example or your taste
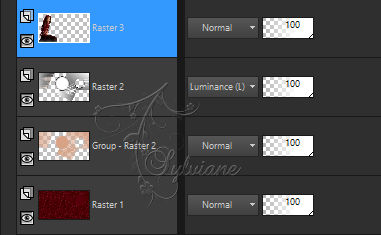
15.
Image – Add Borders –symmetric - 2 px - color:white
16.
Selection - Select All
Image – Add Borders –symmetric - 20px - dark color from your background
17.
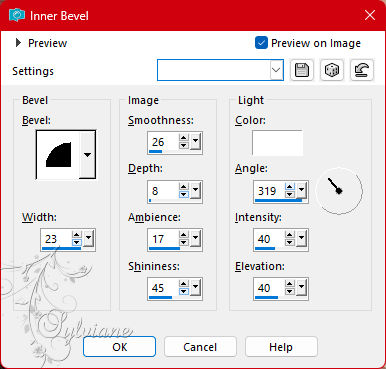
Effects – 3D effects – inner bevel
18.
Image – Add Borders –symmetric - 1 px - color:black
19.
Apply your watermark or signature
Layer – merge – merge all (flatten)
Save as JPEG
Back
Copyright Translation 2023 by SvC-Design