But is good with other versions.
******************************************************************
Materials:
LA_Mask 171
Narah_Mask_1326
Narah_Mask_1367
Narah_Mask_1467
LA_Deco Brush
LA_FARBEN
LA_Glass 7
LA_Glass 17
LA_SIG 154
LA_Skyline 1
LA_Skyline 2
LA_Skyline 3
LA_Skyline 4
LA_Word Art Claudia
LA_Word Art Claudio
******************************************************************
Plugin:
Effects - Plugins - Medhi - Wavy Lab 1.1
Effects - Plugins - Medhi - Sorting Tiles
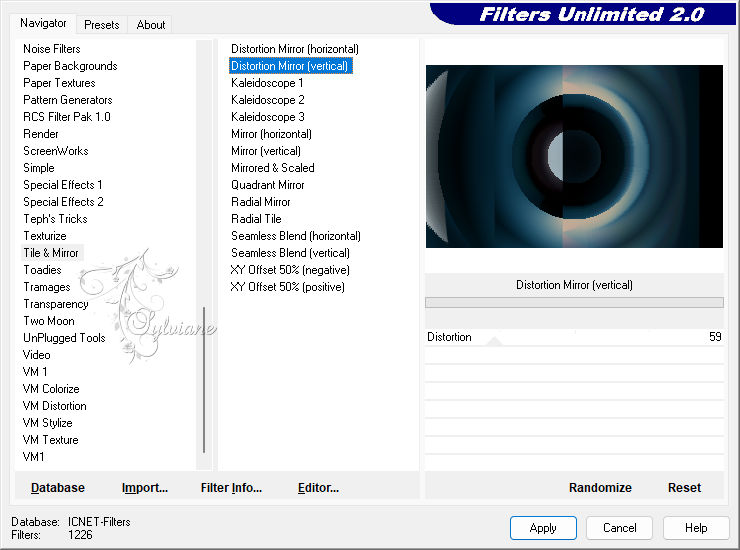
Effects – plugin - Filters Unlimited 2.0 - Tile & Mirror - Distortion Mirror (vertical)
Effects - plugin - It@lian Editors Effect - Effetto Fantasma
Effects – plugin - AP 01[ Innovations] Lines – SilverLining – dotty grid
Effects plugin - Simple - Left Right Wrap
Effects – plugin - Filters Unlimited 2.0 - &<Bkg Kaleidoscope> - 4QFlip UpperR
Effects – plugin - Alien Skin Eye Candy 5 Impact - Glass
******************************************************************
color palette
:
******************************************************************
methode
When using other tubes and colors, the mixing mode and / or layer coverage may differ
******************************************************************
General Preparations:
First install your filters for your PSP!
Masks: Save to your mask folder in PSP, unless noted otherwise
Texture & Pattern: Save to your Texture Folder in PSP
Selections: Save to your folder Selections in PSP
Open your tubes in PSP
******************************************************************
We will start - Have fun!
Remember to save your work on a regular basis
******************************************************************
Foreground color = VGF
Background color = HGF
Gradient = FV
Magic wand = ZST
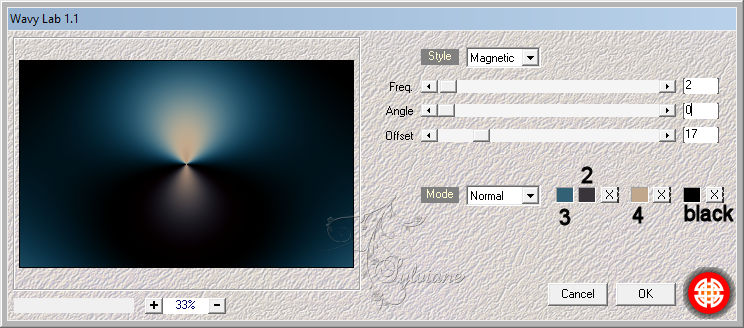
1.
Set now color 2 and the HGF to color 3
Effects - Plugins - Medhi - Wavy Lab 1.1
Set foregroundcolor to white.
Layers - New Raster Layer
fill with white.
Layers - New Mask Layer - From Image – LA_Mask 171

Layers - Merge - Merge Group
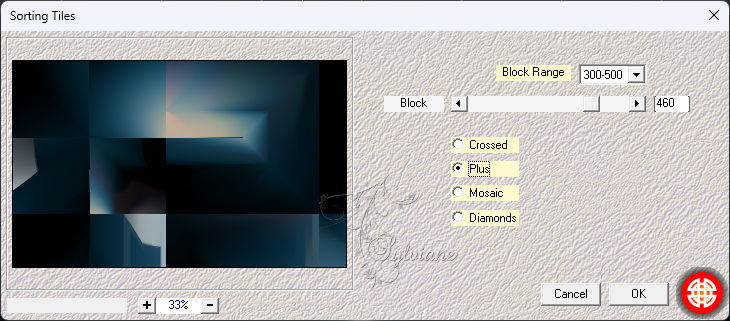
2.
Edit – copy special- copy merged
Edit - Paste as new layer
Effects - Plugins - Medhi - Sorting Tiles
Effects – plugin - Filters Unlimited 2.0 - Tile & Mirror - Distortion Mirror (vertical)
3.
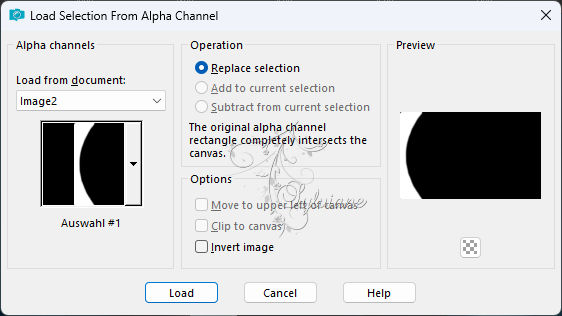
Selection - Load/save selection - Load selection from alpha channel, selection #1
press delete on your keyboard - 3 times.
Selection - Select None
Blend Mode : Exclusion or as you like it.
Set your foreground to color :2
Layers - New Raster Layer
fill with color 2.
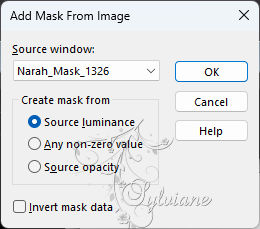
Layers - New Mask Layer - From Image – Narah_Mask_1326
Layers - Merge - Merge Group
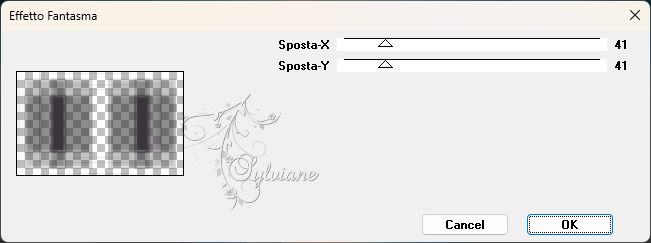
Effects - plugin - It@lian Editors Effect - Effetto Fantasma – default
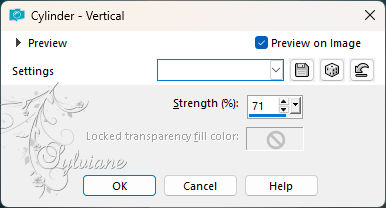
Effects - geometric effects – cylinder vertical
Blend Mode : Overlay
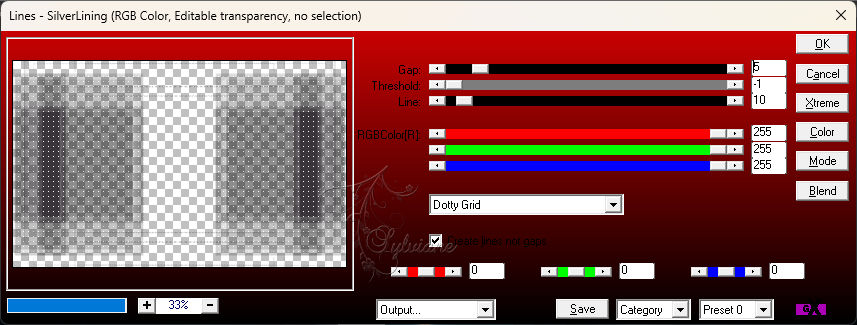
Effects – plugin - AP 01[ Innovations] Lines – SilverLining – dotty grid
4.
Open LA_Skyline 3
Edit – Copy
Edit - Paste as new layer
Blend Mode : Lighten , or to your liking.
Bring the white color back to the foreground.
Layers - New raster layer.
Fill layer with white color.
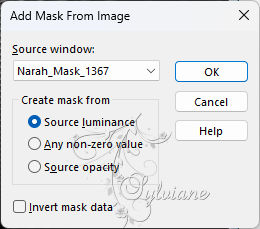
Layers - New Mask Layer - From Image – Narah_Mask_1367
Layers - Merge - Merge Group
Blendmode: Soft Light
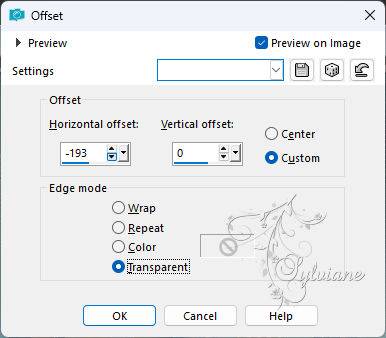
Effects - Image Effects – Offset
5.
Open the main tube
Edit - Copy.
Edit - Paste as new layer.
Move the tube down until you see the head.
(if necessary, Image>Resize, all layers unchecked)
 .
.
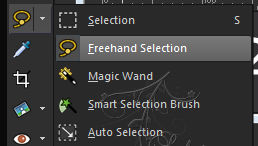
Activate the Lasso Selection tool, with these settings:

Select tube head
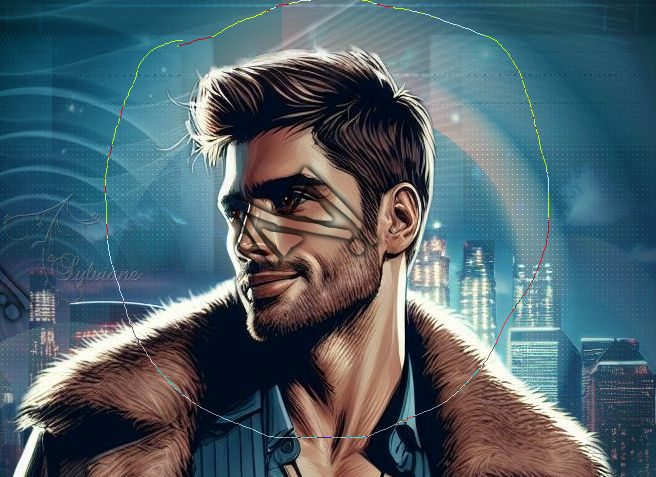
When you release the mouse button, the selection will be enlarged by the progressive effect.
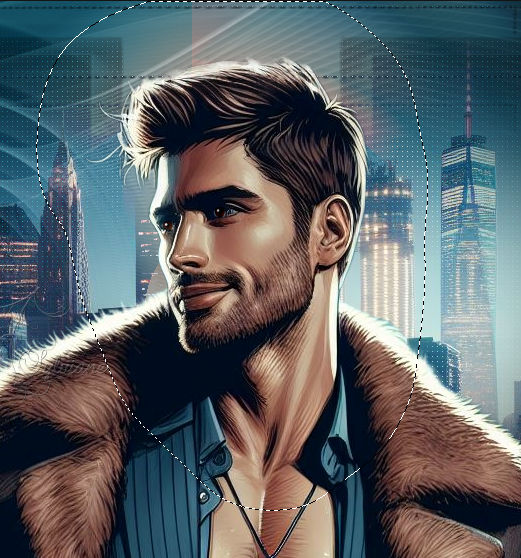
Selections - Invert.
Press delete 3/5 times on the keyboard.
Selection - Select None
Move tube to top right corner.
6.
Reduce the opacity of this layer to 60%.
Edit – copy special- copy merged
Edit - Paste as new image.
On this image
Effects plugin - Simple - Left Right Wrap
Edit - Copy.
(You can close the copy without saving it;
however, as you'll need to use it again, reduce it until you're finished).
Return to your work.
Layers - New raster layer.
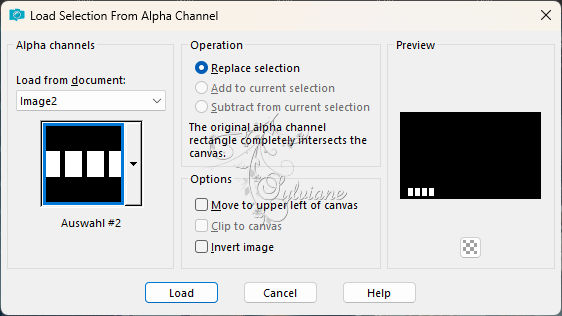
Selections - Load / Save - Load selection from Alpha Channel - Auswahl #2
Edit - Paste into selection
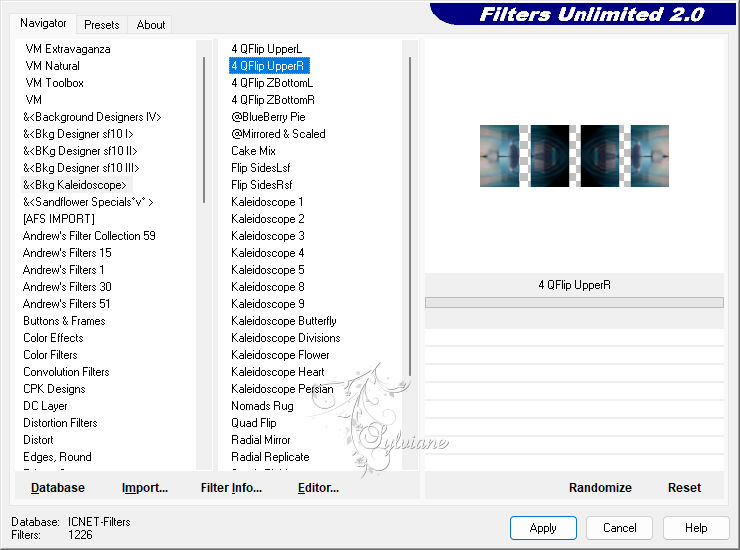
Effects – plugin - Filters Unlimited 2.0 - &<Bkg Kaleidoscope> - 4QFlip UpperR
Selection - Select None
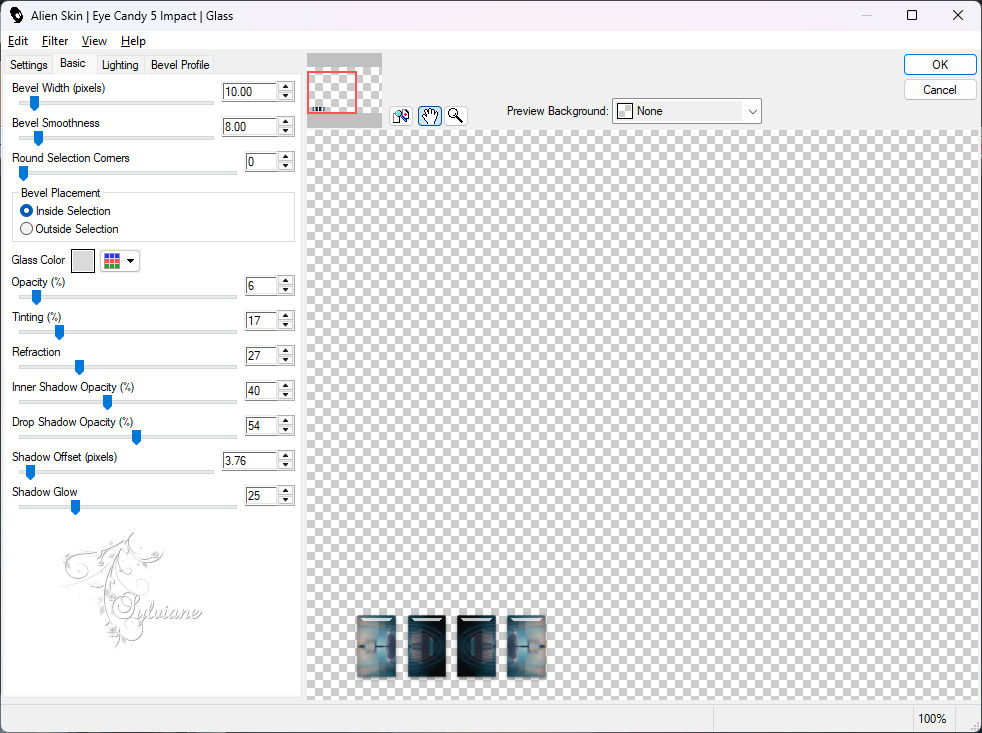
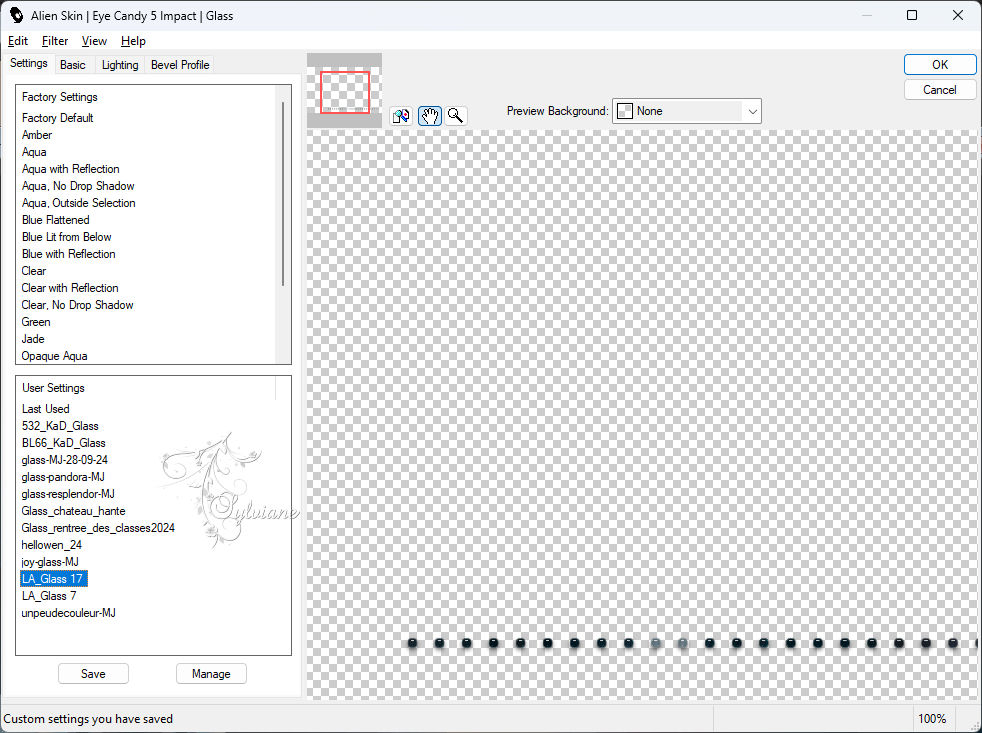
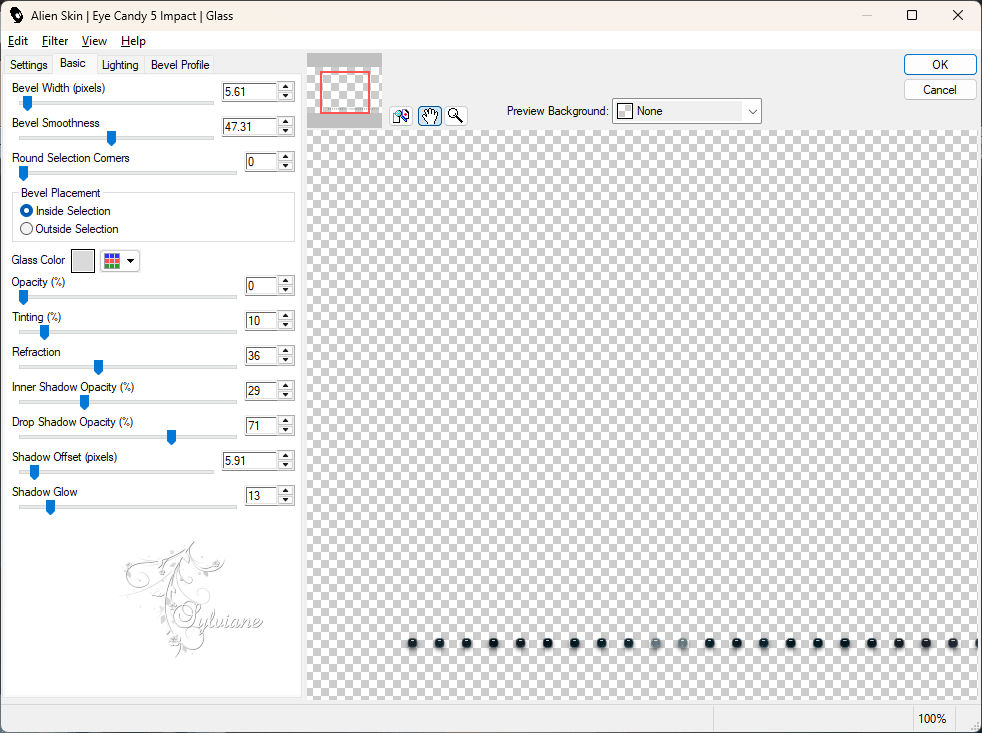
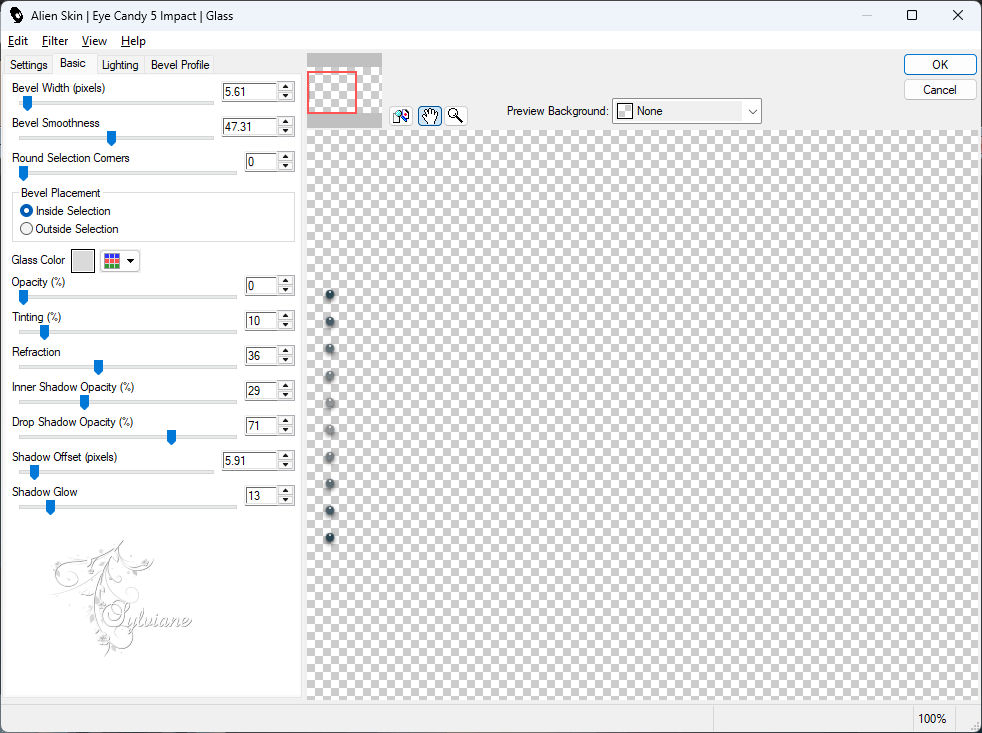
Effects – plugin - Alien Skin Eye Candy 5 Impact - Glass - preset LA_Glass 7

Layers – duplicate
7.
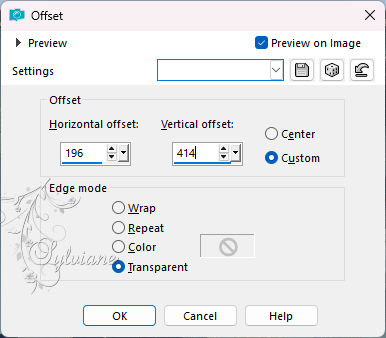
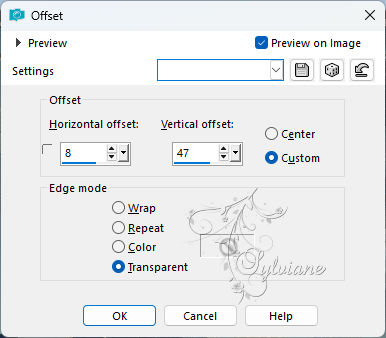
Effects - Image Effects – Offset
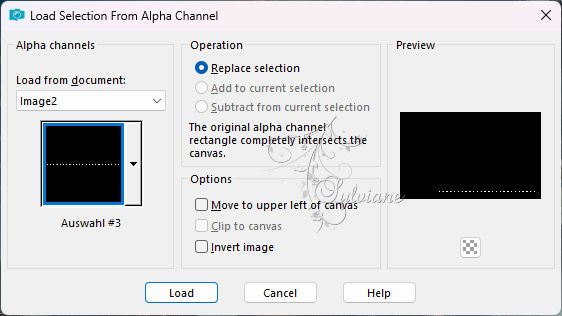
Selections - Load / Save - Load selection from Alpha Channel - Auswahl #3
Edit - Paste as new layer (the image from step 6 is still in memory)
Selections - Invert
press delete on keyboard
Selection - Select None
Effects - Plugins - Alien Skin Eye Candy 5:Impact - Glass, apply LA_Glass 17.
8.
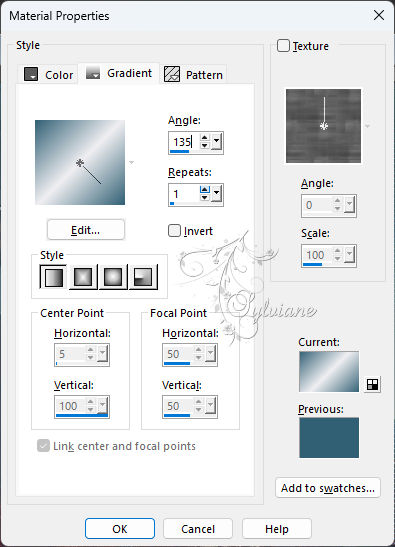
Set your foreground to color 3 only and your background to color 5
Now create a linear gradient
Layers - New raster layer.
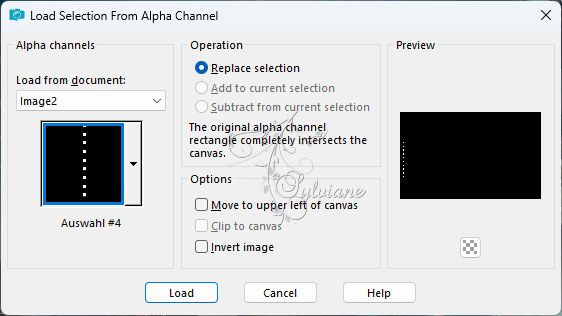
Selections - Load / Save - Load selection from Alpha Channel - Auswahl #4
fill it with your gardient
Selection - Select None
Effects - plugin - Alien Skin Eye Candy 5 Impact - Glass - apply LA_Glass 17.

9.
Foregrond color 2,
and in the background the color 4.
Layers - New raster layer.
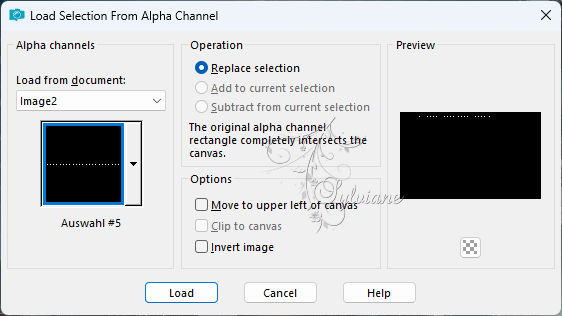
Selections - Load / Save - Load selection from Alpha Channel - Auswahl #5
Fill in the selection with the foreground color (color 2 ).
Selection - Select None
Effects - 3 D effects - Drop shadow
2/2/100/3 - color 4.
Layers - New raster layer.
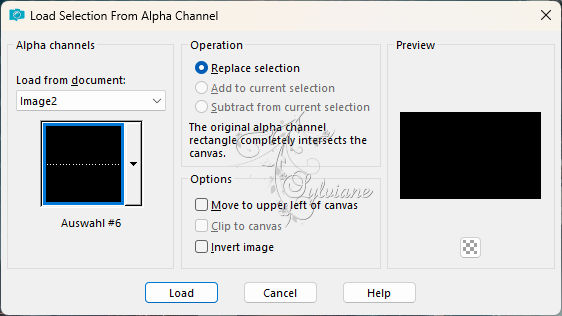
Selections - Load / Save - Load selection from Alpha Channel - Auswahl #6
Fill in the selection with the background color (color 4).
Selection - Select None
Effects - 3 D effects - Drop shadow
2/2/100/3 - Color 2.
10.
Set foreground to white
Layers - New raster layer.
Selections - Load / Save - Load selection from Alpha Channel - Auswahl #7

fill it with white
Selection - Select None
blend mode to soft light.
Open LA_Deco Brush
Edit – Copy
Edit - Paste as new layer
Effects - Image Effects – Offset
11.
Set the foreground to color 2
Layers - New raster layer.
fill with the VGF.
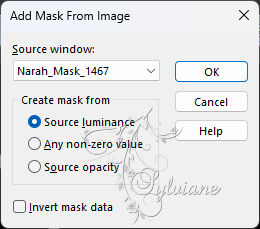
Layers - New Mask Layer - From Image - Narah_Mask_1467
Layers - Merge - Merge group
Set blend mode to dodge
12.
Open your main tube
resize it to a height between 700-585 pixels
Edit – Copy
Edit - Paste as new layer
Adjust - Sharpen - Sharpen.
Leave the tube in the middle for now
Effects - 3 D effects - Drop shadow
0/0/100/30 -color:#000000
Open LA_Word Art Claudio or claudia
Edit – Copy
Edit - Paste as new layer
It depends on your tube, whether female or male.
Place the lettering as you like, then you can move the person tube either a little more to the left or right so that the word art doesn't go too far over the tube.
13.
If you like your picture now.
Image - Add Borders – Symmetric - 1 pixel - color 2
Image - Add Borders – Symmetric - 30 pixels – color: white
activate magic wand
select the white border
Selections - Invert
Effects - 3 D effects - Drop shadow
0/0/100/30 -color:#000000
Selection - Select None
Image - Add Borders – Symmetric - 4 pixels - color 2
Image - Add Borders – Symmetric - 4 pixels - color: white
Image - Add Borders – Symmetric - 4 pixels - color 3
Image - Add Borders – Symmetric - 20 pixels - white
Image - Add Borders – Symmetric - 1 pixel - color 2
14.
put your watermark on it
Layer – merge – merge all (flatten)
Save as JPEG
Back
Copyright Translation 2024 by SvC-Design
------------------------------------------------------------------------------
Thanks to all who created