
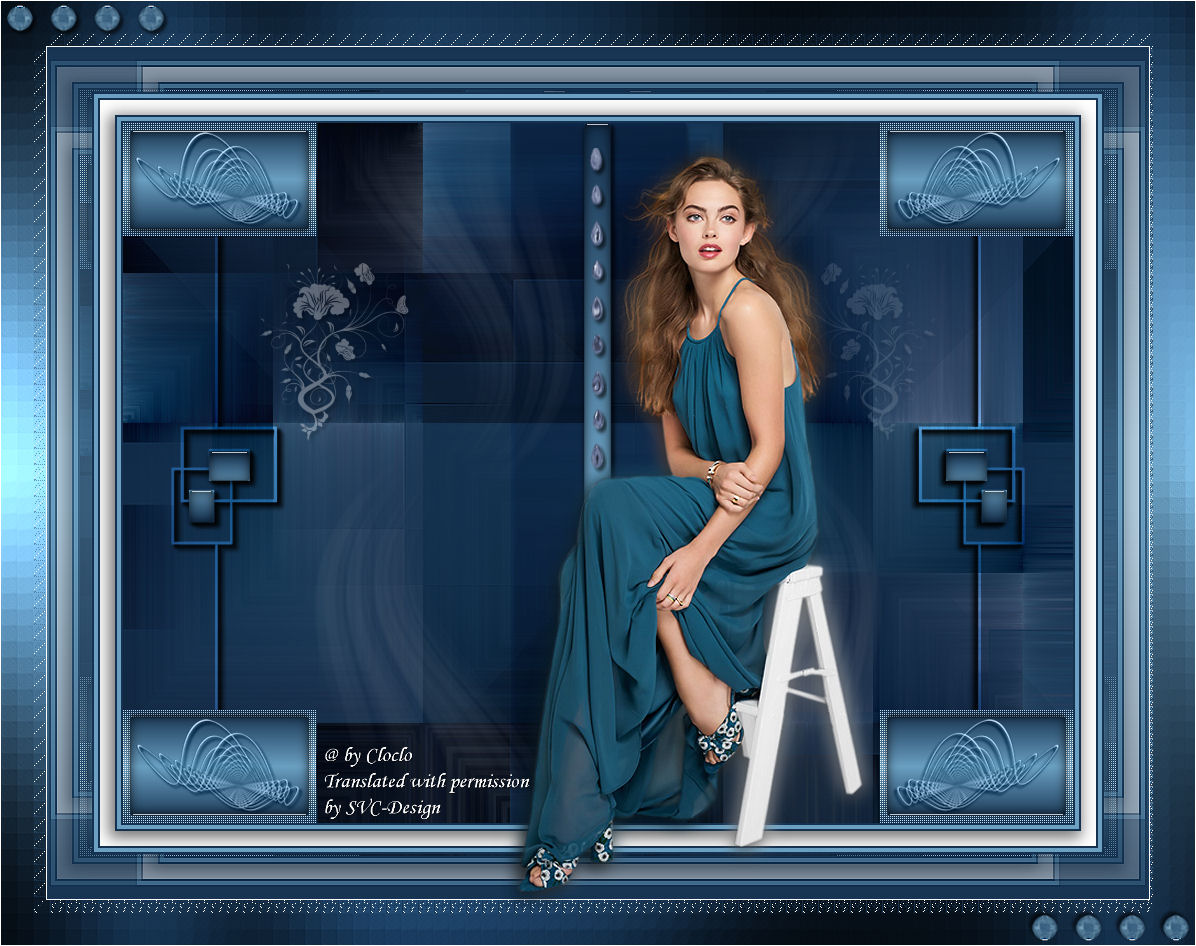
This lesson is made with PSPX9
But is good with other versions.
© by SvC-Design

Materialen Download :
Here
******************************************************************
Materials:
alpha_yedralina.pspimage
catimi.jpg
cloclo1.png
deco Cloclo.png
deco Cloclo1.png
deco Cloclo2.png
deco Cloclo3.png
deco Cloclo4.png
fond Cloclo.jpg
Preset_Glass_Cloclo.f1s
Preset_Shadow_Cloclo.f1s
tube woman - LB.pspimage
Watermark_Pour tuto.png
******************************************************************
Plugin:
Plugins - Mehdi - Sorting Tiles
Plugin – Unlimited 2.0 - AFS IMPORT - sqborder2
Plugins - Alien Skin Eye Candy 5 Impact - Glass
Plugins - Simple - Top Left Mirror
Plugins - <I.C.NET Software> - Filters Unlimited 2.0 - Toadies - What areyou?
Plugins - Graphic plus - Cross Shadow
Plugins - <I.C.NET Software> - Filters Unlimited 2.0 - & <Bkg Designer sf10 II> - Moiré Blocks
******************************************************************
color palette
:

******************************************************************
methode
When using other tubes and colors, the mixing mode and / or layer coverage may differ
******************************************************************
General Preparations:
First install your filters for your PSP!
Masks: Save to your mask folder in PSP, unless noted otherwise
Texture & Pattern: Save to your Texture Folder in PSP
Selections: Save to your folder Selections in PSP
Open your tubes in PSP
******************************************************************
We will start - Have fun!
Remember to save your work on a regular basis
******************************************************************
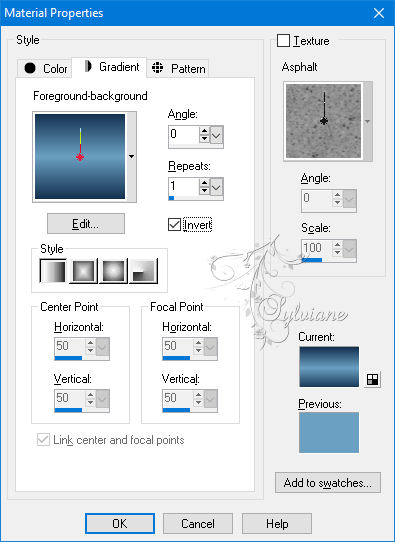
Foreground color 1 / Color background 2 / And a white
Prepare / A linear gradient
Open alpha channel
Duplicate it
Close original
Rename this raster layer1
On this alpha layer
Selection - Select all
Open fond Cloclo.jpg
Edit - copy
Go back to the alpha channel
Edit - Paste in the selection
Selection - Select None
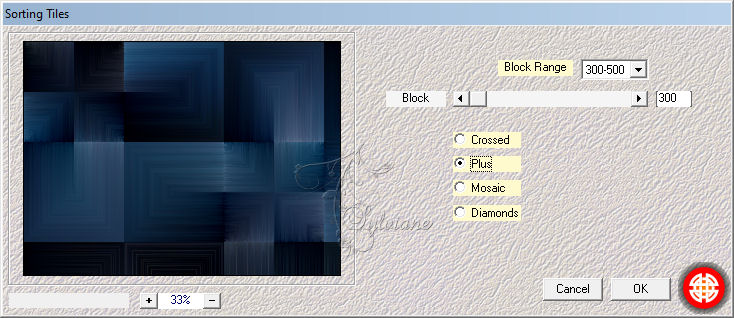
Plugins - Mehdi - Sorting Tiles
Layers - New raster layer
Fill in the background color
Open catimi.jpg
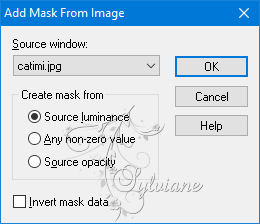
Layers - New mask layer from an image -
catimi mask
Adjust – scharpness – scharpen
Layers - Merge - Merge Group
Layers - Merge - Merge visible layers
2.
Layers - New raster layer
Selections - Load / Save - Load selection from Alpha Channel – cloclo 1
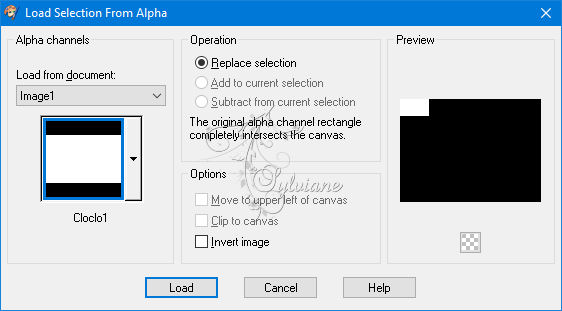
Fill with the starting gradient
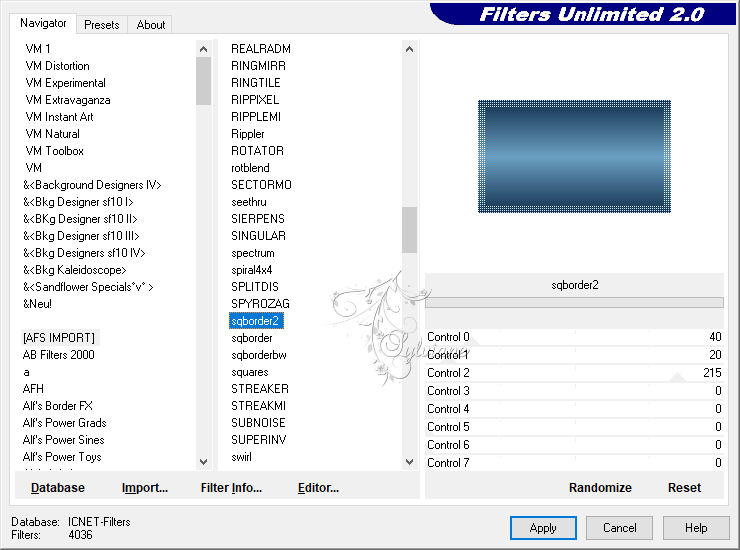
Plugin – Unlimited 2.0 - AFS IMPORT - sqborder2
3.
Selection - modify - contract - 7 pixels
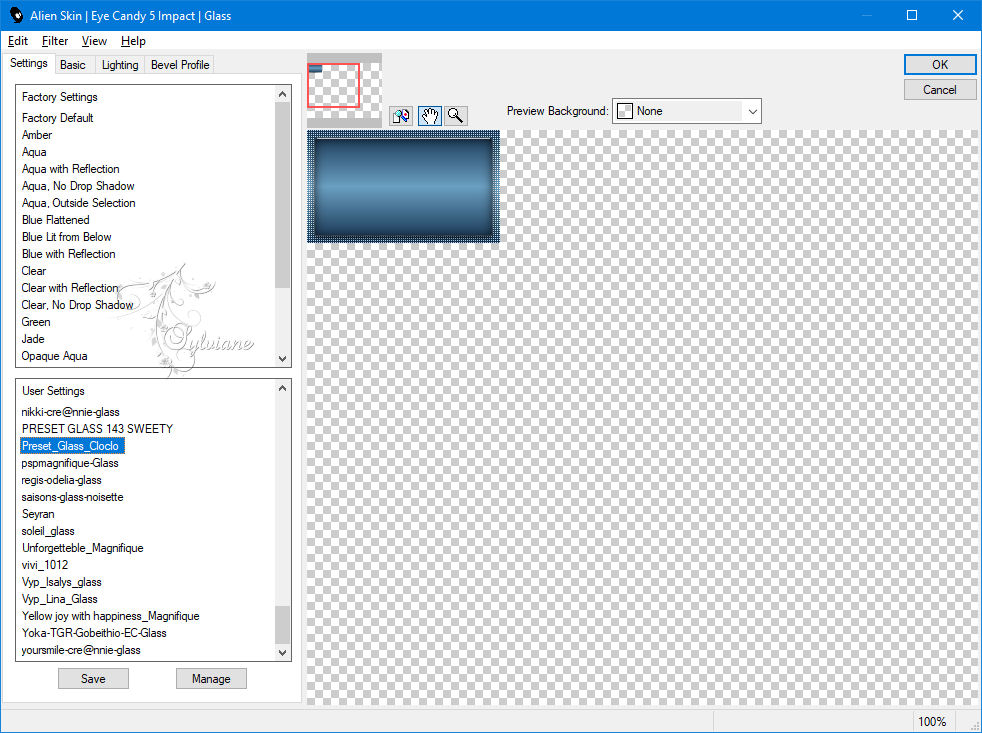
Plugins - Alien Skin Eye Candy 5 Impact - Glass / Preset Cloclo
Selection - Select None
Plugins - Simple - Top Left Mirror
Open the deco tube Cloclo
Edit - copy
Edit - Paste as new layer
Activate selection tool (Press K on your keyboard)
And enter the following parameters:
Pos X :48 – Pos Y : 98
Press M.
Layers – arrange – move down
Blendmode: overlay
Effects - 3D Effects - Drop Shadow / 3/3/65/4 / Black
Layers - Duplicate
Image - Mirror – mirror Horizontal
Layers – merge – merge down
Stay on this layer
4.
Layers - New raster layer
Selections - Load / Save - Load selection from Alpha Channel – cloclo 2
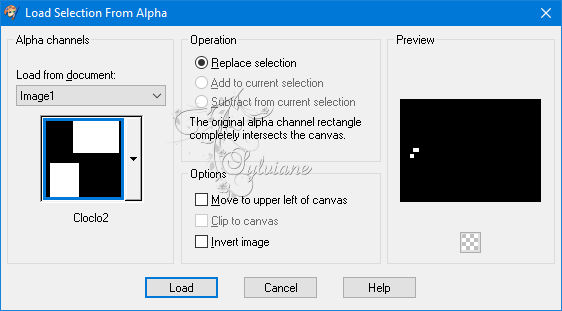
Fill with Linear gradient
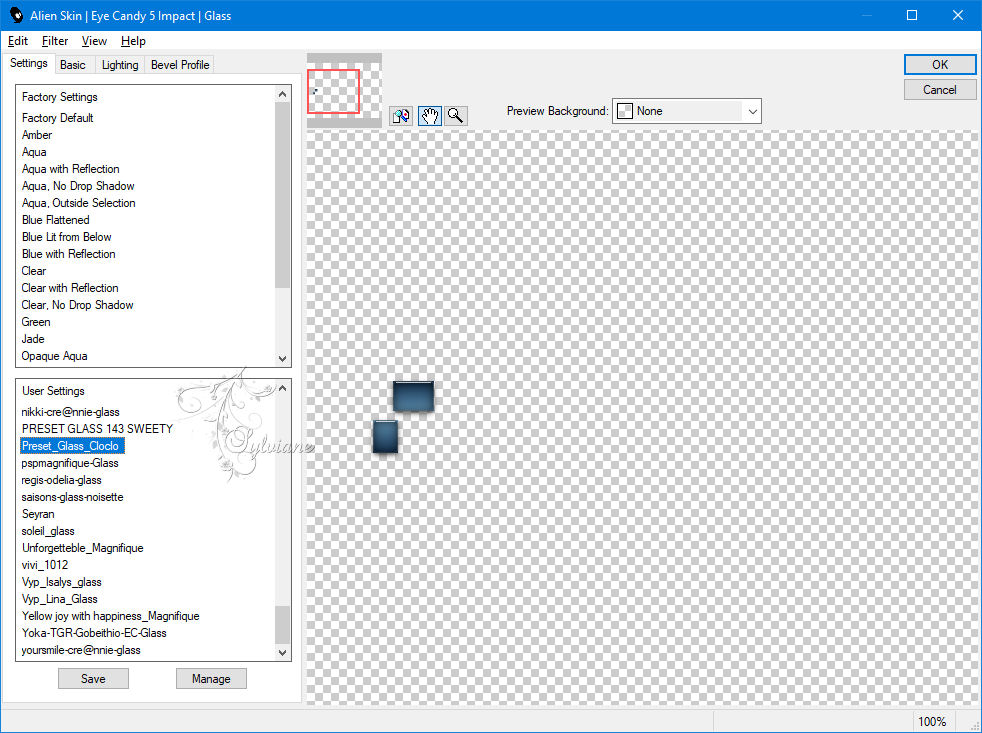
Plugins - Alien Skin Eye Candy 5 Impact - Glass - Preset Cloclo - It is in memory
Selection - Select None
Layers - Duplicate
Image - Mirror – mirror Horizontal
Layers – merge – merge down
Go back to the top layer
5.
Layers - New raster layer
Selections - Load / Save - Load selection from Alpha Channel – cloclo 3
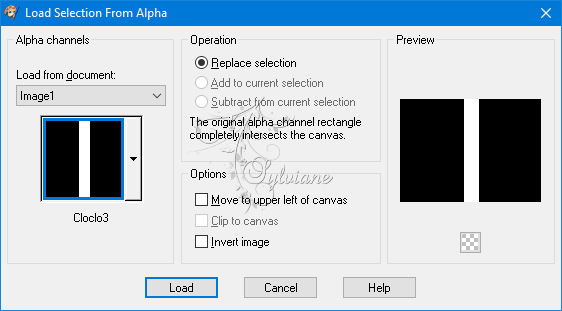
Fill with Linear gradient
Selection - Select None
Plugins - <I.C.NET Software> - Filters Unlimited 2.0 - Toadies - What areyou? - default
Blendmode: Soft light
Effects - 3D Effects - Drop Shadow / 3/3/65/4 / Black
6.
Layers - New raster layer
Selections - Load / Save - Load selection from Alpha Channel – cloclo 4
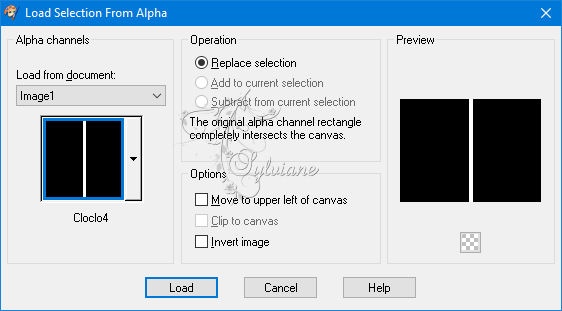
Fill with Linear gradient
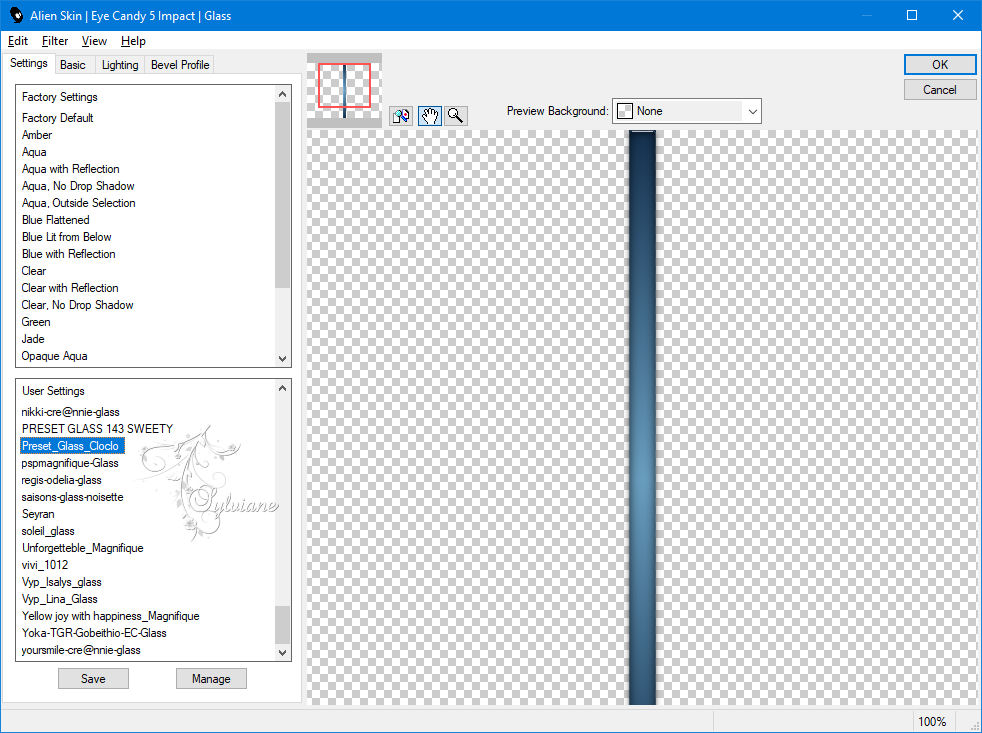
Plugins - Alien Skin Eye Candy 5 Impact - Glass - Preset Cloclo
Selection - Select None
Effects - 3D Effects - Drop Shadow / 3/3/65/4 / Black
Open the deco tube Cloclo1
Edit - copy
Edit - Paste as new layer
Do not move
Open the Cloclo2 deco tube
Edit - copy
Edit - Paste as new layer
Do not move
In the layers palette - Bring white to foreground
7.
Layers - New raster layer
Look for the bruches_Cloclo brush / Which you will have previously put in your Corel folder / Size 190 / Place correctly

Effects - 3D Effects - Drop Shadow
3/3/65/4 color:#000000
opacity to 35
Layers - Duplicate
Image - Mirror – mirror Horizontal
Layers – merge – merge down
Open the deco tube Cloclo3
Edit - copy
Edit - Paste as new layer
Do not move
He is in the right place
Blendmode: Luminance ( legacy)
8.
Image - Add a border of 2 pixels - Background
Image - Add a border of 4 pixels - Foreground
Image - Add a border of 2 pixels - Background
Selection - Select All
Image add a border of 15 pixels - White color
Plugins - Alien Skin Eye Candy 5 Impact - Perspective Shadow - Preset Shadow Cloclo
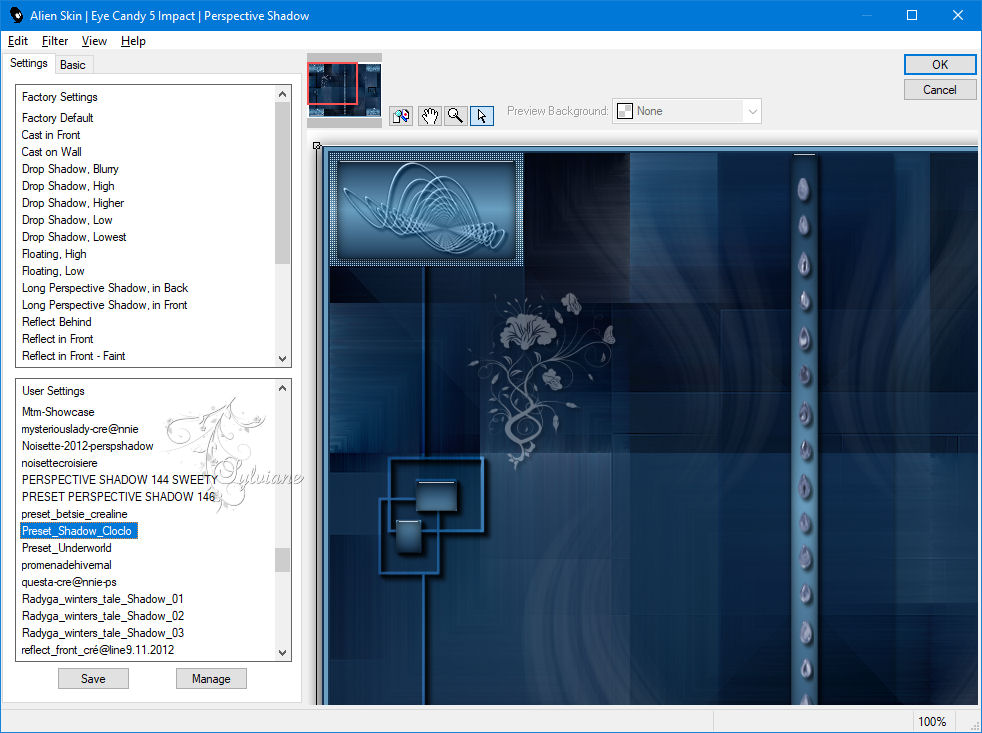
Selection - Select None
Image - Add a border of 2 pixels - Background
Image - Add a border of 4 pixels - Foreground
Image - Add a border of 2 pixels - Background
Selections - Select all
Image add a border of 45 pixels - White color
Selections - Invert
Fill from the linear gradient
Plugins - Graphic plus - Cross Shadow - Default
9.
Plugins - <I.C.NET Software> - Filters Unlimited 2.0 - Toadies - What areyou? - default
Adjust – scharpness – scharpen
Selection - Select None
Image - Add a border of 1 pixel -color: #ffffff
Selections - Select all
Image add a border of 45 pixels - color:#ffffff
Selection - Invert
Fill of the starting linear gradient
Plugins - Graphic plus - Cross Shadow - Default
Selection - Select None
Plugins - <I.C.NET Software> - Filters Unlimited 2.0 - & <Bkg Designer sf10 II> - Moiré Blocks
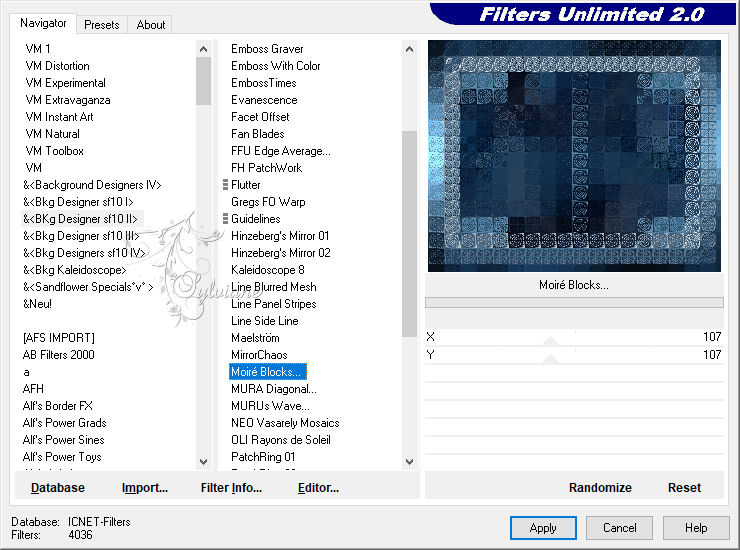
Selection - Select None
Image - Add a border of 1 pixel - color:#ffffff
10.
Open deco Cloclo4.png
Edit - copy
Edit - Paste as new layer
Do not move
Open the woman tube of LB
Edit - copy
Edit - Paste as new layer
Image / Resize to 110 %
All layers unchecked
Place correctly - See final
Layers - Duplicate
Activate the layer below
Adjust - blur - gaussian blur
Radius at 10
Activate the top layer
Plugins - Alien Skin Eye Candy 5 Impact - Perspective Shadow - Preset Shadow Cloclo
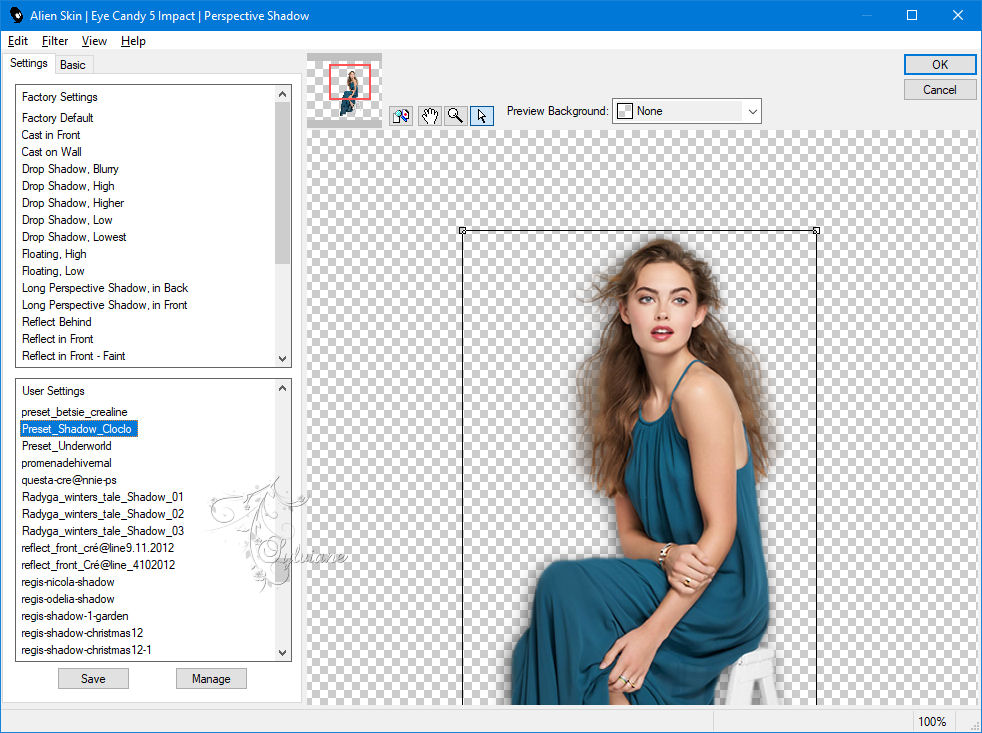
Adjust – scharpness – scharpen
Put my watermark
Layer – merge – merge all (flatten)
Image - Resize to 1000 pixels wide
Adjust - Sharpness - Sharpness
Save as JPEG
Back
Copyright Translation © 2021 by SvC-Design