
This lesson is made with PSPX9
But is good with other versions.
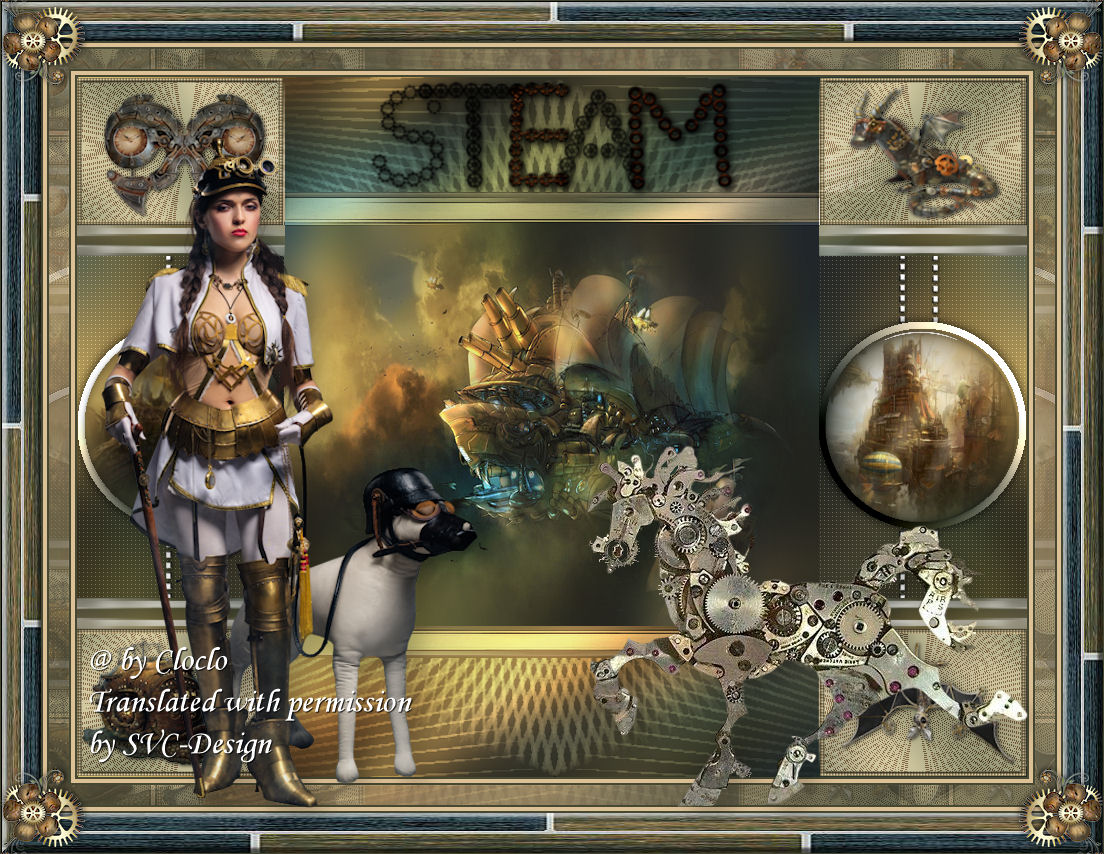
© by SvC-Design

Materialen Download :
Here
******************************************************************
Materials:
alpha_krys_steampunk.pspimage
artimage.png
coins Cloclo.png
deco_Cloclo.png
deco_Cloclo1.png
deco_Cloclo2.png
deco_Cloclo3.png
deco1.png
deco2.png
deco3.png
deco4.png
fond_Cloclo.jpg
Glass_Steampunk_Cloclo.f1s
image.jpg
KRYSSTEAMPUNK15-07-16-177.png
misted_Cloclo.png
misted_Cloclo1.png
misted_Cloclo2.png
Narah_Mask_1383.jpg
Shadow_Steampunk_Cloclo.f1s
texte_Cloclo.png
Watermark_Pour tuto.png
******************************************************************
Plugin:
Plugin - FitersUnlimited 2.0 - DCspécial - Psych
Plugin - Simple - Top Left Mirror
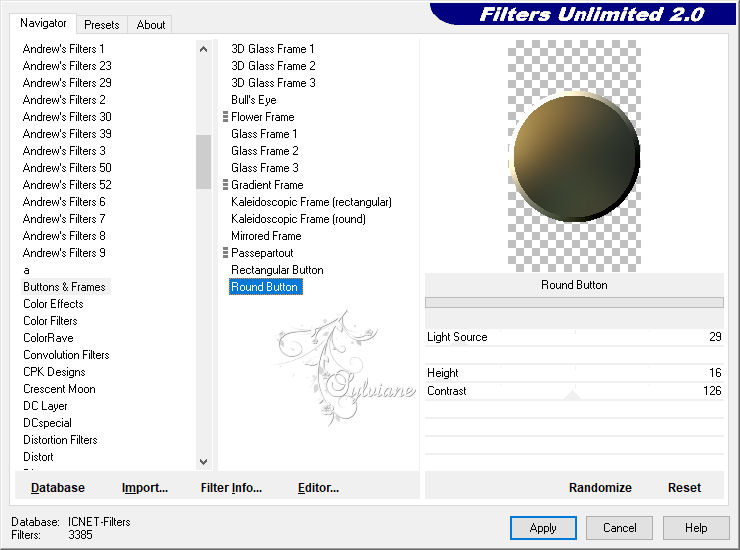
Plugin - Filters Unlimited 2.0 - Buttons & Frames - Round Button
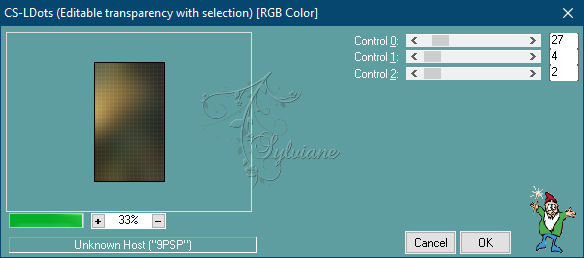
Plugin - Carolaine and Sensibility - CS-LDots
Plugin - Alien Skin Eye Candy5:Impact Glass
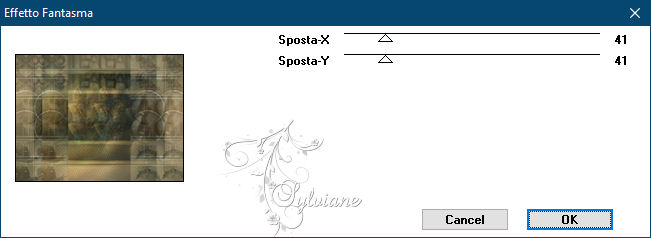
Plugin - FitersUnlimited 2.0 - It©lian Editors Effect - Effecto Fantasma
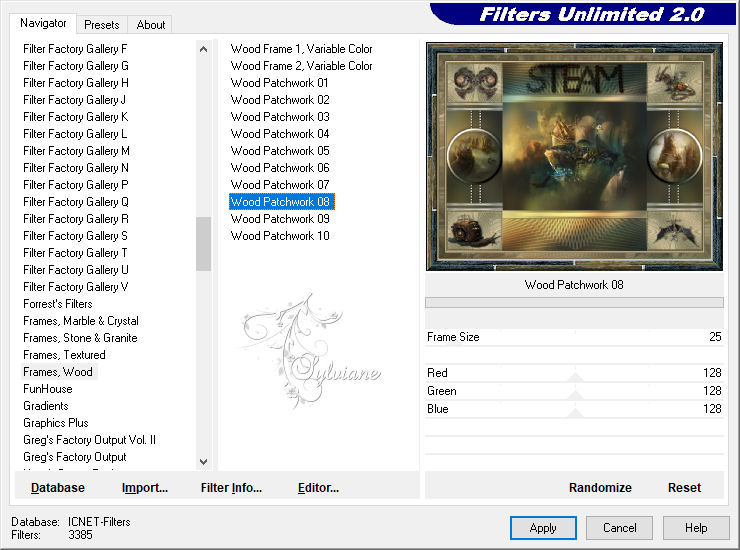
Plugin - FitersUnlimited 2.0 - Frames Wood - Wood Patchwork 08
Plugin - Alien Skin Eye Candy5:Impact - perspective schadow
******************************************************************
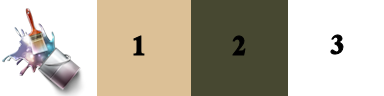
color palette
:
******************************************************************
methode
When using other tubes and colors, the mixing mode and / or layer coverage may differ
******************************************************************
General Preparations:
First install your filters for your PSP!
Masks: Save to your mask folder in PSP, unless noted otherwise
Texture & Pattern: Save to your Texture Folder in PSP
Selections: Save to your folder Selections in PSP
Open your tubes in PSP
******************************************************************
We will start - Have fun!
Remember to save your work on a regular basis
******************************************************************
1.
In the Palette of Styles and Textures / Color Foreground 1 / Color Background 2
Open the alpha channel krys_steampunk
To duplicate it
Rename it raster1
2.
Open image.jpg
Edit - Copy
On the alpha channel
Selection - Select All
Edit - Paste into selection
Selection - Select None
Adjust - blur - gaussian blur
Range: 30
Layers - Duplicate
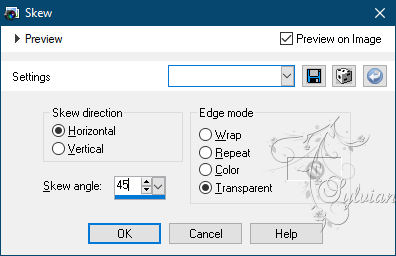
Effects - geometric effects - skew
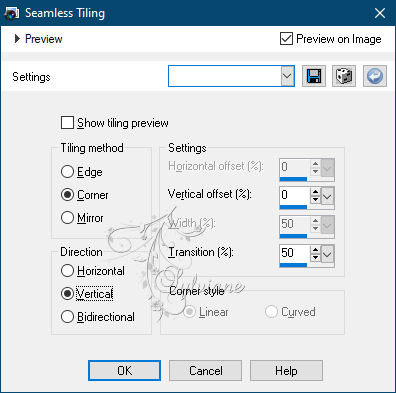
Effects - Image Effects - Seamless Tiling
Layers - Merge - Merge visible layers
3.
Layers - New Raster Layer
Fill with color 1
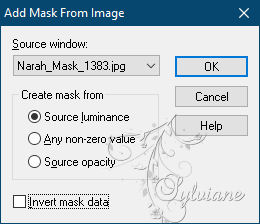
Open the mask Narah_Mask_1383
Layers - New Mask Layer - From Image- Narah_Mask_1383
Adjust – scharpness – scharpen more
Layers - Merge - Merge Group
Layers - Duplicate
Image - Mirror – mirror Horizontal
Layers - Merge - Merge visible layers
Layers - Duplicate
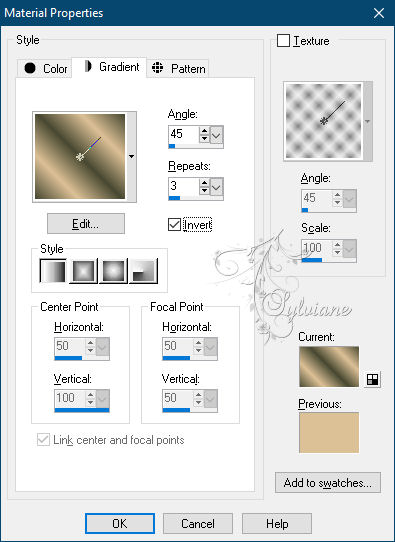
Prepared a linear gradient
Layers - New Raster Layer
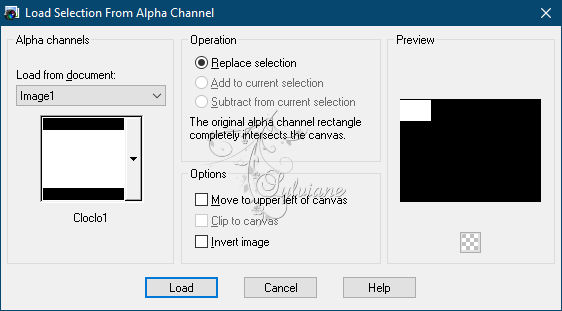
Selections - Load / Save - Load selection from Alpha Channel - Cloclo1
Fill in gradient
Adjust - blur - gaussian blur
Range: 30
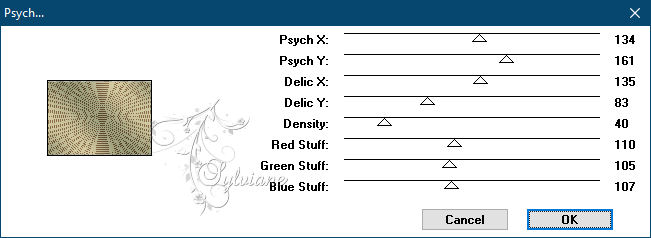
Plugin - FitersUnlimited 2.0 - DCspécial - Psych...
4.
Selections - modify - select selection borders
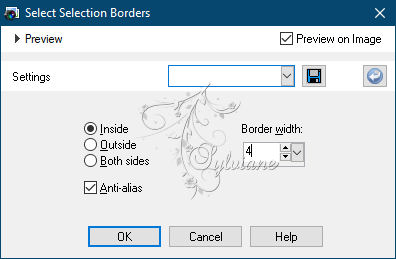
Fill with color 1
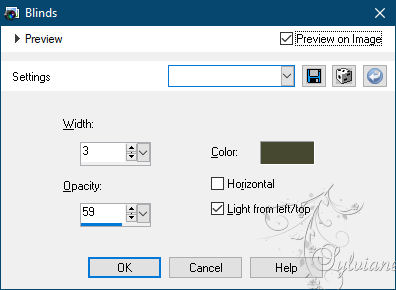
Effects - Texture Effects – Blinds - Background Color
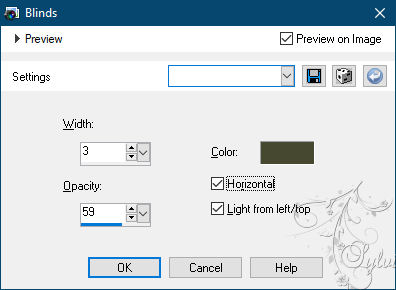
Repeat the Texture Effects - Blinds again with the same settings but now also with "Horizontal" checked
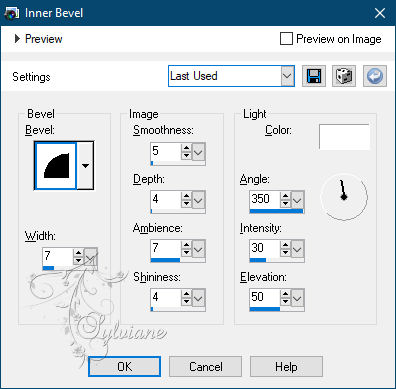
Effects – 3D effects – inner bevel
Selection - Select None
5.
Plugin - Simple - Top Left Mirror
Layers - Merge - Merge visible layers
Layers - New raster layer
Selections - Load / Save - Load selection from Alpha Channel - Cloclo2
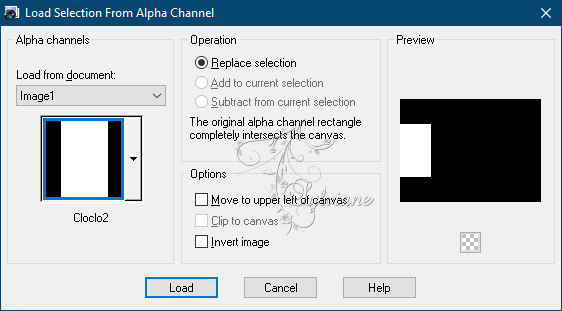
Open fond_Cloclo.jpg
Edit - Copy
Edit - Paste into selection
Adjust - blur - gaussian blur
Range: 30
Keep Select
Plugin - Filters Unlimited 2.0 - Buttons & Frames - Round Button - deflaut
Selection - Select None
Effects - 3D effects - Drop shadow
0 / 0 / 80 / 16 - Color background
Layers - Duplicate
Image - Mirror – mirror Horizontal
Layers – merge – merge down
6.
Layers - New raster layer
Selections - Load / Save - Load selection from Alpha Channel - Cloclo3
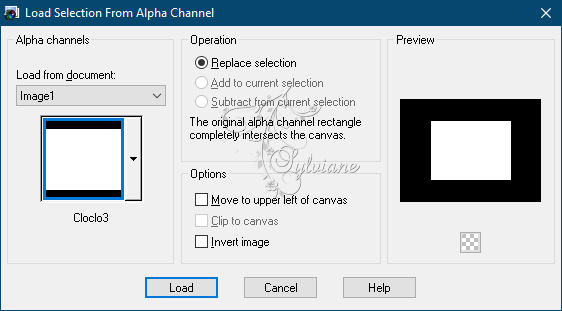
Open fond_Cloclo.jpg
Edit - Copy
Edit - Paste into selection
Adjust - blur - gaussian blur
Range: 10
Stay Selected
Open misted_Cloclo.png
Edit - Copy
Edit - Paste into selection
Selection - Select None
Activate the bottom layer
Layers - New raster layer
Selections - Load / Save - Load selection from Alpha Channel - Cloclo2
Open fond_Cloclo.jpg
Edit - Copy
Edit - Paste into selection
Adjust - blur - gaussian blur
Range: 30
Stay Select
Plugin - Carolaine and Sensibility - CS-LDots
Adjust – scharpness – scharpen more
Selection - Select None
7.
Layers - Duplicate
Image - Mirror – mirror Horizontal
Layers – merge – merge down
Activate the bottom layer
Layers - New raster layer
Selection - Select All
Open deco_Cloclo2.png
Edit - Copy
Edit - Paste into selection
Selection - Select None
Blendmode : overlay
Activate the top layer
Layers - New raster layer
Selections - Load / Save - Load selection from Alpha Channel - Cloclo4
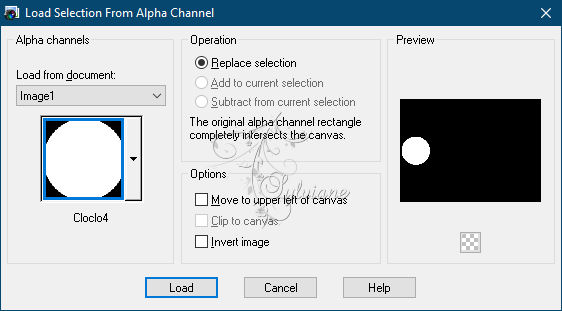
Open misted_Cloclo1.png
Edit - Copy
Edit - Paste into selection
Plugin - Alien Skin Eye Candy5:Impact Glass - Preset Glass_Steampunk_Cloclo
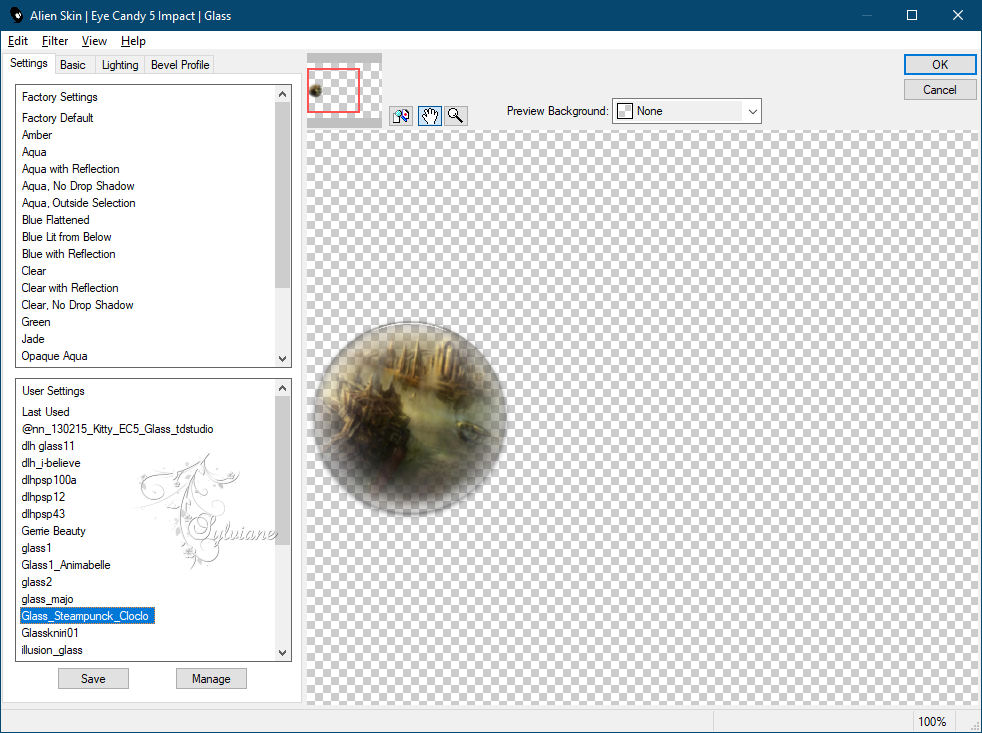
Selection - Select None
Layers - New raster layer
Selections - Load / Save - Load selection from Alpha Channel - Cloclo5
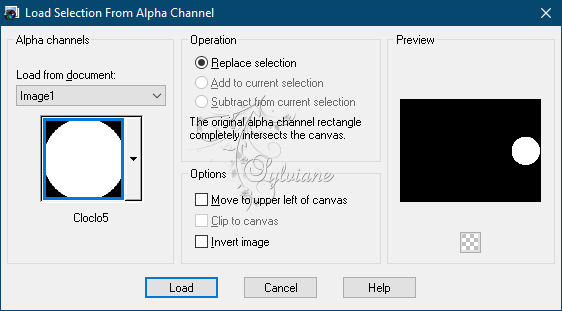
Open misted_Cloclo2.png
Edit - Copy
Edit - Paste into selection
Plugin - Alien Skin Eye Candy5:Impact Glass - Preset Glass_Steampunk_Cloclo
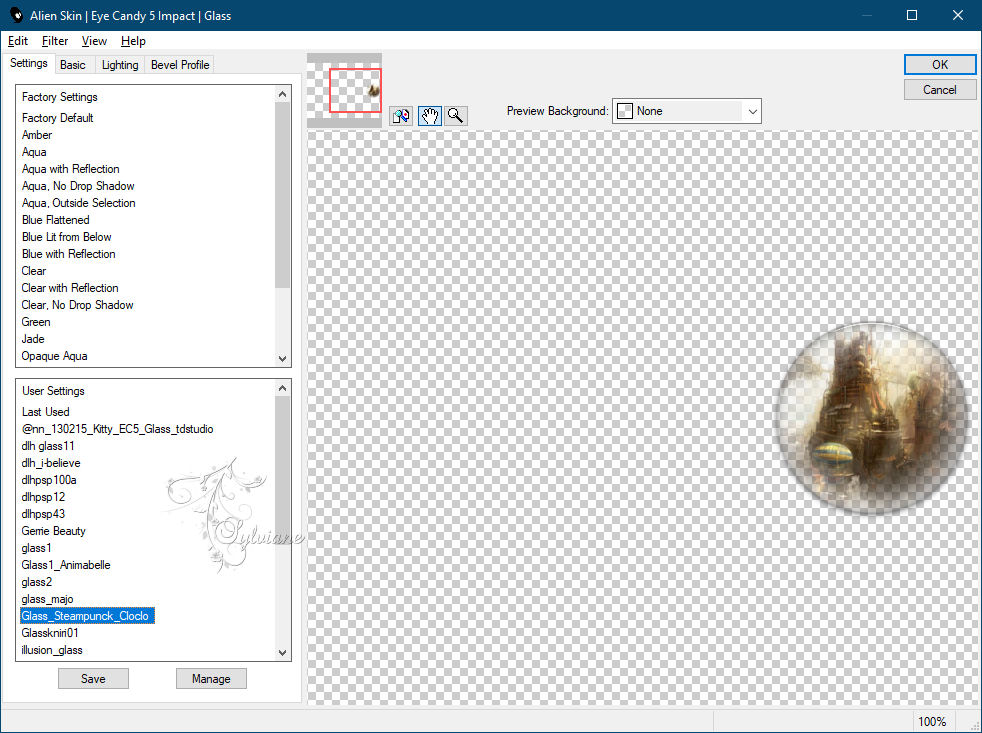
Selection - Select None
8.
Open deco_Cloclo 1.png
Edit - Copy
Edit - Paste as new layer
Do not move
Blendmode: Overlay
Open deco_Cloclo.png
Edit - Copy
Edit - Paste as new layer
Do not move
Open deco1.png
Edit - Copy
Edit - Paste as new layer
Activate selection tool (Press K on your keyboard)
And enter the following parameters:
Pos X : 24 – Pos Y :11
Press M.
Open deco2.png
Edit - Copy
Edit - Paste as new layer
Activate selection tool (Press K on your keyboard)
And enter the following parameters:
Pos X : 2 – Pos Y :559
Press M.
Open deco3.png
Edit - Copy
Edit - Paste as new layer
Activate selection tool (Press K on your keyboard)
And enter the following parameters:
Pos X :769 – Pos Y : 6
Press M.
Open the tube deco4
Edit - Copy
Edit - Paste as new layer
Activate selection tool (Press K on your keyboard)
And enter the following parameters:
Pos X :761 – Pos Y : 563
Press M.
Open texte_Cloclo.png
Edit - Copy
Edit - Paste as new layer
Activate selection tool (Press K on your keyboard)
And enter the following parameters:
Pos X : 293 – Pos Y : 3
Press M.
Effects - 3D effects - Drop shadow
2 / 2 / 100 / 10 color:#000000
You place the raster3
The third starting from the bottom
9.
Open deco_Cloclo3.png
Edit - Copy
Edit - Paste as new layer
Blendmode: overlay
Effects - 3D effects - Drop shadow
/ 1 / 1 / 70 / 5 color:#000000
Image - Add Borders -2-pixel - Color 2
Image - Add Borders -4-pixel - Color 1
Image - Add Borders -2 pixel - Color 2
Selection - Select All
Image - Add Borders - 20 pixels – color:#ffffff
Selections - Invert
Fill in the Linear Gradient from the start
Plugin - FitersUnlimited 2.0 - It©lian Editors Effect - Effecto Fantasma
Adjust – scharpness – scharpen
Selection - Select None
10.
Image - Add Borders -2-pixel - Color 2
Image - Add Borders -4-pixel - Color 1
Image - Add Borders -2 pixel - Color 2
Selection - Select All
Image - Add Borders - 40 pixels – color:#ffffff
Selection / Reverse
Fill in linear gradient
Adjust - Add / Remove Noise - Add Noise

Plugin - FitersUnlimited 2.0 - Frames Wood - Wood Patchwork 08
Selection - Select None
Image - Add Borders -1-pixel - Color 2
11.
Open KRYSSTEAMPUNK15-07-16-177.png
Remove the signature
Edit - Copy
Edit - Paste as new layer
Place bottom left - See final
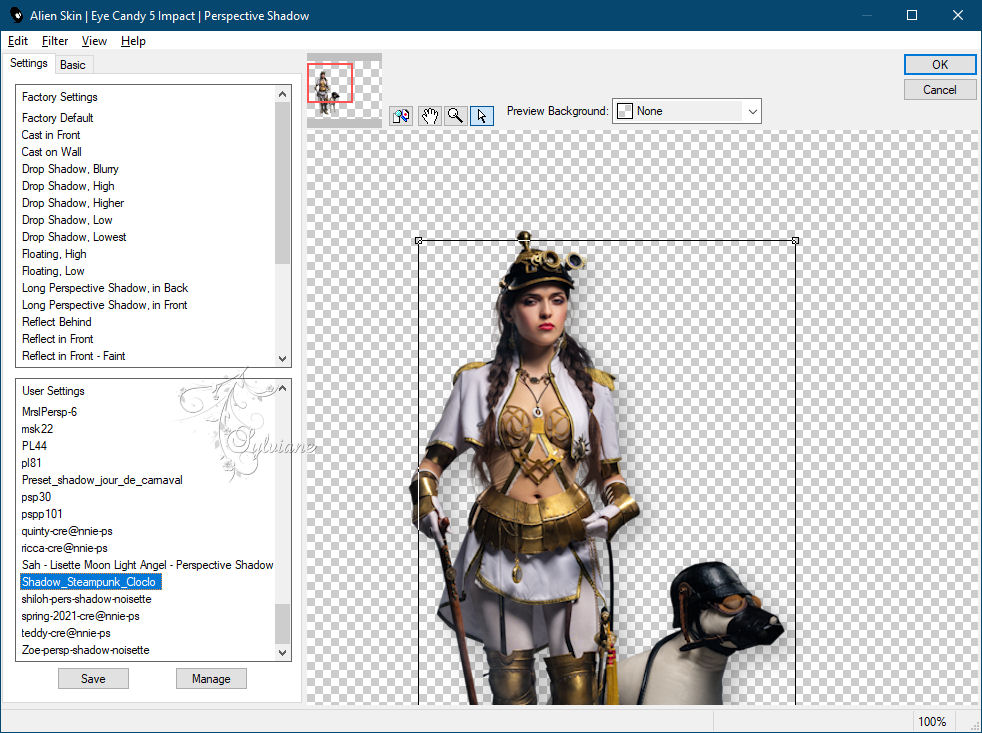
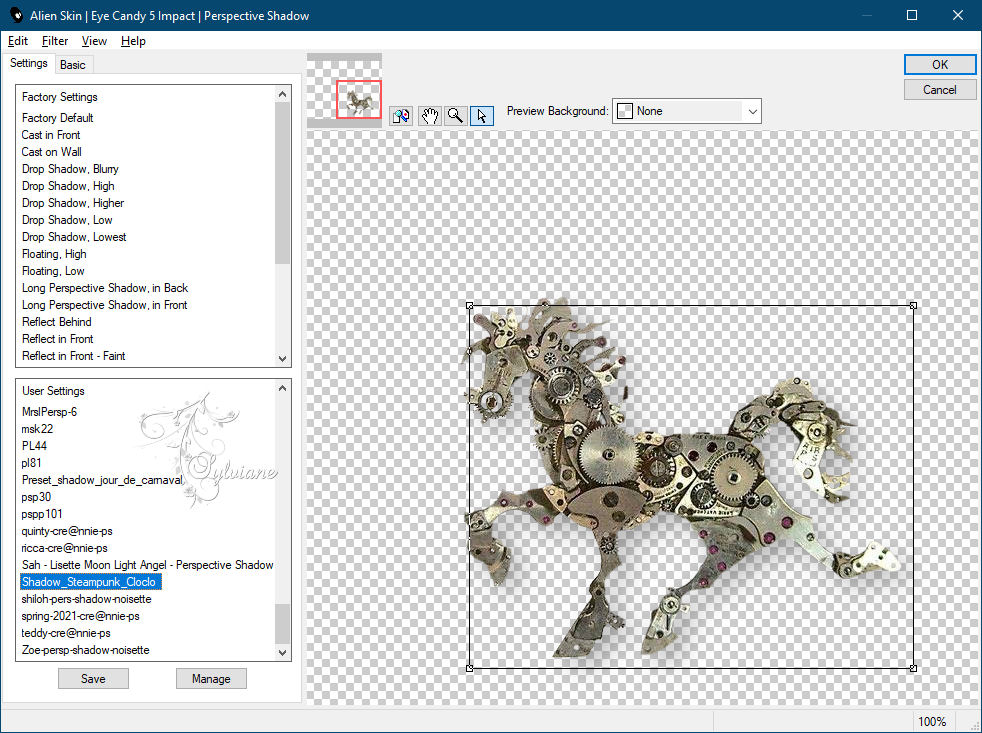
Plugin - Alien Skin Eye Candy5:Impact - perspective schadow - Preset - Shadow_Steampunk_Cloclo
Open artimage.png
Remove the signature
Edit - Copy
Edit - Paste as new layer
Place bottom left / See final
Plugin - Alien Skin Eye Candy5:Impact - perspective schadow - Preset - Shadow_Steampunk_Cloclo
Open coins Cloclo.png
Copy Edition / Paste edition as a new layer
Do not move
Put my Watermark
Layer – merge – merge all (flatten)
Save as JPEG
Back
Copyright Translation © 2021 by SvC-Design