
This lesson is made with PSPX9
But is good with other versions.
© by SvC-Design

Materialen Download :
Here
******************************************************************
Materials:
ildikokjk_lecke_szigno.png
ildikokjk_lecke_urszula_deko_1.png
ildikokjk_lecke_urszula_deko_2.png
ildikokjk_lecke_urszula_deko_3.png
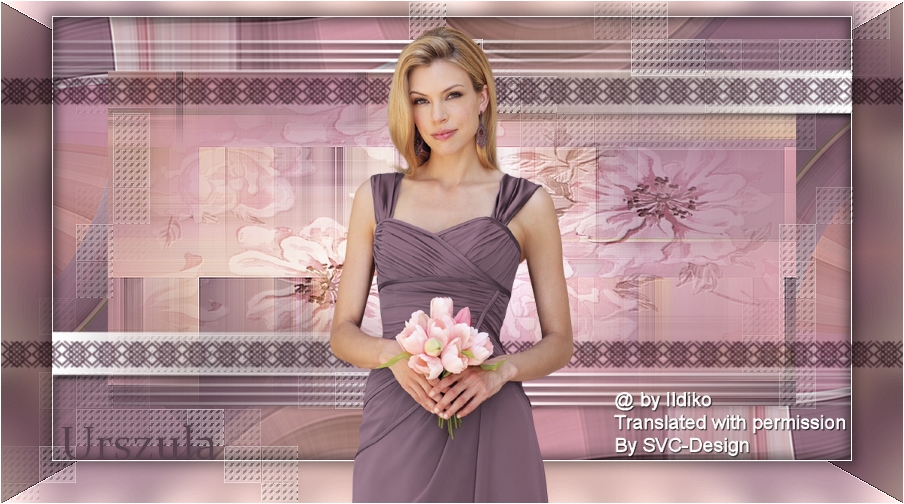
ildikokjk_lecke_urszula_divatkep.png
ildikokjk_lecke_urszula_lila_gradient.dgr
ildikokjk_lecke_urszula_maszk_1.png
ildikokjk_lecke_urszula_maszk_2.jpg
ildikokjk_lecke_urszula_maszk_3.jpg
ildikokjk_lecke_urszula_szin.jpg
******************************************************************
Plugin:
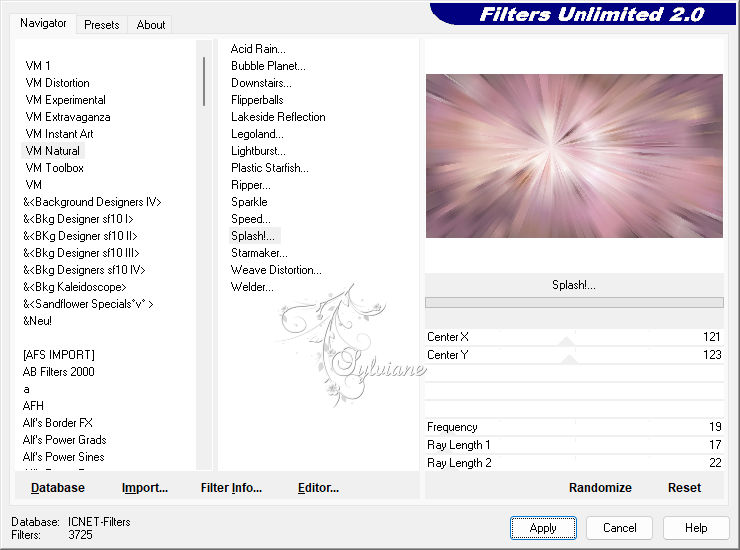
Filters : Filters 8BF : < I.C.NET Software > : Filters Unlimited 2 : VM Natural : Splash!
Filters : Filters 8BF : < I.C.NET Software > : Filters Unlimited 2 : VM Natural : Toadies : Weaver
Filters : Filters 8BF : Flaming Pearl : Flexify 2
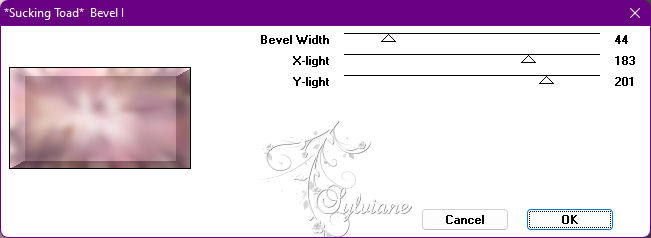
Filters : Filters 8BF : < I.C.NET Software > : Filters Unlimited 2 : VM Natural : Toadies : "Sucking Toad" Bevel I
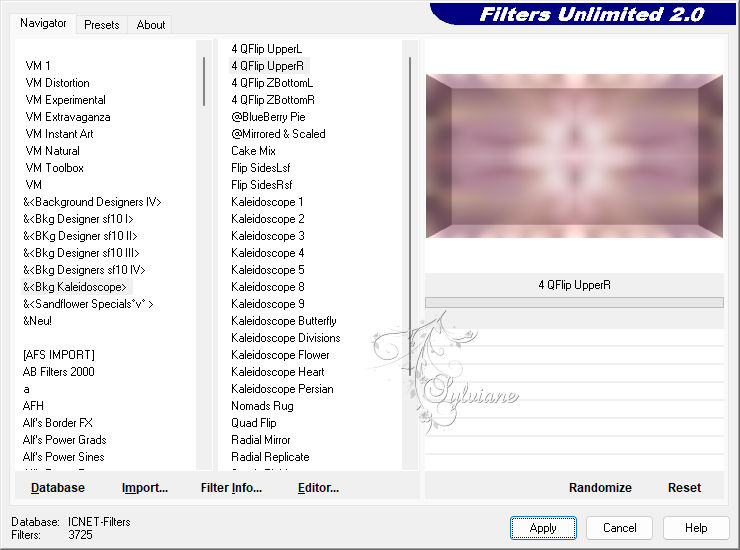
Filters : Filters 8BF : < I.C.NET Software > : Filters Unlimited 2 : &<Bkg Kaleidoscope> 4 QFlip UpperR
******************************************************************
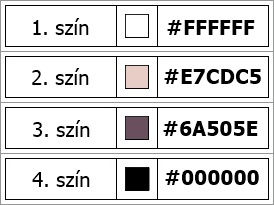
color palette
:
******************************************************************
methode
When using other tubes and colors, the mixing mode and / or layer coverage may differ
******************************************************************
General Preparations:
First install your filters for your PSP!
Masks: Save to your mask folder in PSP, unless noted otherwise
Texture & Pattern: Save to your Texture Folder in PSP
Selections: Save to your folder Selections in PSP
Open your tubes in PSP
******************************************************************
We will start - Have fun!
Remember to save your work on a regular basis
******************************************************************
1.
Foreground: #e7cdc5
Background: #6a505e
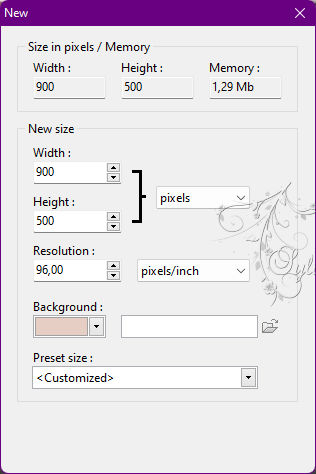
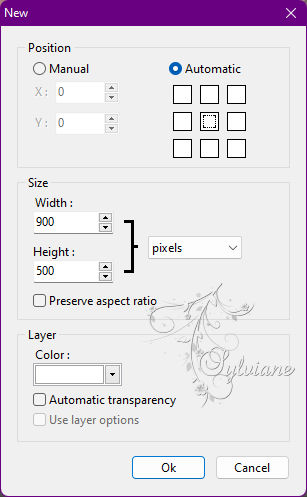
2.
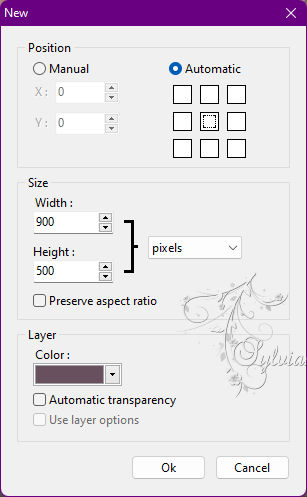
File : New
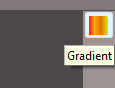
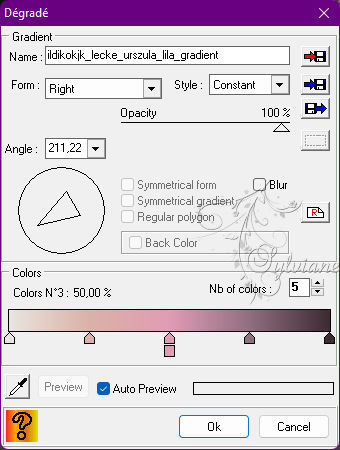
Expansion Toolbar : Degrade : ildikokjk_lecke_urszula_lila_gradient
03.
File : Open : ildikokjk_lecke_urszula_divatkep
Edit : Copy
Edit : Paste
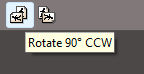
Image – transform - Rotate 90 to the left
Layer - center layer – image center
Layer: Merges with all layers
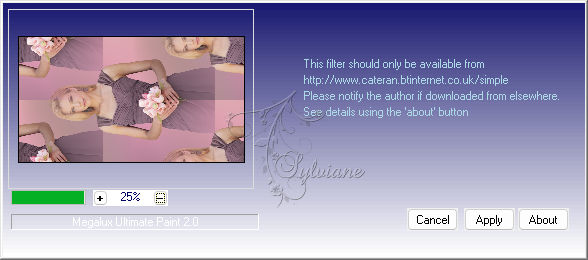
Filters 8BF : Simple : Quick Tile
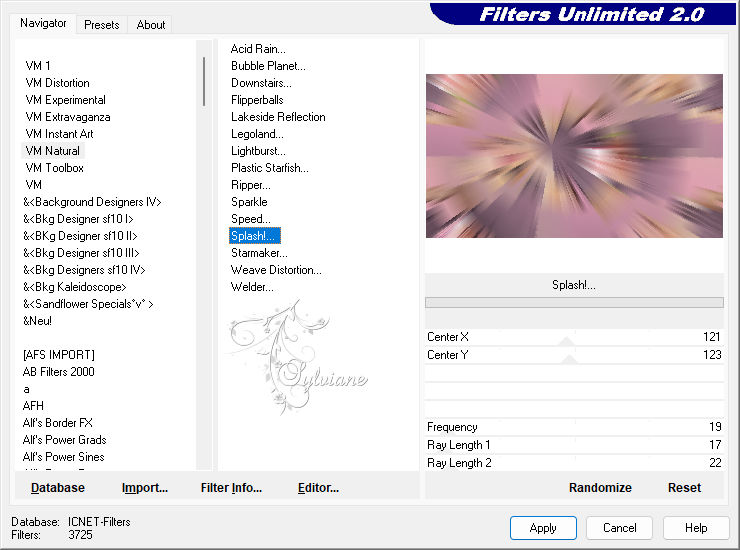
Filters : Filters 8BF : < I.C.NET Software > : Filters Unlimited 2 : VM Natural : Splash!
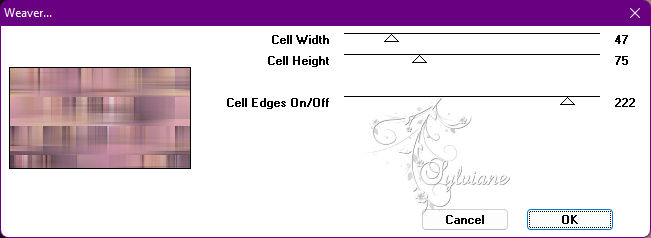
Filters : Filters 8BF : < I.C.NET Software > : Filters Unlimited 2 : VM Natural : Toadies : Weaver
Filter - Sharpen - scharpen - 2x

Layer : Duplicate
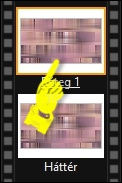
Now we will continue to work on this layer.
Keep going!
04.
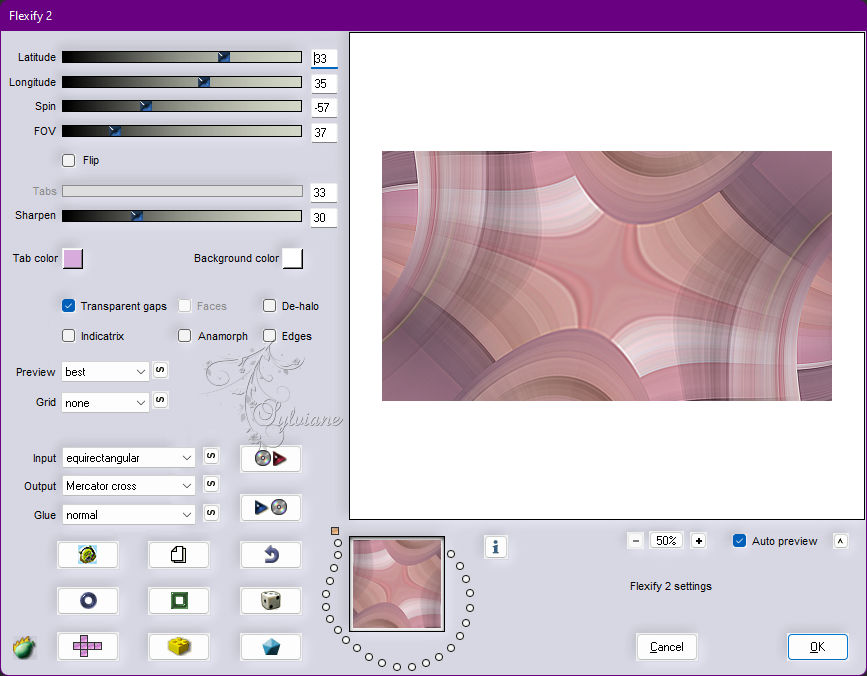
Filters : Filters 8BF : Flaming Pearl : Flexify 2
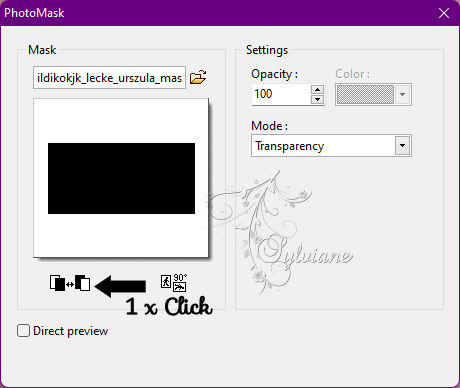
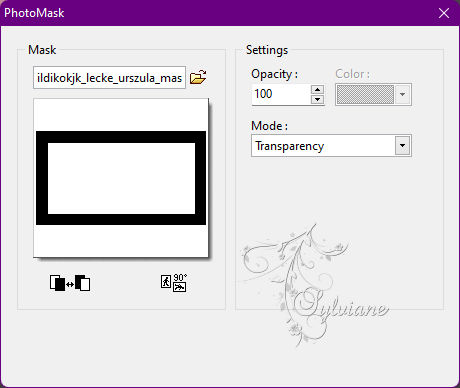
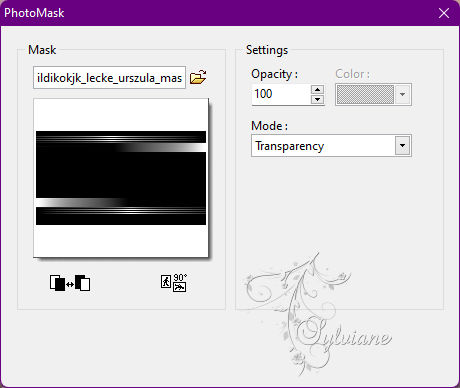
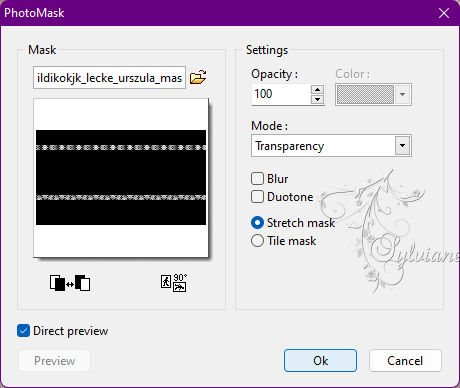
Filters : PhotoMask : ildikokjk_lecke_urszula_maszk_1
Just click back on the "Background" layer
Layer : Duplicate
Layer – order – bring to front
Now we will continue to work on this layer.
Keep going!
5.
Filters : PhotoMask : ildikokjk_lecke_urszula_maszk_1
Selection – schow selection
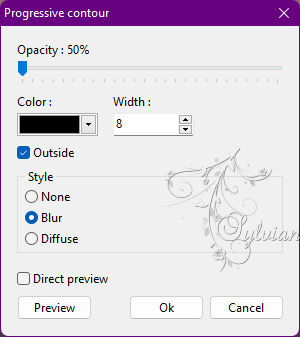
Filter – stylize – progressive contour
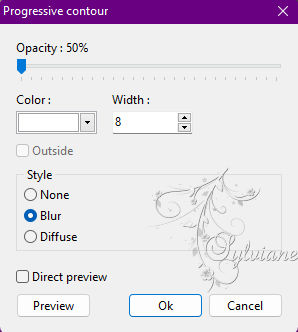
Filter – stylize – progressive contour
Selection – hide selection
6.
File : Open : ildikokjk_lecke_urszula_deko_1
Edit : Copy
Edit : Paste
Layer explorer tool : Opacity : 100 % = blendmode : Soft light
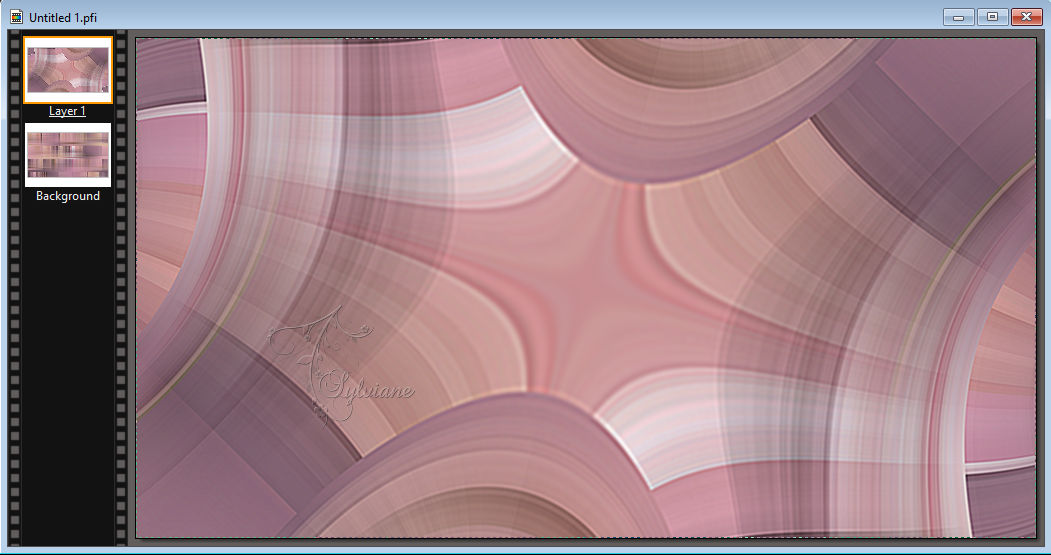
Now this is what your picture looks like.
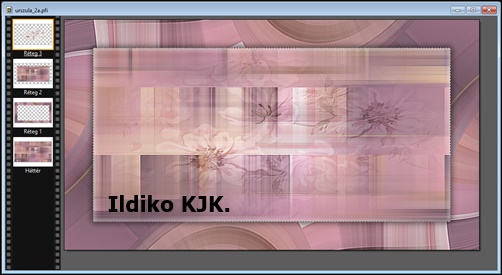
Image - duplicate
Now we will continue to work on this image.
7.
Layer: Merges with all layers
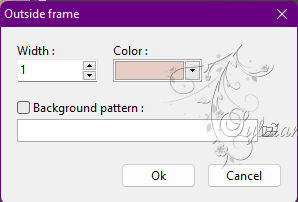
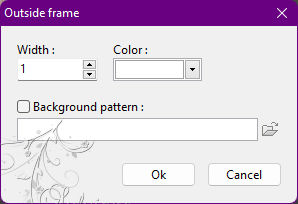
Image : Outside frame
Filters: filters 8BF: < I.C.NET Software > : Filters Unlimited 2 : VM Natural : Splash!
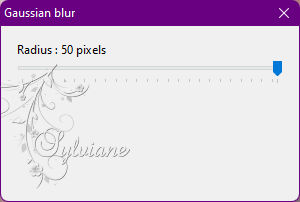
Filter – visual effect – gaussian blur
Filters : Filters 8BF : < I.C.NET Software > : Filters Unlimited 2 : VM Natural : Toadies : "Sucking Toad" Bevel I
Filters : Filters 8BF : < I.C.NET Software > : Filters Unlimited 2 : &<Bkg Kaleidoscope> 4 QFlip UpperR
Featured filters : Sharpen : 2x
File : Save As : JPEG (jpg) : Save
Now return to the picture you started.
Keep going!
8.
Layer : New : Blank
Filters : PhotoMask : ildikokjk_lecke_urszula_maszk_2
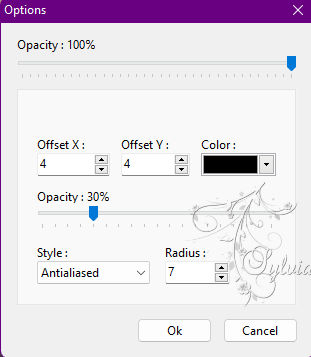
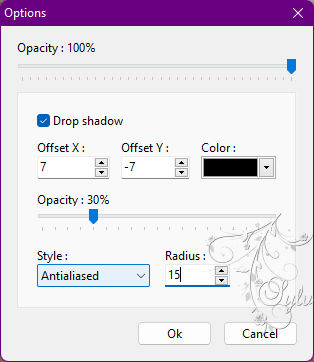
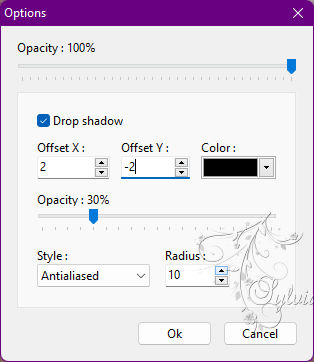
Layer - options
Layer: Merges with all layers
9.
Image : outside frame
Now bring back your saved image.
Copy your picture onto the saved image.
Edit : Copy
Edit : Paste
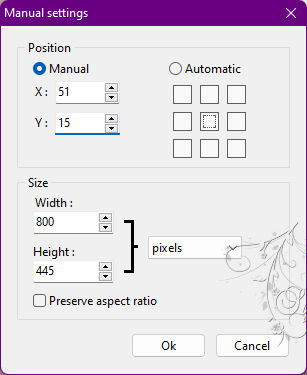
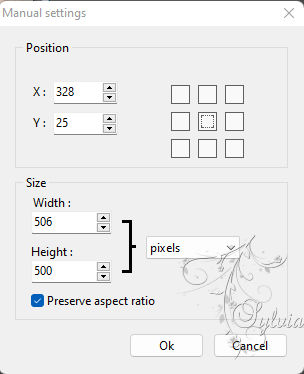
Layer: Manual settings
Now this is what your picture looks like.
Filter – stylize – progressive contour
Selection – hide selection
10.
File : Open : ildikokjk_lecke_urszula_deko_3
Edit : Copy
Edit : Paste
11.
Layer: New
Filters : PhotoMask : ildikokjk_lecke_urszula_maszk_3
Layer explorer tool : Opacity : 100 % = blendmode : Multiply
12.
File : Open : ildikokjk_lecke_urszula_divatkep
Edit : Copy
Edit : Paste
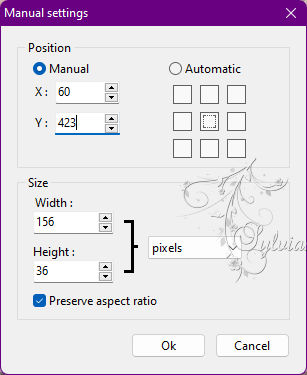
Layer: Manual settings
Layer - options
13.
File : Open : ildikokjk_lecke_urszula_deko_2
Edit : Copy
Edit : Paste
Layer: Manual settings
Layer - options
Layer: Merges with all layers
Image : Outside frame
14.
File : Save As : JPEG (jpg) : Save
Back
Copyright Translation 2022 by SvC-Design