
This lesson is made with PSPX9
But is good with other versions.
© by SvC-Design

Materialen Download :
Here
******************************************************************
Materials:
ildikokjk_lecke_szigno.png
ildikokjk_lecke_tilda_deko_1.png
ildikokjk_lecke_tilda_deko_2.png
ildikokjk_lecke_tilda_deko_3.png
ildikokjk_lecke_tilda_divatkep_1.png
ildikokjk_lecke_tilda_gradient.dgr
ildikokjk_lecke_tilda_hatter.png
ildikokjk_lecke_tilda_maszk_1.png
ildikokjk_lecke_tilda_maszk_2.jpg
ildikokjk_lecke_tilda_maszk_3.jpg
ildikokjk_lecke_tilda_maszk_4.jpg
******************************************************************
FiltersВ В -В Filters 8BFВ В - В < I.C.NET Software > : Filters Unlimited 2 : Toades : "Sucking Toad" Bevel I
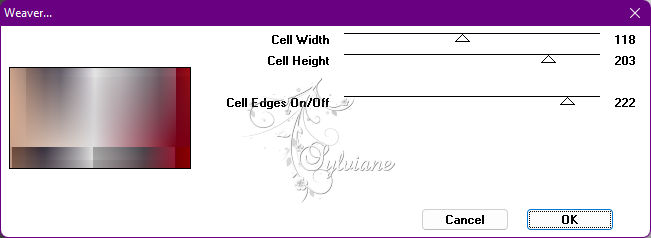
FiltersВ -В Filters 8BFВ : < I.C.NET Software > : Filters Unlimited 2 : Toades : Weaver
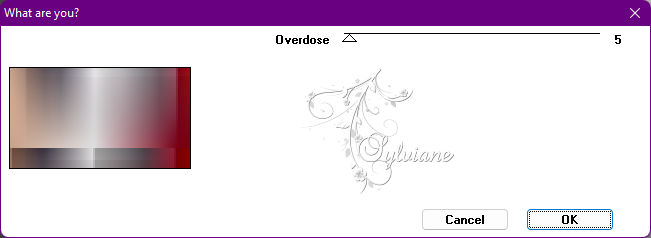
FiltersВ -В Filters 8BFВ : < I.C.NET Software > : Filters Unlimited 2 : Toades : What are You?
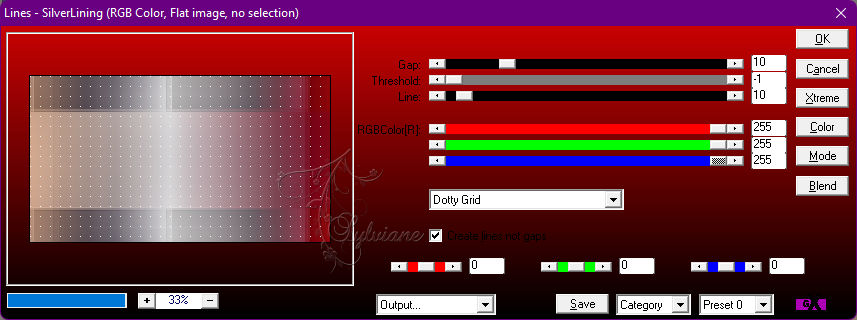
Filters : Filters 8BF : AP 01 (Inovations) : Lines вЂô SilverLining вЂô dotty grid
Filters : Filters 8BF : < I.C.NET Software > : Filters Unlimited 2 : Tramages : Tow The Line
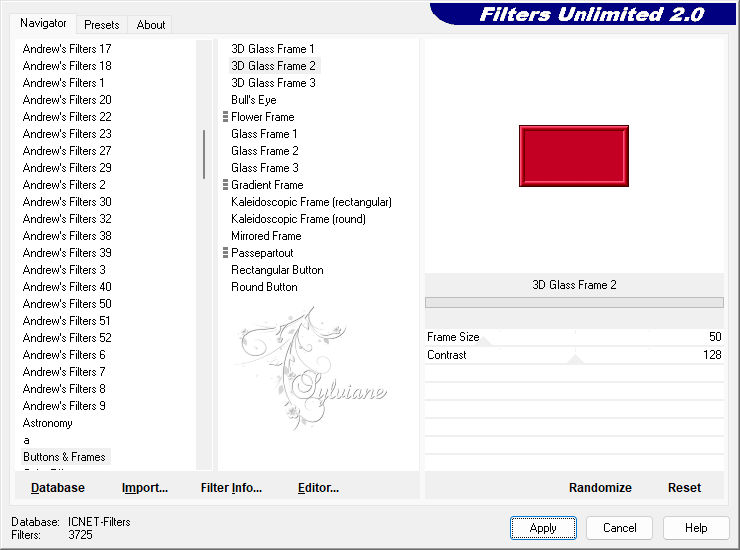
Filters : Filters 8BF : < I.C.NET Software > : Filters Unlimited 2 : Buttons&Frames : 3D Glass Frame 2
Filters : Filters 8BF : < I.C.NET Software > : Filters Unlimited 2 : &<Bkg dasigners sf10IV> : @Instant Tile
******************************************************************
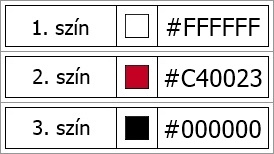
color palette
:
******************************************************************
methode
When using other tubes and colors, the mixing mode and / or layer coverage may differ
******************************************************************
General Preparations:
First install your filters for your PSP!
Masks: Save to your mask folder in PSP, unless noted otherwise
Texture & Pattern: Save to your Texture Folder in PSP
Selections: Save to your folder Selections in PSP
Open your tubes in PSP
******************************************************************
We will start - Have fun!
Remember to save your work on a regular basis
******************************************************************
Color setting
Foreground:#FFFFFF
Background:#C40023
01.
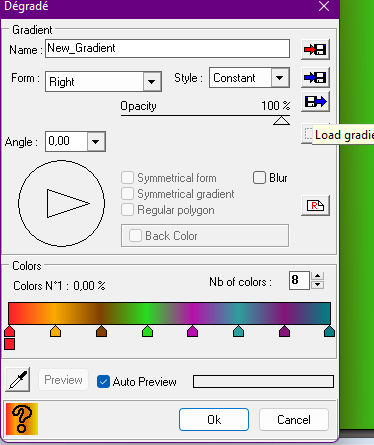
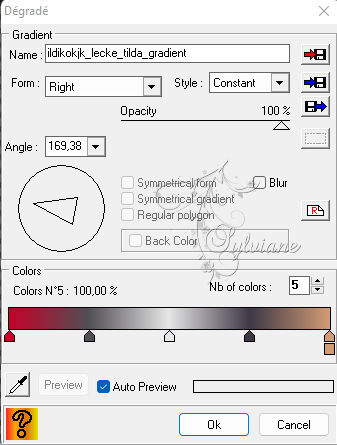
Copy : ildikokjk_lecke_tilda_gradient

PhotoFiltre studio X : Plugins : Degrade : Paste
02.
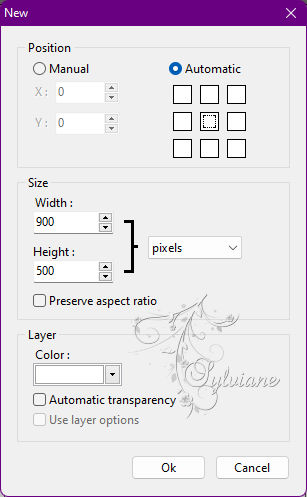
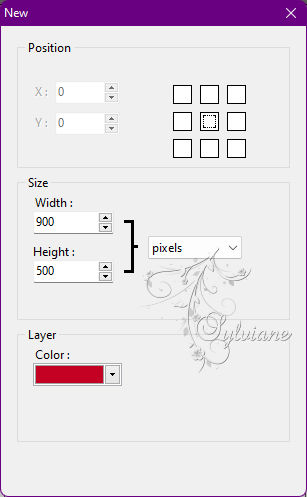
Open a new transparent image ofВ 900 : Height : 500 : Background : #FFFFFF
Extension Toolbar : Degrade : ildikokjk_lecke_tilda_gradient


03.
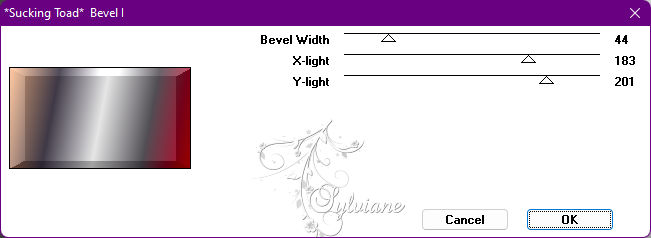
Plugin В В -В Filters 8BFВ В - В < I.C.NET Software > : Filters Unlimited 2 : Toades : "Sucking Toad" Bevel I
FiltersВ -В Filters 8BFВ : < I.C.NET Software > : Filters Unlimited 2 : Toades : Weaver
FiltersВ -В Filters 8BFВ : < I.C.NET Software > : Filters Unlimited 2 : Toades : What are You?
Featured Filters : Sharpen : 2x
Layer : Duplicate
Highlighted Filters : Flip Vertically
Layer Explorer Aid : Opacity : 60 % = Blend Mode : Normal
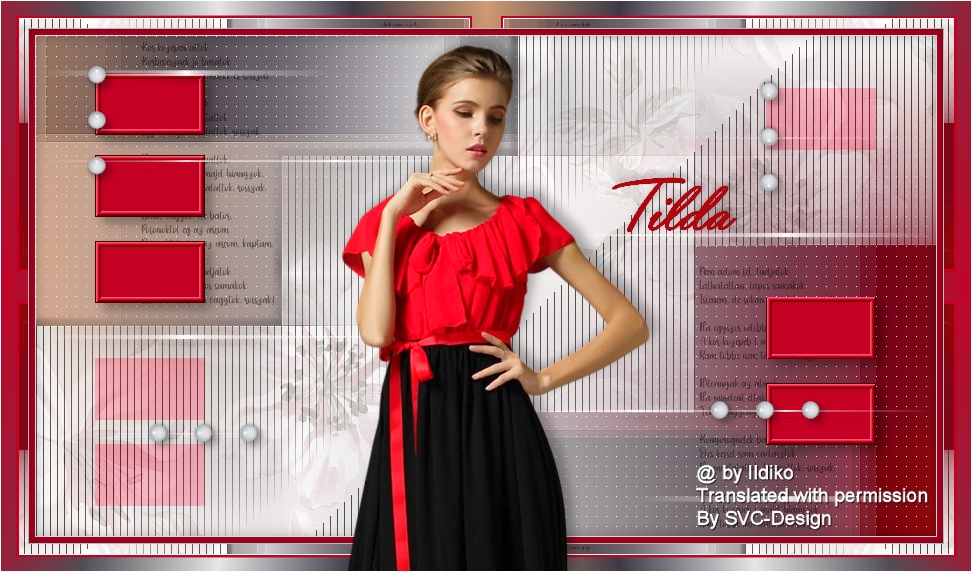
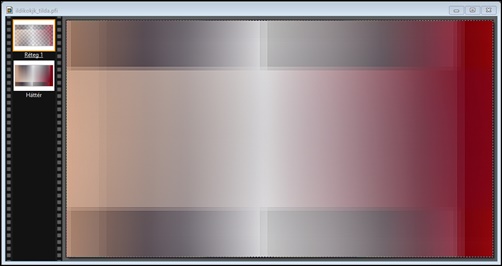
This is what your picture looks like now.
Layer : Merge with All Layers
Filters : Filters 8BF : AP 01 (Inovations) : Lines вЂô SilverLining вЂô dotty grid
04.
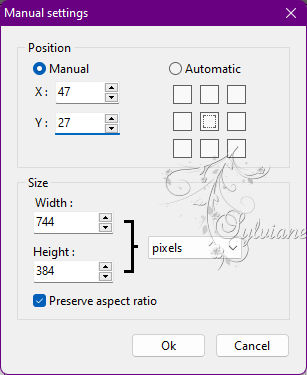
Open : ildikokjk_lecke_tilda_deko_1
Edit : Copy
Edit : Paste
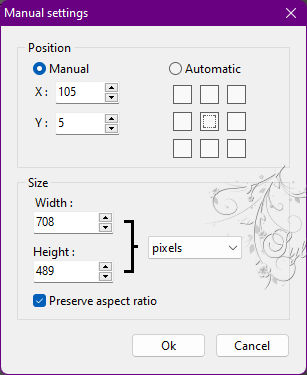
Layer : Manual Settings : Position : Manual
05.
LayerВ -В NewВ -В BlankВ -В В color:#ffffff
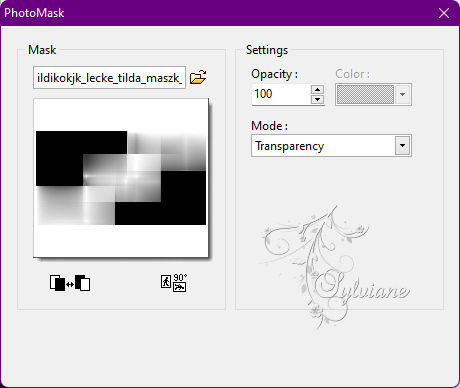
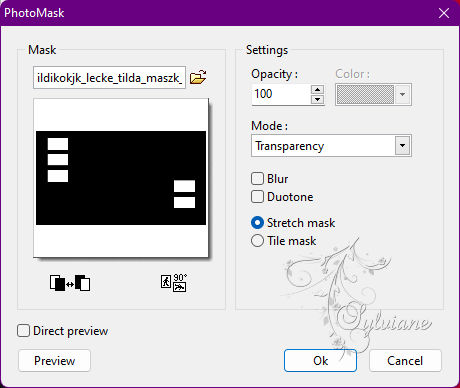
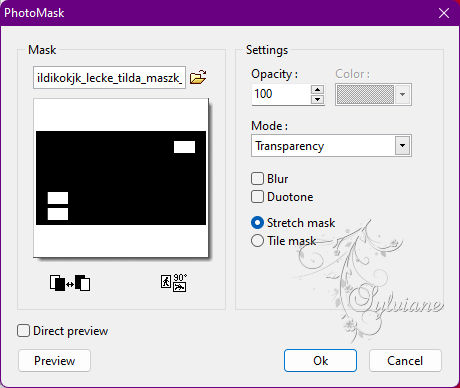
Filters : Photo Mask : ildikokjk_lecke_tilda_maszk_1
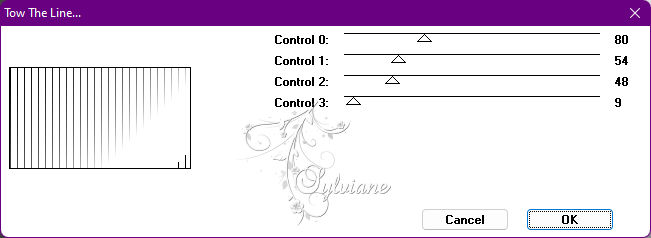
Filters : Filters 8BF : < I.C.NET Software > : Filters Unlimited 2 : Tramages : Tow The Line
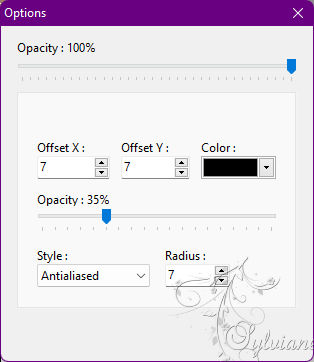
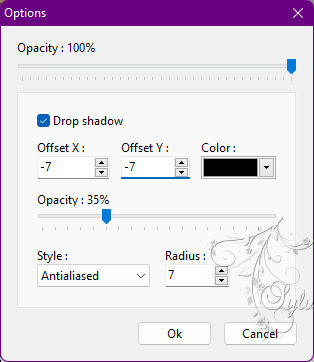
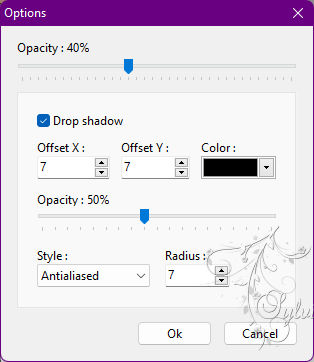
Layer вЂô options : X : 7 : Y : 7 : Color : Black (#000000) : Opaqueness : 35 % : Radius : 7
Layer вЂô merge schadow
Layer вЂô options : X : -7 : Y : -7 : Color : Black (#0000000) : Opaqueness : 35 % : Radius : 7
06.
Open : ildikokjk_lecke_tilda_hatter
Edit : Copy
Edit : Paste
Filters : Photo Mask : ildikokjk_lecke_tilda_maszk_1
Opacity : 35 % = Blend Mode : Normal
07.
LayerВ -В NewВ -В BlankВ -В color:#c40023
Filter : Photo Mask : ildikokjk_lecke_tilda_maszk_2
Layer Manager : Magic Wand : Click
One by one, you have to take two steps at each of the 5 rectangles!
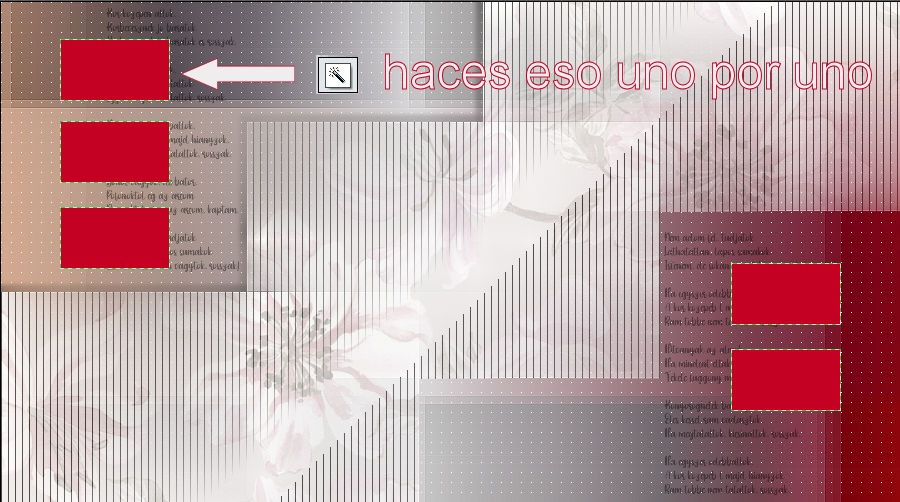
Filters : Filters 8BF : < I.C.NET Software > : Filters Unlimited 2 : Buttons&Frames : 3D Glass Frame 2
Top Menu : Hide Selection
When you're done with all 5 rectangles, continue.
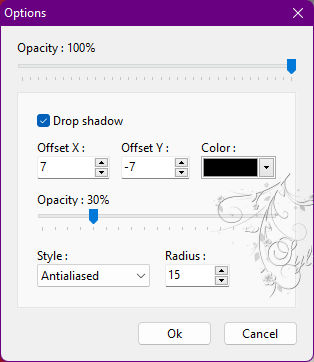
Layer вЂô options : X : 7 : Y : 7 : Color : Black (#000000) : Opacity : 30 % : Radius : 15

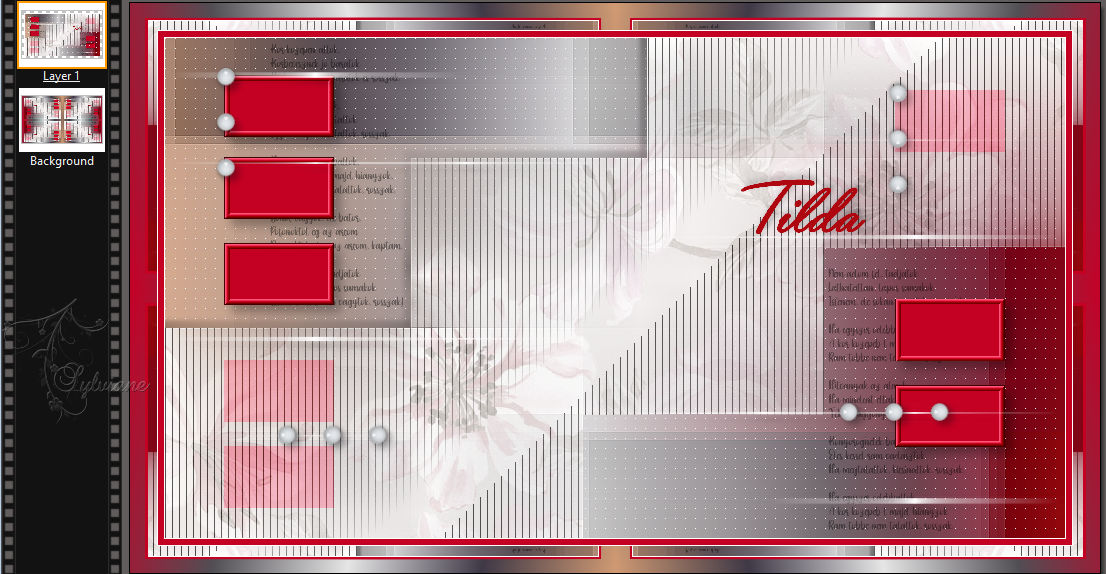
This is what your picture looks like now.

08.
Layer : New : Blank вЂô color:#c40023
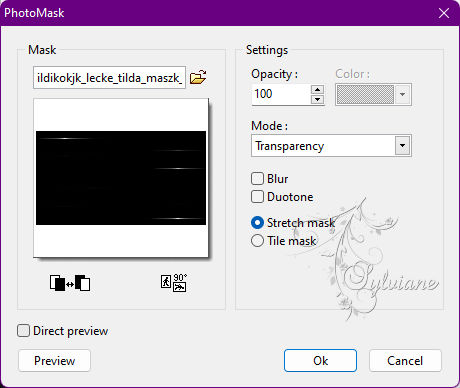
Filters : Photo Mask : ildikokjk_lecke_tilda_maszk_3
Opacity : 40 % = Blend Mode : Merge Graininess
09.
Layer : New : Blank вЂô color:#ffffff
Filters : Photo Mask : ildikokjk_lecke_tilda_maszk_4
Layer : Duplicate
Opacity :40 % = Blend Mode : Normal
Layer вЂô options : X : 7 : Y : 7 : Color : Black (#0000000) : Opaqueness : 50 % : Radius : 7
10.
Open : ildikokjk_lecke_tilda_deko_2
Edit : Copy
Edit : Paste
Layer : Manual Settings : Position : Manual
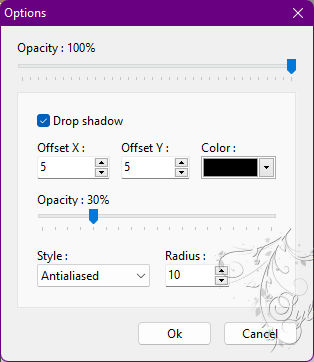
Layer вЂô options : X : 5 : Y : 5 : Color : Black (#000000) : Opacity : 30 % : Radius : 10
Open : ildikokjk_lecke_tilda_deko_3
Edit : Copy
Edit : Paste
Layer : Manual Settings : Position : Manual
Layer вЂô options : X : 4 : Y : -4 : Color : Black (#000000) : Opaqueness : 30 % : Radius : 10

Layer : Merge with All Layers
11.
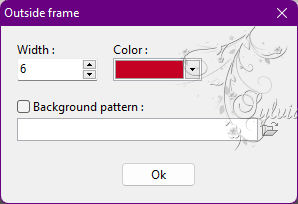
Image вЂô outsideВ
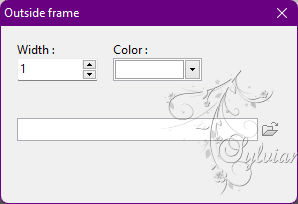
Image вЂô outside
 В
В
Image вЂô outsideВ
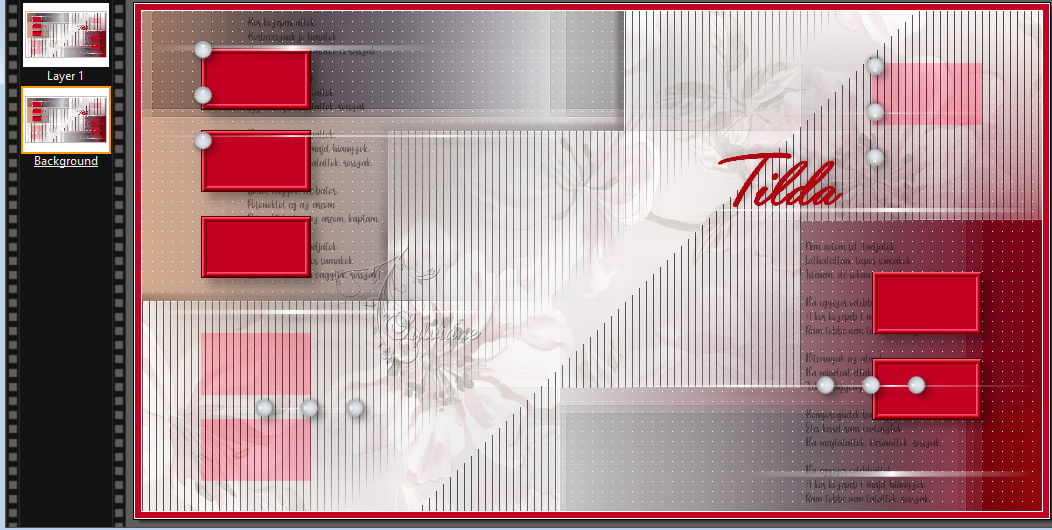
Layer : Duplicate
12.
We're going to keep working on the bottom layer.
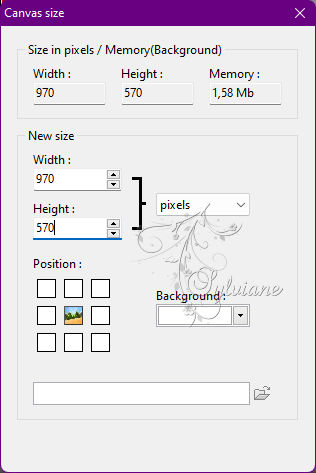
Highlighted Menu : Page Size
Layer Manager : Magic Wand
Extension Toolbar : Degrade : ildikokjk_lecke_tilda_gradient
Top Menu : Hide Selection
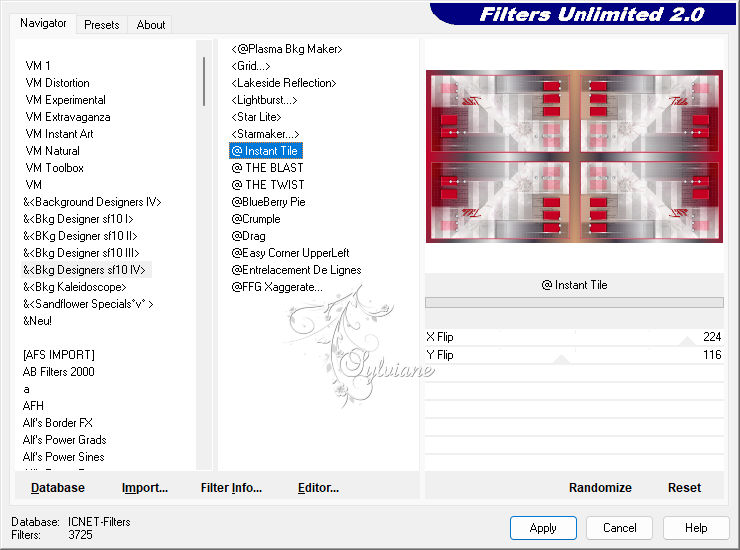
Filters : Filters 8BF : < I.C.NET Software > : Filters Unlimited 2 : &<Bkg dasigners sf10IV> : @Instant Tile
13.
Now we will continue to work on the upper layer.
Filter вЂô stylize вЂô progressive contour
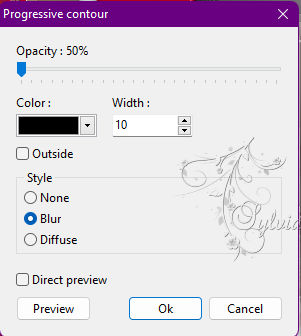
Edit : Fade : Progressive Contour

Top Menu : Hide Selection
14.
Burn : Open : ildikokjk_lecke_tilda_divatkep_1
Edit : Copy
Edit : Paste
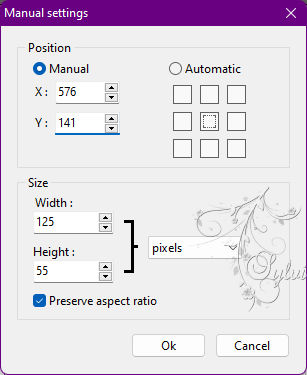
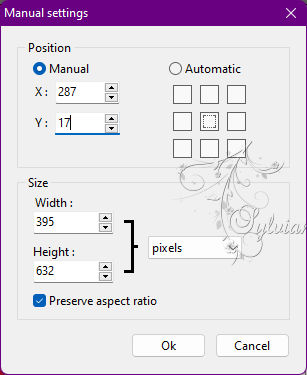
Layer : Manual Settings : Position : Manual
Layer вЂô options : X : 7 : Y : -7 : SzГn : fekete (#000000) : ГЃtlГЎtszatlansГЎg : 30 % : SugГЎr : 15
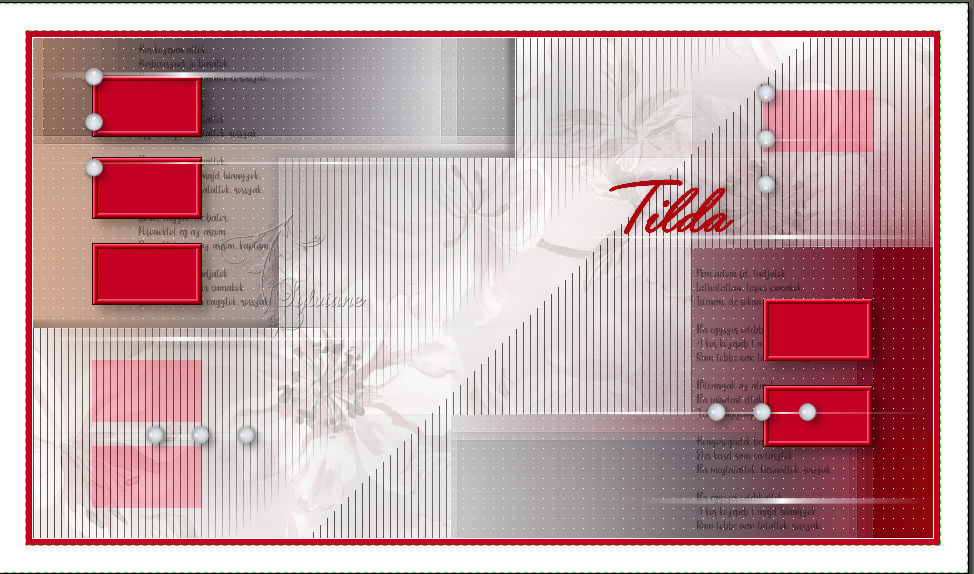
15.
Layer вЂô merge layers
Image вЂô outside frame
17.
File : Save As : JPEG (jpg) : Save
Back
Copyright Translation В© 2022 by SvC-Design