
This lesson is made with PSPX9
But is good with other versions.
© by SvC-Design

Materialen Download :
Here
******************************************************************
Materials:
ildikokjk_lecke_mariska_deko_1.png
ildikokjk_lecke_mariska_deko_2.png
ildikokjk_lecke_mariska_divatkep_1.png
ildikokjk_lecke_mariska_divatkep_2.png
ildikokjk_lecke_mariska_divatkep_3.png
ildikokjk_lecke_mariska_maszk_1.png
ildikokjk_lecke_mariska_maszk_2.png
ildikokjk_lecke_mariska_maszk_3.jpg
ildikokjk_lecke_mariska_maszk_4.png
ildikokjk_signo.png
******************************************************************
Plugin:
Filters 8BF : Simple : Quick Tile
Filters : Filters 8BF : Mehdi : Sorting Tiles
Filters : Filters 8BF : Mehdi : Weaver
Filters: Filters 8BF : < I.C.NET Software > : Filters Unlimited 2 : Sapphire Filters 09 : SapphirePlugin_0899
Filters 8BF : AP Lines : Lines-SilverLining
Filters: Filters 8BF : < I.C.NET Software > : Filters Unlimited 2 : Tramages : Hex Lattice
Filters : Filters 8BF : AAA Frames : Foto Frame
Filters : Filters 8BF : AAA Filters : Tweed Frame
******************************************************************
color palette
:
******************************************************************
methode
When using other tubes and colors, the mixing mode and / or layer coverage may differ
******************************************************************
General Preparations:
First install your filters for your PSP!
Masks: Save to your mask folder in PSP, unless noted otherwise
Texture & Pattern: Save to your Texture Folder in PSP
Selections: Save to your folder Selections in PSP
Open your tubes in PSP
******************************************************************
We will start - Have fun!
Remember to save your work on a regular basis
******************************************************************
Foreground:#ffffff
Background: #000000
1.
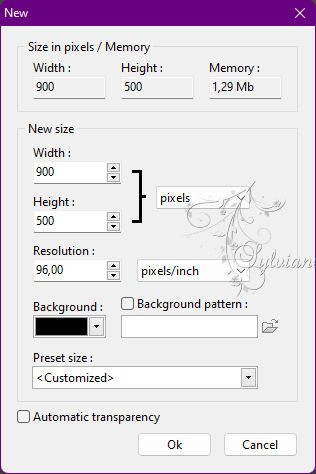
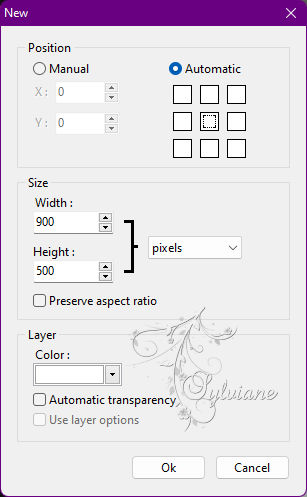
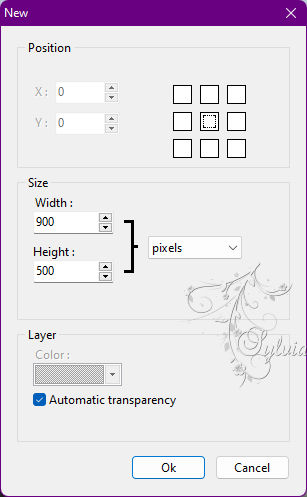
File : New : Width : 900 : Height : 500 : Background : #000000
File : Open : ildikokjk_lecke_mariska_divatkep_1
Edit : Copy
Edit : Paste
Layer : Rotate Selection : Rotate 90 to the left

Layer : Center layer : Center of image
Layer: Merges with all layers
Filters 8BF : Simple : Quick Tile
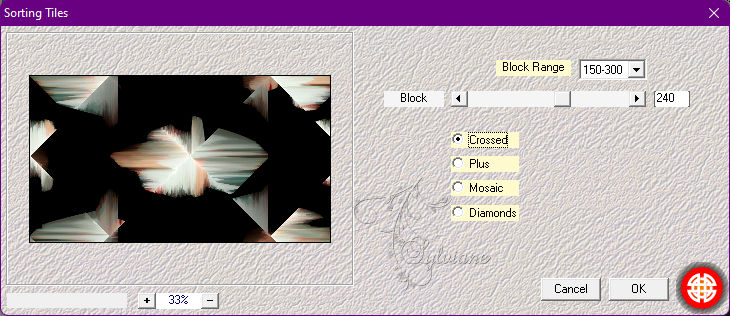
Filters : Filters 8BF : Mehdi : Sorting Tiles
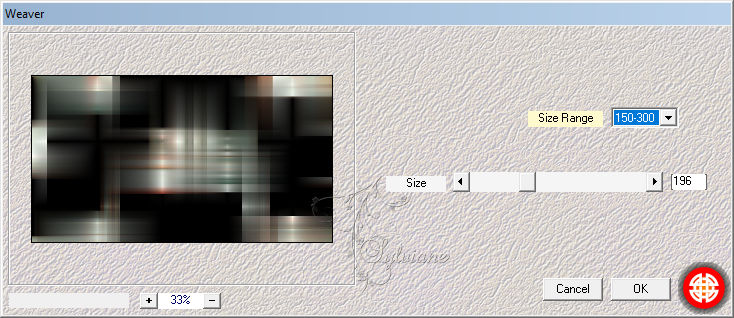
Filters : Filters 8BF : Mehdi : Weaver
Layer : Duplicate
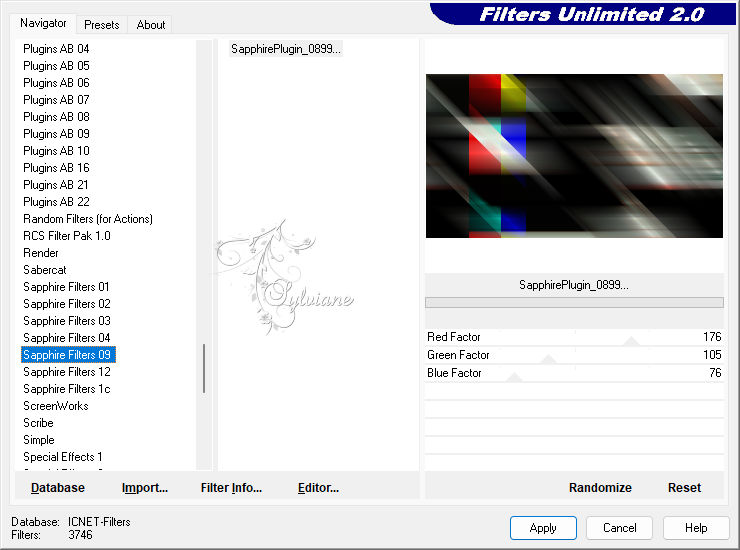
Filters: Filters 8BF : < I.C.NET Software > : Filters Unlimited 2 : Sapphire Filters 09 : SapphirePlugin_0899
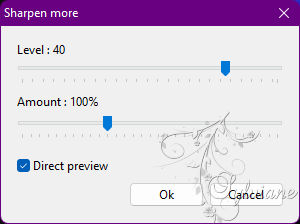
Filters : Sharpen : Sharpen more
Layer Explorer Tool : Opacity : 100 % = blendmode : Screen
Layer : Duplicate
2.
Layer : Rotate Selection : Rotate 90 to right

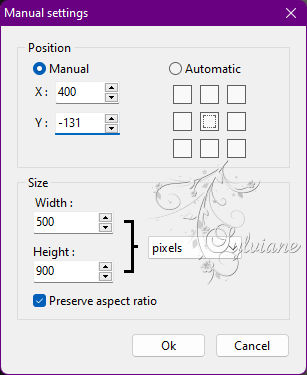
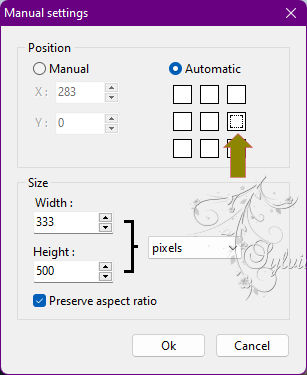
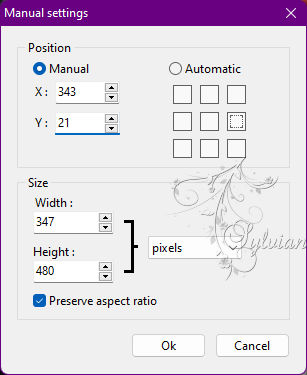
Layer: Manual settings
Layer: Flip horizontally

Activate layer 1
3.
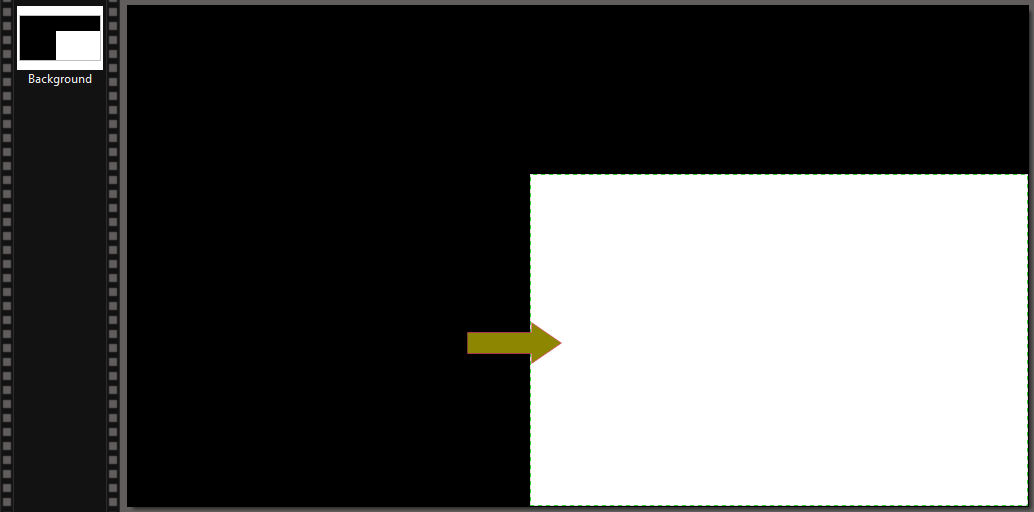
File : Open : ildikokjk_lecke_mariska_maszk_1
Click with the magic wand on the first strip
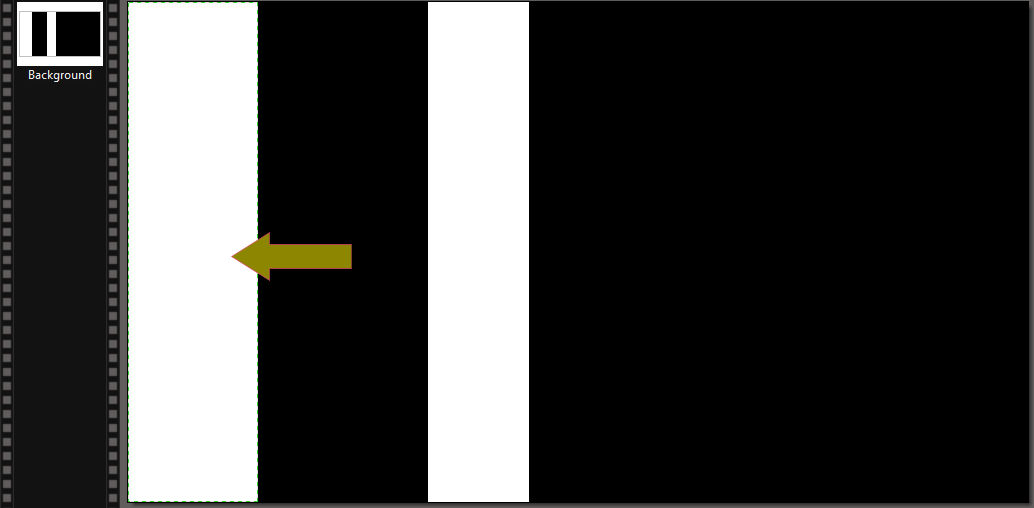
Selection : Copy shape
Just click back on the first layer of your original edit
Selection : Paste shape
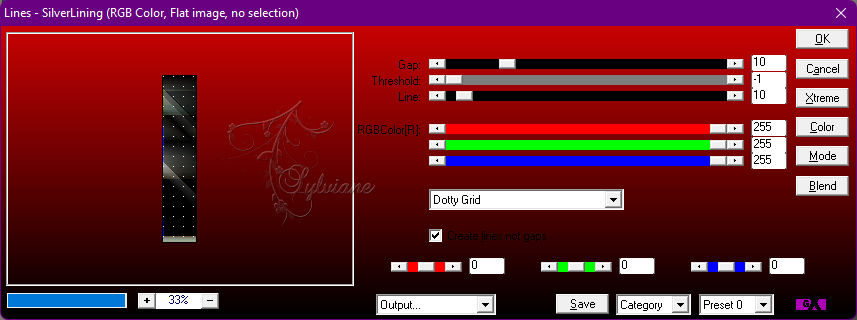
Filters 8BF : AP Lines : Lines-SilverLining

Selection : Hide selection
4.
Return to the ildikokjk_lecke_mariska_maszk_1
Now click on the second strip with the magic wand
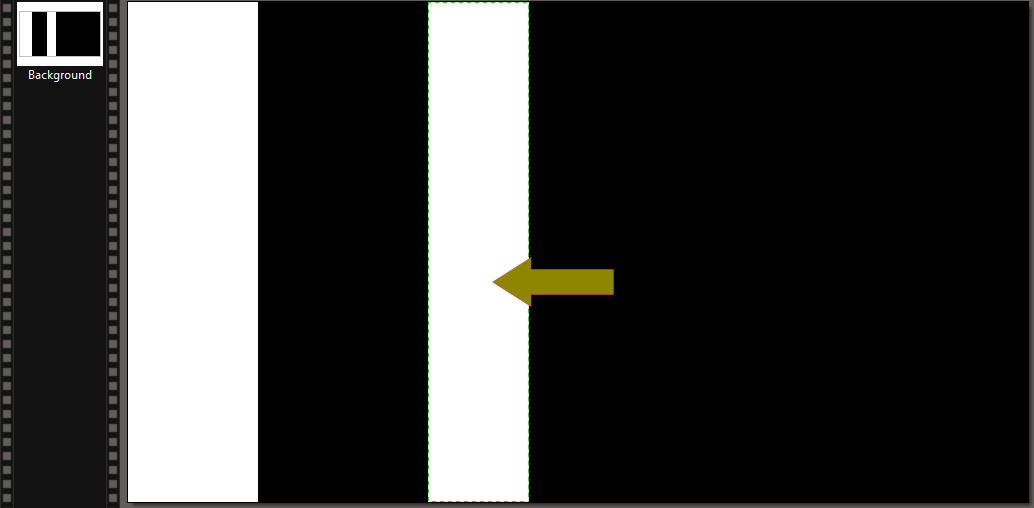
Selection : Copy shape
Just click back on the first layer of your original edit
Selection : Paste shape
Filters 8BF : AP Lines : Lines-SilverLining
Selection : Hide selection
Activate layer 2
5.
File : Open : ildikokjk_lecke_mariska_maszk_2
Click with the magic wand into the square
Selection : Copy shape
Just click back on the second layer of your original edit
Selection : Paste shape
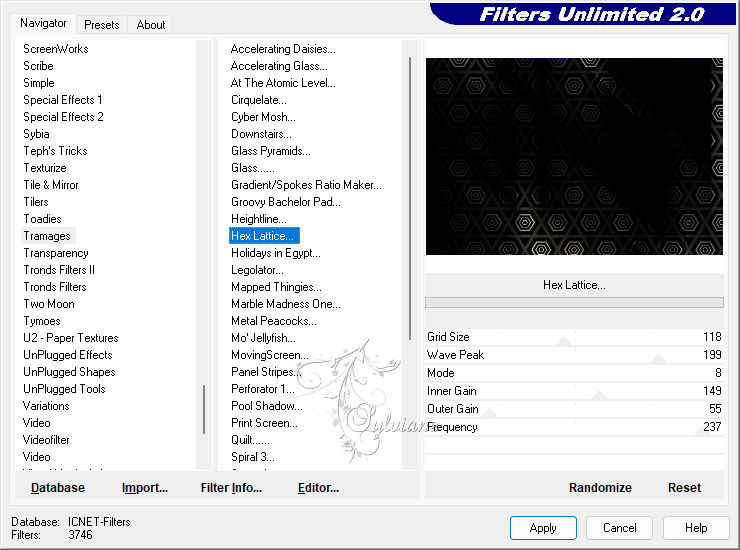
Filters: Filters 8BF : < I.C.NET Software > : Filters Unlimited 2 : Tramages : Hex Lattice
Selection : Hide selection
6.
Layer : New : Blank : Width : 900 : Height : 500 : Color : #FFFFFF
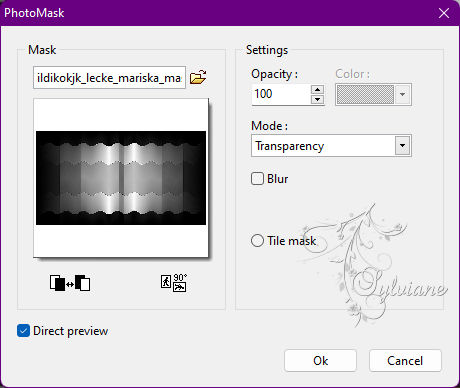
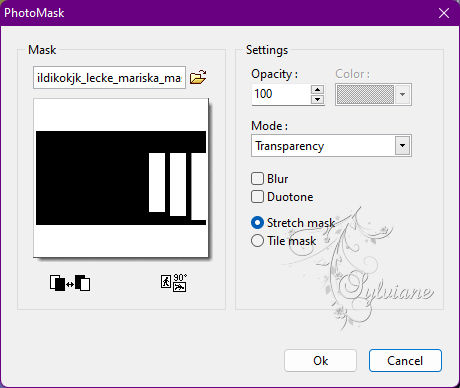
Filters : PhotoMask : ildikokjk_lecke_mariska_maszk_3
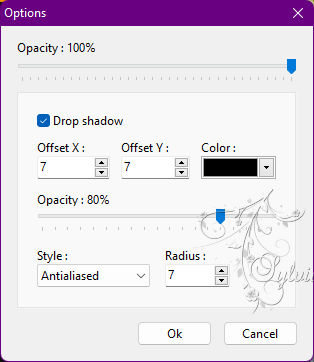
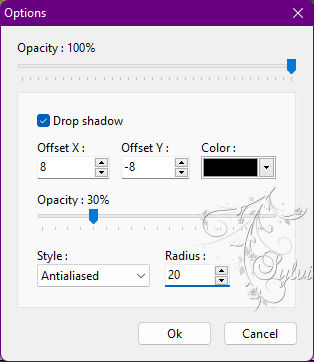
Layer: options
Layer Explorer Tool : Opacity : 100 % = blendmode : Hue
Layer : Duplicate
Layer explorer tool : Opacity : 55 % = blendmode: Luminosity
7.
File : Open : ildikokjk_lecke_mariska_deko_1
Edit : Copy
Edit : Paste
Layer explorer tool : Opacity : 100 % = Blendmode : Soft light
Layer : Duplicate
Layer explorer tool : Opacity : 30 % = Blend mode : Soft light
8.
Layer : New : Blank
File : Open : ildikokjk_lecke_mariska_divatkep_2
Edit : Copy
Edit : Paste
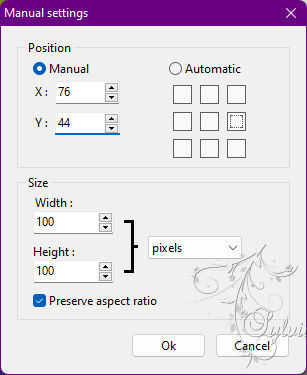
Layer: Manual settings
Layer: Merge with previous layer
Filters : PhotoMask : ildikokjk_lecke_mariska_maszk_4
Layer care tool : Opacity : 70 % = Blendmode : Soft light
9.
Image : Duplicate
Now work on this image further
Layer: Merges with all layers
Image : Image Size
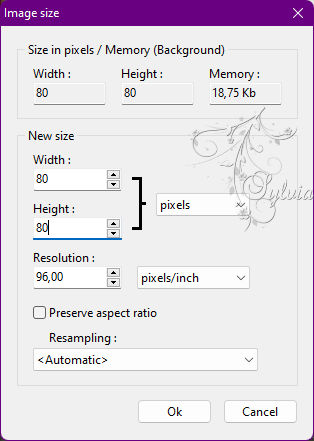
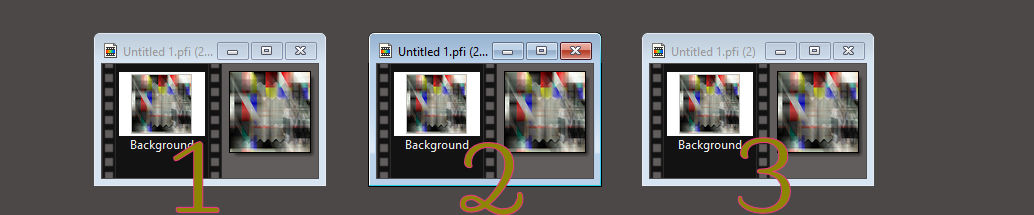
Image : Duplicate
Image : Duplicate
You have a total of three small pictures
10.
Work on the first image
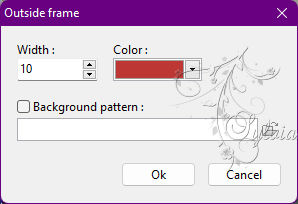
Image : Outside frame : 10 : #21218B

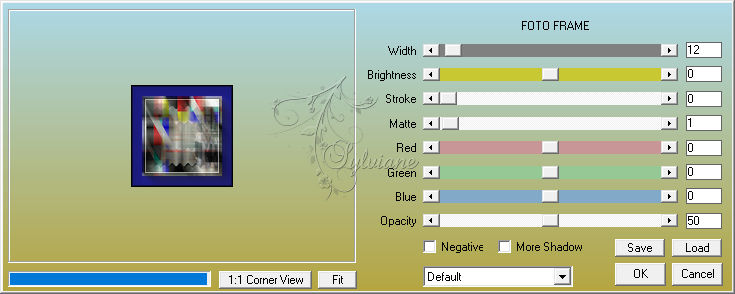
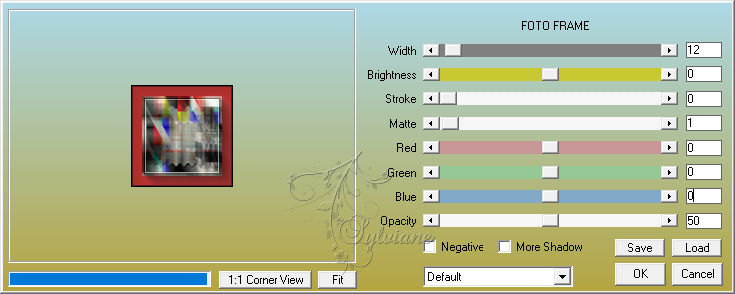
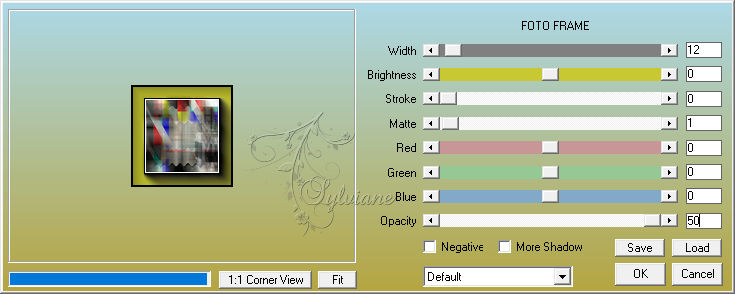
Filters : Filters 8BF : AAA Frames : Foto Frame
Bring up your original image
Edit : Copy
Edit : Paste
Layer: Manual settings
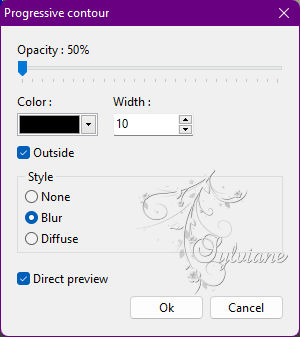
Filter – stylize – progressive contour
Selection : Hide selection
11.
Go back to the small pictures and take the second small picture
Image : Outside frame: 10 : #BD3734
Filters : Filters 8BF : AAA Frames : Foto Frame
Bring up your original image
Edit : Copy
Edit : Paste
Layer: Manual settings
Filter – stylize – progressive contour
Selection : Hide selection
12.
Return to the third little picture
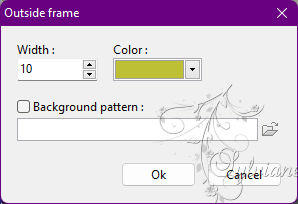
Image : Outside frame : 10 : #BDBF35
Filters : Filters 8BF : AAA Frames : Foto Frame
Bring up your original image
Edit : Copy
Edit : Paste
Layer: Manual settings
Filter – stylize – progressive contour
Selection : Hide selection
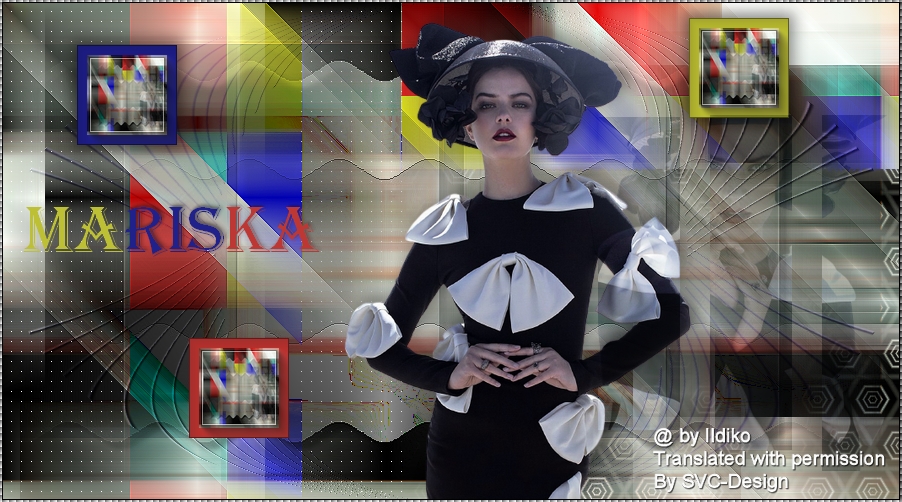
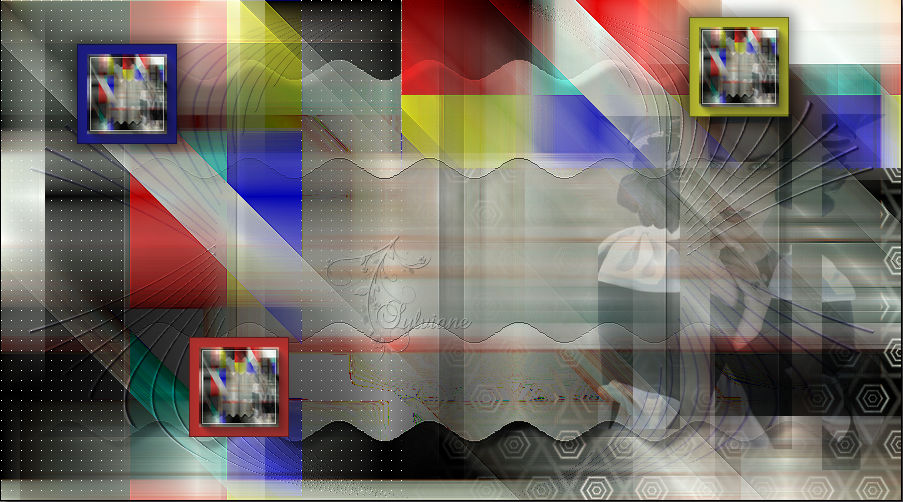
This is what your picture looks like now
13.
File : Open ildikokjk_lecke_mariska_divatkep_3
Edit : Copy
Edit : Paste
Layer: Manual settings
Layer - options
14.
File : Open : ildikokjk_lecke_mariska_deko_2
Edit : Copy
Edit : Paste
Layer: Manual settings
Layer: Merges with all layers
15.
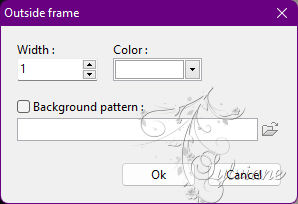
Image : Outside frame : 1 : #FFFFFF
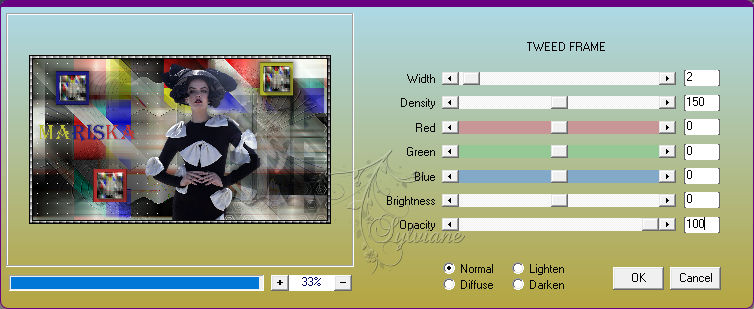
Filters : Filters 8BF : AAA Filters : Tweed Frame
16.
File : Save As : JPEG (jpg) : Save
Back
Copyright Translation 2022 by SvC-Design