
This lesson is made with PSPX9
But is good with other versions.
© by SvC-Design
Materialen Download :
Here
******************************************************************
Materials:
deco_silvie.pspimage
imagem.jpg
EF_Mask_83.jpg
misted_rostos_15.pspimage
nome.pspimage
******************************************************************
Plugin:
Effects - plug-in filters - Topaz - Simply 3 - Painting Oil
Effects - plug-in filters - FunHouse - Loom
******************************************************************
color palette
:
******************************************************************
methode
When using other tubes and colors, the mixing mode and / or layer coverage may differ
******************************************************************
General Preparations:
First install your filters for your PSP!
Masks: Save to your mask folder in PSP, unless noted otherwise
Texture & Pattern: Save to your Texture Folder in PSP
Selections: Save to your folder Selections in PSP
Open your tubes in PSP
******************************************************************
We will start - Have fun!
Remember to save your work on a regular basis
******************************************************************
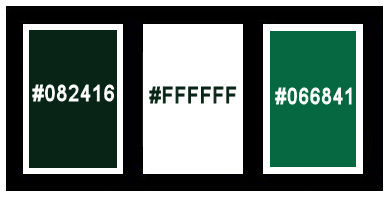
Foreground :#082416
Background colour:#ffffffff
3rd colour :#066841
1 .
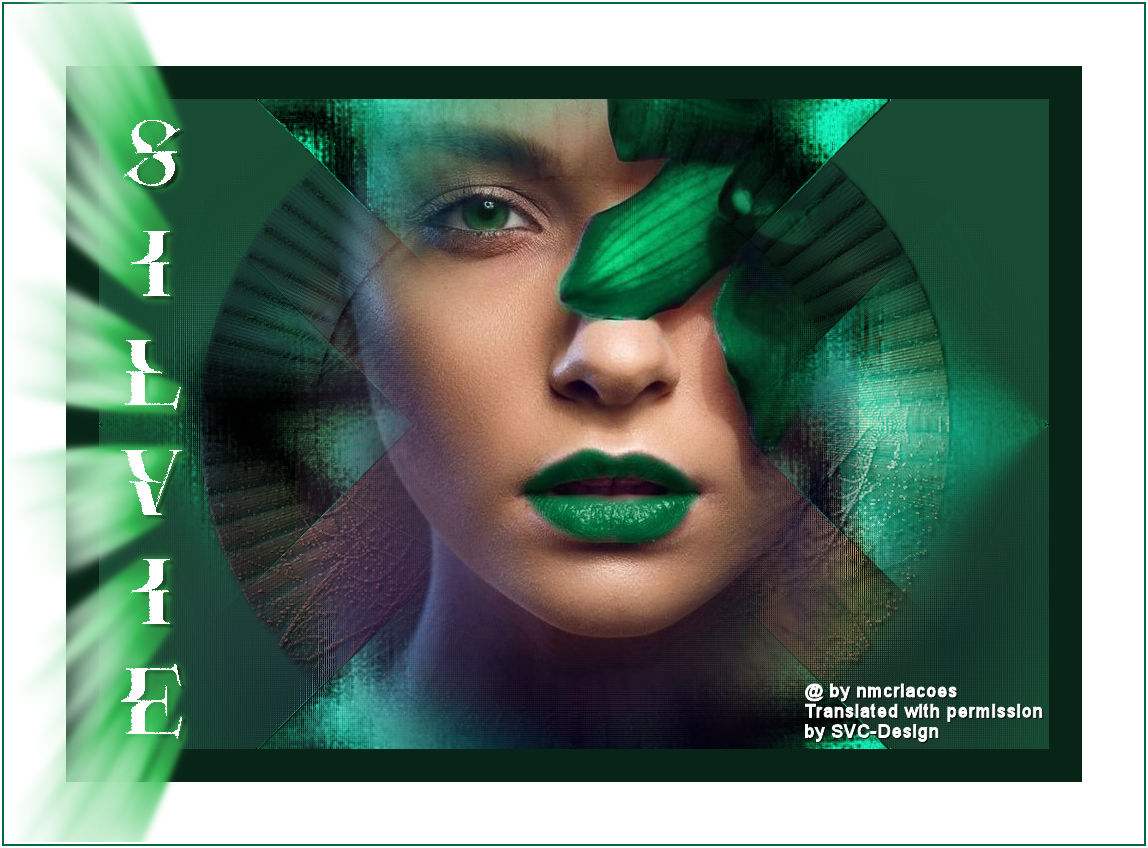
Open imagem.jpg
Edit - copy
2.
Open a new transparent image of 950 x 650px
3.
Selection - Select All
Edit - paste into selection
Selection - Select None
4.
Adjust - blur - motion blur
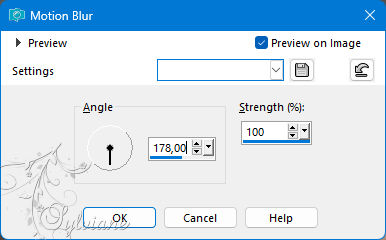
5.
Edit - repeat motion blur
6.
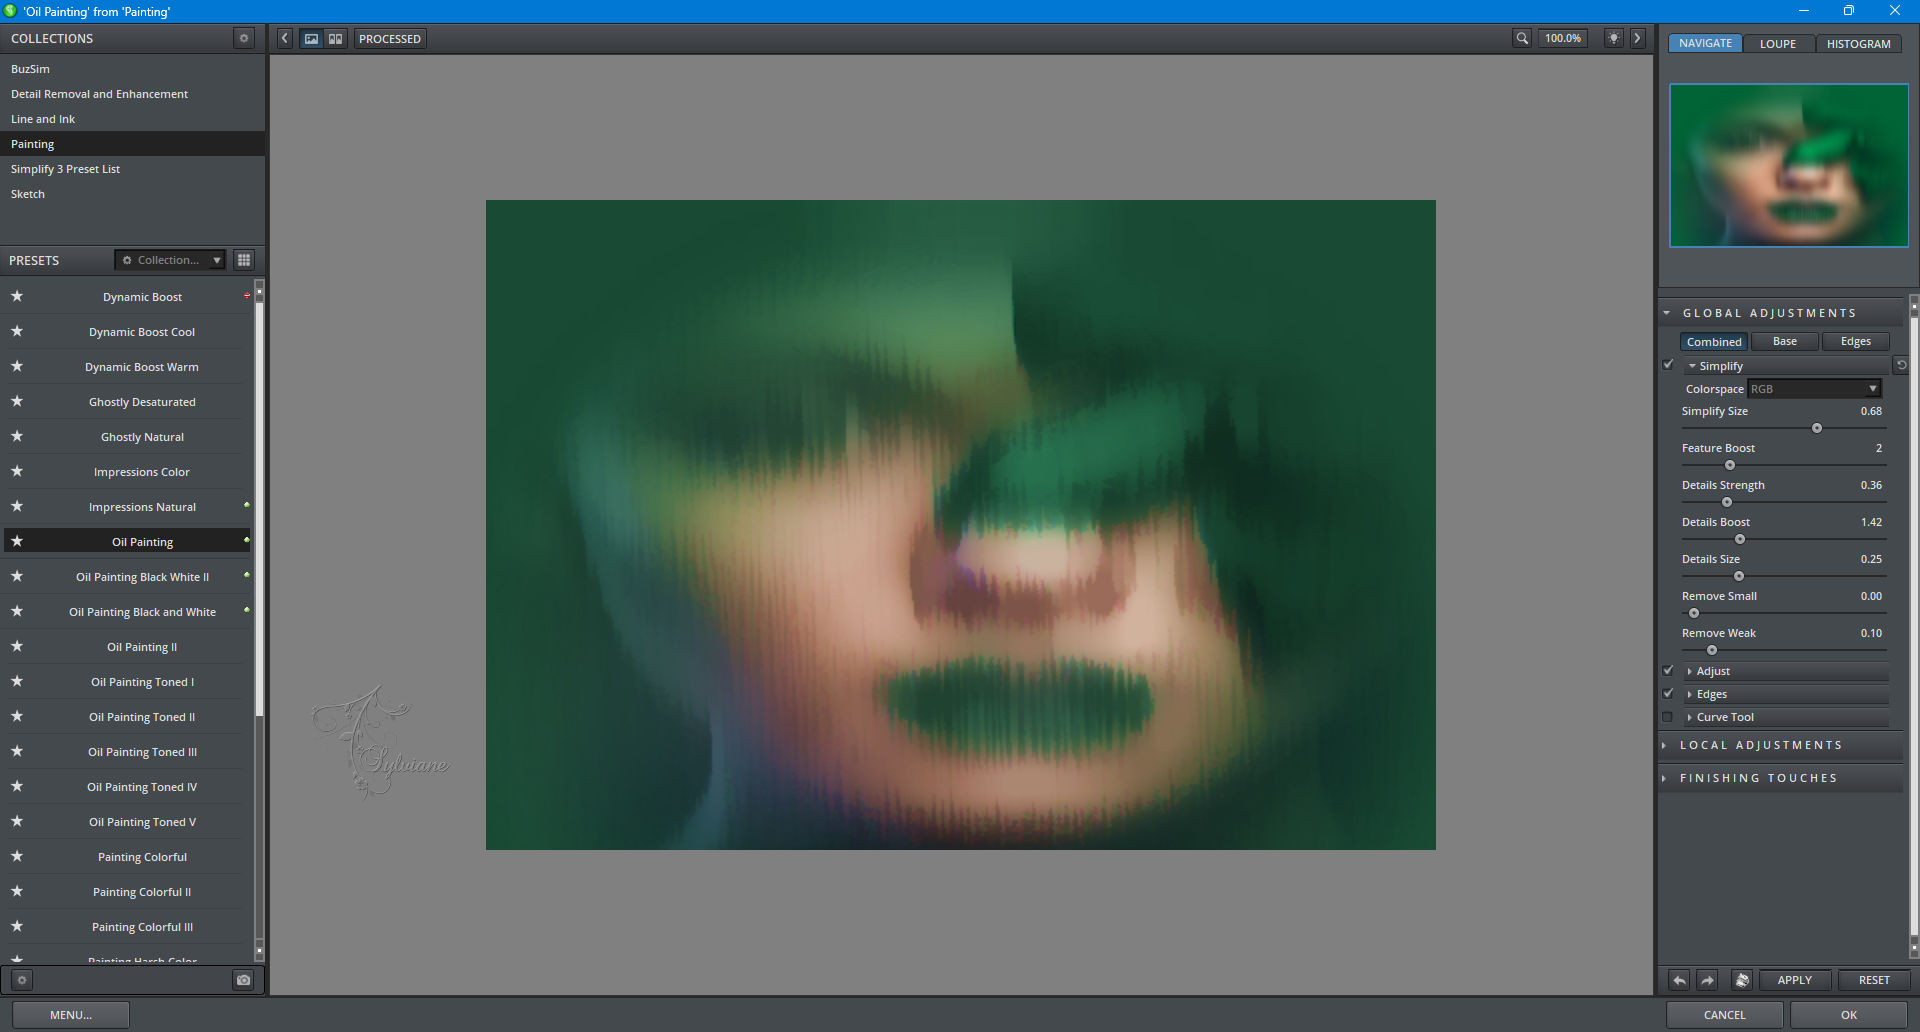
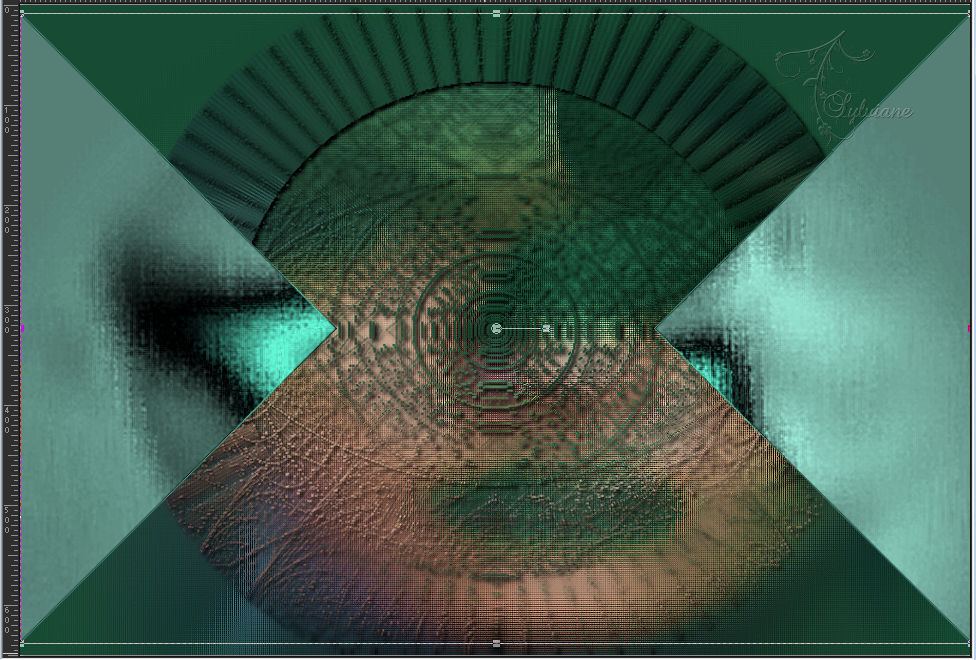
Effects - plug-in filters - Topaz - Simply 3 - Painting Oil
7.
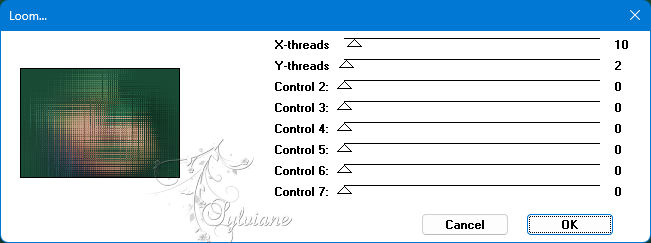
Effects - plug-in filters - FunHouse - Loom
8.
Effects - Edge Effects - Enhance
9.
Layers - duplicate
10.
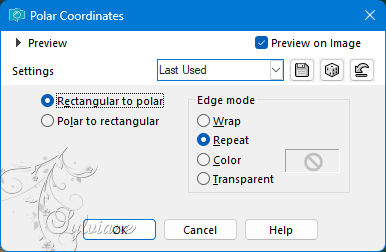
Effects - distortion effects - polar coordinates
11.
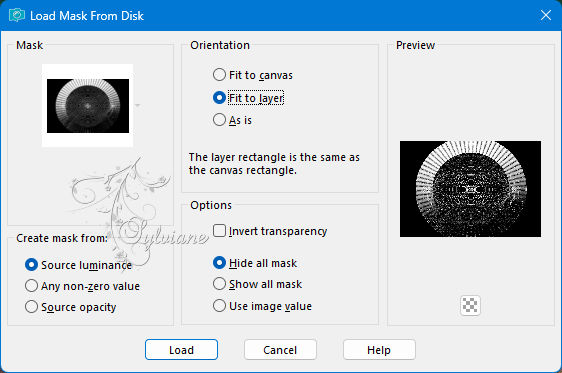
Layers - load/save mask - load mask from disk - EF_Mask_83.jpg
Layers - Merge - Group Merge
12.
Effects - 3D effects - drop shadow
3/3/100/5.50 - Colour :000000 (black)
13.
Layers - duplicate
Blend mode: color
14.
Layers - Merge - Merge Down
15.
Open deco_silvie.pspimage
Edit - Copy
Edit - paste as a new layer
Place on sides against the edge and pull a bit up and down
Blend mode : Hard light
16.
Open misted_rostos_15.psp image
Edit - copy
Edit - paste as a new layer
I duplicated my layer again to look nicer
Place as in the example
17.
Activate Raster 2
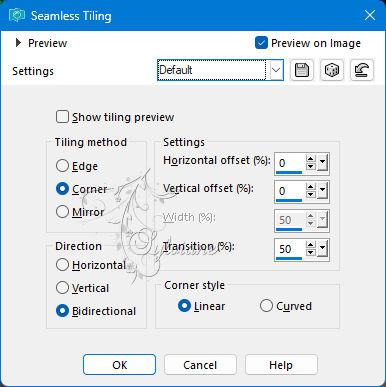
Effects - image effects - seamless repeat - default
18.
Image - add borders - Symmetric - 33px - Foreground #082416
Image - Add borders - Symmetric - 62px - Background #ffffffff
Image - Add borders - Symmetric - 2px - colour:#066841
Image - add borders - Symmetric - 2px - colour:#ffffffff
19.
Open nome.pspimage
Edit - copy
Edit - paste as a new layer
20.
Activate the selection tool (press K on your keyboard)
and fill in the following parameters :
Pos X : 4 - Pos Y : -6
Press M
21.
Put your watermark on it
Layers - merge - merge all layers
22.
Save as jpeg
Back
Copyright Translation 2024 by SvC-Design
------------------------------------------------------------------------------
Thanks to all who created