
This lesson is made with PSPX9
But is good with other versions.
© by SvC-Design
Materialen Download :
Here
******************************************************************
Materials:
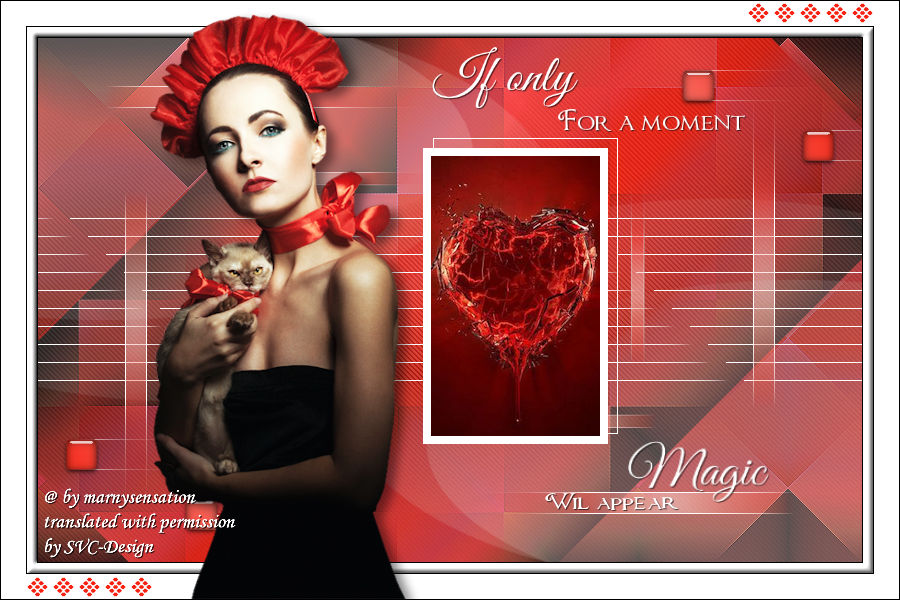
MagicMoment_basis.pspimage
Beauty_and_little_cat_CibiBijoux.pspimage
MS MagicMoment_hart.jpg
C_BOX.TTF
GreatVibes-Regular_0.ttf
MagicMoment_masker.jpg
MS Magic Moment.PspBrush
MarnySensation_126.f1s
pj3-rootchakra.jgd
******************************************************************
Plugin:
Plugins - Mehdi - Weaver
Plugins - Mehdi - Sorting Tiles
Plugin - Carolaine & Sensiblity, CS-Dlines
Plugin - Alien Skin - Eye Candy 5 Impact - Glass
******************************************************************
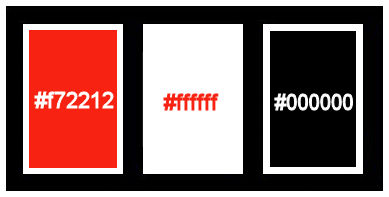
color palette
:
******************************************************************
methode
When using other tubes and colors, the mixing mode and / or layer coverage may differ
******************************************************************
General Preparations:
First install your filters for your PSP!
Masks: Save to your mask folder in PSP, unless noted otherwise
Texture & Pattern: Save to your Texture Folder in PSP
Selections: Save to your folder Selections in PSP
Open your tubes in PSP
******************************************************************
We will start - Have fun!
Remember to save your work on a regular basis
******************************************************************
1.
Open the file MagicMoment_basis.pspimage
Fill with Gradient pj3 root chakra
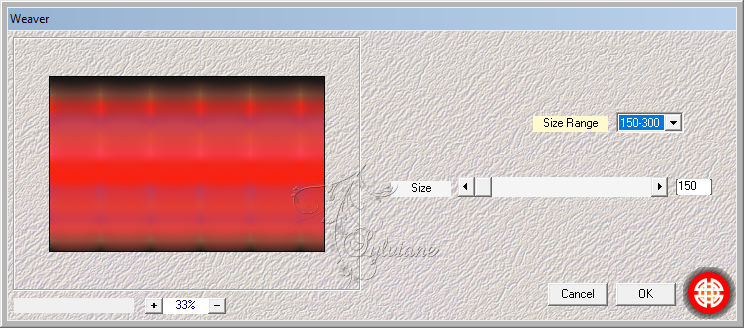
Plugins - Mehdi - Weaver
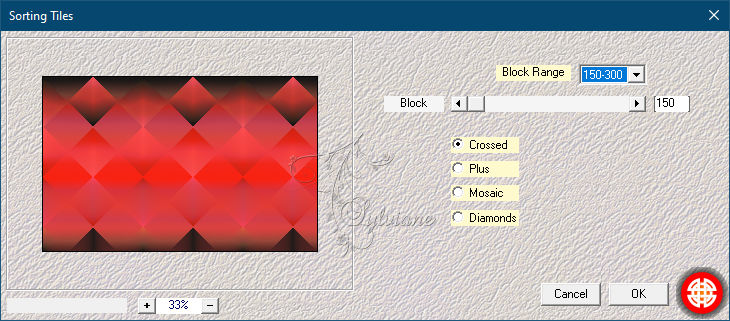
Plugins - Mehdi - Sorting Tiles
Effects - Edge Effects – Enhance
2.
Layers - Duplicate
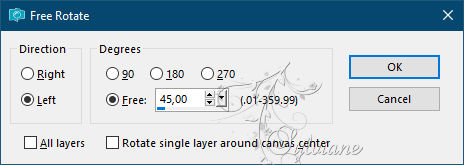
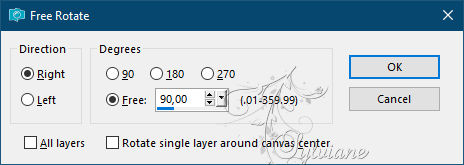
Image - Free Rotate
3.
Layers - New Raster Layer
Fill with White
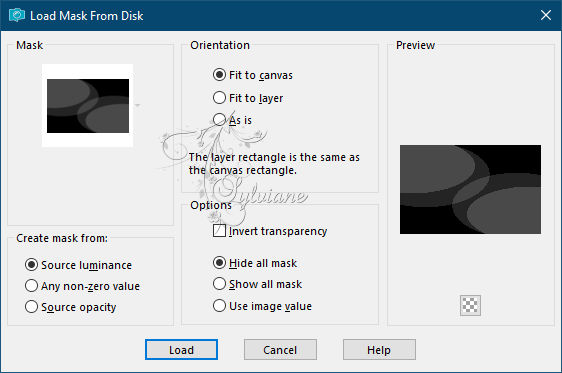
Layers – Load/save mask – Load mask from disk - MagicMoment_masker.jpg
Layers - Merge - Merge Group
4.
Layers - New Raster Layer
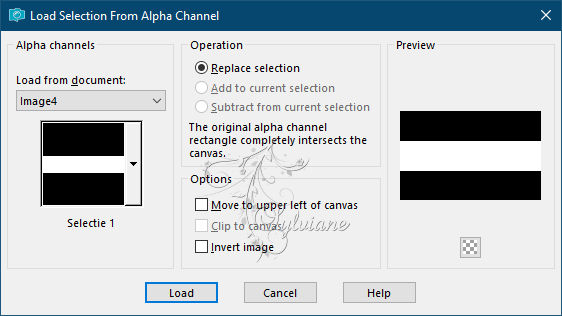
Selections - Load / Save - Load selection from Alpha Channel selectie 1
Foreground: #f72212
Background :#000000
Make een sunburst gardient
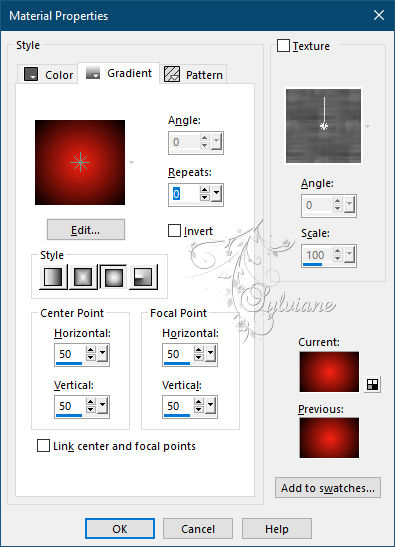
Fill with Gradient
Selection - Select None
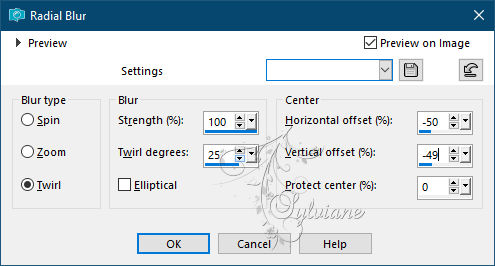
Adjust - blur - radial blur
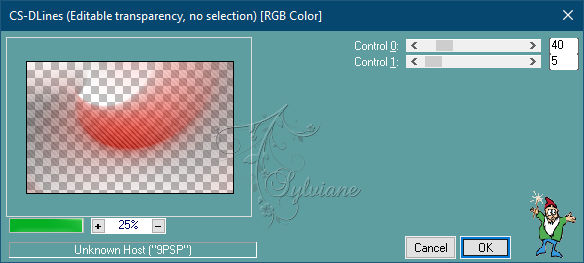
Plugin - Carolaine & Sensiblity, CS-Dlines
5.
Layers - New Raster Layer
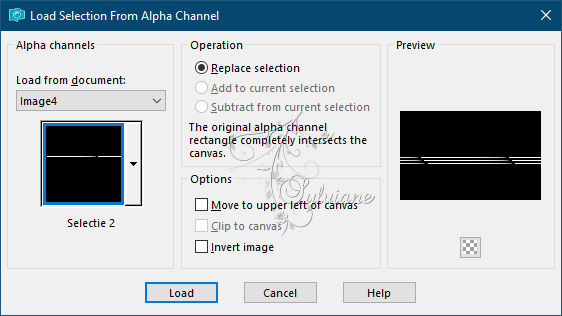
Selections - Load / Save - Load selection from Alpha Channel selectie 2
Zoom in
Fill with #ffffff
Zoom out
Selection - Select None
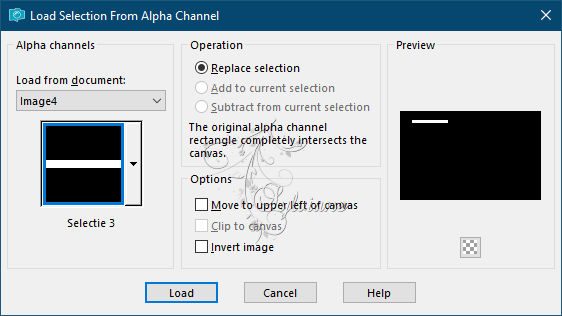
6.
Layers - New Raster Layer
Selections - Load / Save - Load selection from Alpha Channel selectie 3
Foreground: #f72212
Background :#ffffff
Make een sunburst gardient
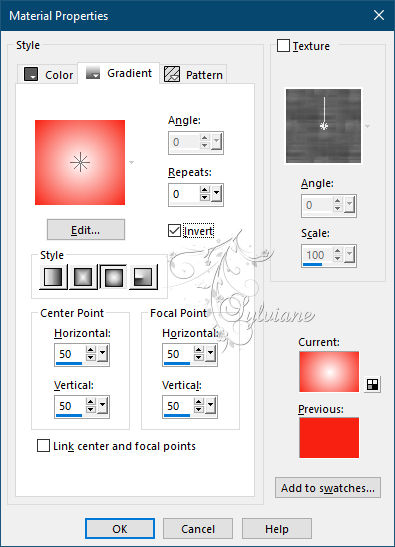
Fill with Gradient
Selection - Select None
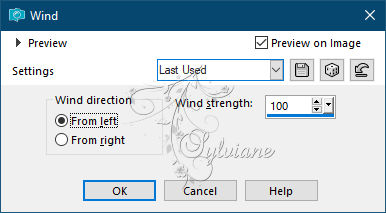
Effects - Distortion effects - Wind
Set the opacity of this layer to 50
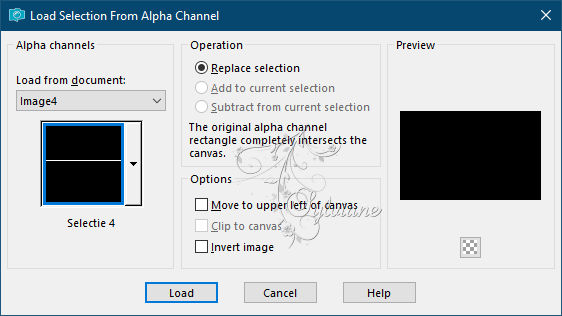
7.
Layers - New Raster Layer
Selections - Load / Save - Load selection from Alpha Channel selectie 4
Zoom in
Fill with White
Zoom out
Selection - Select None
Effects - Distortion effects - Wind
Layers – merge – merge down
8.
Layers - Duplicate
Image - Free Rotate - 90 ° right
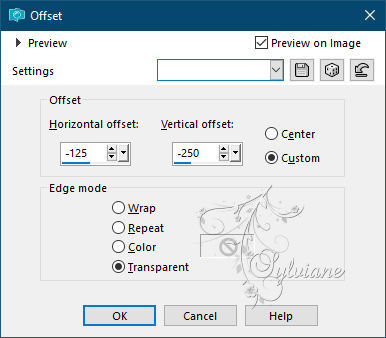
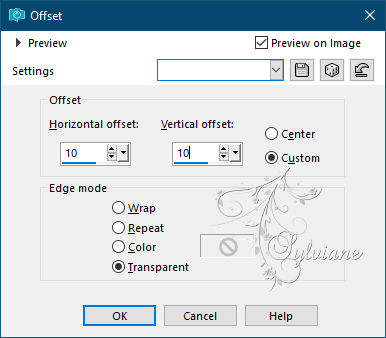
Effects - Image Effects - Offset
Layers – merge – merge down
9.
Layers - Duplicate
Image - Mirror – mirror Horizontal
Image - Mirror - Vertical Mirror
Layers – merge – merge down
10.
Layers - Duplicate
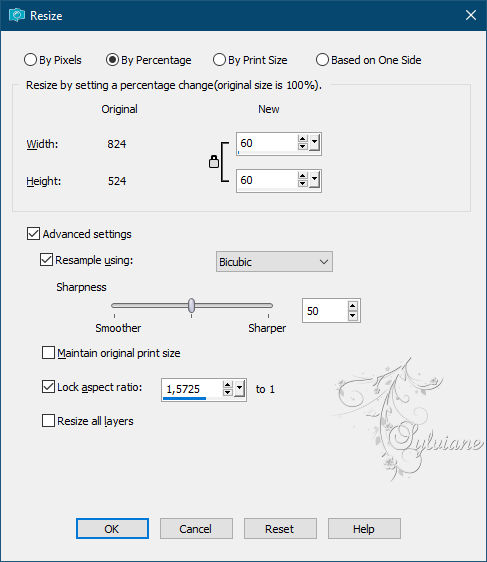
Image - Resize - 60%
11.
Layers - New Raster Layer
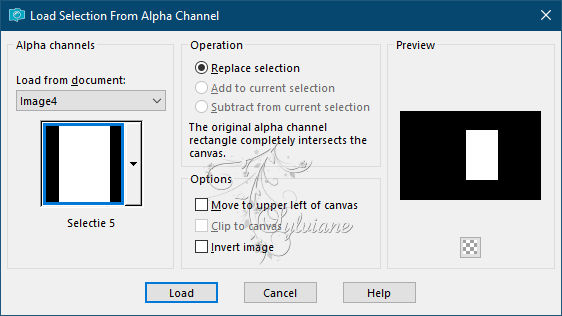
Selections - Load / Save - Load selection from Alpha Channel selectie 5
Fill with White
Selection - modify - contract - 1 pixels
Press Delete
Selection - Select None
Effects - Image Effects – Offset
12.
Selections - Load / Save - Load selection from Alpha Channel selectie 5
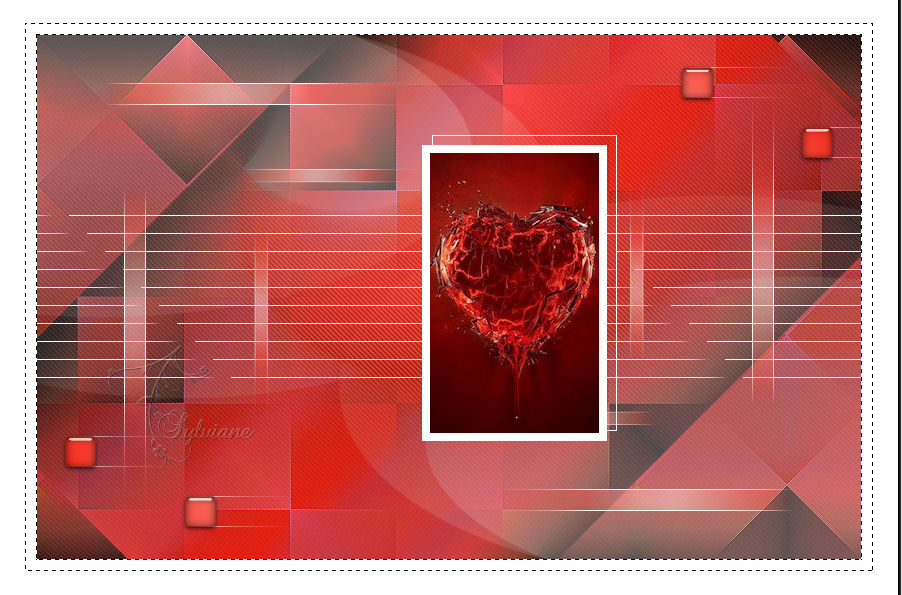
Resize your heart image to 300 pixels high and 190 pixels wide

Copy and paste your image as a New Layer (do not paste into the selection, because then your image will be distorted)
Move your picture in the selection box
Selections - Invert
Press Delete
Selection - Select None
13.
Layers - New Raster Layer
Selections - Load / Save - Load selection from Alpha Channel selectie 5
Fill with White
Selection - modify - contract - 8 pixels
Press Delete
Selection - Select None
14.
Layers - New Raster Layer
Selections - Load / Save - Load selection from Alpha Channel selectie 6

Fill with Sunburst gardient white and red
Selection - Select None
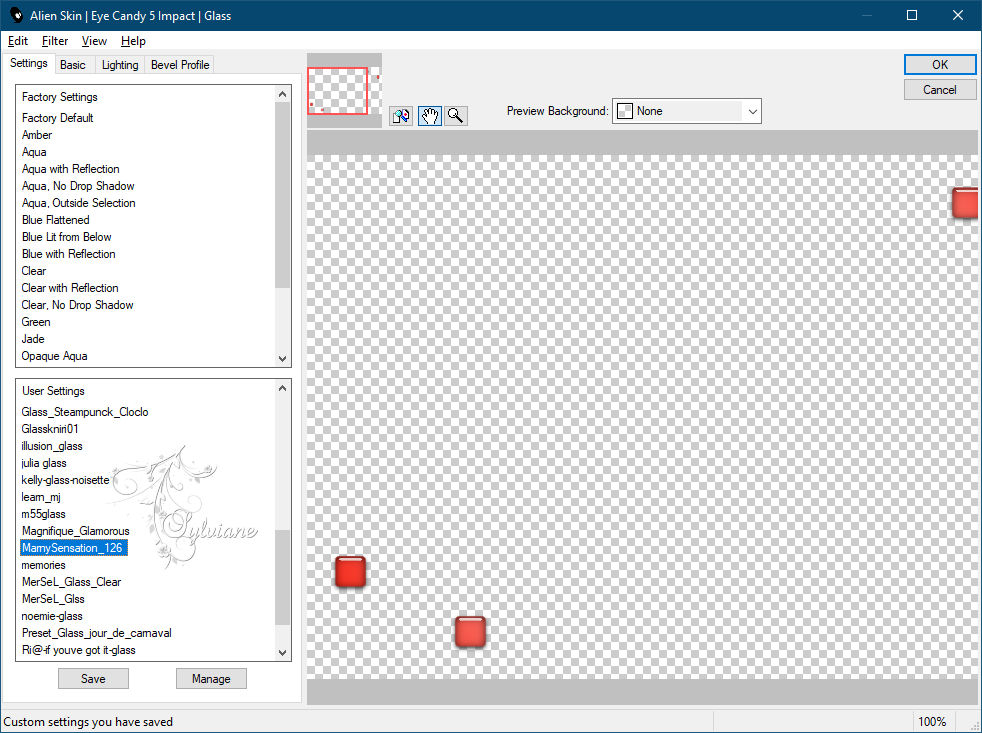
Plugin - Alien Skin - Eye Candy 5 Impact - Glass
15.
Layers - New Raster Layer
Selections - Load / Save - Load selection from Alpha Channel selectie 6
Fill with White
Selection - modify - contract - 1 pixels
Selection - Select None
Effects - Distortion effects - Wind
Layers – arrange – move down
Stand on the top layer
16.
Image - Add Borders – Symmetric -1 pixel - color:#000000
Image - Add Borders – Symmetric - 10 pixels - color:#ffffff
Image - Add Borders – Symmetric -1 pixel - color :#000000
Image - Add Borders – Symmetric - 25 pixels - color:#ffffff
Image - Add Borders – Symmetric - 1 pixel – color:#000000
17.
Click with your Magic Wand
Select 10 pixels border
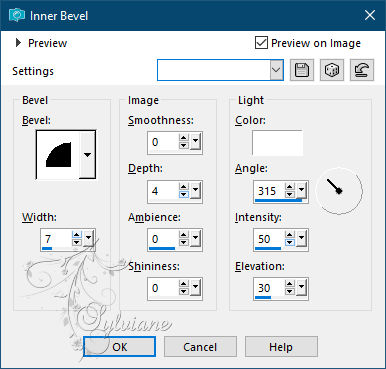
Effects – 3D effects – inner bevel
Selection - Select None
18.
Go to Layers, New Raster Layer
Go to Brush, find your brush MagicMoment and stamp 1 time at the top right with your color and 1 time at the bottom left
19.
Copy and paste your Tube links to your work
Go to Effects, 3D effects, Drop shadow, 5/ 8 / 48 / 15 -color dark gray
20.
Layers - New Raster Layer
Find the Great Vibes font, set the size to 60
Set your background to White and close the foreground color
Type the words: If only Convert your vector layer to a raster layer
Type the word Magic
Convert your vector layer to a raster layer
Find the Chocolate Box font, set the size to 20
Type the words: for a moment
Convert your vector layer to a raster layer
Type the words: will appear
Convert your vector layer to a raster layer
If your background is too light, give the letter a drop shadow of 1 – 1 – 65 – 1, dark color
21.
put your watermark on it
Layer – merge – merge all (flatten)
Save as JPEG
Back
Copyright Translation © 2021 by SvC-Design