
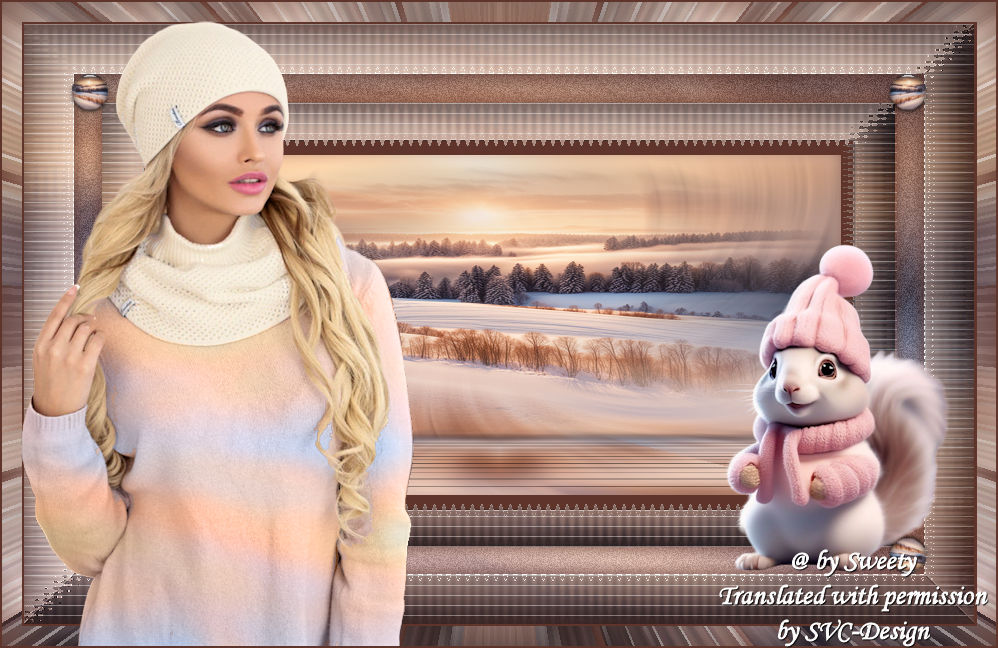
This lesson is made with PSPX9
But is good with other versions.
© by SvC-Design

Materialen Download :
Here
******************************************************************
Materials:
PALETTE COULEURS V 1.png
SELECTION 1 204 .PspSelection
SELECTION 2 204 .PspSelection
JANVIER 2024 ECUREUIL BLANC HIVER 10 01 24 SWEETY.png
MISTED nature-landscape-calm-dusksunrisegolden-hourwintersnowfield-368198148.png
nature-landscape-calm-dusksunrisegolden-hourwintersnowfield-368198148.png
NOVEMBRE 2023 ISA 2 BIS 08 11 23 SWEETY.png
******************************************************************
Plugin:
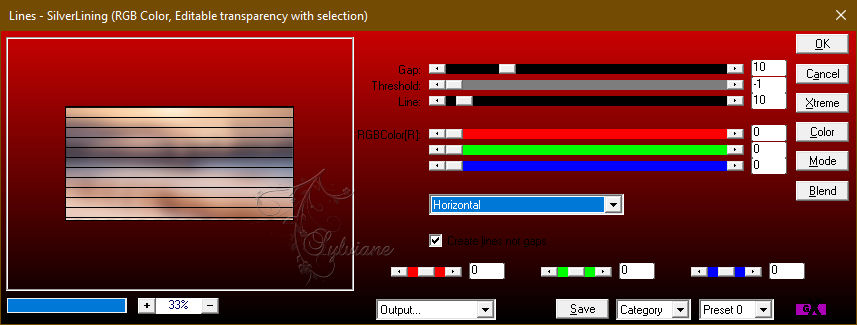
Effects – plugin - AP 1 (Innovations) - Lines SilverLining - horizontal
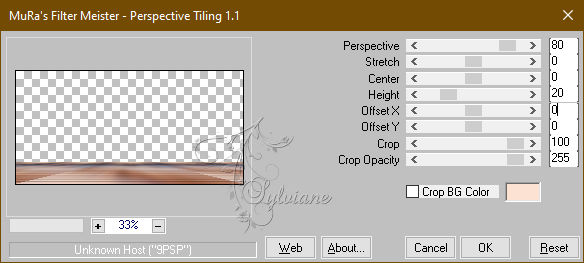
Effects - plugin - MuRa's Filter Meister - Perspective tilling
Effects – plugin - Alien Skin Eyes - candy 5: Impact – Glass
Effects – plugin – Simple - Top Left Mirror
Effects – plugin - AP1 (Innovations) - Lines SilverLining – line Pattern
Effects – plugin - VM Toolbox effect - Zoom Blur
******************************************************************
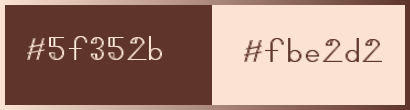
color palette
:
******************************************************************
methode
When using other tubes and colors, the mixing mode and / or layer coverage may differ
******************************************************************
General Preparations:
First install your filters for your PSP!
Masks: Save to your mask folder in PSP, unless noted otherwise
Texture & Pattern: Save to your Texture Folder in PSP
Selections: Save to your folder Selections in PSP
Open your tubes in PSP
******************************************************************
We will start - Have fun!
Remember to save your work on a regular basis
******************************************************************
1.
Open a new transparent image of 950/600 px
Selections - select all
Open nature-landscape-calm-dusksunrisegolden-hourwintersnowfield-368198148.png
Edit - copy
Activate your work
Edit - paste into selection
Selections - select none
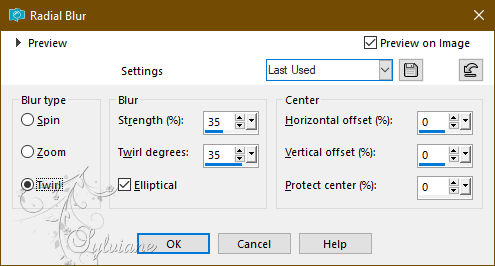
Adjust - blur - radial blur
2.
Selections - select all
Selection - modify - contract - 50px
Selections - Invert
Selections – Promote selections to layer
Effects – 3D effects - buttonize
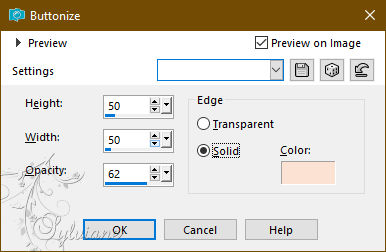
If you choose the color white, apply the mode of the layer that suits you best
Selections - select none
Effects - Edge Effects - Enhance
Edit - copy (The image is put into memory).
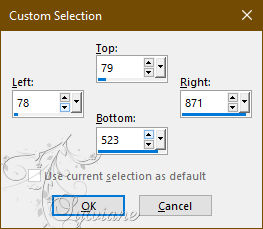
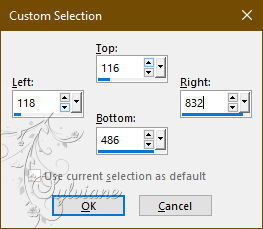
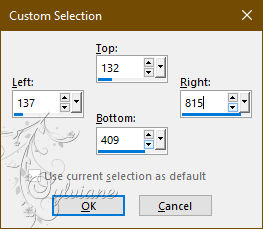
Activate Selection - Custom selection
Edit - Paste into selection
Selections - select none
3.
Activate
Magic Wand Tool - Tolerance 0. Click in the empty part between the two strips:
Activate Raster 1
Selections – Promote selections to layer
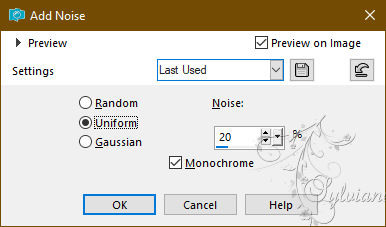
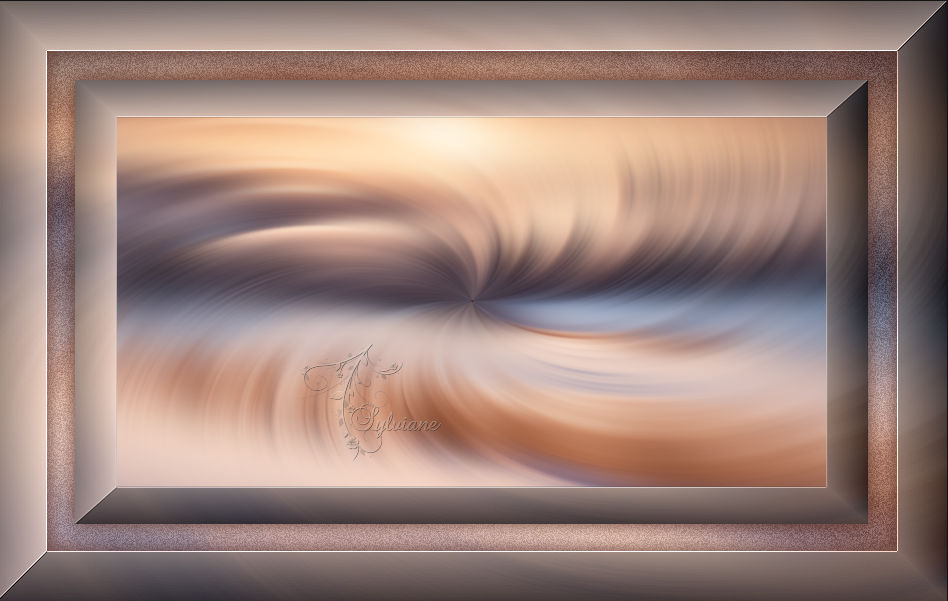
Adjust - Add / Remove Noise - Add Noise
Selections - Invert
Effects - 3 D effects - Drop shadow
0 / 0 / 60 / 30 / BLACK or AVP
NOTE: For both of my versions as I opted for the color AVP -
I applied the drop shadow a 2nd time
Selections - select none
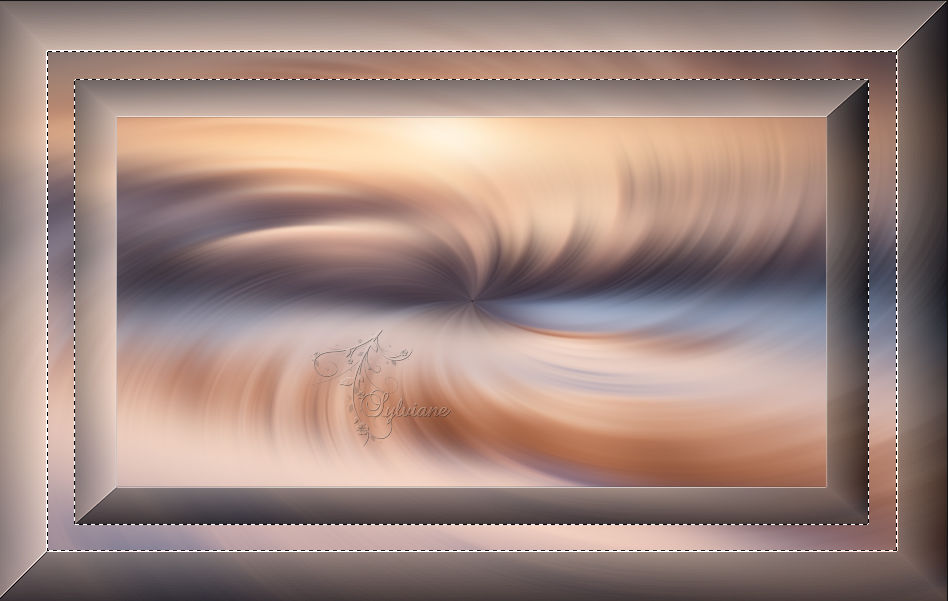
4.
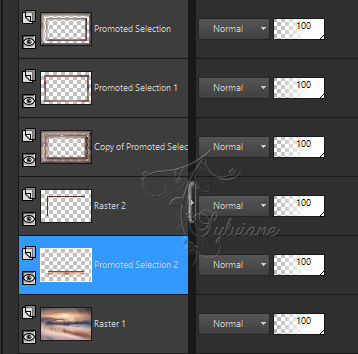
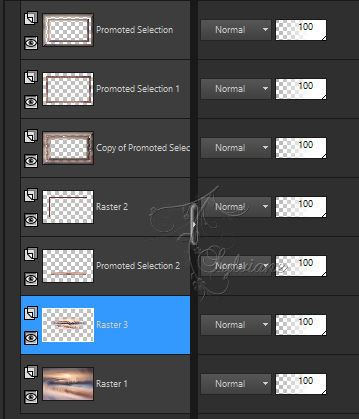
We have this:

Activate Promoted Selection
Layers - Duplicate
Selections - select all
Selections – float
Selections – defloat
Effects - distortion effects - wave
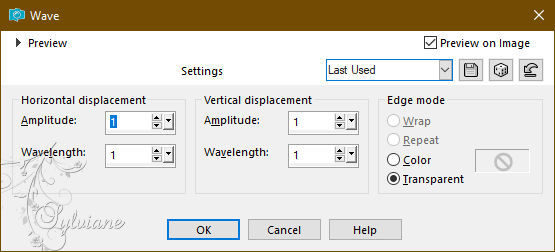
Selections - select none
Activate Magic Wand Tool - Tolerance 0. Click in the blank part of this frame
Selections - Invert
Shadow:
Effects - 3 D effects - Drop shadow
0 / 0 / 60 / 30 / BLACK or AVP
Selections - select all
Layers - Duplicate
Layers – merge – merge down
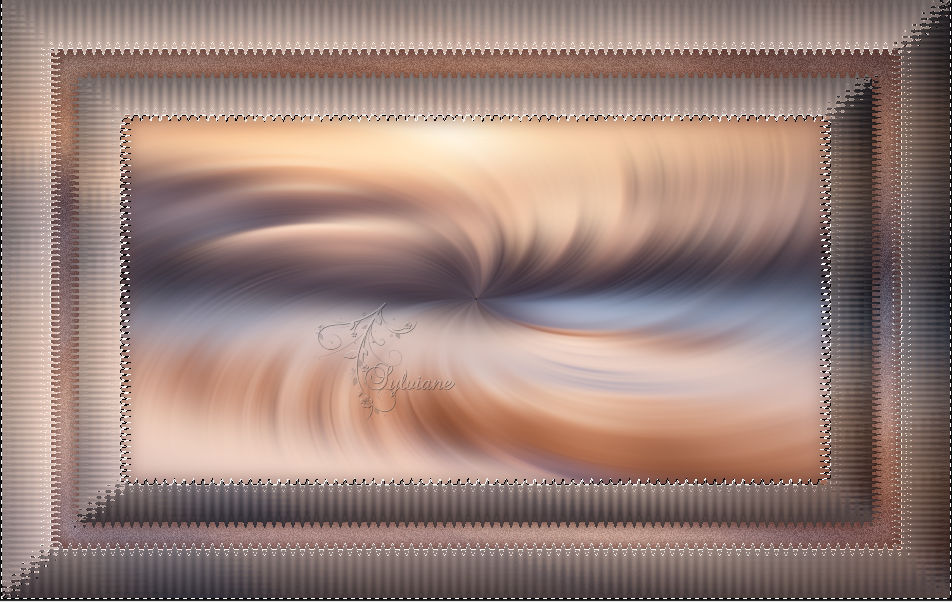
5.
We have this:

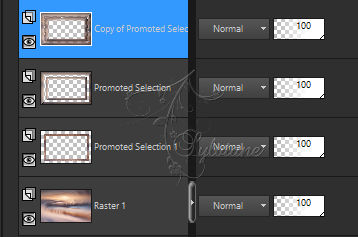
We're on Copy of Promoted Selection
Layers – arrange – move down (2x)
Activate Selection - Custom selection
Layers - New Raster Layer
Layers – arrange – move down
Fill the selection with the ARP or AVP color of your choice
Selection - modify - contract – 15px
CLEAR or DELETE on keyboard
Selections - Invert
Effects - 3 D effects - Drop shadow
0 / 0 / 60 / 30 / BLACK or AVP
Keeping Selection Active...
6.
We're still Raster 2
Selections - Invert
Activate Raster 1
Selections – Promote selections to layer
Adjust - blur - gaussian blur
Radio: 15
Effects – plugin - AP 1 (Innovations) - Lines SilverLining - horizontal
Effects - plugin - MuRa's Filter Meister - Perspective tilling
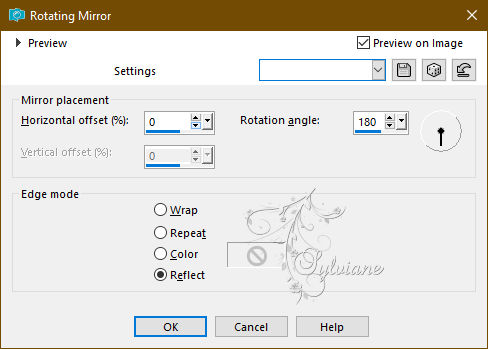
Effects – reflection effects – rotating mirror
Selections - select none
7.
We re Promoted Selection 2
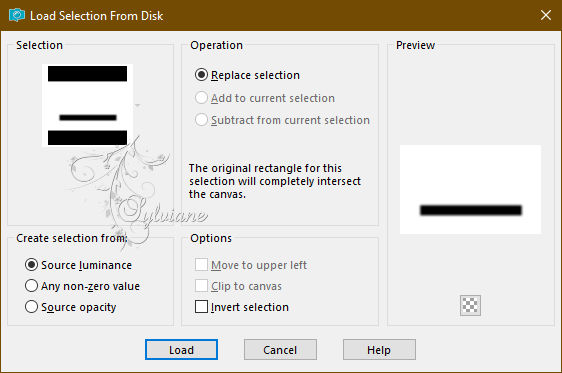
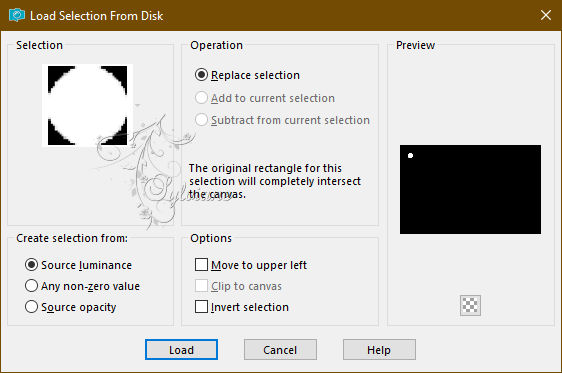
Selections - Load / Save - Load selection from disk - SELECTION 1 204 .PspSelection
ERASE or DELETE on keyboard 4 or 5 times
Selections - select none
Activate Selection - Custom selection
Layers - New Raster Layer
Layers – arrange – move down
Open nature-landscape-calm-dusksunrisegolden-hourwintersnowfield-368198148.png
Layers – Load/save mask – Load mask from disk - 20/20

Layers - Merge - Merge Group
Edit - copy
Activate your work
Edit - paste into selection
Adjust – scharpness – scharpen
Selections - select none
On your landscape image, go back in order to find the original
8.
Here we are on the 2nd layer from the bottom (Raster Landscape 3):
Activate Promoted Selection
Layers - new raster layer
Selections - Load / Save - Load selection from disk - SELECTION 2 204 .PspSelection
Open nature-landscape-calm-dusksunrisegolden-hourwintersnowfield-368198148.png
Edit - copy
Activate your work
Edit - paste into selection
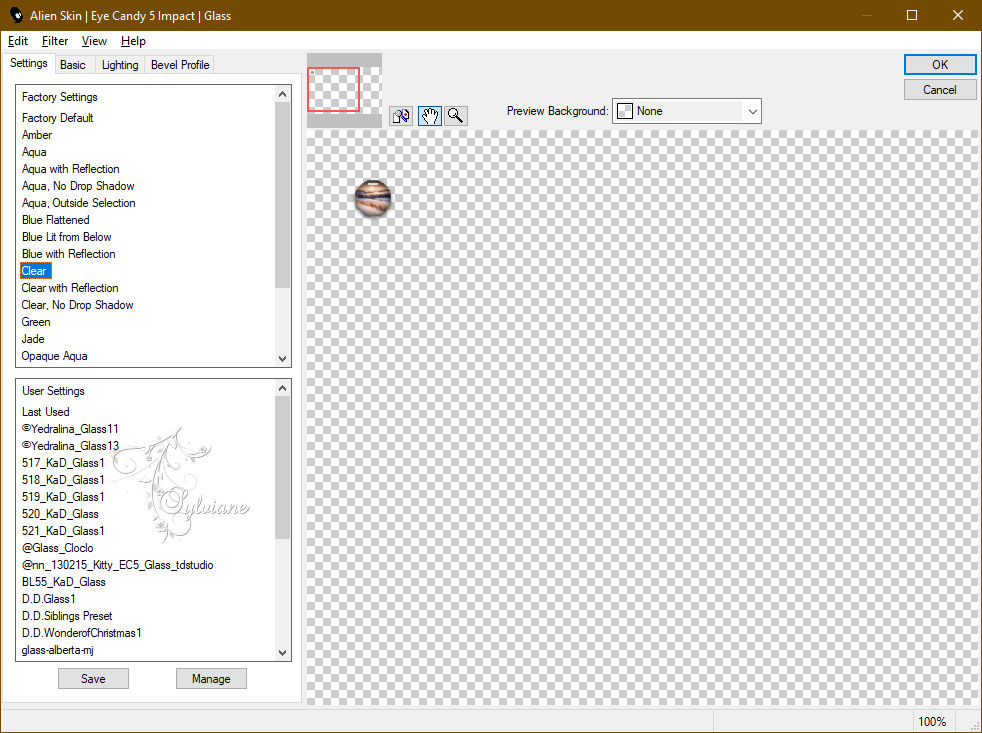
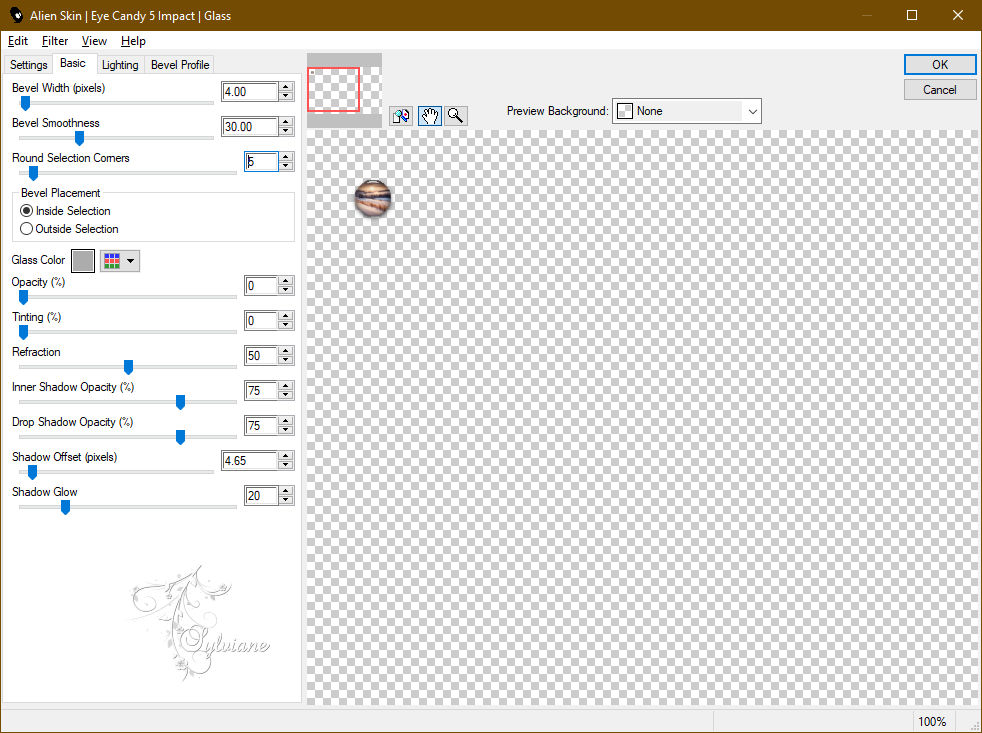
Effects – plugin - Alien Skin Eyes - candy 5: Impact – Glass - Clear by default
Selections - select none
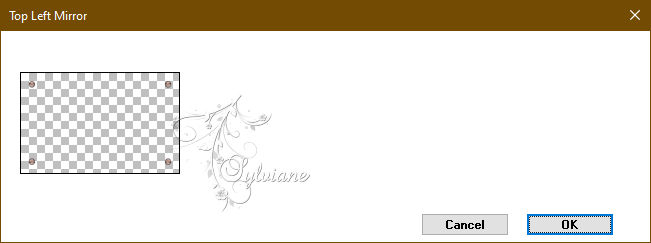
Effects – plugin – Simple - Top Left Mirror
9.
Result of our *work*:
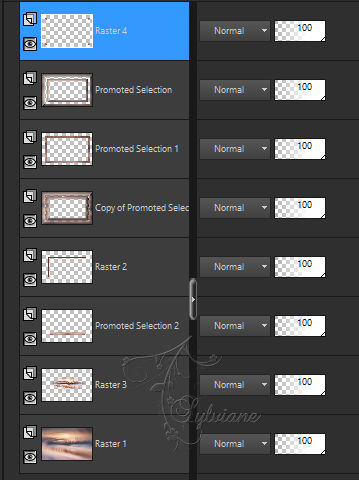
We are still on Raster 4
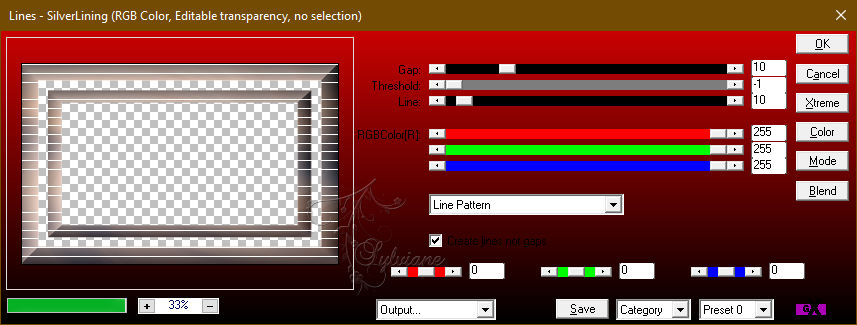
Activate Promoted Selection
Effects – plugin - AP1 (Innovations) - Lines SilverLining – line Pattern
For my 1st version I put this layer on *Soft Light
Effects – reflection effects – rotating mirror
10.
Image - Add Borders – Symmetric - 2 px - AVP Color
Edit – copy (the image is put into memory)
Selections - select all
Image - Add Borders – Symmetric – 20px - (No matter the color)
Selections - Invert
Edit - paste into selection
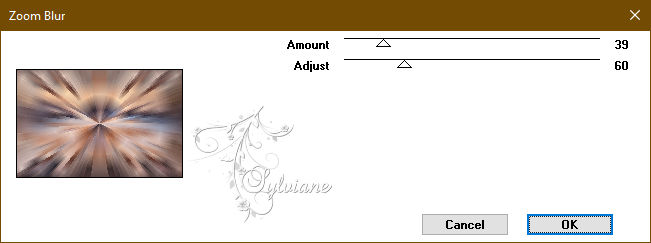
Effects – plugin - VM Toolbox effect - Zoom Blur - default:
Effects – reflection effects – rotating mirror
Effects - 3 D effects - Drop shadow
0 / 0 / 60 / 30 / BLACK or AVP
Selections - select none
11.
Open NOVEMBRE 2023 ISA 2 BIS 08 11 23 SWEETY.png
Edit - copy
Activate your work
Edit - paste as new layer
Image - Resize – 83%
No check mark on resize all layers
Open JANVIER 2024 ECUREUIL BLANC HIVER 10 01 24 SWEETY.png
Image - Mirror – mirror Horizontal
Image - Resize – 43%
No check mark on resize all layers
Apply a drop shadow to each element of your choice
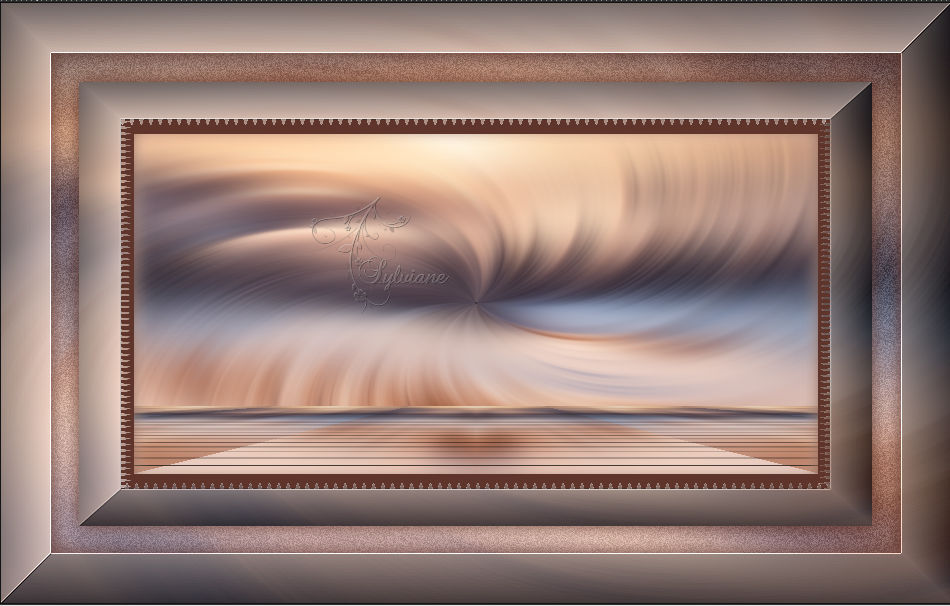
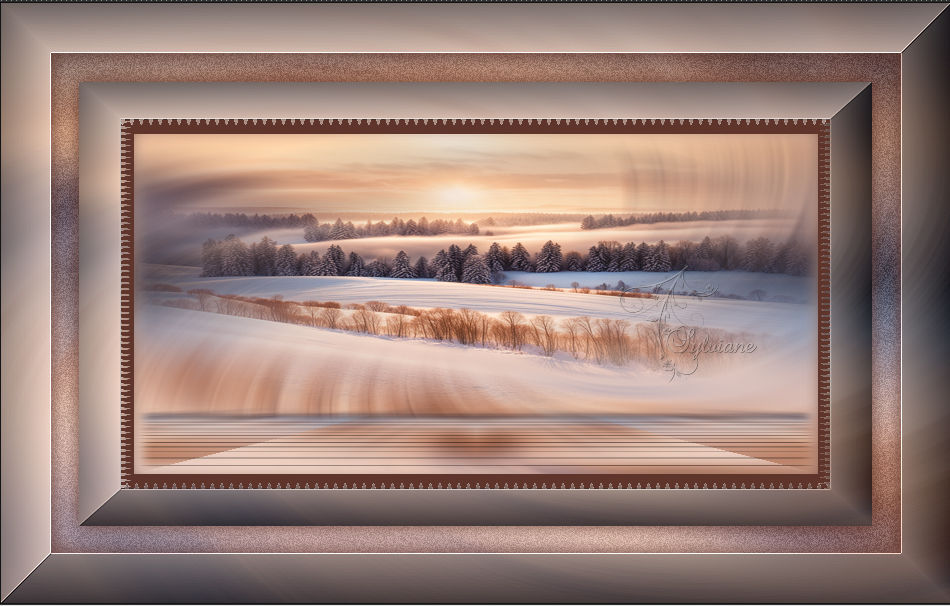
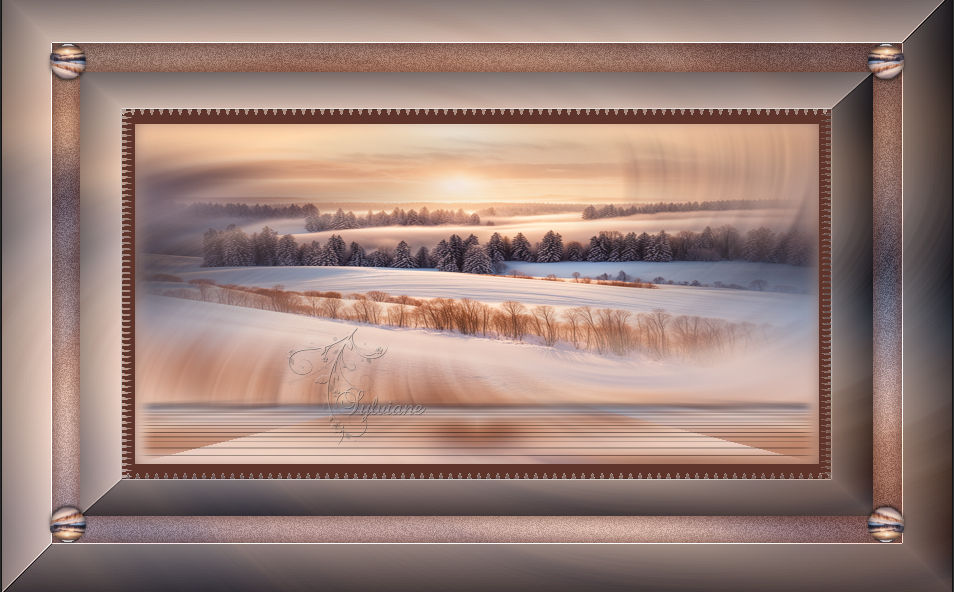
12.
Image - Add Borders – Symmetric - 2 px -AVP or ARP colors of your choice
Affix your signature and mine if you wish
Layer – merge – merge all (flatten)
Resize to 950 pixels
Save as JPEG
Back
Copyright Translation 2024 by SvC-Design
------------------------------------------------------------------------------
Thanks to all who created