
This lesson is made with PSPX9
But is good with other versions.
© by SvC-Design

Materialen Download :
Here
******************************************************************
Materials:
DECO PERSO 1 191 DECEMBRE 2022 SWEETY.png
PALETTE COULEURS 191 .png
GLASS 191 SWEETY.f1s
SELECTION 1 191 .PspSelection
SELECTION 1 BIS 191 .PspSelection
SELECTION 2 191 .PspSelection
SELECTION 3 191 .PspSelection
SELECTION 4 191 .PspSelection
SELECTION 5 191 .PspSelection
SELECTION 6 191 .PspSelection
DECEMBRE 2022 COUPLE OISEAUX 23 12 22 SWEETY.png
DECEMBRE 2022 ISALINE 2 12 22 SWEETY.png
river_rivi_re_glace_ice_paysage_landscape_winter_hiver-1109054.jpg
******************************************************************
Plugin:
plugin - MuRa's Meister - Pole Transform 2.1
Plugin - Alien Skin - Eyes Candy 5 – Impact - Glass
Plugin - MuRa's Meister - Perspective tiling
Plugin - VM Toolbox - Zoom Blur
Plugin - MuRa's Filter Meister - Tone
Plugin - Unlimited 2.0 - Background Designer IV - sf10 Shades Of Shadow
******************************************************************
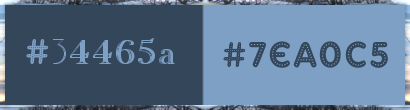
color palette
:
******************************************************************
methode
When using other tubes and colors, the mixing mode and / or layer coverage may differ
******************************************************************
General Preparations:
First install your filters for your PSP!
Masks: Save to your mask folder in PSP, unless noted otherwise
Texture & Pattern: Save to your Texture Folder in PSP
Selections: Save to your folder Selections in PSP
Open your tubes in PSP
******************************************************************
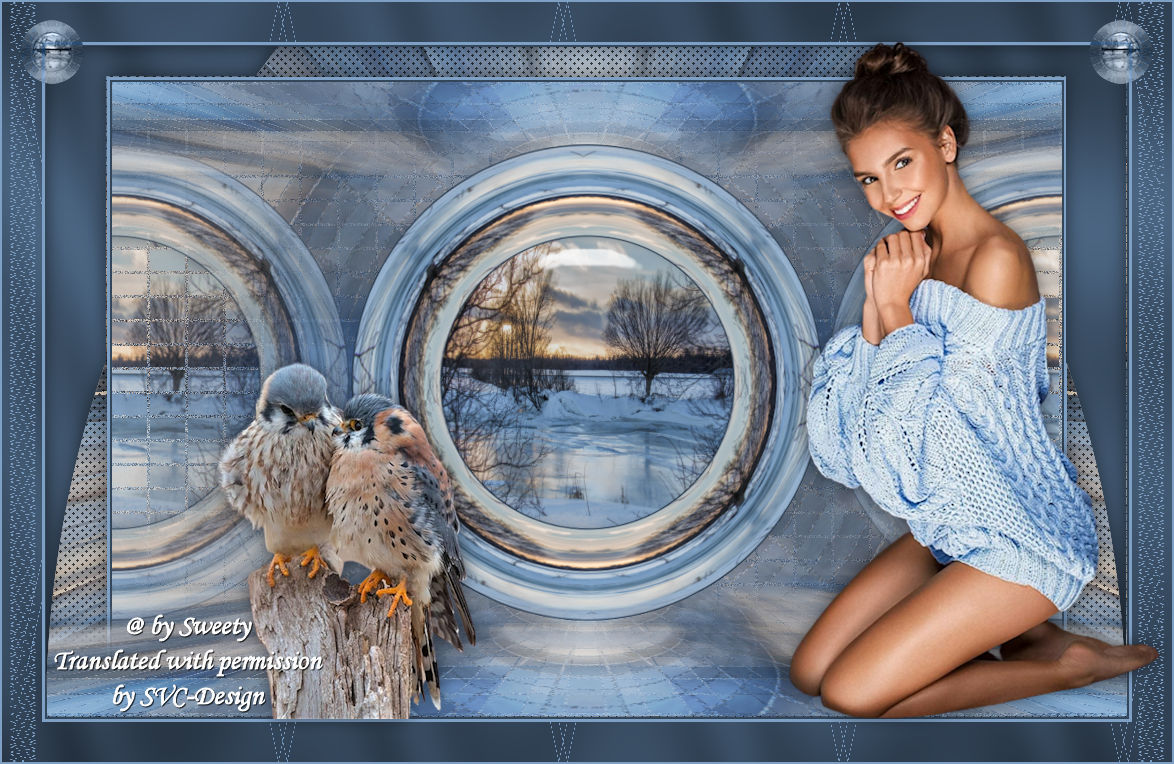
We will start - Have fun!
Remember to save your work on a regular basis
******************************************************************
1.
Choose an image you like. Take two colors:
Foreground (AVP): Dark / Background (ARP): Light -
Open a 950/600 transparent layer.
Selection - Select all
Open 31be945fe76cd185df551b90f3ee9600.jpg
Edit – Copy
Edit – Paste into the selection
Selection – Select None
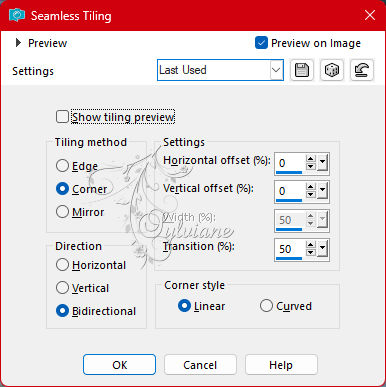
Effects - Image Effects - Seamless Repeats – Default
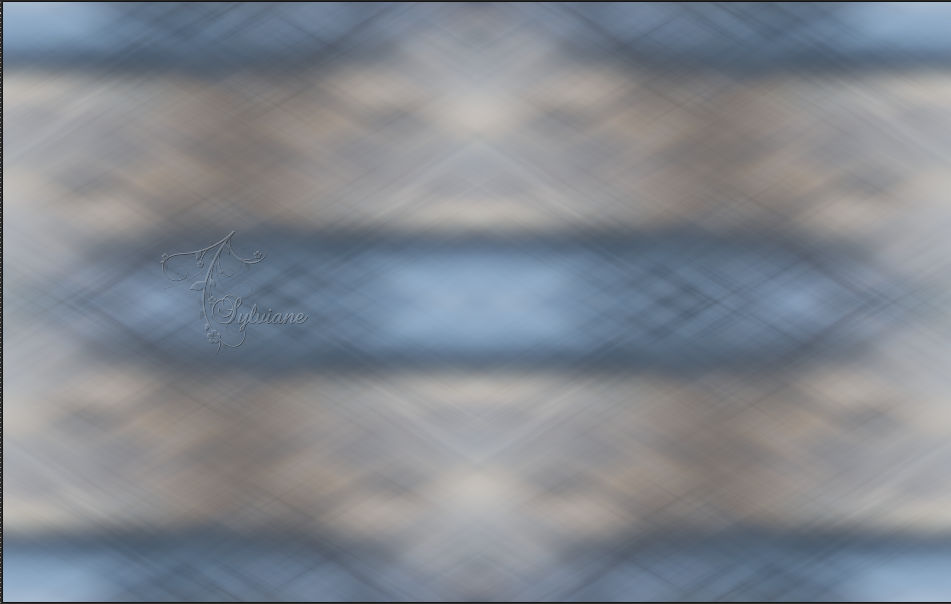
Adjust - blur - motion blur
Angle: 300 / Intensity (%): 100.

Edit - repeat motion blur
2.
Layers - duplicate.
Image – Mirror – mirror horizontally
opacity :50%
Layers - merge - merge down
Layers - duplicate
Image – mirror – mirror vertically
opacity :50%
Layers - merge - merge down
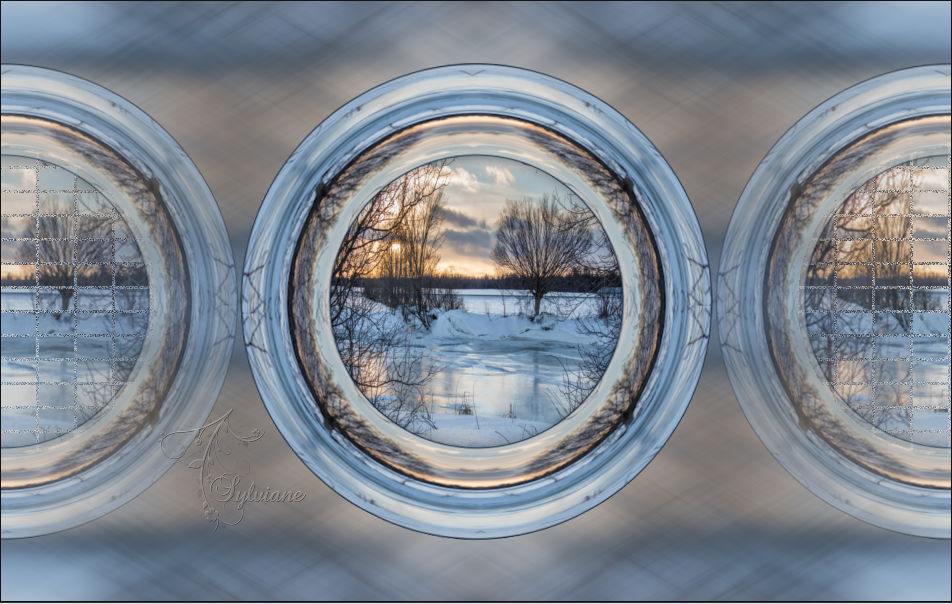
We get this:

3.
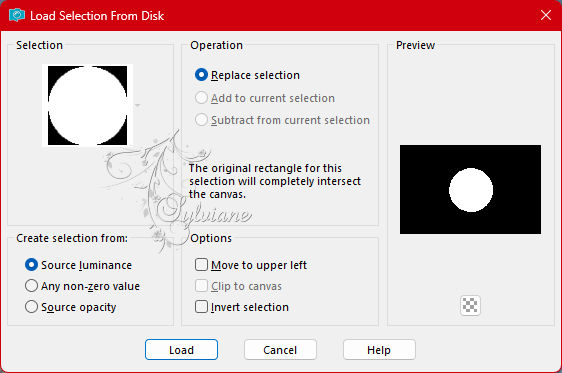
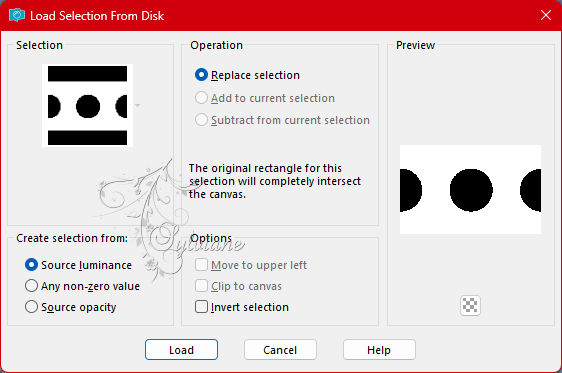
Selections - Selections Load/Save - Selections Load from disk - SELECTION 1 191 .PspSelection
Layers – New Raster Layer
Fill selection with AVP or ARP color
Selection – Modify – Contract with – 2px
Erase or delete with the keyboard.
Layers – New Raster Layer
Layers – arrange – down
Open 31be945fe76cd185df551b90f3ee9600.jpg
Edit – Copy
Edit – Paste into the selection
Activate Raster 2
Layers - merge - merge down
Selection – Select None
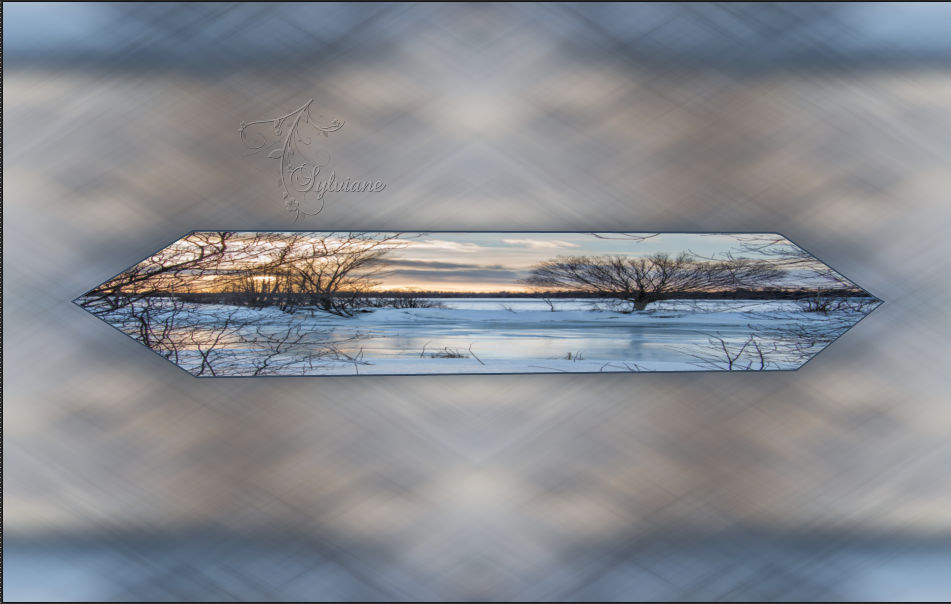
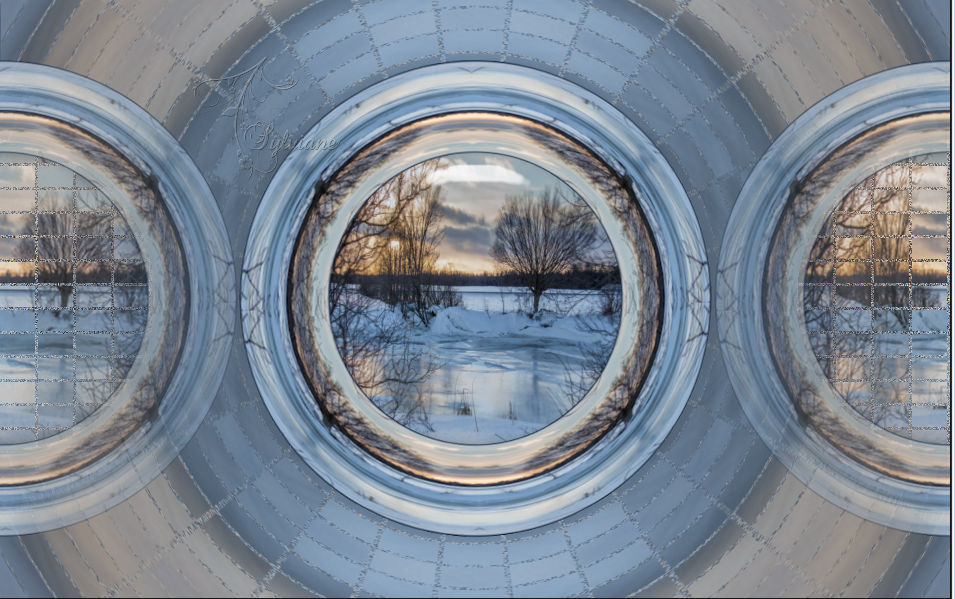
We have this:
4.
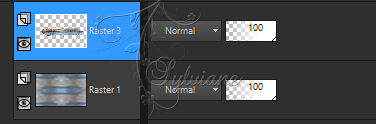
On this layer (Raster 3)
Resize to 85% bottom box unchecked
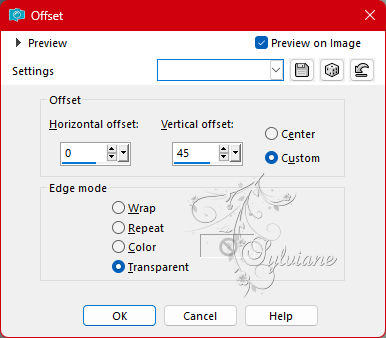
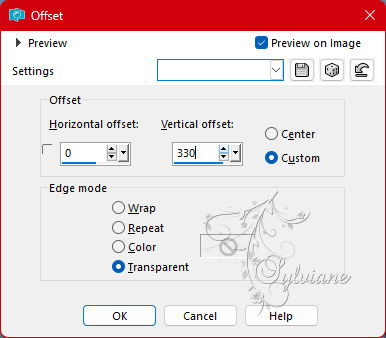
Effects – Image Effects – Offset
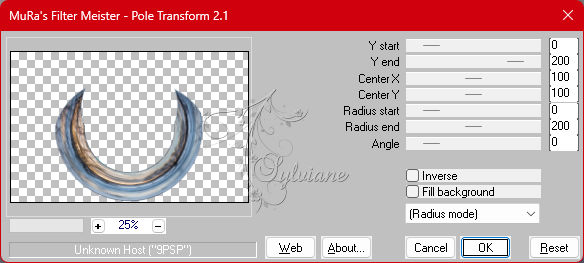
Plugin - MuRa's Meister - Pole Transform 2.1
Layers - duplicate.
Image – mirror – mirror vertically
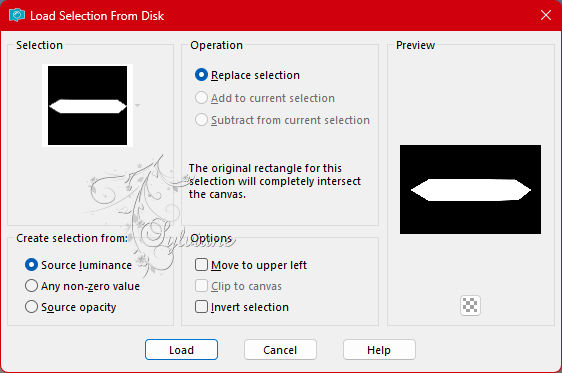
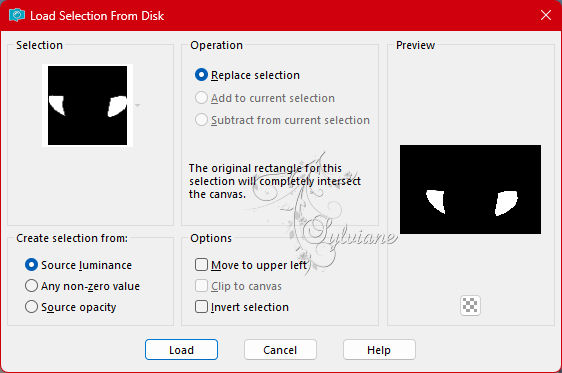
Selection – Load/Save Selection – Load Selection from Disk - SELECTION 1 BIS 191 .PspSelection
Erase or delete on keyboard
Selection – Select None
Layers - merge - merge down
Resize to 80% bottom box unchecked -
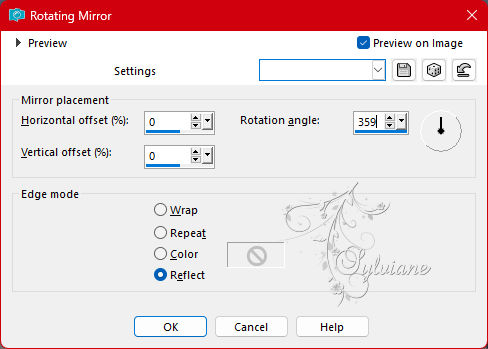
Effects – reflection effects – rotating mirror
5.
Layers - duplicate.
Layers – arrange – down
Do on this layer (Copy of Raster 3):
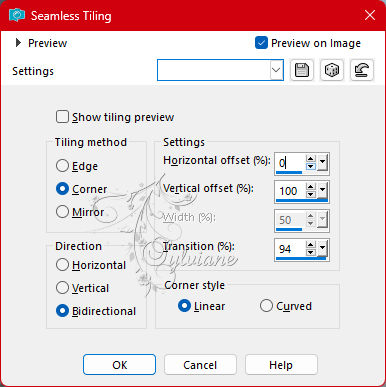
Effects - Image Effects - Seamless Repeats
Selections - Selections Load/Save - Selections Load from disk - SELECTION 2 191 .PspSelection
selection – modify – expand – 6px
Layers – New Raster Layer
Open 31be945fe76cd185df551b90f3ee9600.jpg
Edit – Copy
Edit – Paste into the selection
Invert selection
Effects – 3D Effects – Drop Shadow
0/0/100/30 – color:#000000
Selection – Select None
6.
So far our work looks like this:
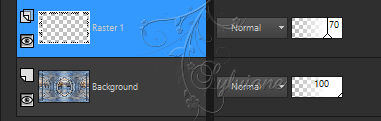
We are on raster 2.
Layers - duplicate
Effects - Picture Effects - Seamless Repeats - Tiling Same as step 5
Layers – arrange – down (2x)
. Opacity of this layer up to +/- 75% -
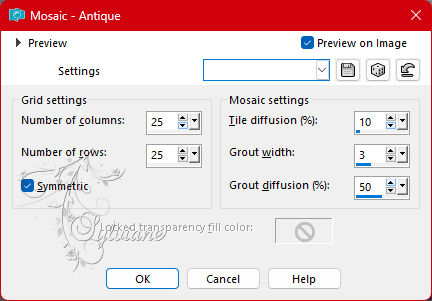
Effects – texture effects – Mosaic Antique
Selections - Selections Load/Save - Selections Load from disk - SELECTION 3 191 .PspSelection
Selection – Modify – Contract – 9px
Erase or delete with keyboard
Selection – Select None
Stay on the layer just above (Copy of Raster 3)
Lower the opacity of this layer to +/- 75%.
Layers - merge - merge down
Layers - duplicate
coverage :+/- 45%
Layers - merge - merge down
7.
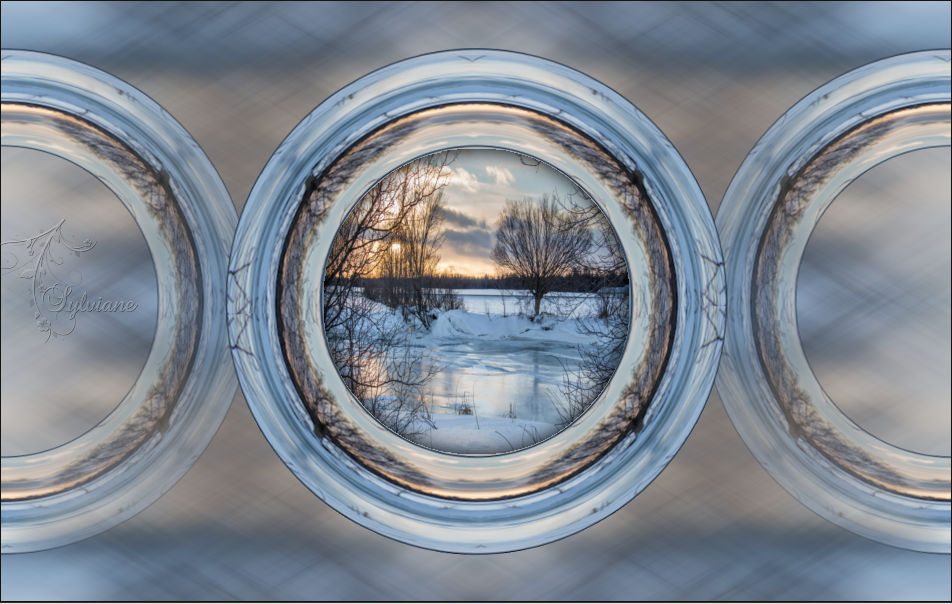
With me we move a lot, so this is where we are:
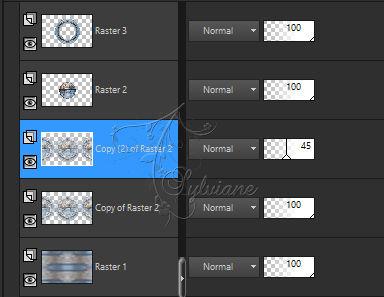
We are on *Copy(2) on Raster 2*...
Layers - merge - merge down
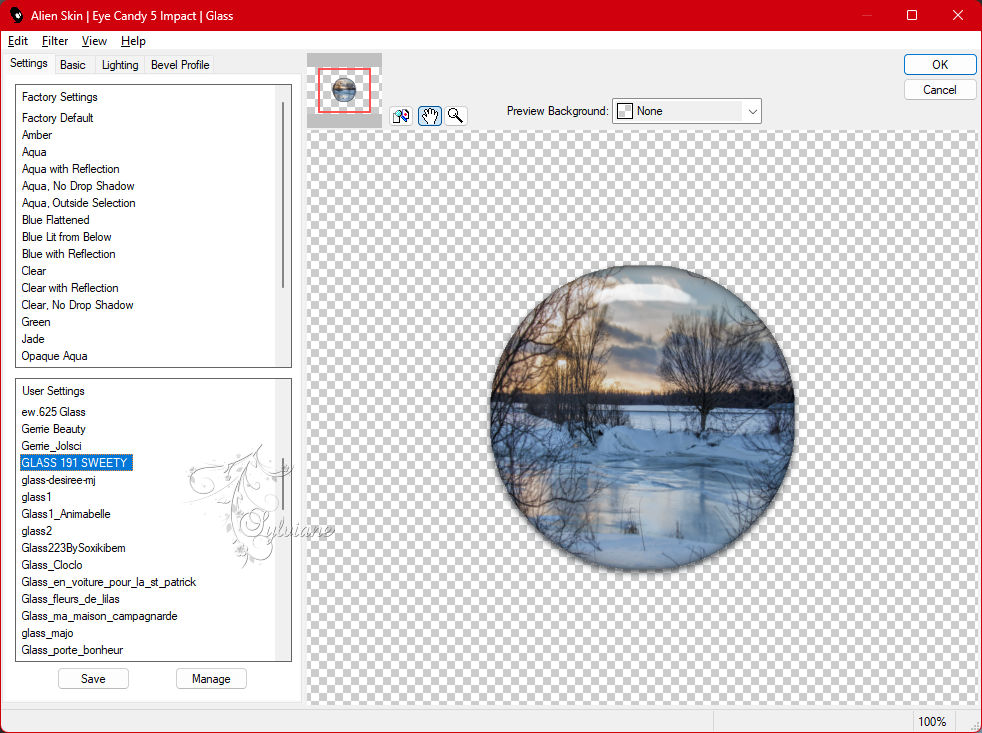
Go to the layer just above *Raster 2*
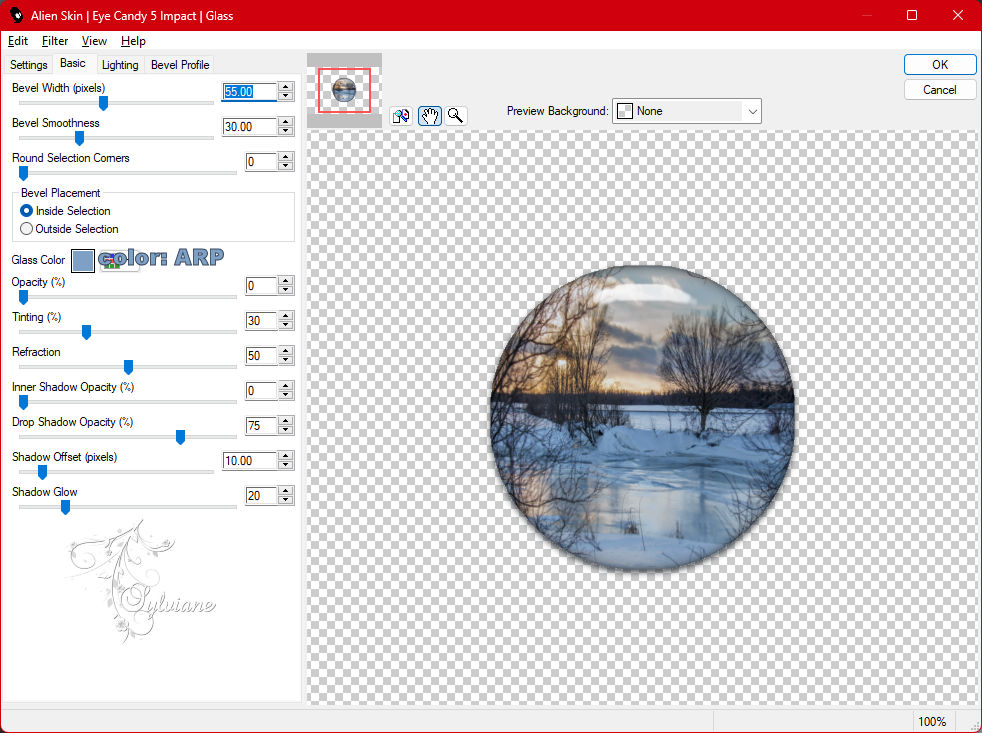
Plugin - Alien Skin - Eyes Candy 5 – Impact - Glass
Go to the layer just above the top of the stack (Raster 3)
Layers - merge - merge down
8.
Activacte Raster 1
Layers - duplicate
Effects - texture effects - Mosaic Antique - same as step 6 (still in memory)
Edit – Repeat - - Mosaic Antique
Layers - duplicate
Plugin - MuRa's Meister - Pole Transform 2.1 - standard:
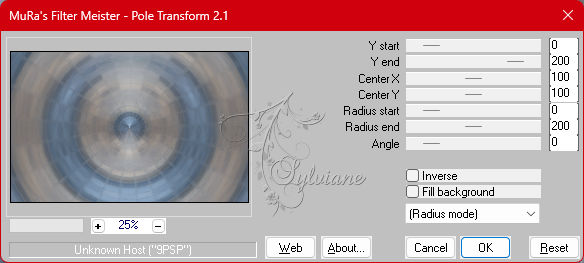
Image – mirror – mirror vertically
(depending on your colors, the darker effect should be upwards)
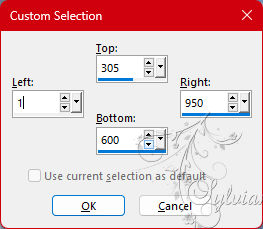
Selection – Custom Selection
Edit - delete or delete using the keyboard.
Selection – Select None
Layers - duplicate
Image – mirror – mirror vertically
Layers - merge - merge down
9.
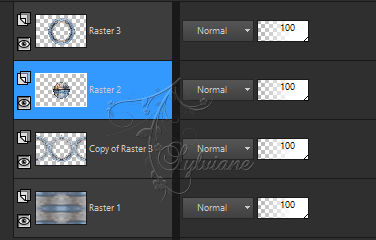
Our layers and our tag:

Stay on the middle layer (copy (2) on raster 1)…
Switch this layer to *Overlay* mode or any other of your choice
Layers - merge - merge down
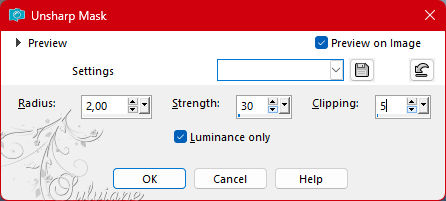
Adjust – sharpness – unsharp mask
Layers - duplicate
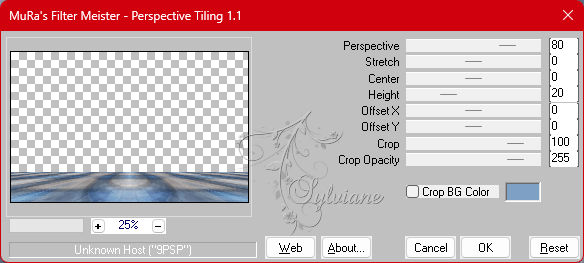
Plugin - MuRa's Meister - Perspective tiling
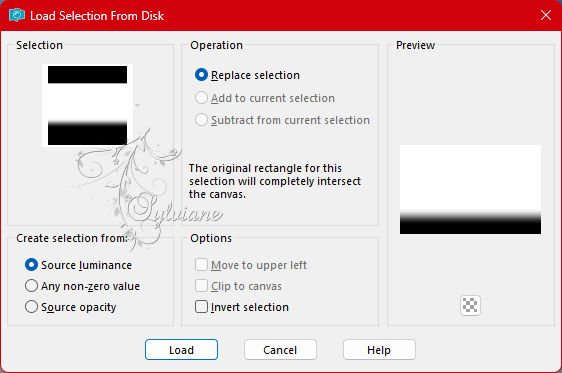
Selection – Selection Load/Save – Selection Load from disk - SELECTION4 191 .PspSelection
Clear or delete on the keyboard +/- 5 times
Selection – Select None
Edit - copy
Edit - Paste as new image
we need it later
10.
Back to our *work* on the floor...
Layers - duplicate
Image – mirror – mirror vertically
Place on the layer just above (Copy of Raster 2)
Lower the Opacity to +/- 75%.
Image – Add Borders – Symmetrical – 2 px - colors AVP or other
Image – Add Borders – Symmetrical – 3 px - color ARP or whatever
Edit - copy
(the image is stored in memory).
Selection - select all
11.
Add a border regardless of the color configured as follows:
Invert selection.
Paste into selection (image is in memory)
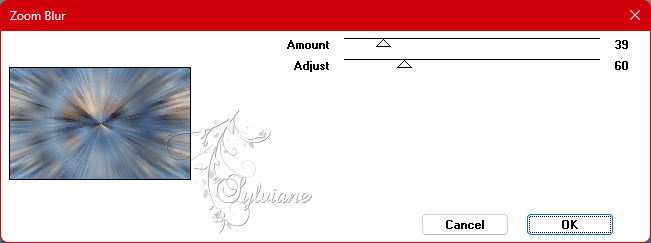
Plugin - VM Toolbox - Zoom Blur - default
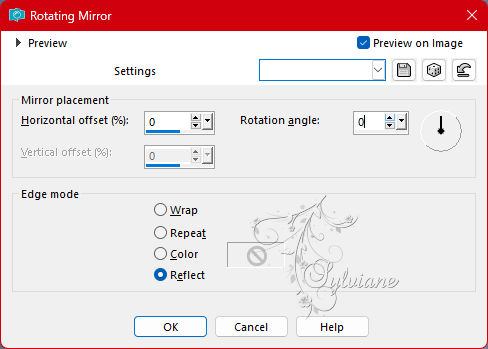
Effects – reflection effects – rotating mirror
Layers – new raster layer
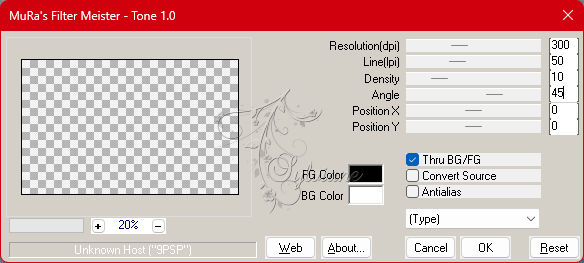
Plugin - MuRa's Filter Meister - Tone
Lower the Opacity to +/- 70%.
Keep selection active...
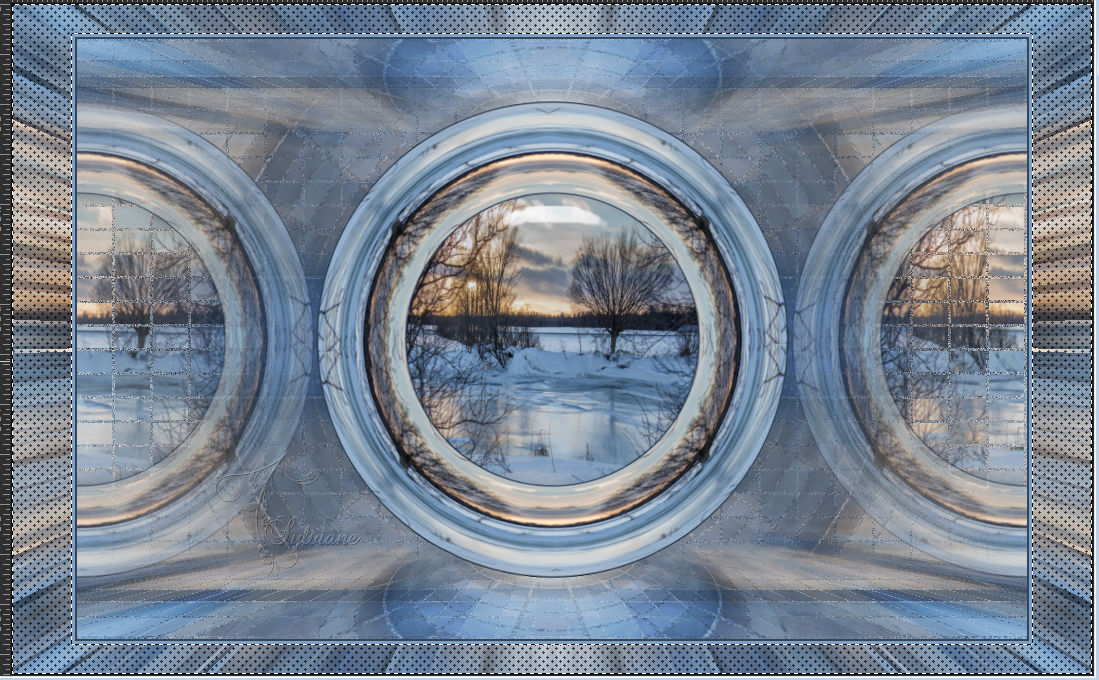
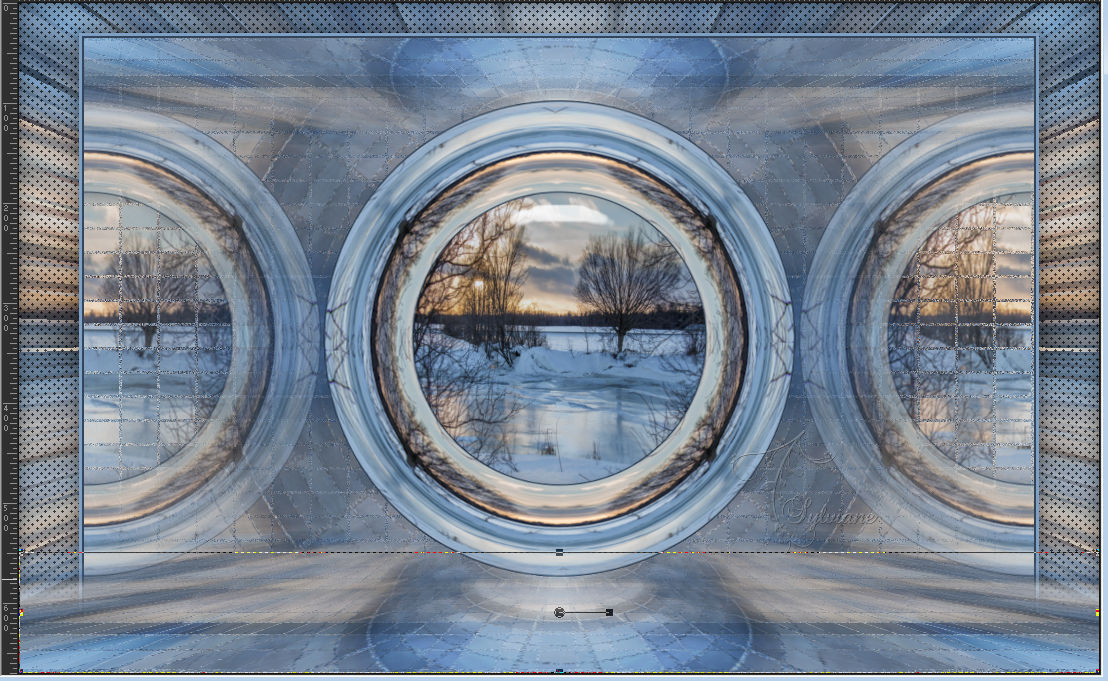
12.
Here we are with the selection still active:
Layers – new raster layer
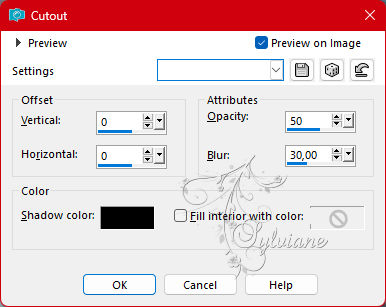
Effects - 3D effects – Cutout
Selection – Select None
Open image step 9 that you put aside
Edit – Copy
Edit - Paste as new layer
Effects – Image Effects – Offset
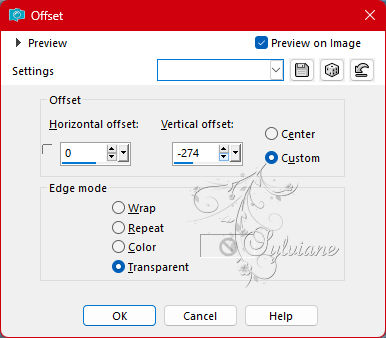
Stretch left and right so that it touches the edges
13.
Imagen – anadir borders – simétrico - 2 px - color: AVP
Image – Add Borders – Symmetrical – 3 px - color ARP or whatever
Selection - select all.
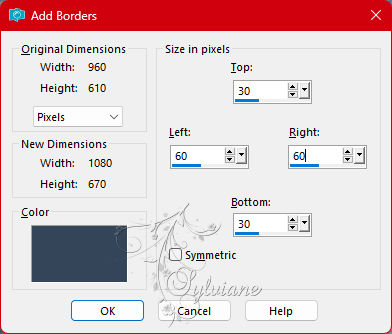
Imagen – anadir borders – simétrico - 40 px – color: AVP or other
Invert selection
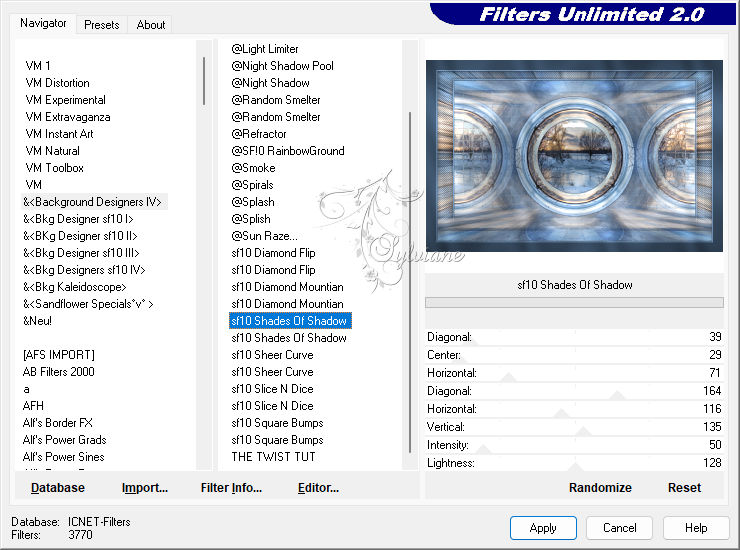
Plugin - Unlimited 2.0 - Background Designer IV - sf10 Shades Of Shadow:
Selection – Select None
Layers – new raster layer
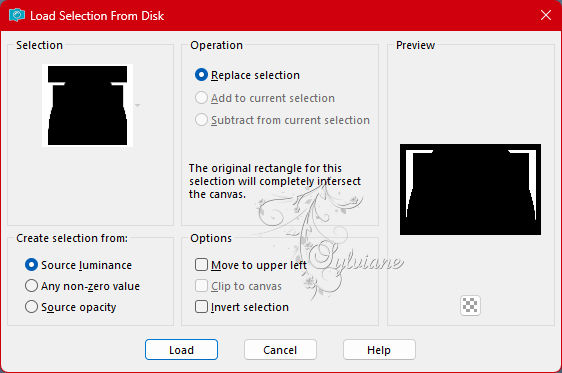
Selections - Selections Load/Save - Selections Load from disk - SELECTION 5 191 .PspSelection
Fill with the color of your choice (for my 3 AVP color versions) –
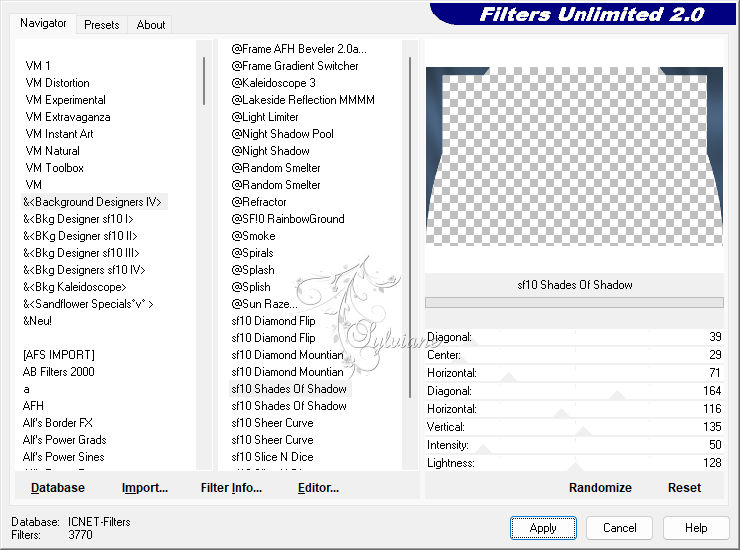
Plugin - Unlimited 2.0 - Background Designer IV - sf10 Shades Of Shadow:
Invert selection
Effects – 3D Effects – Drop Shadow
0/0/50/25 color:#000000
Selection – Select None
On the layer below (Background)
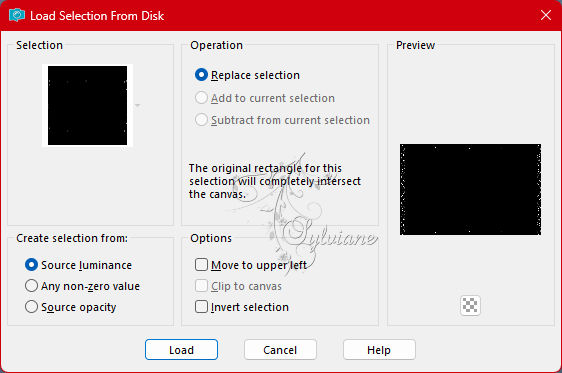
Selections - Selections Load/Save - Selections Load from disk - SELECTION 6 191 .PspSelection
Layers – new raster layer
Fill with light color if your border is dark
Several clicks are required.
Zoom in if necessary
Selection – Select None
14.
Activate the top layer
Open DECO PERSO 1 191 DECEMBRE 2022 SWEETY.png
Edit – copy
Edit-paste as new layer
Effects – Image Effects – Offset
Blend Mode: Luminance (H) OR other for your choice
15.
Open DECEMBER 2022 ISALINE 2 12 22 SWEETY.png
Edit – copy
Edit-paste as new layer
Image – resize - to 60%
Image - Mirror – mirror Horizontal
put it all in the example
Open DECEMBER 2022 COUPLE OISEAUX 23 12 22 SWEETY.png
Edit – copy
Edit-paste as new layer
Image – resize - to 60%
put it all in the example
Apply a drop shadow of your choice to each element
16.
Imagen – anadir borders – simétrico - 2 px - color: AVP or other and another of 3 colors ARP
If desired, apply my watermark and then sign your work
Layers – merge – merge all layers
Resize to 950 pixels
Save your work
Save as JPEG
Back
Copyright Translation 2023 by SvC-Design