
This lesson is made with PSPX9
But is good with other versions.
© by SvC-Design

Materialen Download :
Here
******************************************************************
Materials:
DEOC PERSO 1 188 POUR VERSION 2 OCTOBRE 2022 SWEETYpspimage.png
WORD ART POUR VERSION 2 188 OCTOBRE 2022 SWEETY.png
OMBRE PORTEE ETAPE 9 188 OCTOBRE 2022 SWEETYpspimage.png
PALETTE COULEURS 188 V 2.png
SELECTION 1 188.PspSelection
SELECTION 2 188.PspSelection
SELECTION 3 188.PspSelection
SELECTION 3 BIS 188.PspSelection
SELECTION 4 188.PspSelection
SELECTION 5 188.PspSelection
87d25b444fa33cab0ad4d8ea12a2ba0b.jpg
DECEMBRE 2021 NATA LEE 18 12 SWEETY.png
******************************************************************
Plugin:
Plugin - Unlimited 2.0 - Filter Factory Gallery F - Guess What?
Plugin – mura meister – perspective tiling
Plugin – VDL Adrenaline – snowflakes
******************************************************************
color palette
:
******************************************************************
methode
When using other tubes and colors, the mixing mode and / or layer coverage may differ
******************************************************************
General Preparations:
First install your filters for your PSP!
Masks: Save to your mask folder in PSP, unless noted otherwise
Texture & Pattern: Save to your Texture Folder in PSP
Selections: Save to your folder Selections in PSP
Open your tubes in PSP
******************************************************************
We will start - Have fun!
Remember to save your work on a regular basis
******************************************************************
1.
Choose an image that you like. Take two colors:
Foreground (AVP): Dark
Background (ARP): Light
Open a transparent 950/600 layer.
Selection - select all
Open 87d25b444fa33cab0ad4d8ea12a2ba0b.jpg
Edit – Copy
Edit - Paste into selection
Selection - Select None
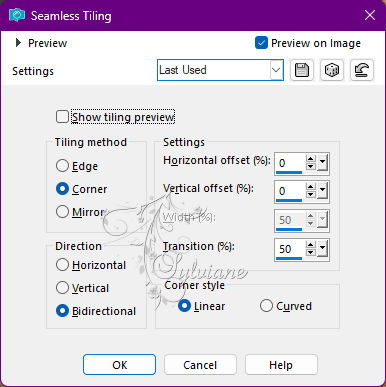
Effects - Image Effects - Seamless Tiling -default:
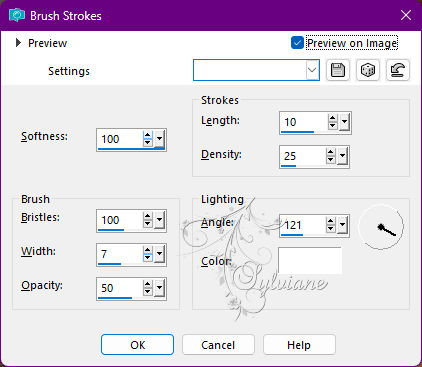
Effects – art media effects – brush strokes
Layer - duplicate
Edit – Copy this layer and edit - paste as a new image (leave pending for later)
2.
On our work in short...
Plugin - Unlimited 2.0 - Filter Factory Gallery F - Guess What?
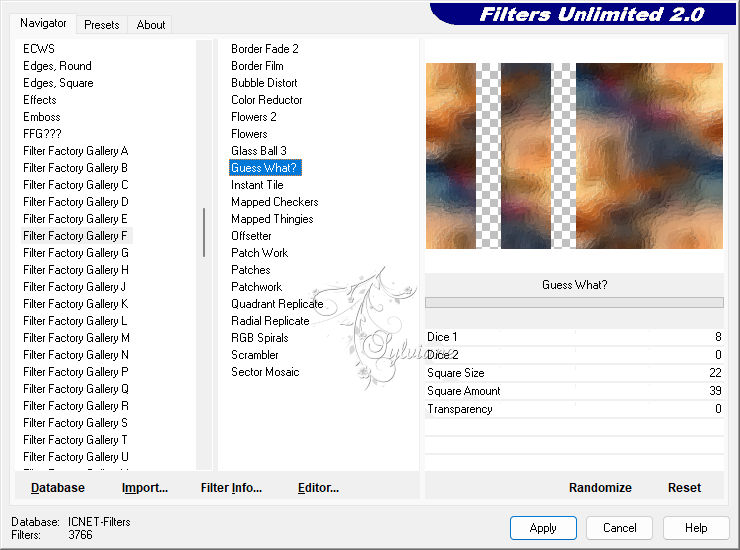
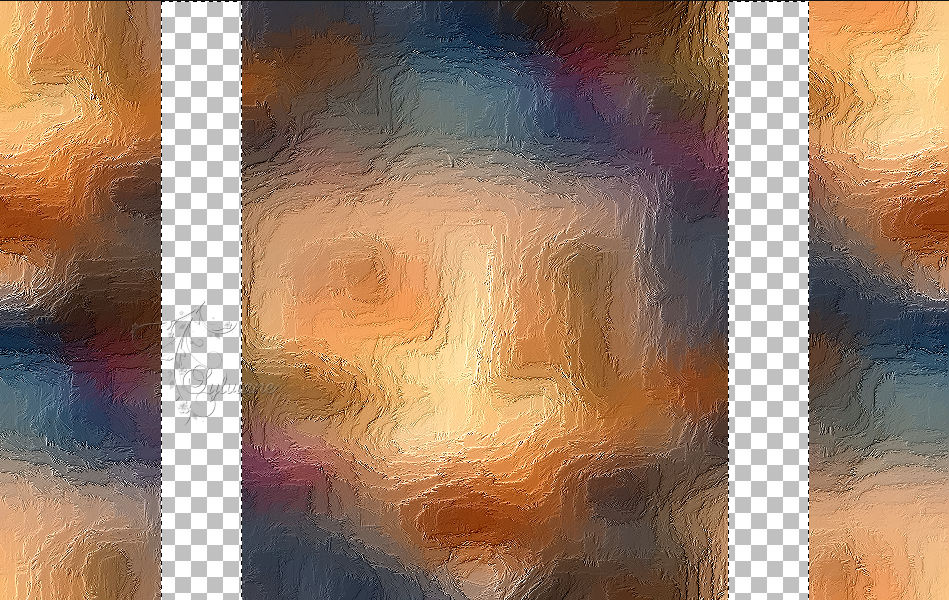
Select the transparent parts as on my capture:
(To see more clearly close the bottom layer
then open it after selecting the transparent parts)
Layers - New Raster Layer
Fill in the selection with AVP color
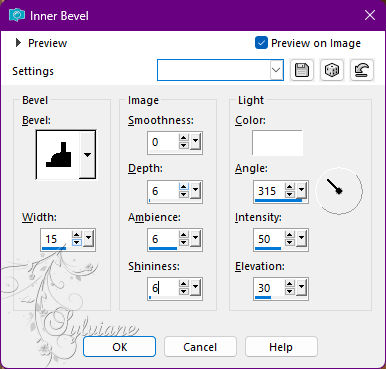
Effects – 3D effects – inner bevel
Selection - Select None
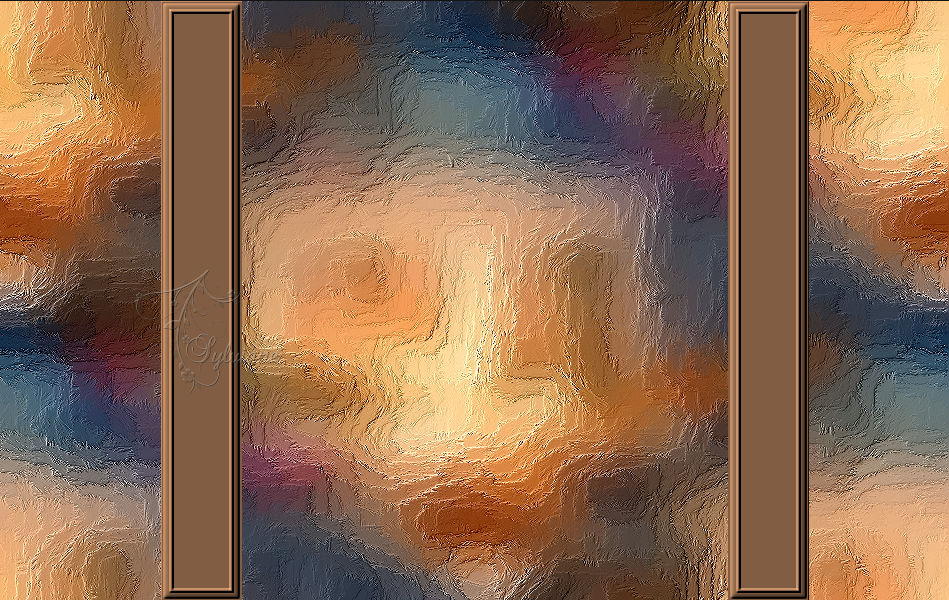
3.
We get this:
Select the central transparent part as on my capture:
Selection - modify - contract -15px
Layers - New Raster Layer
Fill with AVP color
Selection - modify - contract -15px
Erase or delete on the keyboard.
Selection - modify - contract – 15px
Fill with AVP color.
Selection - modify - contract -5px
Erase or delete on the keyboard.
Layers - New Raster Layer
Layers – arrange – move down
Open 87d25b444fa33cab0ad4d8ea12a2ba0b.jpg
Edit - Copy
Edit - Paste into selection
Selections - Invert
Effects - 3 D effects - Drop shadow
0 / 0 / 50 / 50 color:#000000
Selection - Select None
4.
Activate Raster 3
Selections - Load / Save - Load selection from disk- SELECTION 1 188.PspSelection
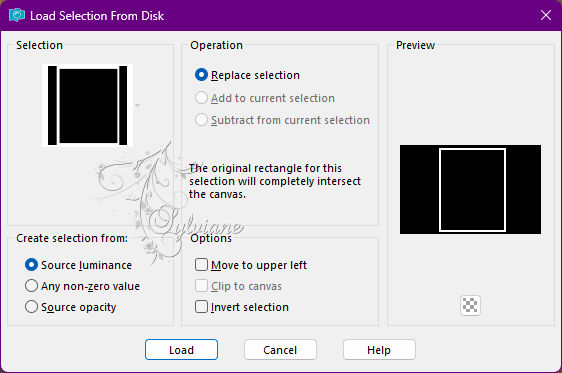
Effects – 3D effects – inner bevel
Selection - Select None
Layers – merge – merge down
Activate Raster 2
Selections - Load / Save - Load selection from disk- SELECTION 2 188.PspSelection

Edit - erase or delete on the keyboard.
Selection - Select None
5.
We are here:

Open DEOC PERSO 1 188 OCTOBRE 2022 SWEETYpspimage.png
Edit – Copy
Edit - Paste as new layer
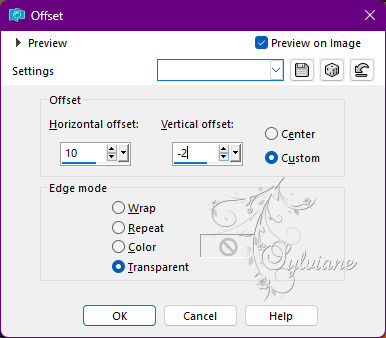
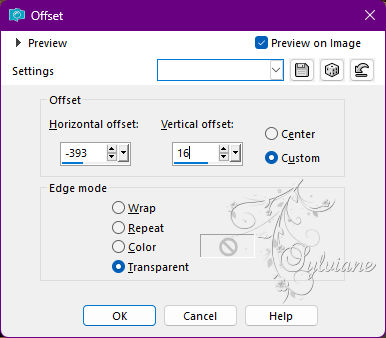
Effects - Image Effects – Offset
Layers – arrange – move down
Activate Raster 2
Selections - Load / Save - Load selection from disk - SELECTION 3 188.PspSelection

Adjust - Add / Remove Noise - Add Noise
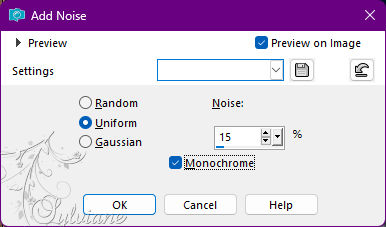
Selection - modify - contract -10 px
Layers - New Raster Layer
Copy/paste the queued background image in step 1
Effects – 3D effects – inner bevel
Selection - Select None
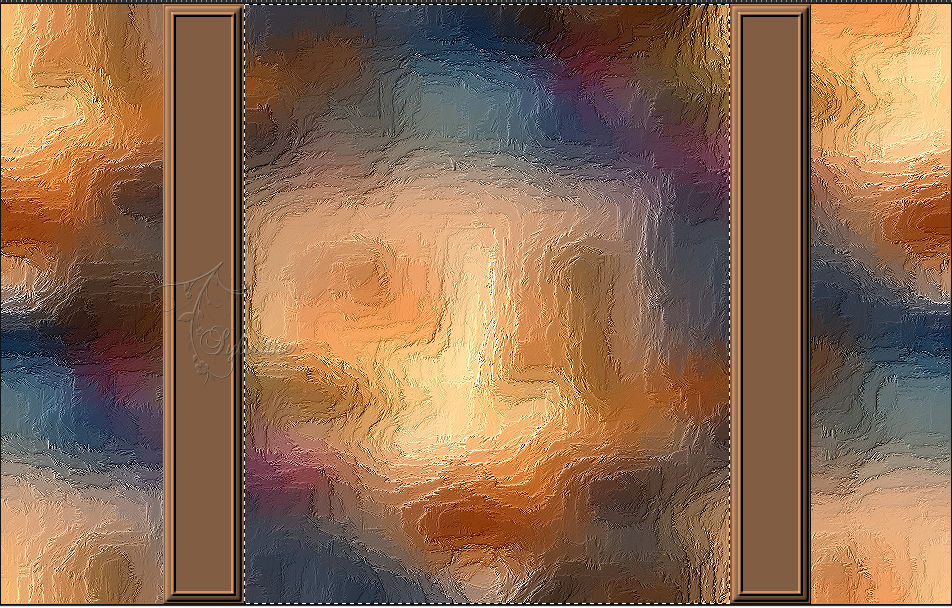
6.
You should have this:
Draw a selection as on my capture:

Edit - erase or delete on the keyboard.
Selection - Select None
Layers - Duplicate
Image - Mirror - Vertical Mirror
Layers – merge – merge down (2x)
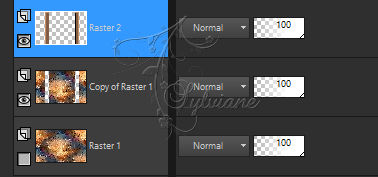
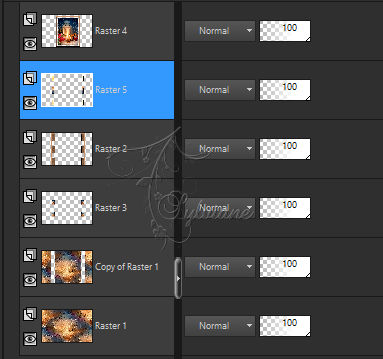
Activate Raster 4
Layers - Duplicate
Effects - Image Effects - Seamless Tiling
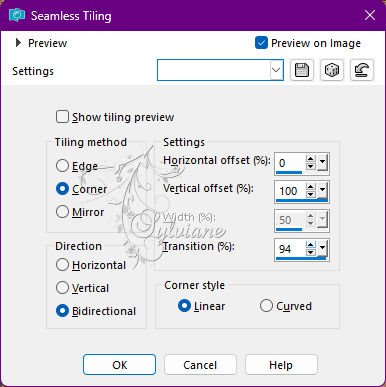
Layers – arrange – move down three times
(It must be above * Copy of Raster 1*)-
Lower the opacity of this layer to +/- 65%.
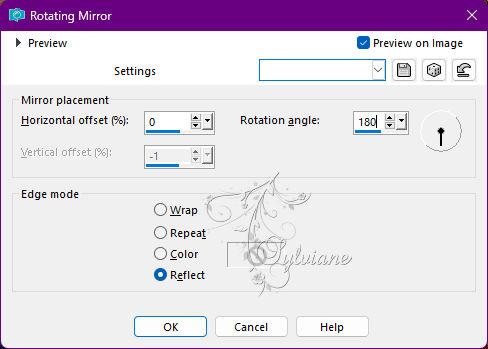
Effects – reflection effects – rotating mirror
Selections - Load / Save - Load selection from disk - SELECTION 3 BIS 188.PspSelection
Edit - erase or delete on the keyboard.
Selection - Select None
7.
Image – Add Borders –symmetric - 5 colors AVP
Edit - copy
Selection - select all.
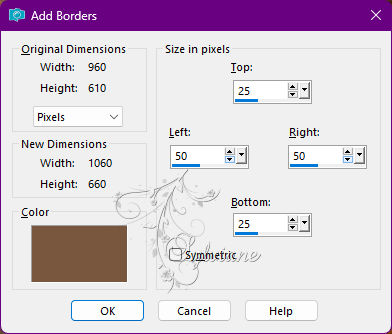
Add a border configured as follows:
Selections - Invert
Edit - Paste into selection
Selections – Promote selections to layer
Selection - Select None
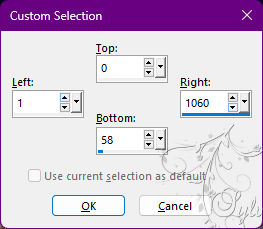
Selection - Custom selection
Selections – Promote selections to layer
Selection - Select None
Image - Mirror - Vertical Mirror
Layers – merge – merge down
8.
Go to the layer at the bottom of the stack (Background)
layer - promote background layer
Layers - Duplicate
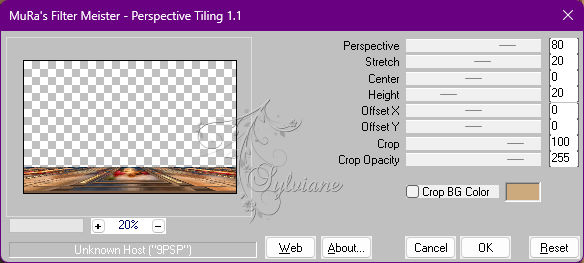
Plugin – mura meister – perspective tiling
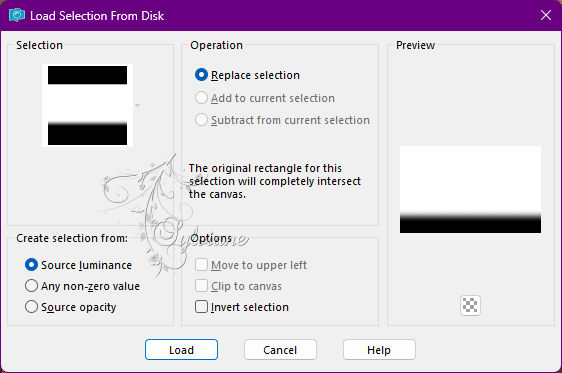
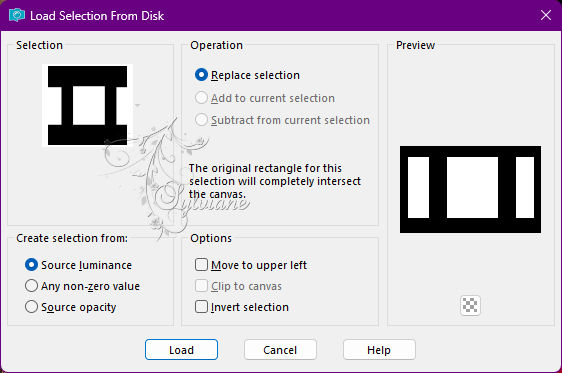
Selections - Load / Save - Load selection from disk - SELECTION 4 188.PspSelection
Delete or delete on keyboard +/- 4 times -
Selection - Select None
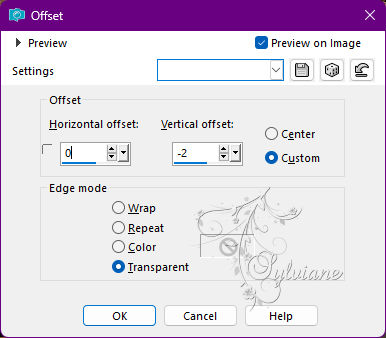
Effects - Image Effects - Offset
9.
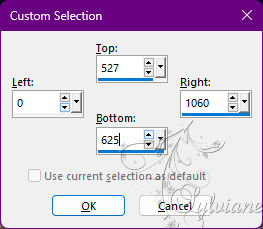
Activate Promoted Selection (frame)
Selection - Custom selection
Erase or delete on the keyboard.
Selection - Select None
Open OMBRE PORTEE ETAPE 9 188 OCTOBRE 2022 SWEETYpspimage.png
Edit – Copy
Edit - Paste as new layer
Do not move it is in its place
10.
Open DECEMBRE 2021 NATA LEE 18 12 SWEETY.png
Edit – Copy
Edit - Paste as new layer
Resized to 85%
Image - Mirror – mirror Horizontal
place as in example
Open WORD ART POUR VERSION 2 188 OCTOBRE 2022 SWEETY.png
Edit – Copy
Edit - Paste as new layer
Effects - Image Effects - Offset
Mode of layer * Overlay * or other choice
Apply a drop shadow to your choice on element
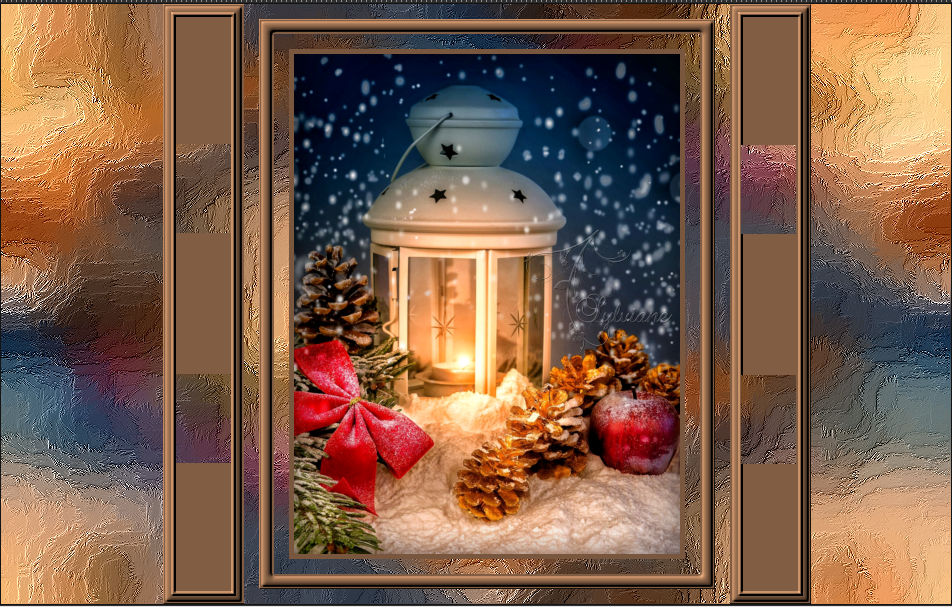
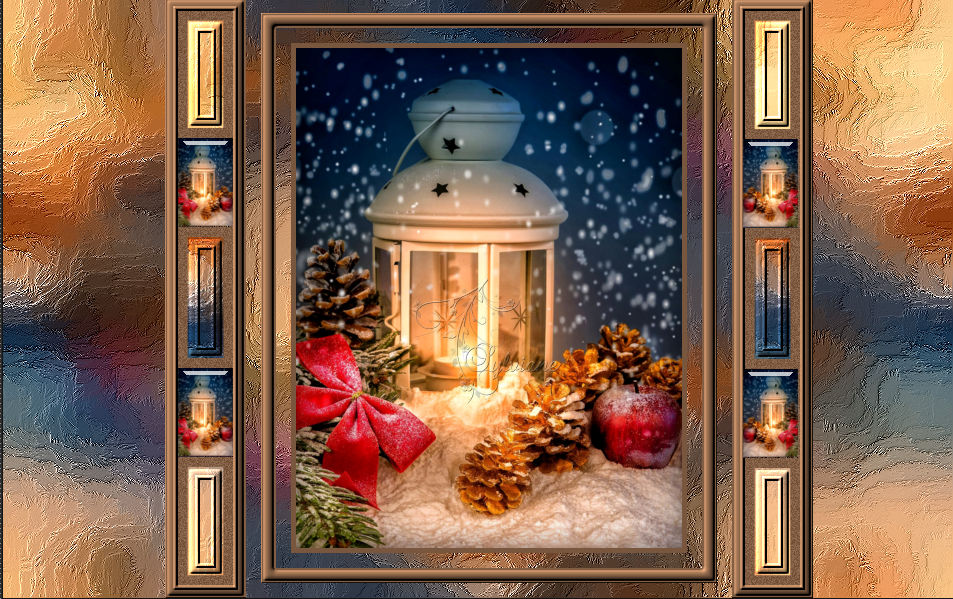
11.
If you followed me correctly you should have this:
Layers - New Raster Layer
Fill with ARP color
Selection - select all.
Selection - modify - contract -5px
Edit==> erase or delete on the keyboard.
Selection - Select None
Affix my signature if you wish and then yours
If you choose to stop there...
Layer – merge – merge all (flatten)
File==>exported==>optimized jpeg file==>compression to 20
For those who continue the adventure with me. Let's move on to animation now ...
To do this, position yourself on the layer at the bottom of the stack (Raster 1)
Selections - Load / Save - Load selection from disk - SELECTION 5 188.PspSelection
Selections – Promote selections to layer
Plugin – VDL Adrenaline – snowflakes - configured as follows:
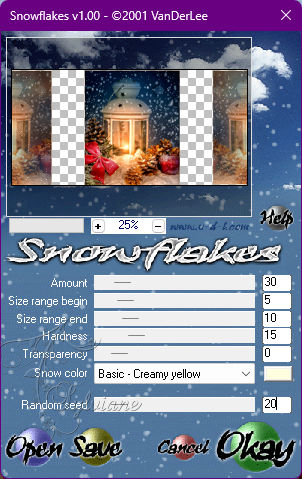
Selection - Select None
Edit - Copy special - Copy merged
Open your Jasc Animation Shop software...
In this software paste as new animation
Back to PSP..
Edit- undo select none
Edit – undo snowflakes
Plugin – VDL Adrenaline – snowflakes change the value of the last line (random Seed) to 40
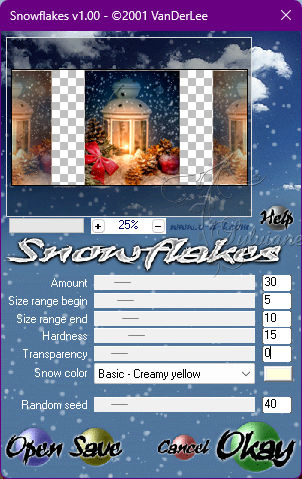
Selection - Select None
Edit - Copy special - Copy merged
In Jasc Animation Shop
edit - paste after active frame
Back to PSP...
Edit- undo select none
Edit – undo snowflakes
Plugin – VDL Adrenaline – snowflakes pass the value of the last line (random Seed) to 60

Selection - Select None
Edit - Copy special - Copy merged
In Jasc Animation Shop
edit - paste after active frame
12.
In Jasc Animation Shop we have 3 images:
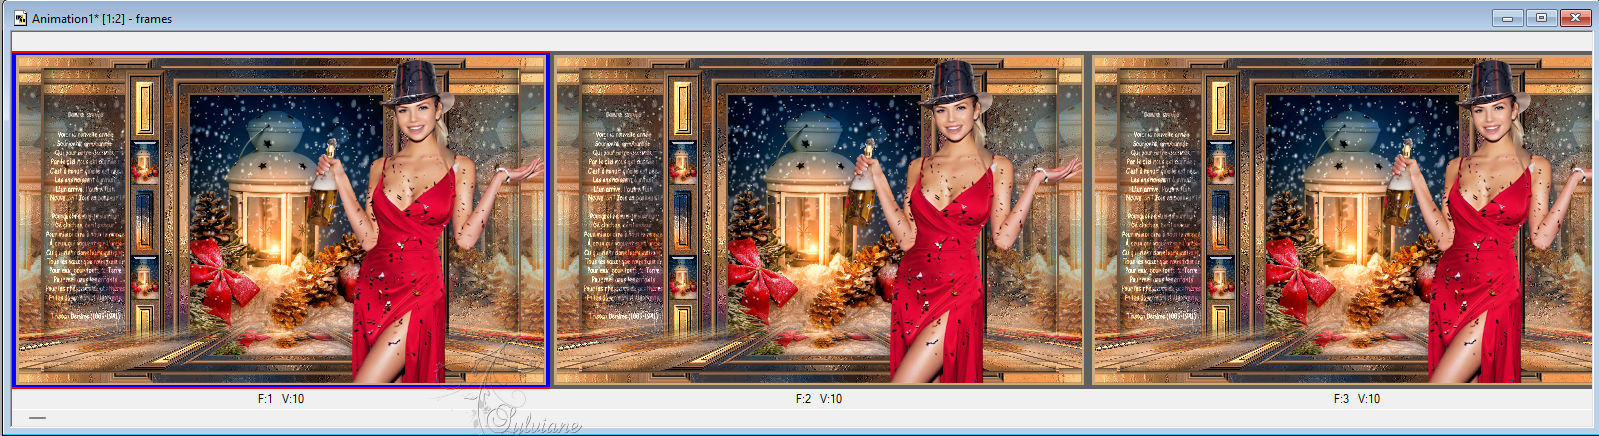
Scroll back to the 1st image. Place yourself in this image
Edit - select all.
To view your animation click on the small square at the top
Save as GIF
Back
Copyright Translation 2022 by SvC-Design