
This lesson is made with PSPX9
But is good with other versions.
© by SvC-Design

Materialen Download :
Here
******************************************************************
Materials:
DECO PERSO 1 187 SEPTEMBRE 2022 SWEETY.png
DECO PERSO 2 187 SEPTEMBRE 2022 SWEETY.png
DECO PERSO 3 187 SEPTEMBRE 2022 SWEETY.png
WORD ART 187 .png
PERSPECTIVE SHADOW 187 SWEETY.f1s
SELECTION 1 187 .PspSelection
SELECTION 2 187 .PspSelection
SELECTION 3 187 .PspSelection
SELECTION 4 187 .PspSelection
SELECTION 5 187 .PspSelection
JANVIER 2022 OISEAU BRANCHAGE NEIGE 17 01 22 SWEETY.png
OCTOBRE 2022 LADYBIRD SNOW 07 10 22 SWEETY.png
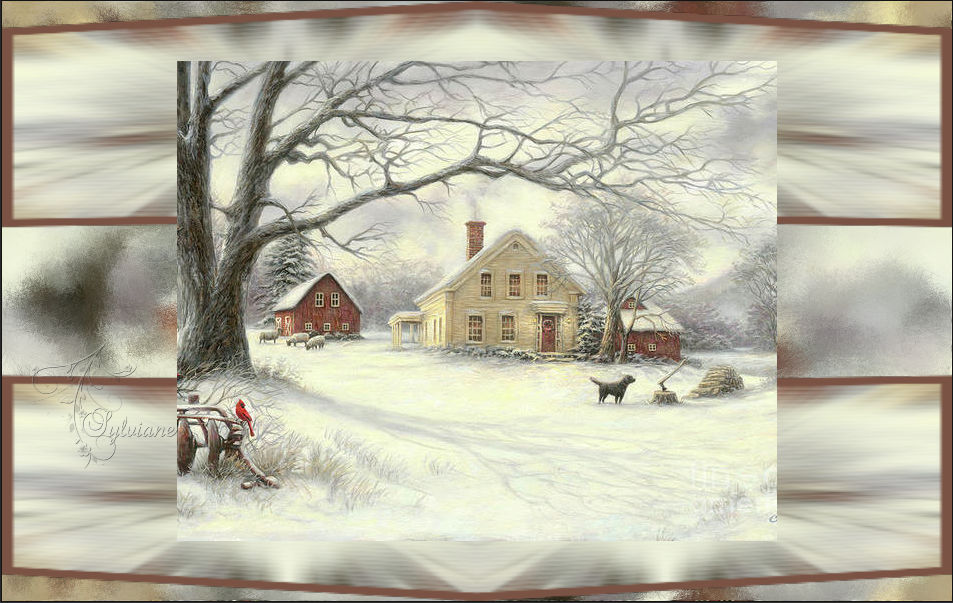
old-country-farm-chuck-pinson.jpg
******************************************************************
Plugin:
Filter - Andromeda==>perspective
Filter - VM Toolbox - Zoom Blur
Plugin - MuRa Meister - Perspective Tiling
Plugin - Alien Skin Eyes Candy 5 – Impact - Perspective Shadow
******************************************************************
color palette
:

******************************************************************
methode
When using other tubes and colors, the mixing mode and / or layer coverage may differ
******************************************************************
General Preparations:
First install your filters for your PSP!
Masks: Save to your mask folder in PSP, unless noted otherwise
Texture & Pattern: Save to your Texture Folder in PSP
Selections: Save to your folder Selections in PSP
Open your tubes in PSP
******************************************************************
We will start - Have fun!
Remember to save your work on a regular basis
******************************************************************
1.
Choose an image that you like. Take two colors:
Foreground (AVP): dark color
background colour(ARP) : light color
Open a new transparent image of 950/600px
Selections – select all
Open 6a4fc50e997d60fa82413632646c0daadscf0030.jpg
Edit – Copy
Edit – paste – paste on selection
Selection - Select None
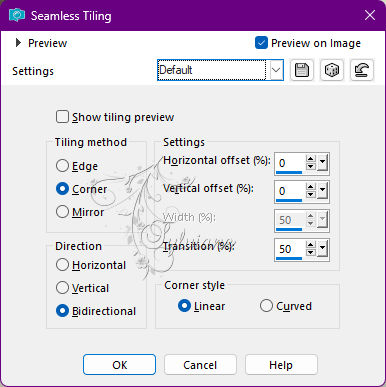
Effects - Image Effects - Seamless Tiling - default:
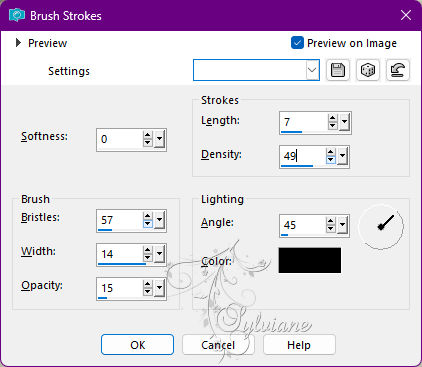
Effects – art media effects – brush strokes
2.
Activate Area Select Tool – Custom Selection

Layers – new raster layer
fill with AVP color
Selection - Select None
Layers - duplicate
Image - Mirror - Vertical Mirror
Layers – merge – merge down
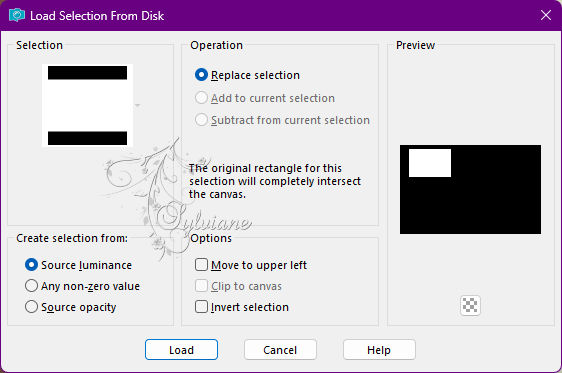
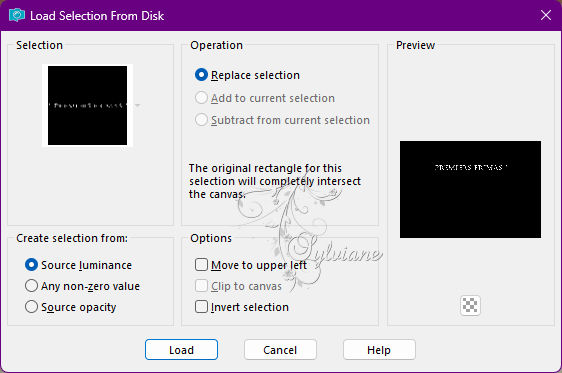
Selections – load/save selections – card selections from disk… SELECTION 1 187 .PspSelection
Leave your work waiting we go in our landscape image...
3.
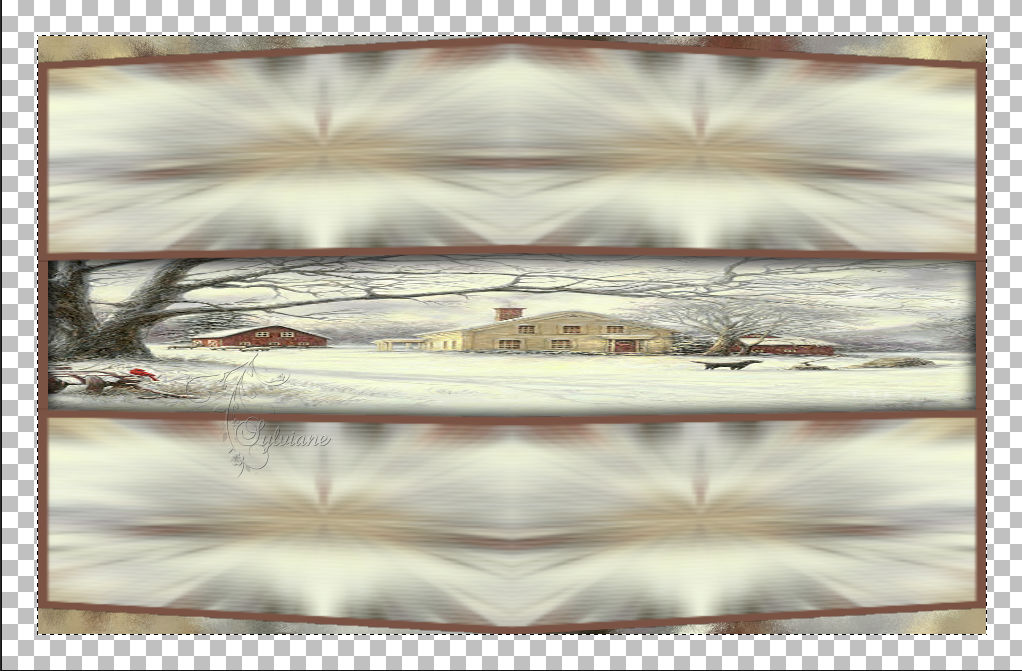
In our landscape image do:
Window==>duplicate (we will work on this copy) -
Effects - Image Effects - Seamless Tiling - default:
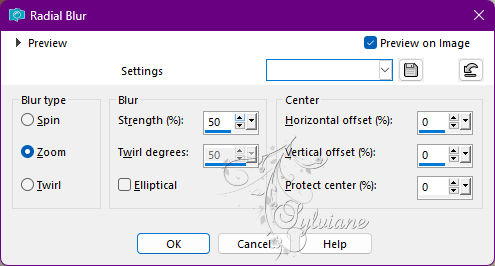
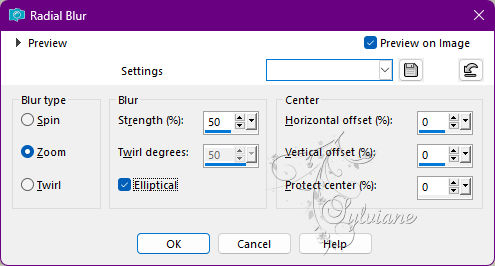
Adjust – blur – Radial blur
OPTIONAL DEPENDING ON YOUR LANDSCAPE:
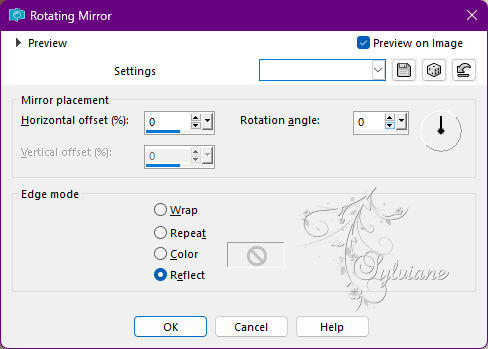
Effects – reflection effects – Rotating Mirror
Edit – Copy
Returning to our work with the active selection...
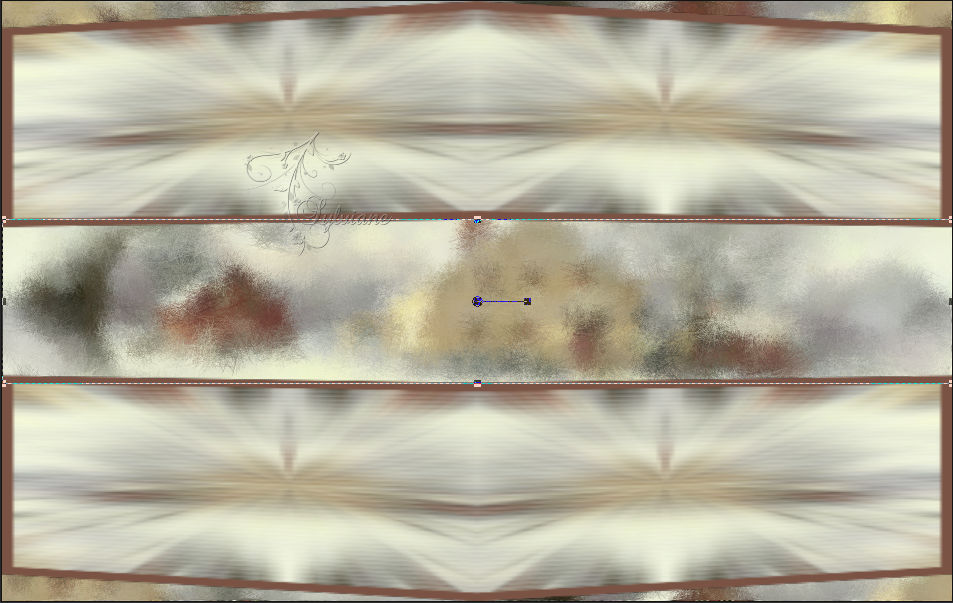
4.
Paste the image that is in memory into the selection –
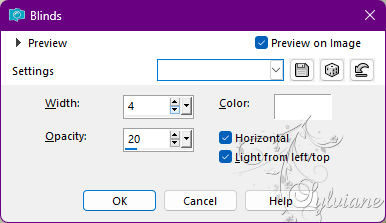
Effects - Texture Effects – Blinds
Selections – load/save selections – card selections from disk… SELECTION 2 187 .PspSelection
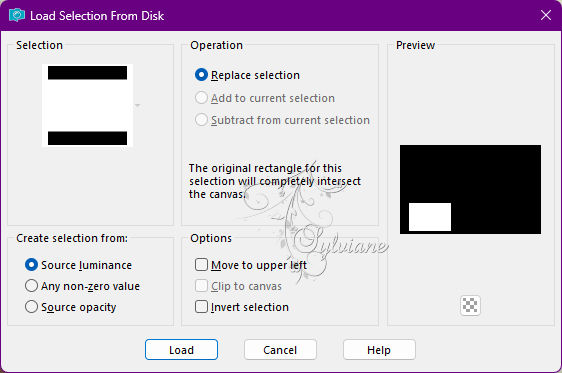
(Will replace previous selection) –
Paste the image that is still in memory into the selection:
Effects - Texture Effects – Blinds
Selection - Select None
5.
Layers - duplicate
Image - Mirror - horizontal mirror
Layers – merge – merge down
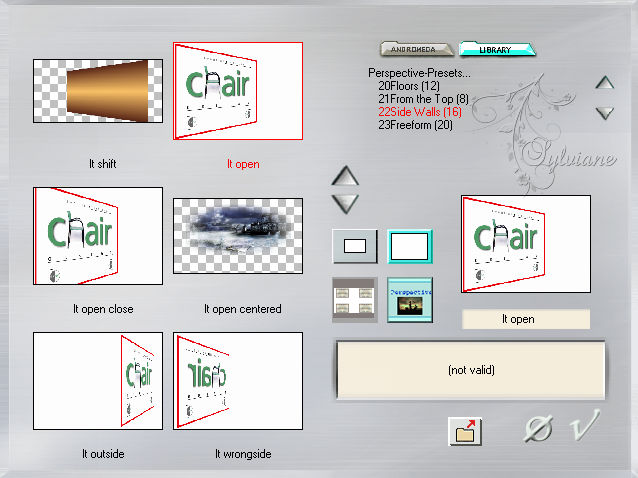
Filter - Andromeda==>perspective
Reflection effect==>Rotating mirror==>set as follows:
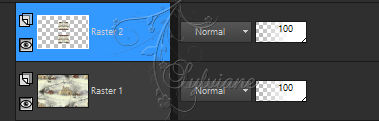
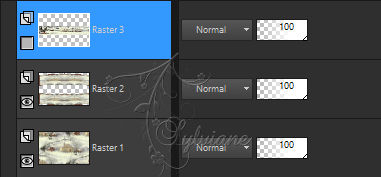
We get this at the top of the stack (Raster 2):
6.
Edit==>cut (The image is remembered).
Selection - select all...
Edit - paste into selection.
Selection - Select None
Go to landscape image (The original).
edit - copy
In our work, paste this image as a new layer:
Activate the selection tool and arrange your image as
(NB: for convenience you can close the eye of this layer)
Deactivate the selection tool and open the eye of this layer...
Layers – arrange – move down
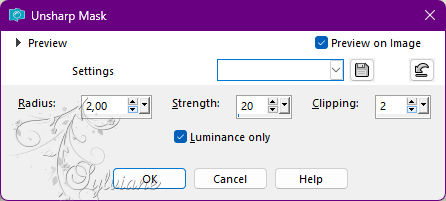
Adjust - sharpness - unsharp mask
7.
Layers – new raster layer
Selections – load/save selections – card selections from disk… SELECTION 3 187 .PspSelection
fill with AVP
Selection - Select None
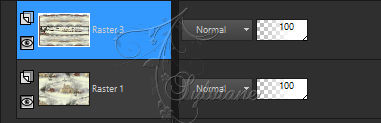
Position in layer just above top of stack (Raster 2)
Layers – merge – merge down
Effects – 3D effects – drop shadow:
0 / 0 / 80 / 20 color:#000000
Edit ==>repeat drop shadow (always in memory) -
Layers – merge – merge down
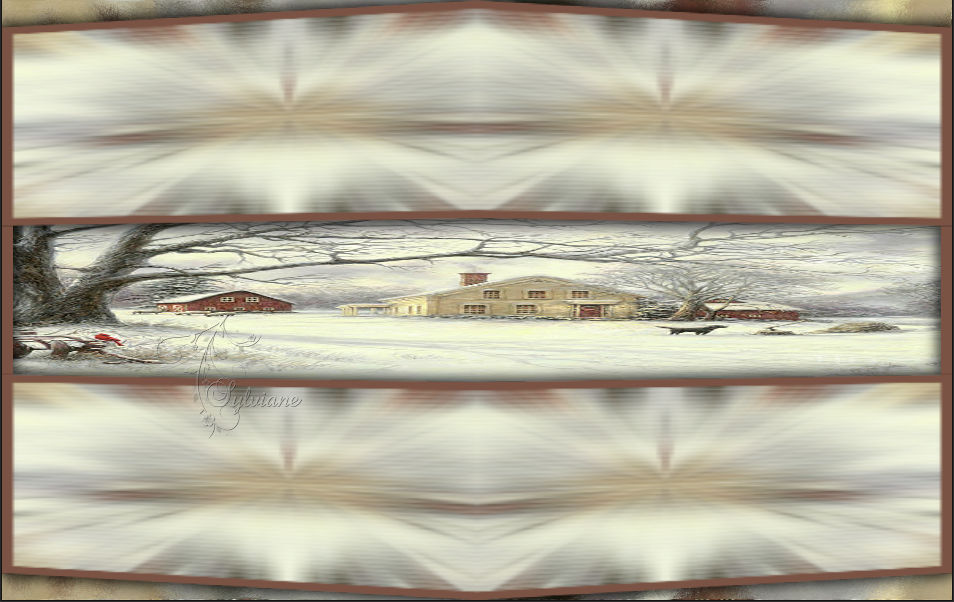
We have this:
8.
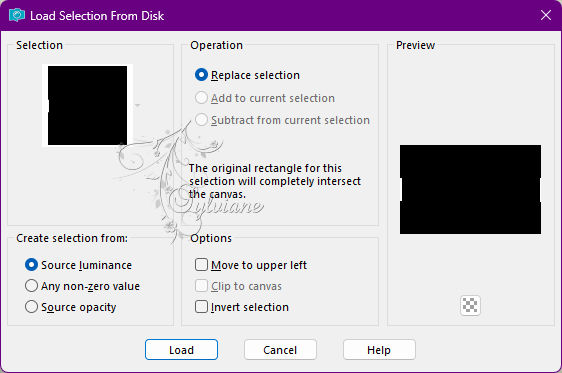
Selections – load/save selections – card selections from disk… SELECTION 4 187 .PspSelection

Edit - delete or delete on the keyboard.
Selection - Select None
Move to the bottom layer (Raster 1).
Edit==>copy (image is remembered)
(For added security paste it as a new image and put it on hold)
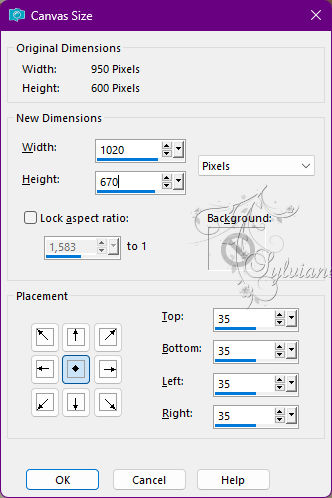
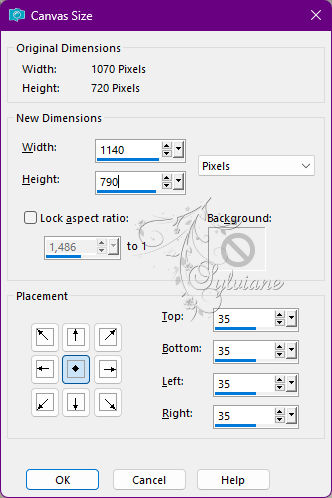
Image – canvas size
Select the tool ==> click on the opaque area of ??the layer:

Selections - invert
Paste the queued background image in step 8 into the selection
Effects - Texture Effects – Blinds
Effects – 3D effects – drop shadow:
0 / 0 / 80 / 20 color:#000000
Selection - Select None
9.
Selections – select all
Image – add borders – symmetrical – 25 px - any color
Selections - invert
Paste the queued background image into the selection in step 8
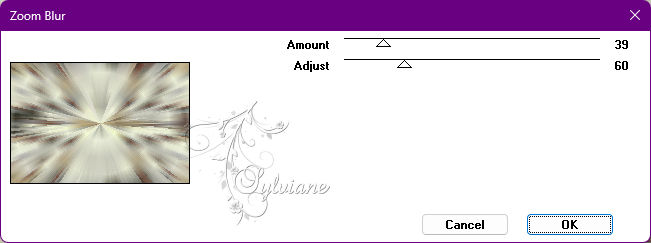
Filter - VM Toolbox - Zoom Blur - default:
Effects - Texture Effects – Blinds
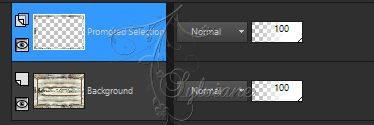
Selections – Promote selections to layer
Selection - Select None
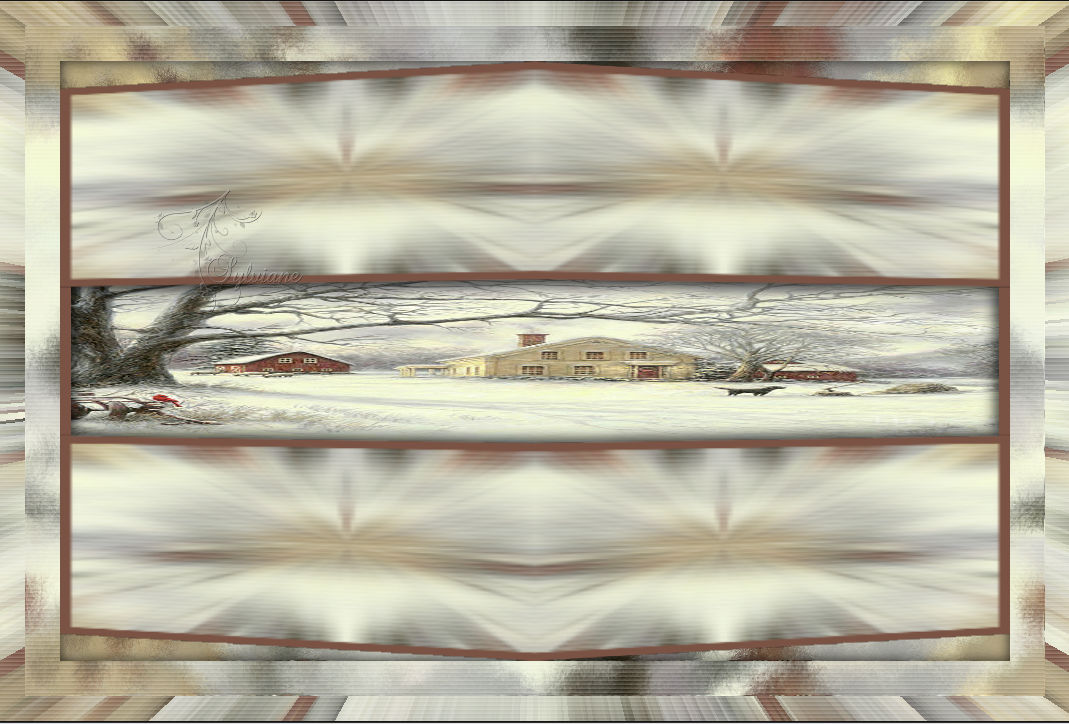
10.
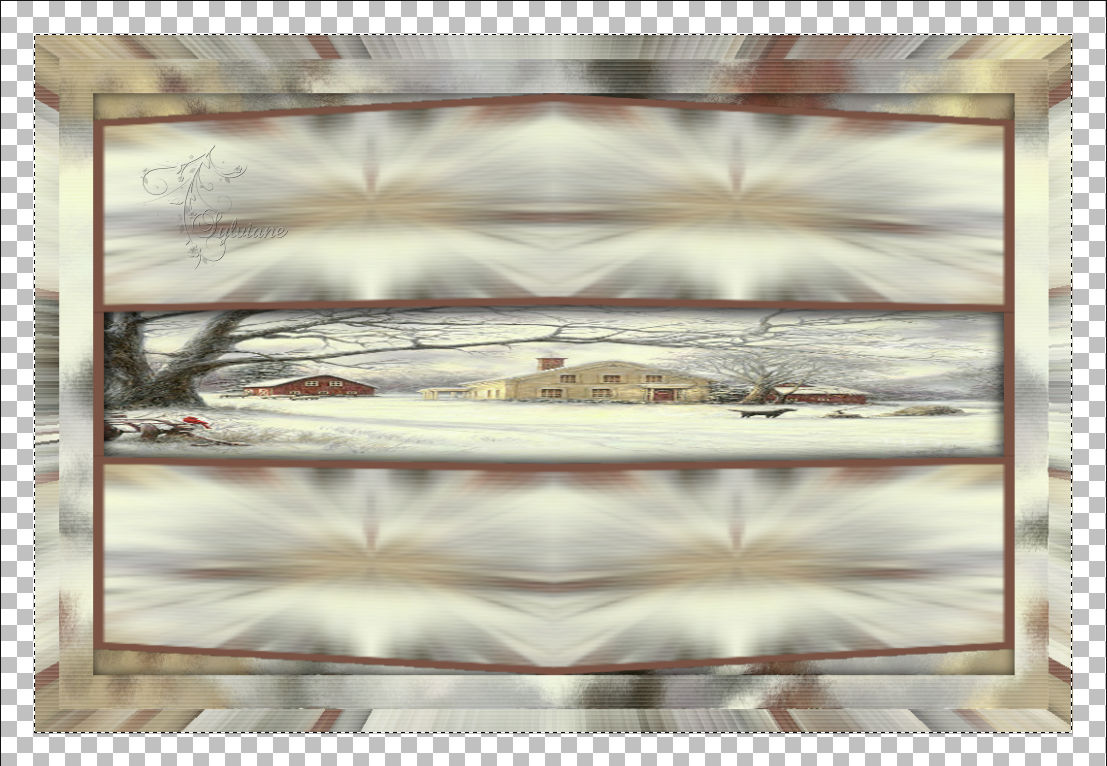
We get this:
Position on the bottom layer (Background)
In the layers palette, right click on
Layers – Promote baclkground layer
Image - canvas size - set as follows:
Selection Tool==>click on the opaque area of ??the layer (as in step 8) –
Selections - invert
Paste the queued background image into the selection in step 8
Selections – Promote selections to layer
Effects - Texture Effects - Blinds
Selection - Select None
11.
Go to the layer at the top of the stack (Transformed Selection)
Effects – 3D effects – drop shadow:
0 / 0 / 80 / 20 color:#000000
Layers – new raster layer
Selections – select all
Resume image (background) put on standby in step 8) –
Paste this image into the selection.
Selection - Select None
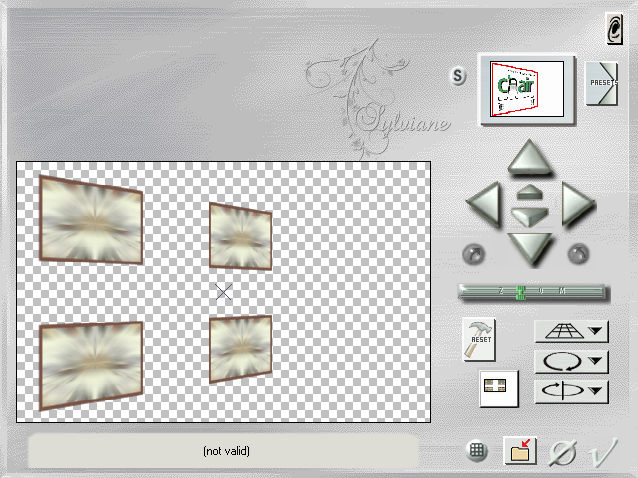
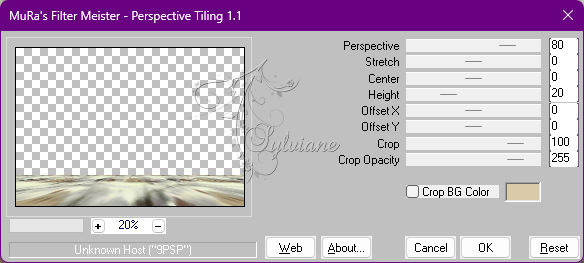
Plugin - MuRa Meister - Perspective Tiling
Tool==>magic wand==>Tolerance: 0 / Feather: 60
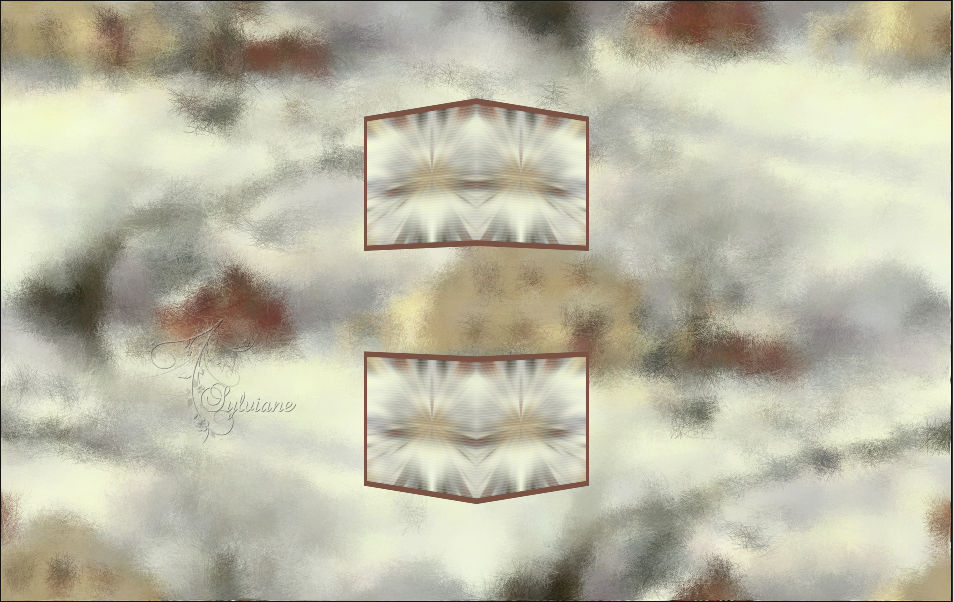
Click on the empty part of this layer:
(for you to find your way better I closed my eyes to my 3 layers below)

Edit - delete or delete +/- 7 times
Selection - Select None
12.
Selections – load/save selections – card selections from disk… SELECTION 5 187 .PspSelection
Layers – new raster layer
Fill the selection with a color of your choice
Selection - Select None
Layers - duplicate
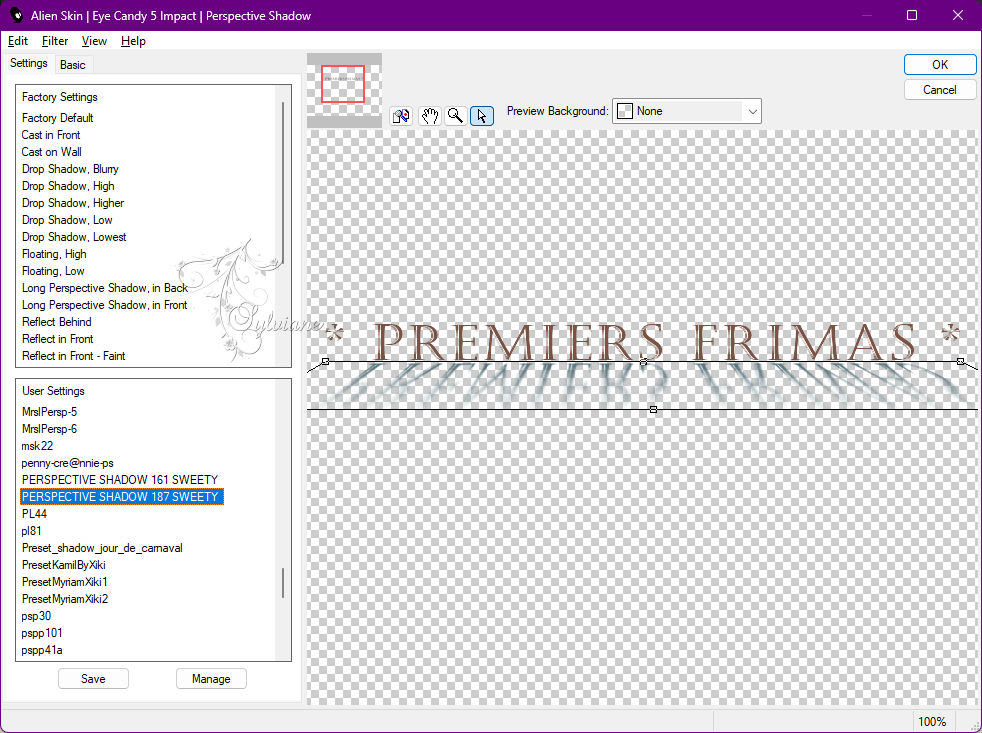
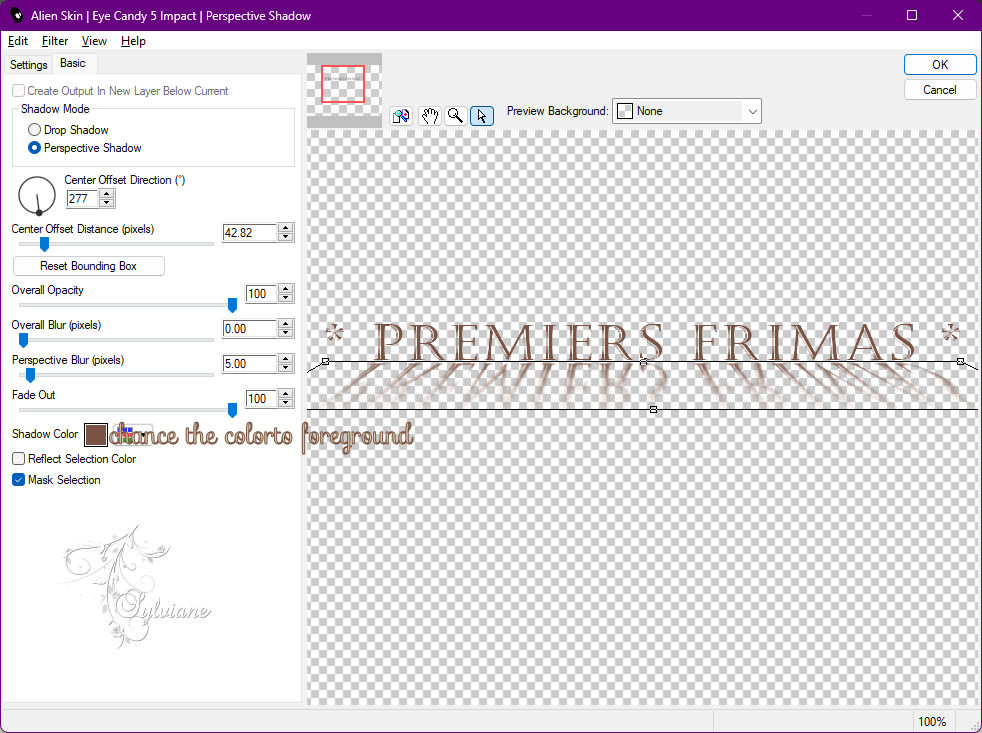
Plugin - Alien Skin Eyes Candy 5 – Impact - Perspective Shadow
Layers – arrange – move down
Activate the top layer
Effects – 3D effects – drop shadow:
0 / 0 / 100 / 0 color:#000000
Open WORD ART 187 .png
Edit – Copy
Edit – paste as new layer
Adjust – hue and saturation – colorize
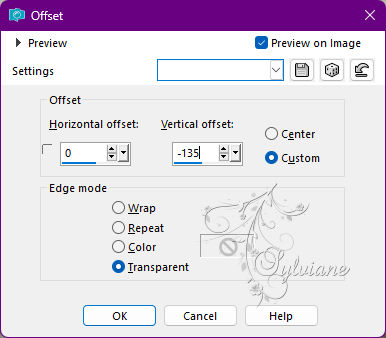
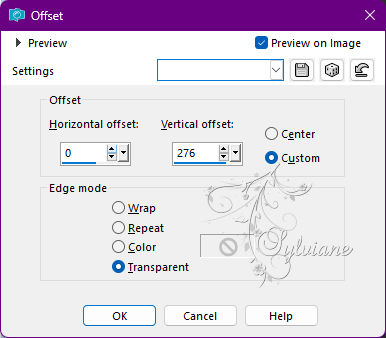
Effects - Image Effects - Offset
For my first build I set the layer mode to Hard Light
13.
Open DECO PERSO 1 187 SEPTEMBER 2022 SWEETY.png
Edit – Copy
Edit – paste as new layer
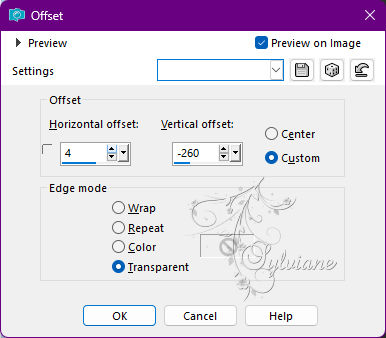
Effects - Image Effects – Offset
For my two versions I set the mode of the layer to Luminance (H)
Effects – 3D effects – drop shadow
0 / 0 / 100 / 0 – color:AVP
Open DECO PERSO 2 187 SEPTEMBER 2022 SWEETY.png
Edit – Copy
Edit – paste as new layer
Effects - Image Effects – Offset
For my two versions I set the mode of the layer to Luminance (H)
Effects – 3D effects – drop shadow
0 / 0 / 100 / 0 – color:AVP
Open DECO PERSO 3 187 SEPTEMBER 2022 SWEETY.png
Edit – Copy
Edit – paste as new layer
Effects - Image Effects – Offset
Blendmode: screen
14.
Selections – select all
Image – add borders – symmetrical – 20 px - any color
Effects - Image Effects - Seamless Tiling - default:
Selections - invert
Adjust – blur – Radial blur
configured as follows:
Effects - Texture Effects - Blinds
Adjust – sharpness – sharpen
Effects – 3D effects – drop shadow:
0 / 0 / 10 0 / 5 0 color:#000000
Selections – Promote selections to layer
Selection - Select None
15.
Open OCTOBRE 2022 LADYBIRD SNOW 07 10 22 SWEETY.png
Edit – Copy
Edit – paste as new layer
Image - Mirror - horizontal mirror
Image – resize – 65%
place it as in the example
open JANVIER 2022 OISEAU BRANCHAGE NEIGE 17 01 22 SWEETY.png
Edit – Copy
Edit – paste as new layer
place it as in the example
Apply a drop shadow on each element
16.
Image – add borders – symmetrical – 2px light colors or other colors as desired.
put your watermark
Layers – merge – merge all (flatten)
Resize to 950 pixels
save as jpeg
Back
Copyright Translation 2022 by SvC-Design