
This lesson is made with PSPX9
But is good with other versions.
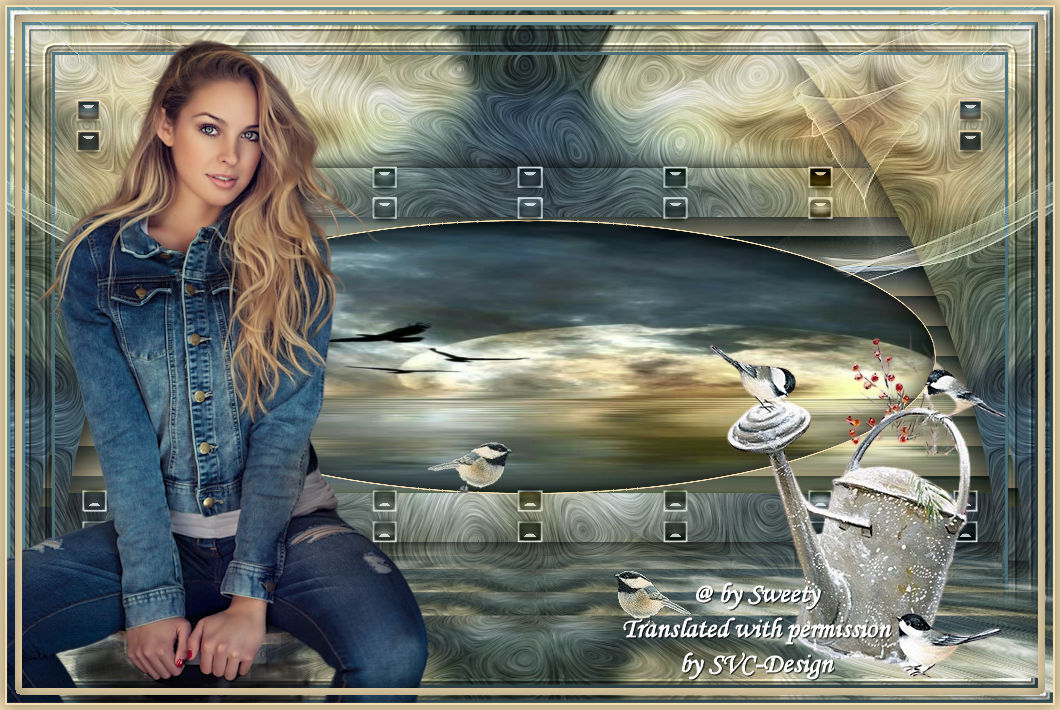
© by SvC-Design

Materialen Download :
Here
******************************************************************
Materials:
PALETTE COULEURS VERSION 1.png
DECO PERSO 1 200 JUILLET 2023.png
DECO PERSO 2 200 JUILLET 2023.png
DECO PERSO 3 200 JUILLET 2023.png
SELECTION 1 200 .PspSelection
SELECTION 2 200 .PspSelection
SELECTION 3 200 .PspSelection
SELECTION 4 200 .PspSelection
SELECTION 5 200 .PspSelection
SELECTION 6 200 .PspSelection
72e5a75e273f54ee490fee7a1461d898.jpg
DECEMBRE 2022 DECO OISEAU HIVER 2 12 22 SWEETY.png
JUILLET 2023 OYANNA 20 07 23 SWEETY .png
OCTOBRE 2023 PETITS OISEAUX 02 10 23 SWEETY.png
******************************************************************
Plugin:
Effects – plugin - Alien Skin - Eye Candy 5 – Textures – Swirl
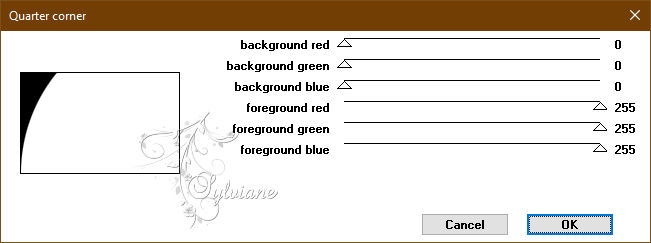
Effects – plugin - Simple - Quarter Corner
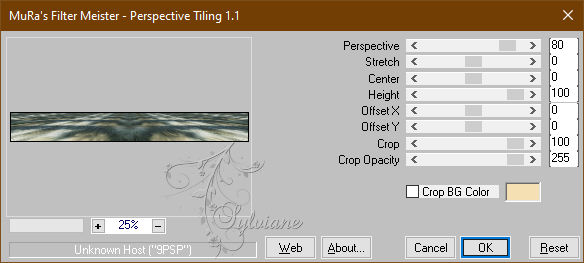
Effects - plugin - MuRas's Meister - Perspective Tiling
******************************************************************
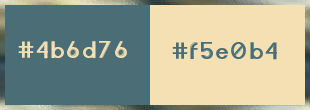
color palette
:
******************************************************************
methode
When using other tubes and colors, the mixing mode and / or layer coverage may differ
******************************************************************
General Preparations:
First install your filters for your PSP!
Masks: Save to your mask folder in PSP, unless noted otherwise
Texture & Pattern: Save to your Texture Folder in PSP
Selections: Save to your folder Selections in PSP
Open your tubes in PSP
******************************************************************
We will start - Have fun!
Remember to save your work on a regular basis
******************************************************************
1.
Open a new transparent image of 950X600 px
Selection - Select All
Open 72e5a75e273f54ee490fee7a1461d898.jpg
Edit - Copy.
Edit - Paste into selection.
Selection - Select None
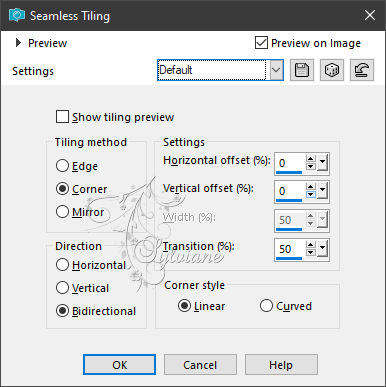
Effects - Image Effects - Seamless Tiling - default:
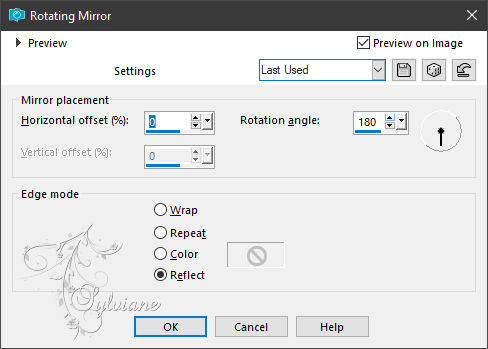
Effects – reflection effects – rotating mirror
Effects – plugin - Alien Skin - Eye Candy 5 – Textures – Swirl
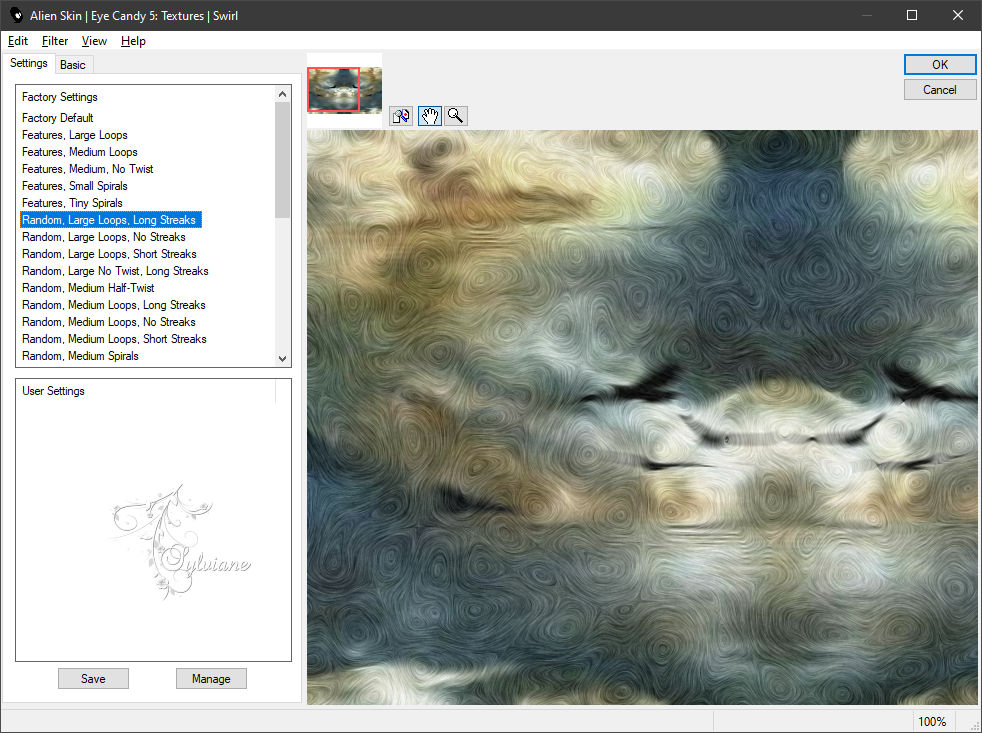
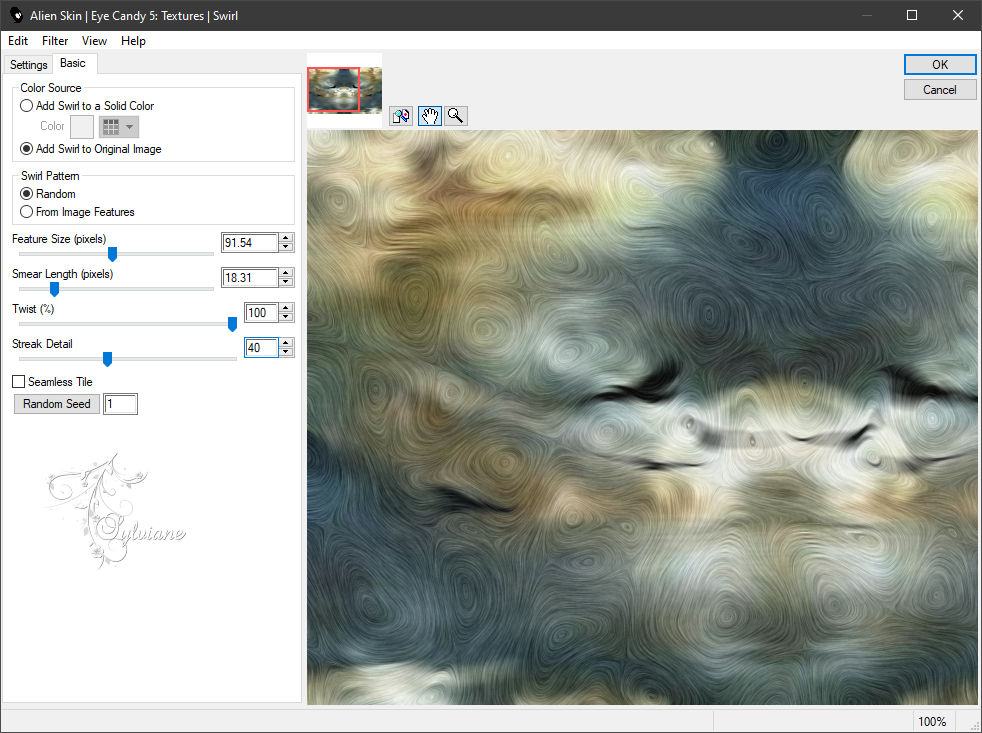
Apply this effect a second time...
=============================================================
2.
Layers - Duplicate
Effects – plugin - Simple - Quarter Corner - default:
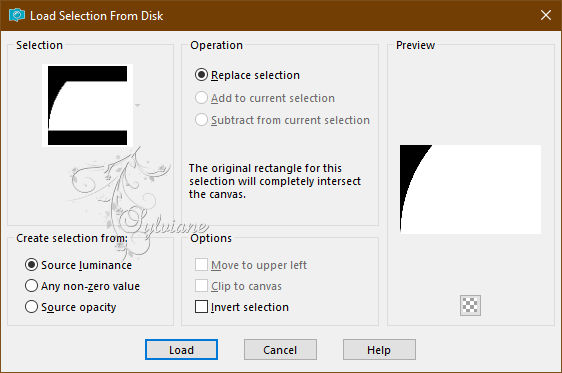
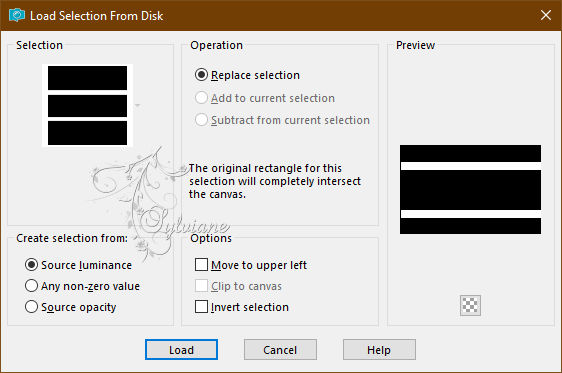
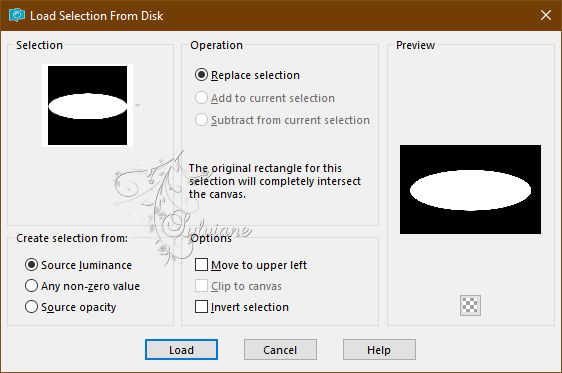
Selections - Load / Save - Load selection from disk- SELECTION 1 200 .PspSelection
CLEAR or DELETE on keyboard
Selections - Load / Save - Load selection from disk - SELECTION 2 200 .PspSelection
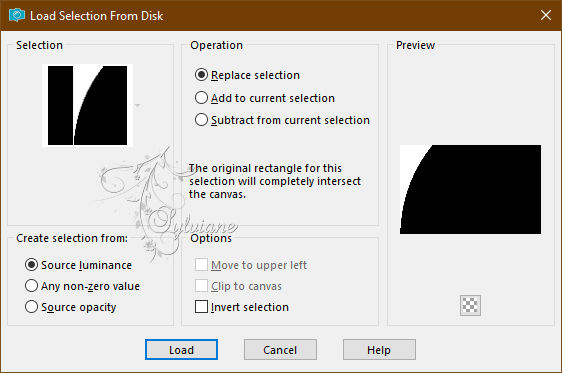
(This will cancel the previous selection)
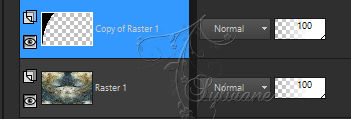
In the layers palette we are on *Copy of Raster 1*:
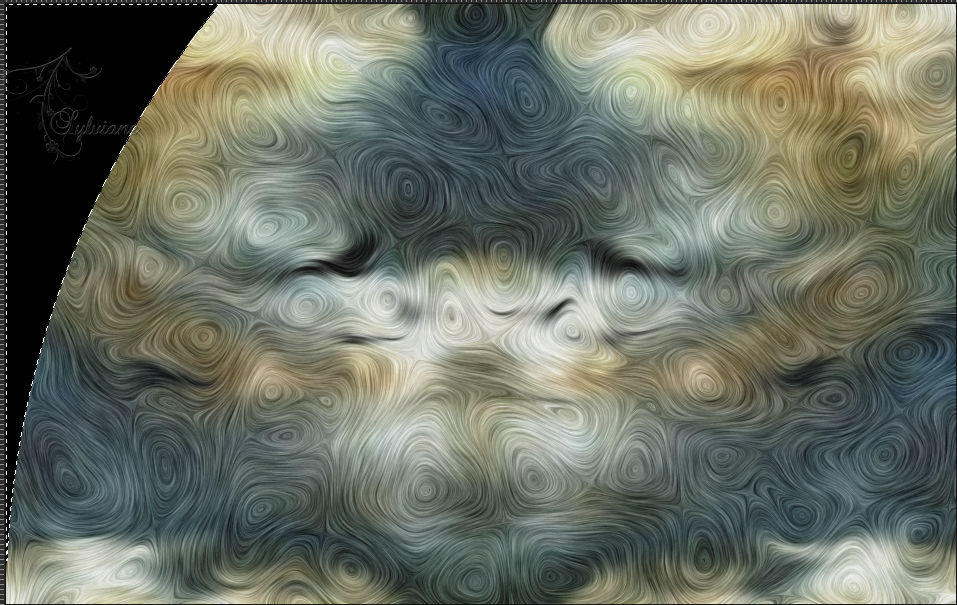
Layers - Delete
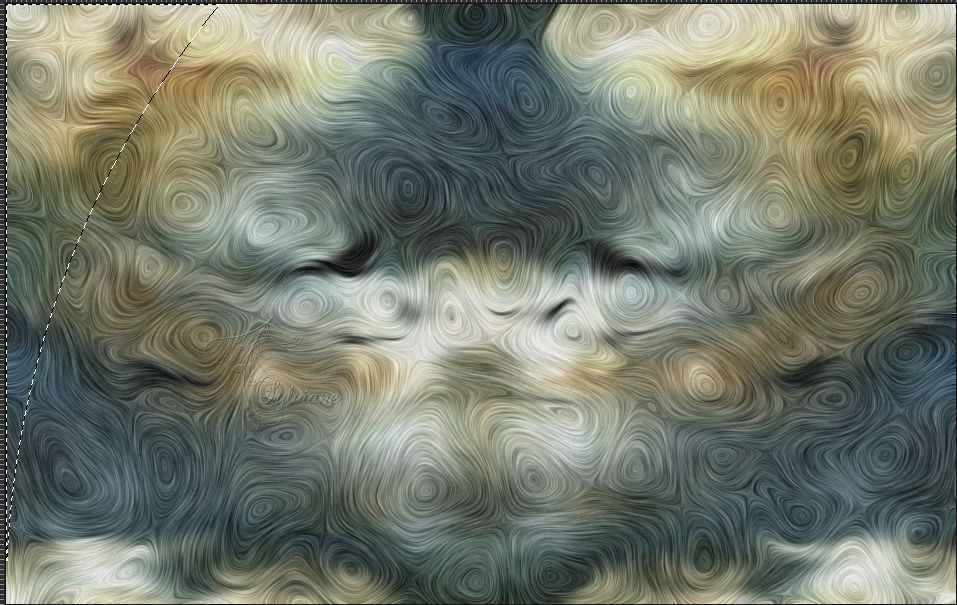

Activate Raster 1
The selection is always on
Selections – Promote selections to layer
Selection - Select None
Effects – reflection effects – rotating mirror
Effects - 3 D effects - Drop shadow
0 / 0 / 100 / 50 - color :#000000
=============================================================
3.
Activate raster 1
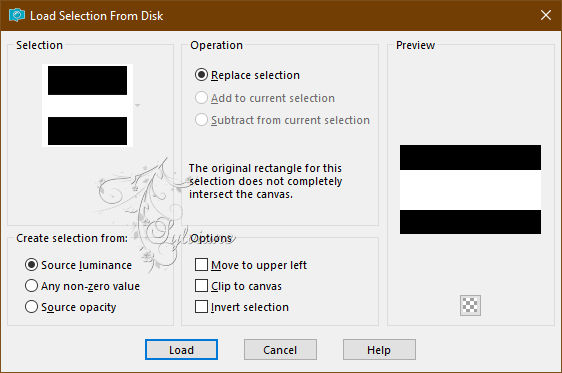
Selections - Load / Save - Load selection from disk - SELECTION 3 200 .PspSelection
Selections – Promote selections to layer
Selection - Select None
(For the moment we can't see anything, it's normal so don't panic...)
Selections - Load / Save - Load selection from disk - SELECTION 4 200 .PspSelection
Layers - New Raster Layer
Layers – arrange – move down
Open 72e5a75e273f54ee490fee7a1461d898.jpg
Edit - Copy.
Edit - Paste into selection.
Selections - Invert
Effects - 3 D effects - Drop shadow
0 / 0 / 50 / 25 – color :#000000
Activar Promoted Selection 1
Layers – merge – merge down
Selection - Select None
Effects - 3 D effects - Drop shadow
0 / 0 / 100 / 25 - color :#000000
=============================================================
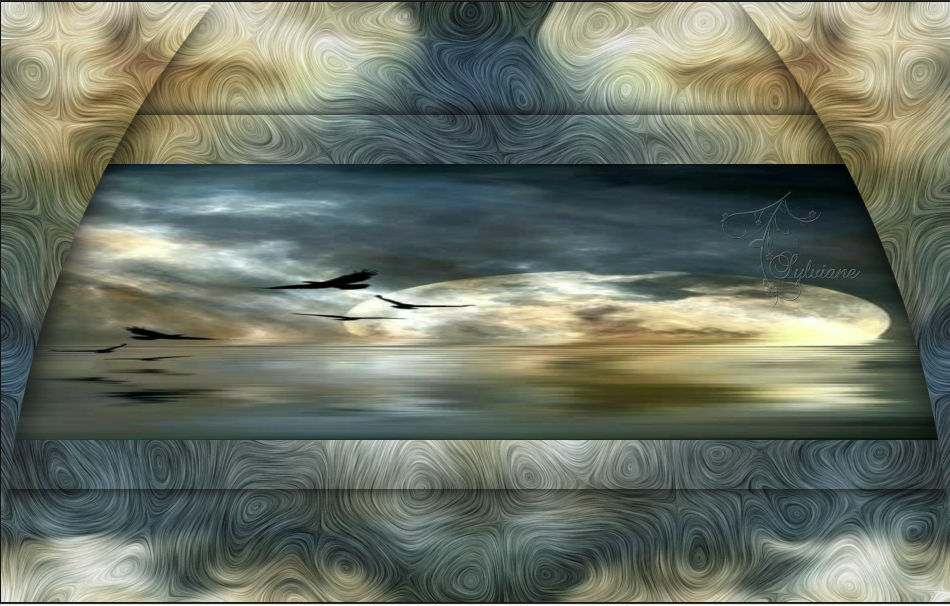
4.
Our layers and tag:
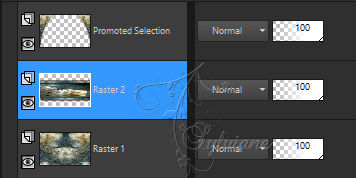
Stil on Raster 2
Selections - Load / Save - Load selection from disk - SELECTION 5 200 .PspSelection
Selections – Promote selections to layer
Selections - Invert
Effects - 3 D effects - Drop shadow
0 / 0 / 100 / 50 – color :#000000
Selections - Invert
Selections - modify - select selection borders
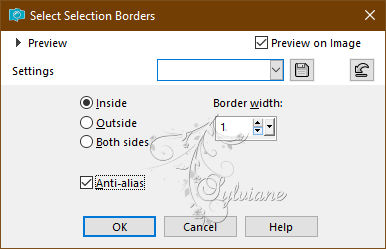
Fill the selection with the color ARP (Light).
Several clicks will be required
Selection - Select None
=============================================================
5.
Activate (Raster 2)
Selections - Load / Save - Load selection from disk - SELECTION 4 200 .PspSelection
Effects - Texture Effects - Blindsc- color:ARP
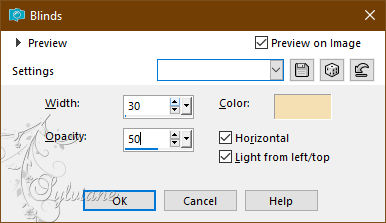
Selection - Select None
=============================================================
6.
Activar Selection - Custom selection
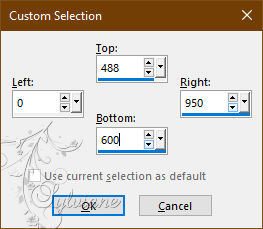
Activate raster 1
Selections – Promote selections to layer
Effects - plugin - MuRas's Meister - Perspective Tiling - default:
Selection - Select None
=============================================================
7.
Still on this layer
Selections - Load / Save - Load selection from disk - SELECTION 6 200 .PspSelection

ERASE or DELETE on keyboard +/- five times -
Selection - Select None
Edit - COPY
edit - paste as a new image
Leave on hold we'll need it at the end of the tutorial
On our ongoing work...
Add a border of 3 AVP color
COPY Edition (the image is put into memory)
=============================================================
8.
Selection - Select All
Image - Add Borders – Symmetric -30 px - (no matter the color)
Selections - Invert
Paste into selection (Image is in memory)
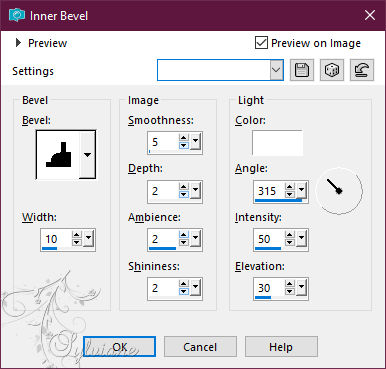
Effects – 3D effects – inner bevel - (Bevel 6)
Selections – Promote selections to layer
Selection - Select None
=============================================================
9.
At the top of the pile...
Copy/paste as a new layer the image (the ground) put on hold in step 7
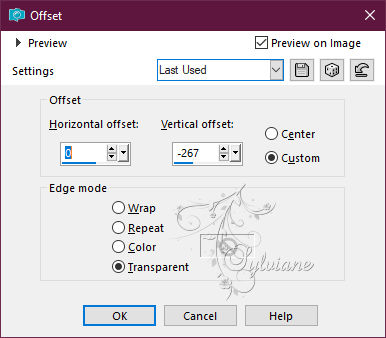
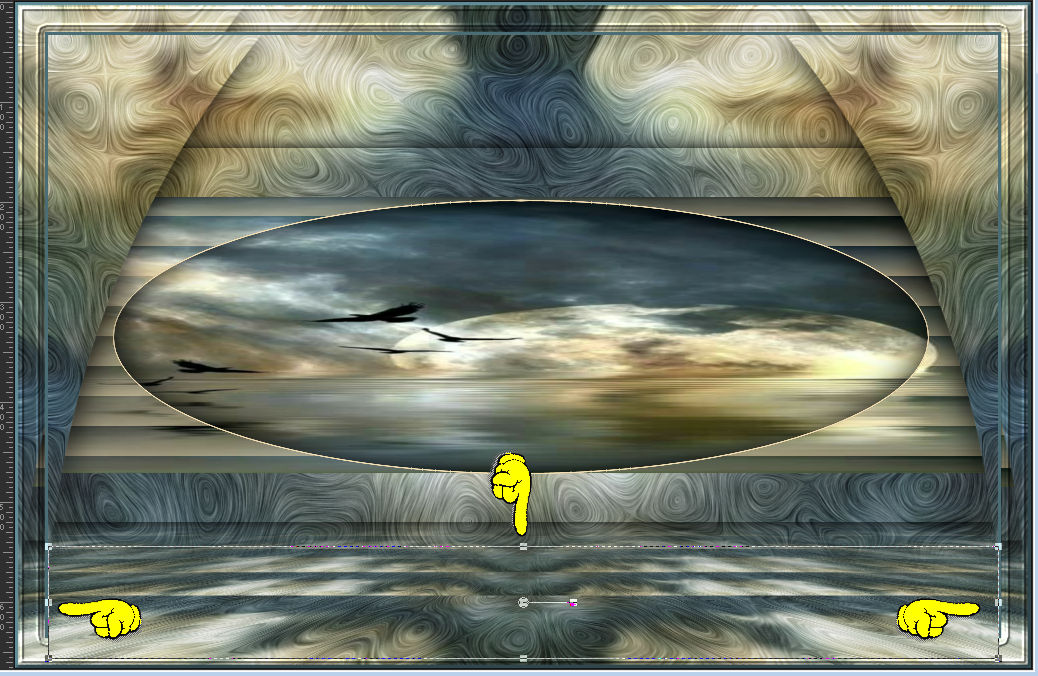
Effects - Image Effects - Offset
Stretch left and right to make the edges touch:

Open DECO PERSO 1 200 JUILLET 2023.png
Edit – Copy
Edit - Paste as new layer
Don't move it, it's in its place
Layer Mode: * Luminance (legacy)* or others
Open DECO PERSO 2 200 JUILLET 2023.png
Edit – Copy
Edit - Paste as new layer
Activate selection tool (Press K on your keyboard)
And enter the following parameters:
Pos X :0 – Pos Y : 0
Press M.
Layer Mode: * Luminance (legacy)* or others
Layers - Duplicate
Opacity of this layer at 60% according to your taste
Open DECO PERSO 3 200 JUILLET 2023.png
Edit – Copy
Edit - Paste as new layer
Activate selection tool (Press K on your keyboard)
And enter the following parameters:
Pos X : 49 – Pos Y : 74
Press M.
=============================================================
10.
Open JUILLET 2023 OYANNA 20 07 23 SWEETY .png
Edit – Copy
Edit - Paste as new layer
Image - Resize - 65%
place it as in the example
Open DECEMBRE 2022 DECO OISEAU HIVER 2 12 22 SWEETY.png
Edit – Copy
Edit - Paste as new layer
Image - Mirror – mirror Horizontal
Not Resized
place it as in the example
open OCTOBRE 2023 PETITS OISEAUX 02 10 23 SWEETY.png
Edit – Copy
Edit - Paste as new layer
Not Resized
place it as in the example
=============================================================
11.
Image - Add Borders – Symmetric -2px – color :#f5e0b4
Selection - Select All
Image - Add Borders – Symmetric -20px – color :#f5e0b4
Edit - copy
Selections - Invert
Selection - modify - contract -5 px
Edit - Paste into selection.
Effects - 3D effects - Drop shadow
0 / 0 / 60 / 30 color :#000000
Selection - Select None
=============================================================
Add your signature and mine if you wish
Layer – merge – merge all (flatten)
resize to 950 pixels
Save as JPEG
Back
Copyright Translation 2023 by SvC-Design
------------------------------------------------------------------------------
Thanks to all who created