
This lesson is made with PSPX9
But is good with other versions.
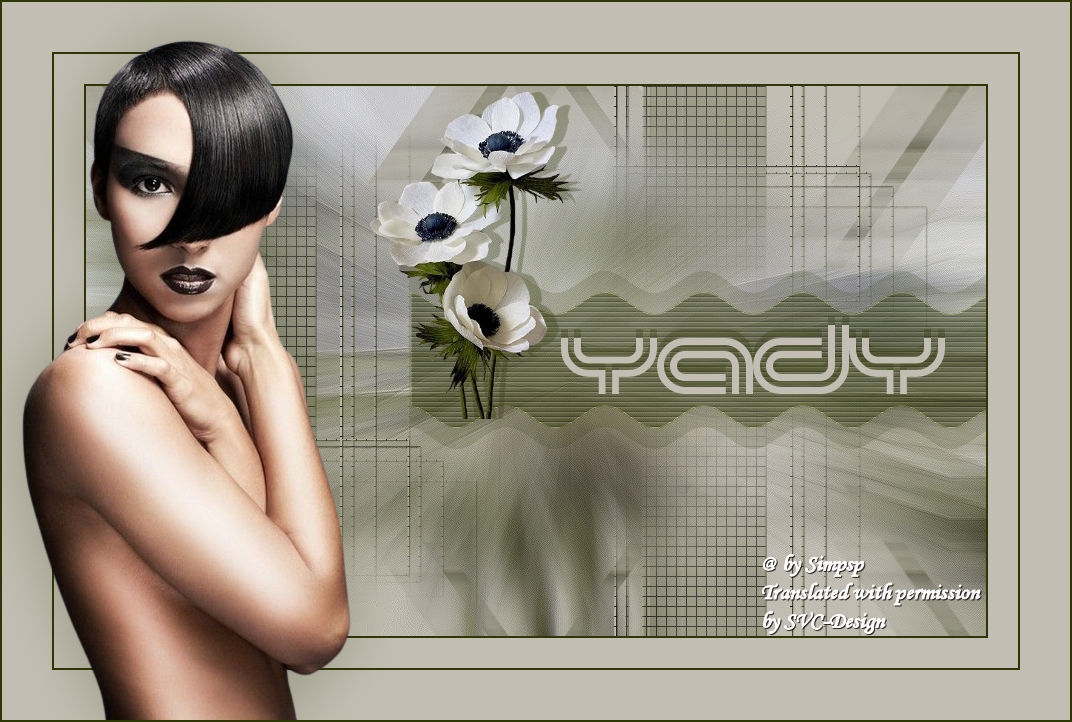
© by SvC-Design
Materialen Download :
Here
******************************************************************
Materials:
Narah_Mask_1264.jpg
YadySelection1.PspSelection
TituloYady_ByXiki.png
114FlorByPqnaAlice.png
667MulherByPqnaAlice.png
******************************************************************
Plugin:
Plugin - Unlimited 2.0 - Bkg Designer sf10 I - Cruncher
Plugins - AP [Lines] - Silver Lining: Grid Paper
Plugins - Italian Editors Effect - Effetto fantasma
******************************************************************
color palette
:
******************************************************************
methode
When using other tubes and colors, the mixing mode and / or layer coverage may differ
******************************************************************
General Preparations:
First install your filters for your PSP!
Masks: Save to your mask folder in PSP, unless noted otherwise
Texture & Pattern: Save to your Texture Folder in PSP
Selections: Save to your folder Selections in PSP
Open your tubes in PSP
******************************************************************
We will start - Have fun!
Remember to save your work on a regular basis
******************************************************************
1.
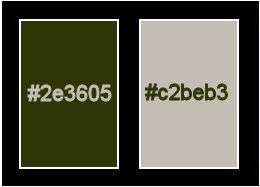
Choose two colors for work.
Foreground: #2e3605
Background: #c2beb3
2.
Open a new transparent image of 900x550px
Paint with the color of the background.
Selections - Select All.
3.
Open Floral Tube.
Edit - Copy
Edit - Paste Into Selection.
Selections - Select None.
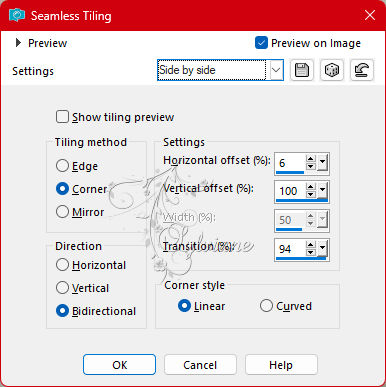
4.
Effects - Image Effects - Seamless Tiling: Side by side.
5.
Adjust - Blur - Radial Blur.
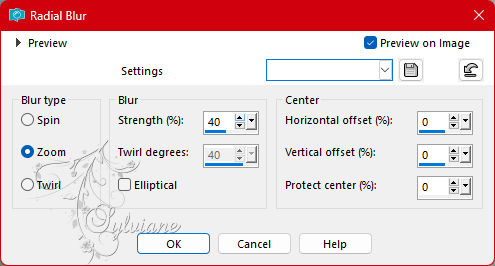
6.
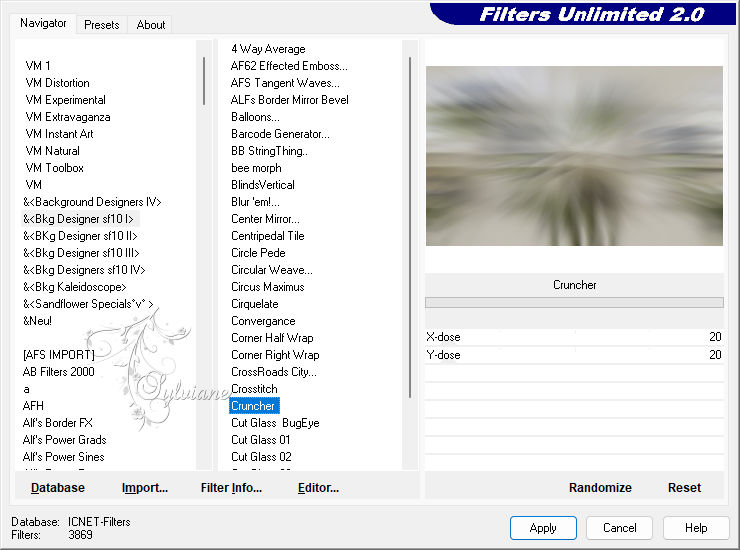
Plugin - Unlimited 2.0 - Bkg Designer sf10 I - Cruncher:
Effects - Edge Effects - Enhance.
Edit - Repeat Enhance Edges.
7.
Layers - New Raster Layer.
Paint with the color of the background.
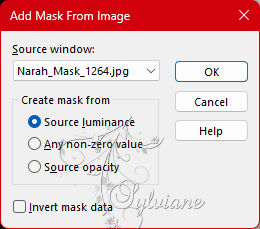
Layers - New Mask Layer - From Imge: Narah_Mask_1264.
Layers - Merge - Merge Group.
Effects - 3D Effects - Drop Shadow:
1/ 1/ 100/ 0 - color Foreground.
Effects - Image Effects - Seamless Tiling: Default.
8.
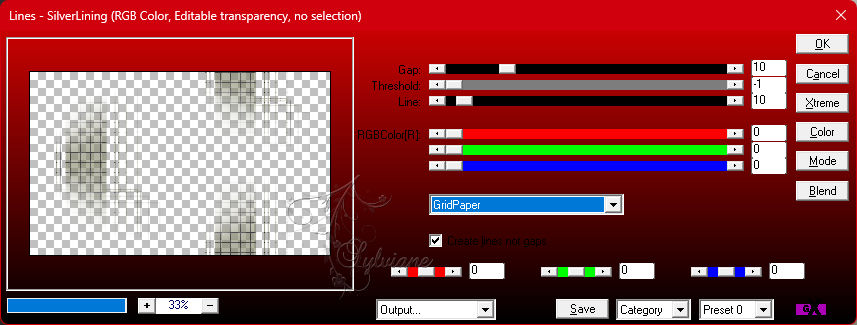
Plugins - AP [Lines] - Silver Lining: Grid Paper.
9.
Layers - New Raster Layer.
Selections - Load/Save Selections > Load Selection From Disk: YadySelection1.
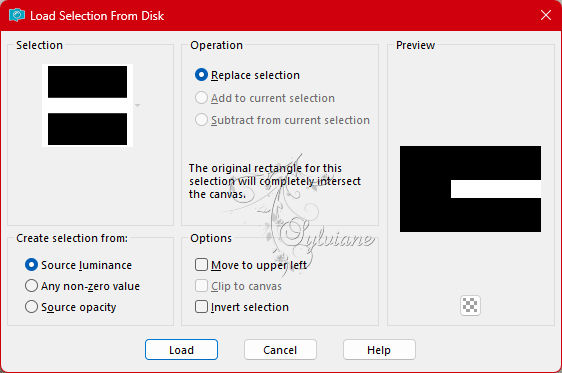
With the Flood Fill Tool, Opacity 50%, paint with the color of the Foreground.
*Return and, Opacity to 100%.
Selections - Select None.
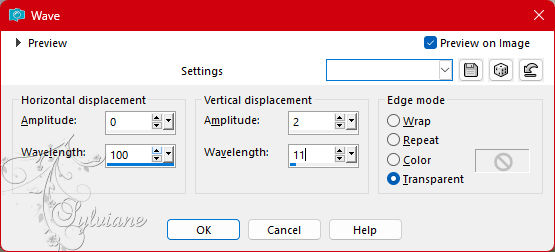
10.
Effects - Distortion Effects - Wave.
11.
Effects - Texture Effects - Blinds.
With the color of the background.
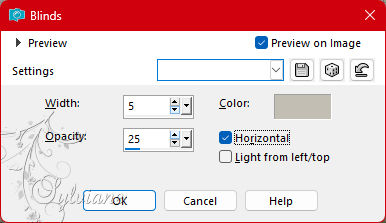
Effects - Edge Effects - Enhance.
12.
Effects - 3D Effects - Drop Shadow:
-21/0/ 30/ 0 - color Foreground.
Effects - 3D Effects - Drop Shadow:
21/ 0/ 30/ 0 - color Foreground.
13.
Activate the Raster 1 layer,
Selections - Select All.
Selecitons - Modify - Contract: 50.
Selections - Invert.
Selections - Promote Selection to Layer.
Selections - Select None.
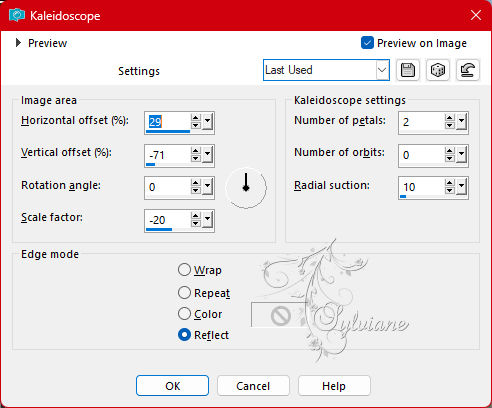
14.
Effects - Reflection Effects - Kaleidoscope.
15.
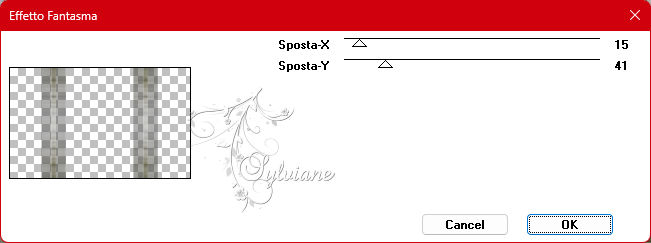
Plugins - Italian Editors Effect - Effetto fantasma
16.
Effects - Geometric Effects - Skew.

17.
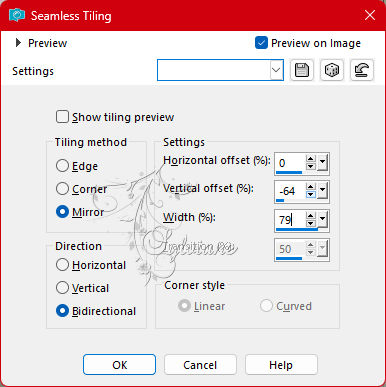
Effects - Image Effects - Seamless Tiling.
Blend Mode:Darken
18.
Activate the top layer.
Open Floral Tube.
Edit Copy
Edit - Paste as New Layer.
Resize if necessary and position according to the model.
Effects - 3D Effects - Drop Shadow:
0/12/ 30/ 0 - color Foreground.
19.
Open TituloYady_ByXiki.png
Edit - Copy
Edit - Paste as New Layer.
Activate selection tool (Press K on your keyboard)
And enter the following parameters:
Pos X : 475 – Pos Y : 239
Press M.
Effects - 3D Effects - Drop Shadow:
-9/ 0/ 30/ 0 - color Foreground.
20.
Image – Add Borders –symmetric - 2px - fogeround color
Image – Add Borders –symmetric - 30px - color background
Image – Add Borders –symmetric - 2px - fogeround color
Image – Add Borders –symmetric - 50px - background color
21.
Open The Character Tube.
Edit - Copy
Edit - Paste as New Layer.
Position to the left.
Apply Drop Shadow or effect you want.
22.
Image – Add Borders –symmetric - 2px - foreground color.
23.
Apply your watermark or signature
Layer – merge – merge all (flatten)
Save as JPEG
Back
Copyright Translation 2023 by SvC-Design