
This lesson is made with PSPX9
But is good with other versions.
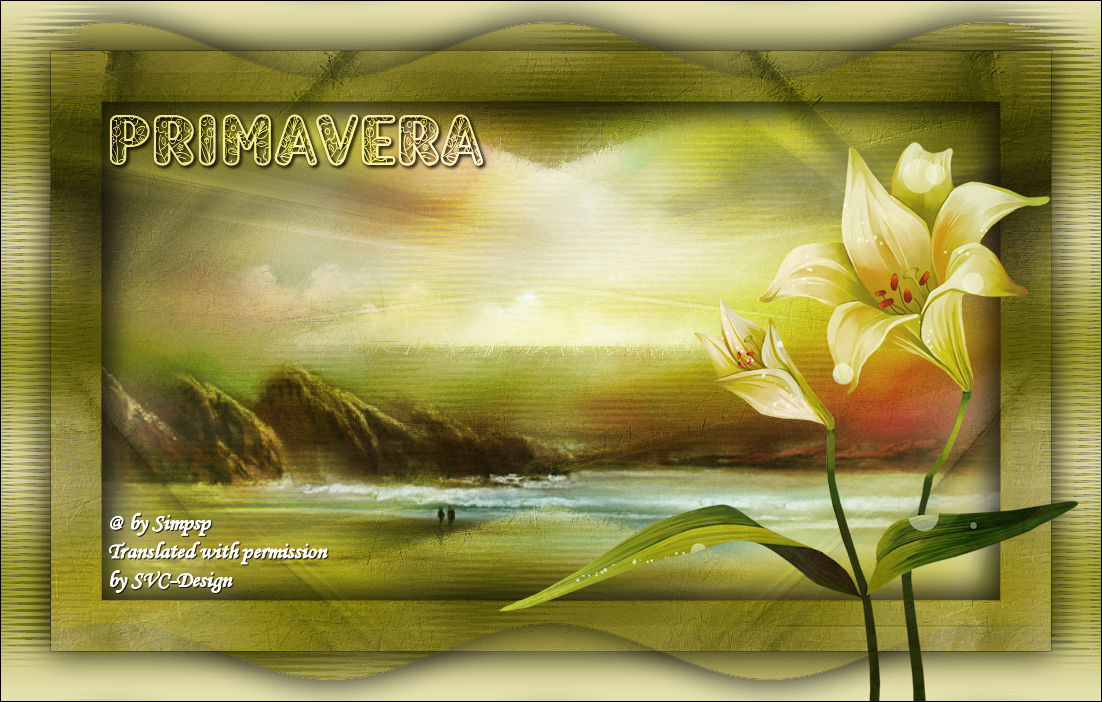
© by SvC-Design

Materialen Download :
Here
******************************************************************
Materials:
1.pspimage
New Pose.otf
nicole-mist-paysage4-2016.pspimage
wa_primavera_inacia.png
******************************************************************
Plugin:
Plugins - FM Tile Tools - Blend Emboss
Plugins - Medhi - Sorting Tiles
Plugins - Medhi - Fur
******************************************************************
color palette
:
******************************************************************
methode
When using other tubes and colors, the mixing mode and / or layer coverage may differ
******************************************************************
General Preparations:
First install your filters for your PSP!
Masks: Save to your mask folder in PSP, unless noted otherwise
Texture & Pattern: Save to your Texture Folder in PSP
Selections: Save to your folder Selections in PSP
Open your tubes in PSP
******************************************************************
We will start - Have fun!
Remember to save your work on a regular basis
******************************************************************
1.
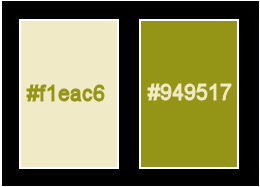
Choose two colors from the tube Flower.
I I chose the colors:
Foreground: #f1eac6
Background: #949517
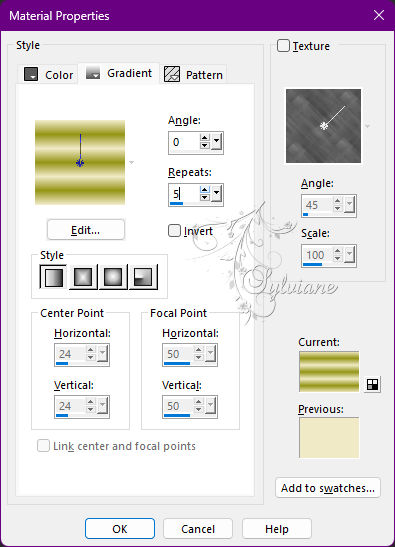
Form a gradient: Style: Linear > Angle: 0 > Repeats: 5.
2.
Open a new transparent image of 1000 x 600 px.
Paint with the Linear gradient.
Adjust - Blur - Gaussian Blur - Radius: 30.
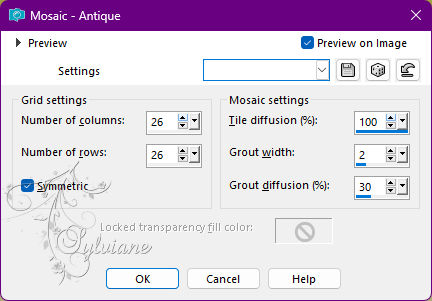
Effects - Texture Effects - Mosaic Antique:
3.
Plugins - FM Tile Tools - Blend Emboss - default
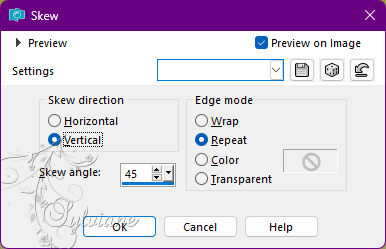
Effects - Geometric Effects - Skew:
4.
Layers - New Raster Layer
Selections - Select All.
Open flower tube or main tube.
Edit - Copy.
Activate the work.
Edit - Paste Into Selection.
Selections - Select None.
5.
Effects - Image Effects > Seamless Tiling - Default.
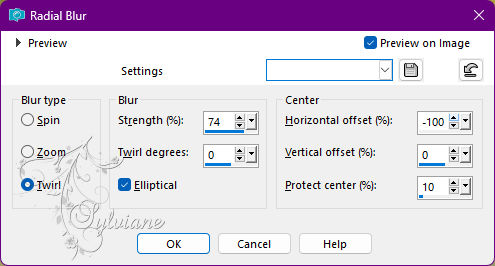
Adjust - Blur - Radial Blur:
Layers - duplicate.
Image - Mirror - Mirror Horizontal.
Layers - Merge - Merge Down.
Effects - Edge Effects - Enhance.
6.
Layers - Duplicate.
Close the visibility of the Copy of Raster 2 layer.
Activate the Raster layer 2.
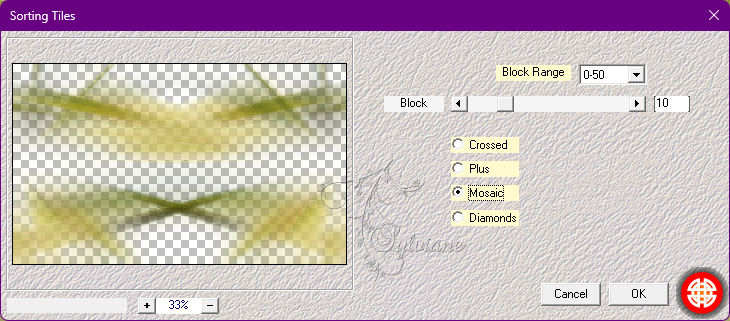
Plugins - Medhi - Sorting Tiles:
Plugins - FM Tile Tools - Blend Emboss - default
7.
Open visibility and activate Copy of Raster 2.
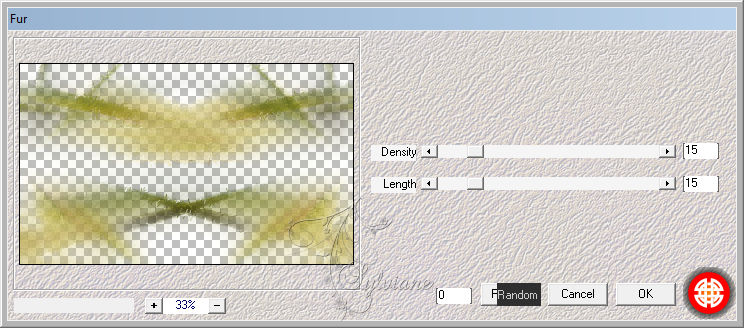
Plugins - Medhi - Fur:
Plugins - FM Tile Tools - Blend Emboss - default
8.
Layers - Merge Down.
Edit - copy
Click Undo tounmergedown.
9.
Layers - New Raster Layer.
Selections - Select All.
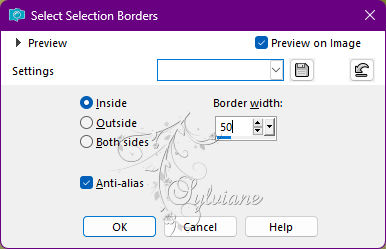
Selections - Modify - Select Selection Borders:
Edit - Paste Into Selection.
Effects - 3D Effects - Drop Shadow:
0/0/50/50 color:l#000000
10.
Selections - Invert.
Layers - New Raster Layer.
Open nicole-mist-paysage4-2016.pspimage
Edit - Copy.
Edit - Paste Into Selection.
Selections - Select None.
11.
Layers - New Raster Layer.
Layers - Arrange - Send to Botton.
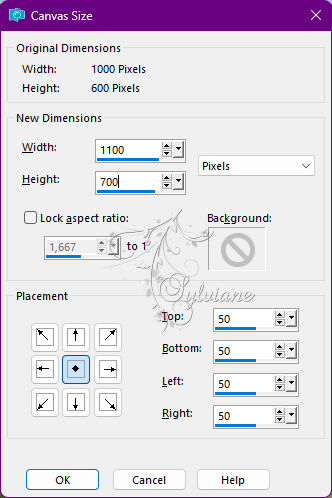
Image - Canvas Size:
Paint this layer with the use gradient
Adjust - Blur - Gaussian Blur - Radius: 30.
12.
Ativar a layer Raster 3.
Effects - 3D Effects - Drop Shadow:
0/0/50/50 color:l#000000
13.
Ativar a layer Raster 1.
Effects - 3D Effects - Drop Shadow:
0/0/50/50 color:l#000000
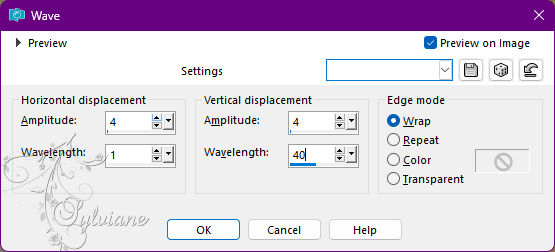
Effects - Distortion Effects - Wave:
14.
Activate the top layer.
Activate the flower tube.
Edit - Copy.
Activate the work.
Edit - Paste as New Layer.
With the Pick Tool tool adjust and position to your choice.
Apply effects to your taste.
15.
Open wa_primavera_inacia.png
Edit - Copy.
Activate the work.
Edit - Paste as New Layer.
Position and apply effects to your taste.
16.
Check the position of the layers and change blend mode:
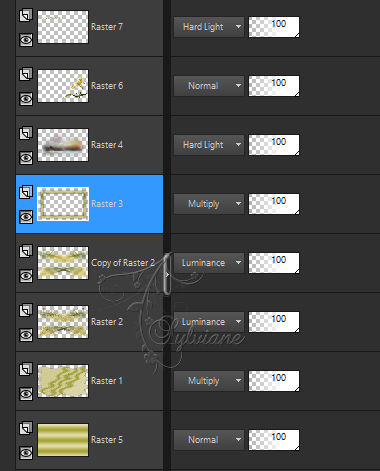
Note:V ocê can use other Blend Mode that look better depending on the images and colors Chosen.
17.
Image – Add Borders –symmetric - 1 px - Color: #000,000 (Black).
18.
Apply your watermark or signature
Layer – merge – merge all (flatten)
Save as JPEG
Back
Copyright Translation 2022 by SvC-Design