
This lesson is made with PSPX9
But is good with other versions.
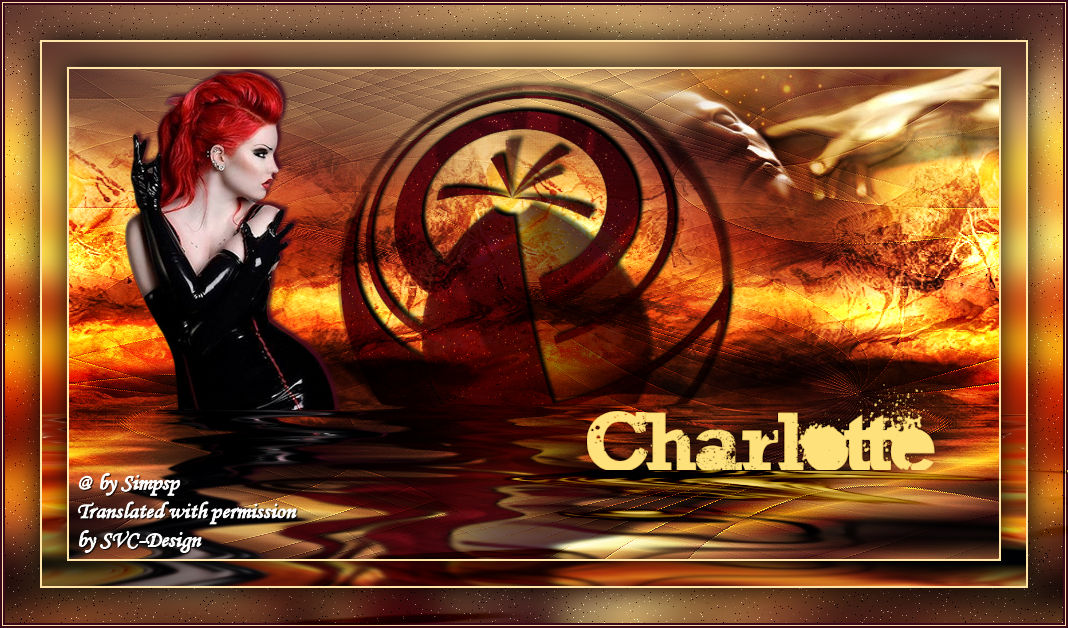
© by SvC-Design
Materialen Download :
Here
******************************************************************
Materials:
Selection227_1ByXiki.PspSelection
Selection227_2ByXiki.PspSelection
TituloCharlotteByXiki.png
025SteamPunkByPqnaAlice.png
067PaisagemByPqnaAlice.png
544MulherByPqnaAlice.png
******************************************************************
Plugin:
Plugins - RCS Filter Pak 1.0 > RCS Digi-Lens - Flower Cut
Plugins - Flaming Pear - Flexify 2
Plugins - Flaming Pear - Flood
******************************************************************
color palette
:
******************************************************************
methode
When using other tubes and colors, the mixing mode and / or layer coverage may differ
******************************************************************
General Preparations:
First install your filters for your PSP!
Masks: Save to your mask folder in PSP, unless noted otherwise
Texture & Pattern: Save to your Texture Folder in PSP
Selections: Save to your folder Selections in PSP
Open your tubes in PSP
******************************************************************
We will start - Have fun!
Remember to save your work on a regular basis
******************************************************************
1.
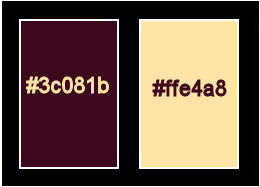
Choose two colors for work.
Foreground: #3c081b
Background: #ffe4a8
2.
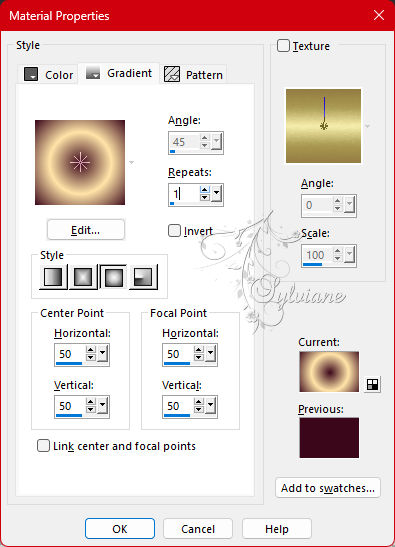
Open a new transparent image of 930 x 490px
Paint with a Sunburst gradient formed by colors chosen as in the print below:
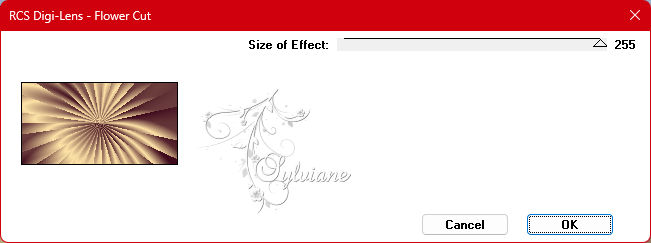
3.
Plugins - RCS Filter Pak 1.0 > RCS Digi-Lens - Flower Cut:
4.
Effects - Distortion Effects - Wave:

5.
Effects - Image Effects - Seamless Tiling:
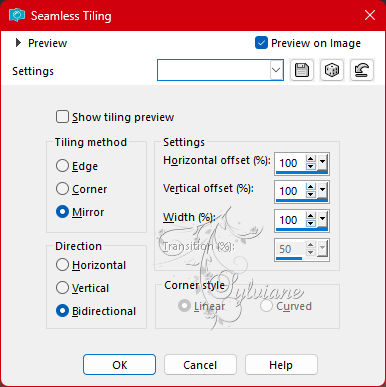
Effects - Edge Effects - Enhance.
6.
Layers - New Raster Layer.
Selections - Load/ Save Selections - Load Selection From Disk: Selection227_1ByXiki.
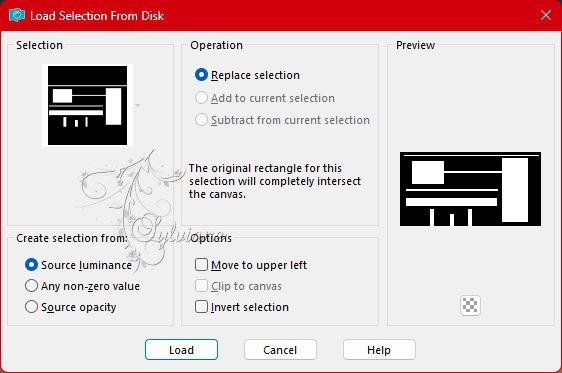
Paint these selections with the color of the Foreground.
Selections - Select None.
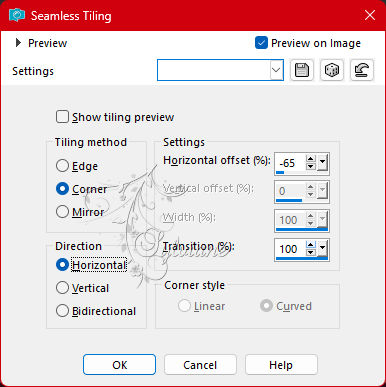
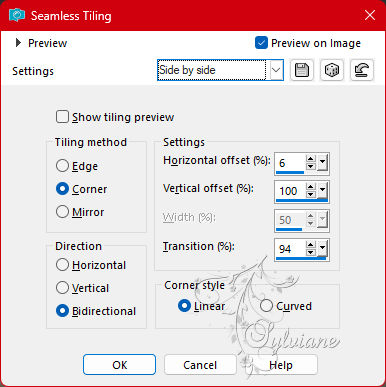
7.
Effects - Image Effects - Seamless Tiling:
8.
Plugins - Flaming Pear - Flexify 2:
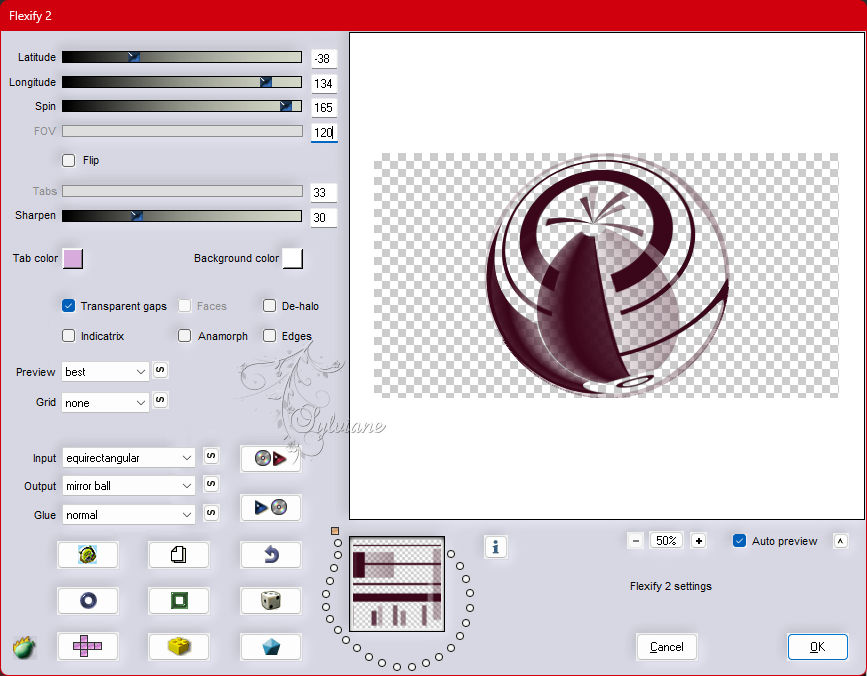
Image - Resize: 80%, all layers cleared.
9.
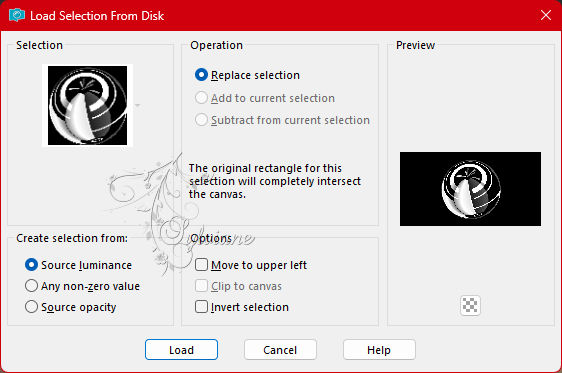
Layers - New Raster Layer.
Selections - Load/Save Selections - Load Selection From Disk: Selection227_2ByXiki.
Effects - 3D Effects - Cutout, with the color black:

Selections - Select None.
10.
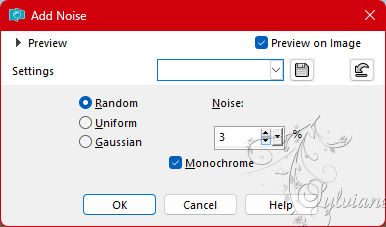
Activate Layer Raster 2.
Adjust - Add/Remove Noise - Add Noise:
11.
Activate the top layer, Raster 3.
Layers - Merge - Merge Down.
Activate selection tool (Press K on your keyboard)
And enter the following parameters:
Pos X : 268 – Pos Y : 16
Press M.
12.
Activate Layer Raster 1.
Layers - New Raster Layer.
Selections - Select All.
Open 067PaisagemByPqnaAlice.png
Edit - Copy
Edit - Paste Into Selections.
Selections - Select None.
13.
Effects - Image Effects - Seamles Tiling: Side by Side.
Blend Mode: Dodge.
Layers - Duplicate.
Change the Blend of this layer to Overlay
*(in the second version I used Blend Dissolve).
14.
Activate Layer Raster 1.
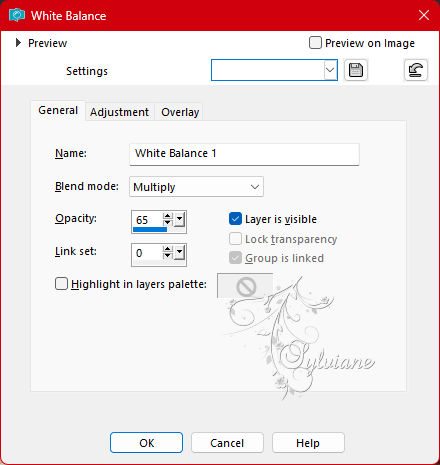
Layers - New Adjustment Layer - White Balance.
Change only in the General tab as in the print below:
15.
Activate Layer Raster 2.
Effects - 3D Effects Drop Shadow: -3, 3, 100, 5, color background.
Blend Mode: Hard Light.
16.
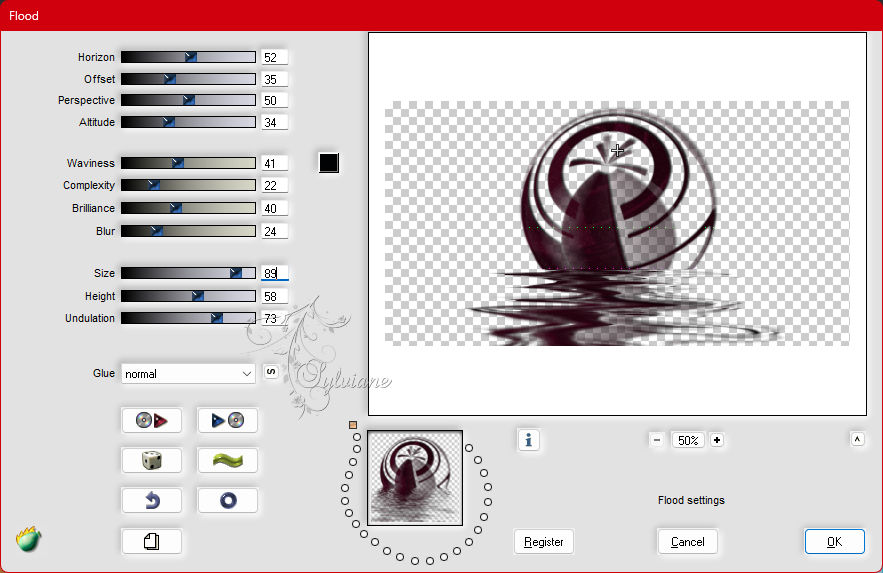
Plugins - Flaming Pear - Flood:
17.
Activate Layer Copy of Raster 3.
Repeat Flaming Pear > Flood with the same settings previously used.
18.
Activate Layer Raster 2.
Open The Character Tube.
Edit - Copy
Edit - Paste as New Layer.
Resize if necessary, if using the material, I gave a 70% resize.
Adjust - Sharpness - Sharpen.
Position to the left of the job.
Effects - 3D Effects - Drop Shadow: -3, 3, 100, 40, color background or with the color you prefer.
19.
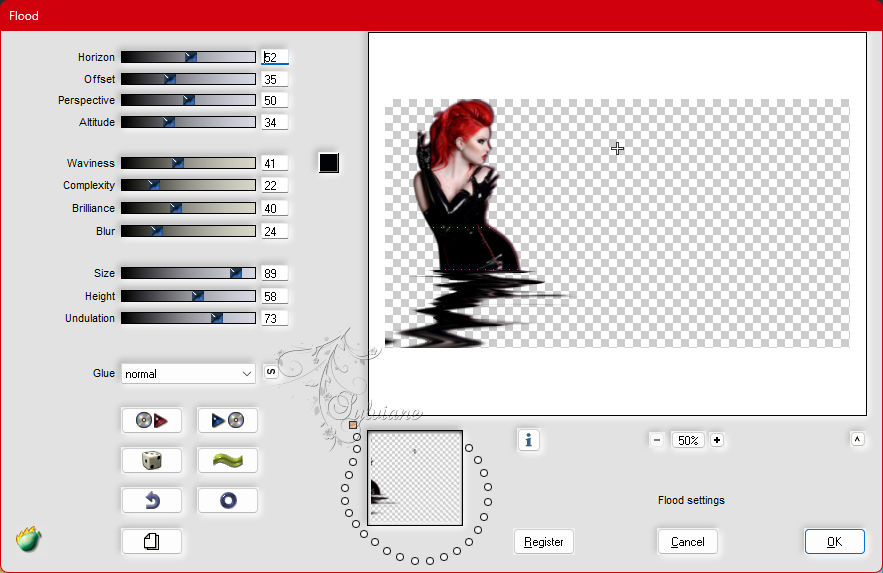
Plugins - Flaming Pear - Flood.
Note1: Change the value in Ofset if you want to decrease or increase the height of the effect.
In the second version I changed in Offset to 60
20.
Open 025SteamPunkByPqnaAlice.png
Edit - Copy
Edit - Paste as New Layer.
Position in the upper right corner.
Blend Mode: Hard Light.
Note2: Before moving on to the next step, note your work to see
if you are happy with the result of the Blends, otherwise change to taste.
21.
Close the visibility of the Character Tube layers and the Misted Steampunk.
Edit – copy special- copy merged
If you prefer to duplicate your work to have a copy.
Open the visibility of the two layers.
22.
Image – Add Borders –symmetric - 2px - background color.
Selections - Select All.
Image – Add Borders –symmetric - 25px with any color.
Selections - Invert.
Edit - Paste Into Selection.
23.
Adjust - Blur > - Gaussian Blur: 15.
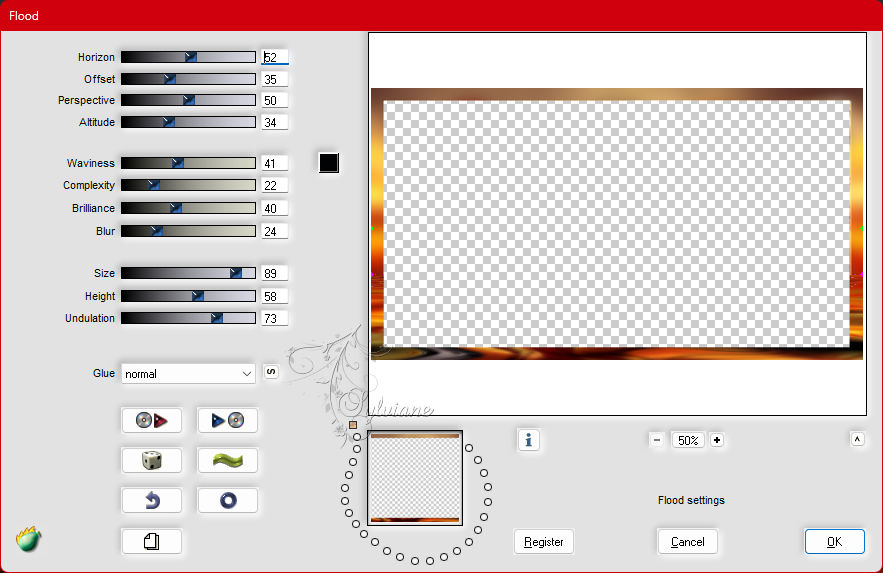
Plugins - Flaming Pear - Flood:
24.
Selections - Invert.
Effects - 3D Effects - Drop Shadow: 0, 0, 100, 40, color Black.
Selections - Select None.
25.
Image – Add Borders –symmetric - 2px - background color.
Selections - Select All.
Image – Add Borders –symmetric - 35px with any color.
Selections - Invert.
Edit - Paste Into Selection.
26.
Adjust - Blur - Gaussian Blur: 15.
Adjust - Add/Remove Noise - Add Noise:
27.
Selections - Invert.
Effects - 3D Effects - Drop Shadow: 0, 0, 100, 40, color Black.
Edit - Repeat Drop Shadow.
Selections - Select None.
28.
Image – Add Borders –symmetric - 2px - color foreground
Image – Add Borders –symmetric - 1px - background color
Image – Add Borders –symmetric - 2px - color foreground
29.
Open TituloCharlotteByXiki.png
Edit - Copy
Edit - Paste as New Layer.
Activate selection tool (Press K on your keyboard)
And enter the following parameters:
Pos X : 266 – Pos Y : 383
Press M.
Layers - Duplicate.
Blend Mode: Burn.
30.
Apply your watermark or signature
Layer – merge – merge all (flatten)
Save as JPEG
Back
Copyright Translation 2023 by SvC-Design