

This lesson is made with PSPX9
But is good with other versions.
© by SvC-Design
Materialen Download :
Here
******************************************************************
Materials:
accroupie 2_tubed_by_thafs.pspimage
just a woman_aliciar.pspimage
******************************************************************
Plugin:
plug-ins - sybia –xaggerat
Plugin - flaming pear - flood
Plugins - AAA frame – transparente frame
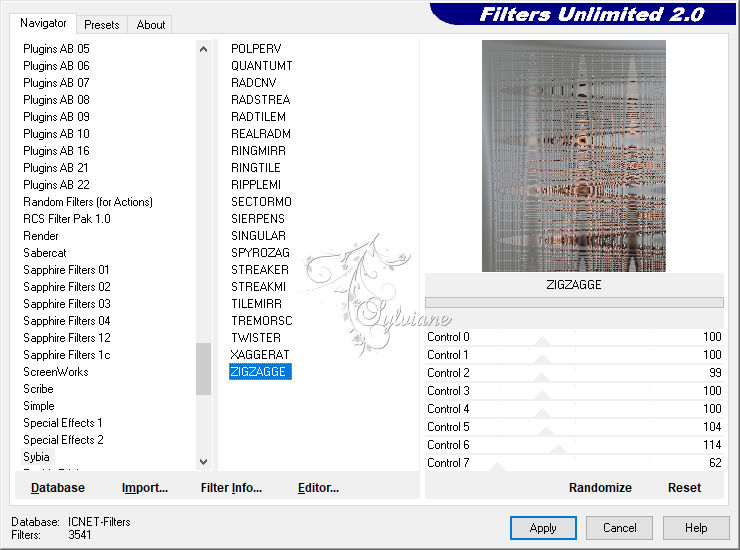
plug-in - sybia - zigzag
Plugin - andromedia - perspective
******************************************************************
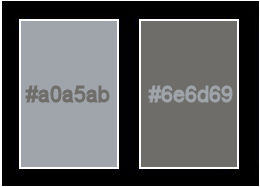
color palette
:
******************************************************************
methode
When using other tubes and colors, the mixing mode and / or layer coverage may differ
******************************************************************
General Preparations:
First install your filters for your PSP!
Masks: Save to your mask folder in PSP, unless noted otherwise
Texture & Pattern: Save to your Texture Folder in PSP
Selections: Save to your folder Selections in PSP
Open your tubes in PSP
******************************************************************
We will start - Have fun!
Remember to save your work on a regular basis
******************************************************************
1.
Open a new transparent image of 800x600 pixels
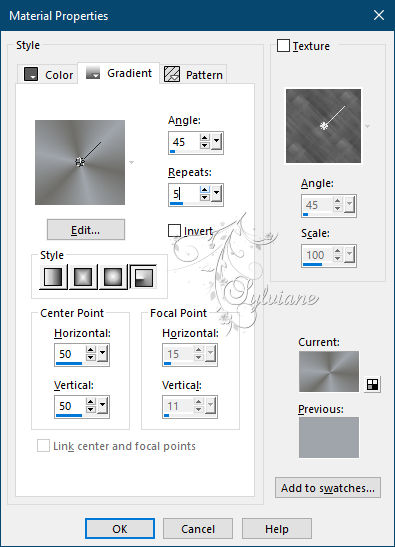
2.
Make a gradient from foreground , radical : angle 45-repeats 5
3.
Fill your image with gradient
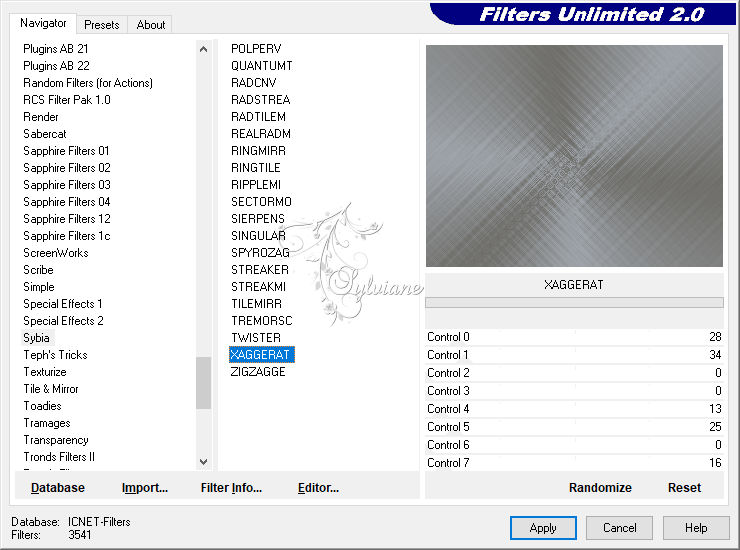
4.
plug-ins - sybia –xaggerat
5.
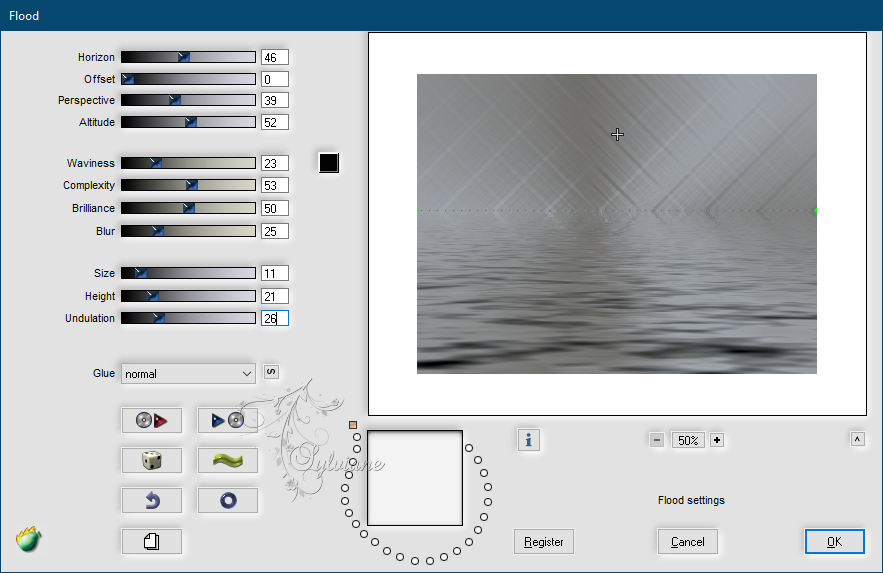
Plugin - flaming pear - flood
6.
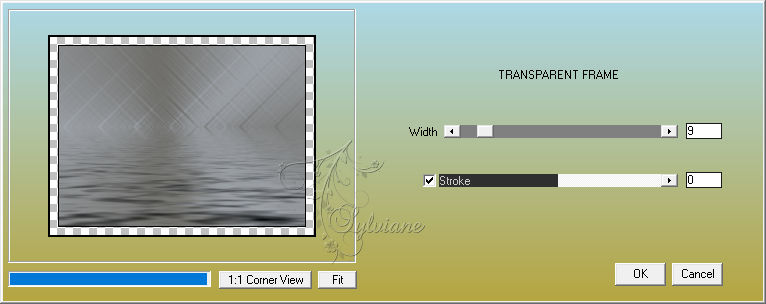
Plugins - AAA frame – transparente frame
7.
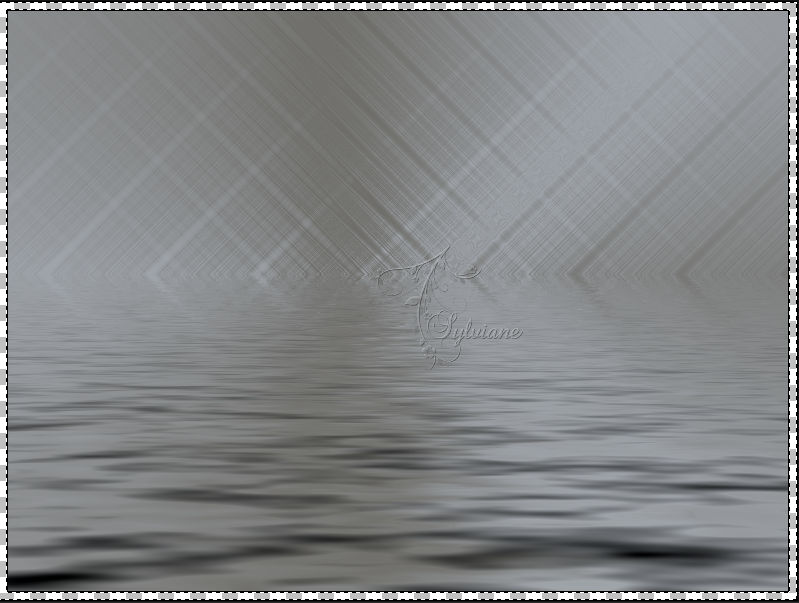
Click with your magic wand in the transparent area and select
8.
Fill with background color.
9
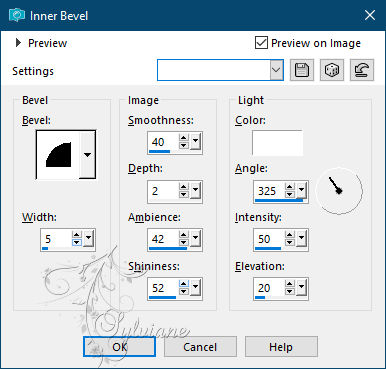
Effects – 3D effects – inner bevel
10.
Put this aside for a while
11.
Open the women's tube and make a copy of it,
we'll need it later
12.
Make the copy height 350 pix
13.
Layer – merge – merge all (flatten)
14.
Image - Add Borders - 2 pix - background
Image - Add Borders -2 pix - foreground
Image - Add Borders - 2 pix - background.
15.
Image - Add Borders - 22 pix – color: white
16.
Select the border and fill with gradient
17.
plug-in - sybia - zigzag
18.
Effects - Edge Effects - Enhance
19.
Repeat step 13
20.
Resize image 350 pix high.
21.
Copy this and paste on your previously created background
22.
Plugin - andromedia - perspective
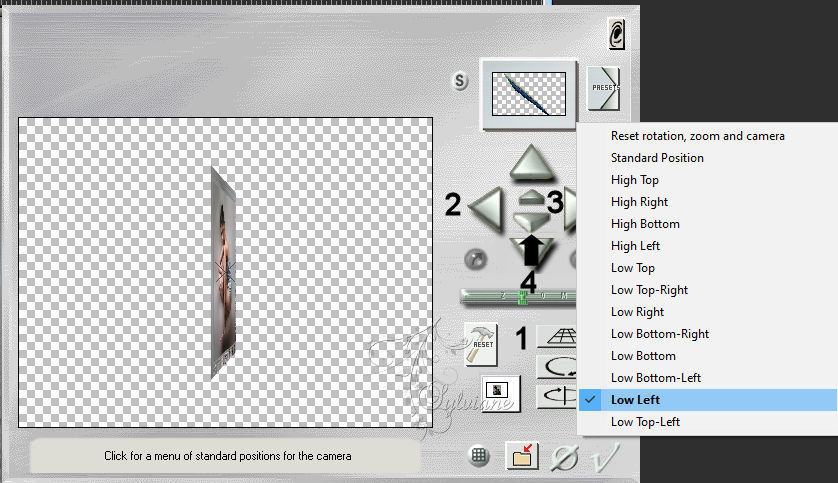
you first click on the button under the bar, a screen will open
you can work with those buttons so that it looks like in the example.
23.
Effects - 3D effects - Drop shadow
-13/-13/75/3 color:#000000
24.
Layers - Duplicate
25.
Resize image 70%
26.
Set as in example.
27.
Layers - Duplicate
28.
Resize image 70%
29.
Slide as in example.
30.
Lock the bottom layer.
31.
resize by 94% and put it in place
Layers - Duplicate
Image - Mirror – mirror Horizontal
32.
Open the bottom layer
33.
Duplicate the merged layer
34.
Image - Mirror – mirror Horizontal
35.
Take back the woman's tube
36.
Fig. resize 70%
37.
Copy them and paste on your creation
38.
Place them nicely in the middle.
39.
Resize image 600 pix longest side
40.
Copy the text and paste on your creation
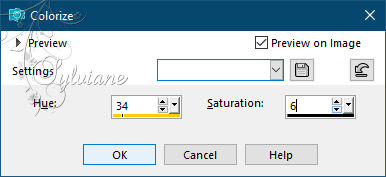
41.
Adjust – hue and saturation - colorize
42.
Resize image 80 %
43.
Merge all layers.
44.
Put your name on your creation and save as jpg.
Back
Copyright Translation © 2021 by SvC-Design