But is good with other versions.
******************************************************************
Materials:
1707-vmtubes.png
Image20.png
maja-design6.jpg
******************************************************************
Plugin:
Effects – plugin - carolaine ande sensibibility - CS-LDots
Effects – plugin - Mura’s seamless - emboss at alpha
******************************************************************
color palette
:
no
******************************************************************
methode
When using other tubes and colors, the mixing mode and / or layer coverage may differ
******************************************************************
General Preparations:
First install your filters for your PSP!
Masks: Save to your mask folder in PSP, unless noted otherwise
Texture & Pattern: Save to your Texture Folder in PSP
Selections: Save to your folder Selections in PSP
Open your tubes in PSP
******************************************************************
We will start - Have fun!
Remember to save your work on a regular basis
******************************************************************
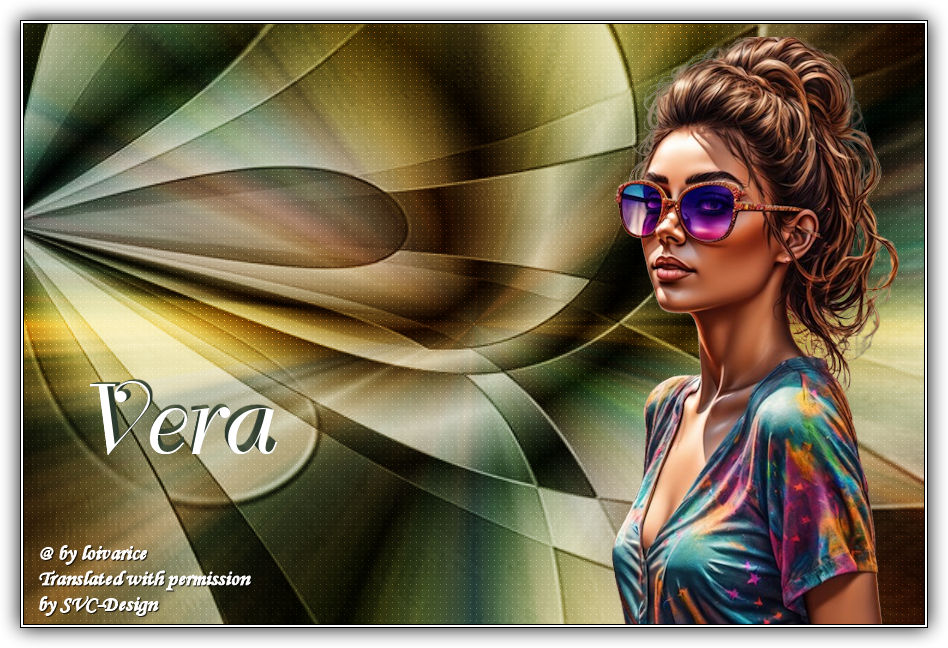
1.
Open a new transparent image of 900x600px
paint it with a light color from your tube.
2.
Layers - New Raster Layer
Selection - Select All
Open 1707-vmtubes.png
Edit – Copy
Edit - Paste into selection
Selection - Select None
3.
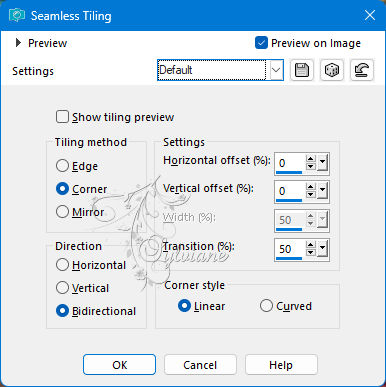
Effects - Image Effects - Seamless Tiling - default
4.
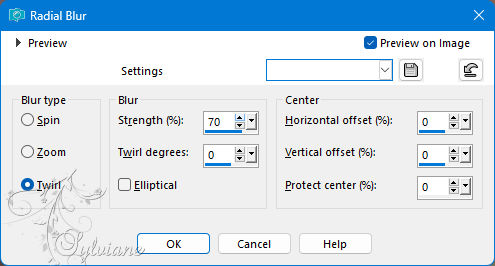
Adjust - blur - radial blur
Layers – merge – merge down
5.
Effects – plugin - carolaine ande sensibibility - CS-LDots.

6.
Layers - New Raster Layer
Selection - Select All
Open maja-design6.jpg
Edit – Copy
Edit - Paste into selection
7.
Adjust – scharpness – scharpen
Selection - Select None
8.
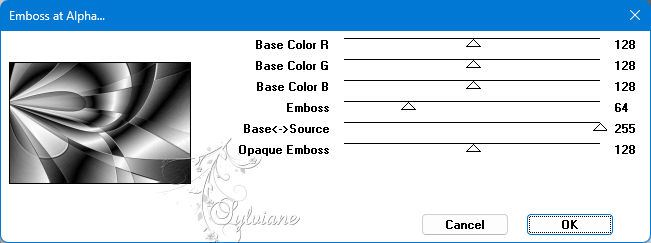
Effects – plugin - Mura’s seamless - emboss at alpha
9.
Blend mode: soft light.
Layers – Duplicate
10.
Open 1707-vmtubes.png
Edit – Copy
Edit - Paste as new layer
resize if necessary
place it as in the example
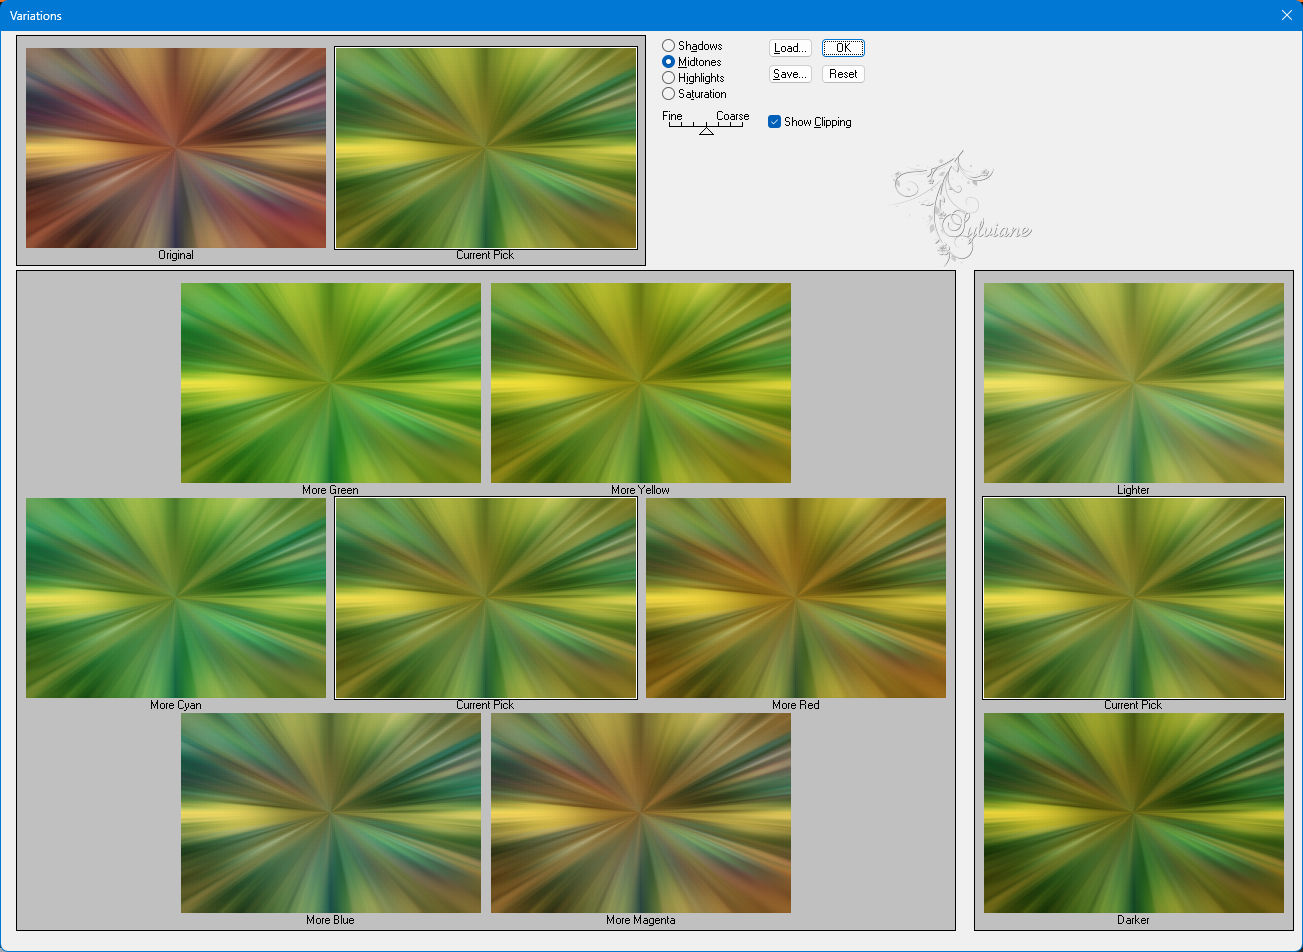
Note: If your raster 1 is too dark,
apply the plugin - Adjust - variations and choose a preset that matches the colors of your tube: (Optional)
11.
Open Image20.png
Edit – Copy
Edit - Paste as new layer
place it as in the example
12.
Image - Add Borders – Symmetric -1px – color: black
Image - Add Borders – Symmetric -2px – color: white
Image - Add Borders – Symmetric -1px – color: black
13.
Selection - Select All
Image - Add Borders – Symmetric -20px - color:#ffffff
Effects - 3 D effects - Drop shadow
0/0/100/30 color:#000000
Selection - Select None
14.
Apply your watermark or signature
Layer – merge – merge all (flatten)
Save as JPEG
Back
Copyright Translation 2024 by SvC-Design
------------------------------------------------------------------------------
Thanks to all who created