
This lesson is made with PSPX9
But is good with other versions.
© by SvC-Design

Materialen Download :
Here
******************************************************************
Materials:
alpha_porte_bonheur.pspimage
cadre Cloclo.pspimage
chat.png
coin.png
deco Cloclo.pspimage
deco Cloclo1.png
deco Cloclo2.png
deco Cloclo3.png
femme Cloclo.png
Glass_porte_bonheur.f1s
misted Cloclo.png
muguet_Cloclo.png
oiseau.png
Watermark_Pour tuto.png
******************************************************************
Plugin:
Plug-ins - I.C.NET software - Filters Unlimited 2.0 - Cryptology
Plug-ins - Graphic plus - cross shadow
Plug-ins - I.C.NET software - Filters Unlimited 2.0 - Kang2
Plug-ins - MuR'as Meister - Perspective Tiling
******************************************************************
color palette
:

******************************************************************
methode
When using other tubes and colors, the mixing mode and / or layer coverage may differ
******************************************************************
General Preparations:
First install your filters for your PSP!
Masks: Save to your mask folder in PSP, unless noted otherwise
Texture & Pattern: Save to your Texture Folder in PSP
Selections: Save to your folder Selections in PSP
Open your tubes in PSP
******************************************************************
We will start - Have fun!
Remember to save your work on a regular basis
******************************************************************
1.
In the color palette put these colors just click with the eyedropper / In the corresponding box
Color foreground1
Color2 background
Other color / Plus another color
2.
Open alpha_porte_bonheur.pspimage
Window – Duplicate
Minimize the original – we work on the copy
Rename raster1
Fill with color2
Layers - New raster layer
Open deco Cloclo.pspimage
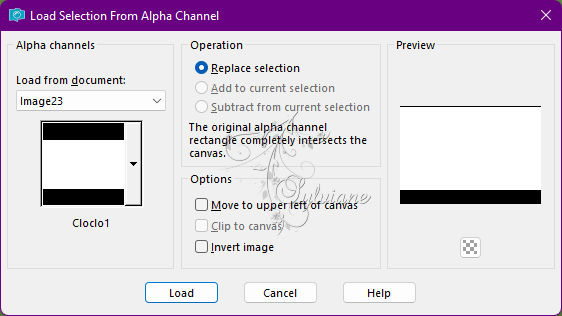
Selection – Load/Save Selection – Load Selection from Alpha Channel - Cloclo1
Edit - copy
Edit - paste in the selection
Selection - Select None
Layer - New raster layer
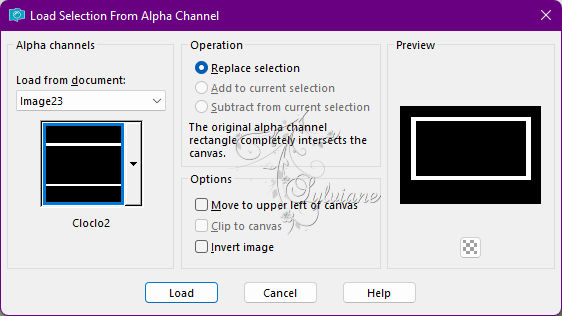
Selection – Load/Save Selection – Load Selection from Alpha Channel - Cloclo2
Fill in color1
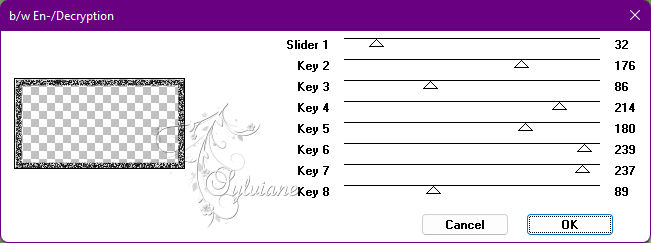
Plug-ins - I.C.NET software - Filters Unlimited 2.0 - Cryptology
3.
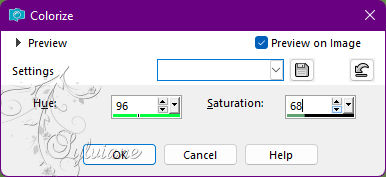
Adjust - Hue and Saturation - Colorize
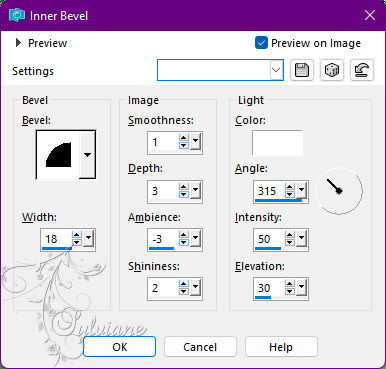
Effects – 3D effects – inner bevel
Selection - Select None
4.
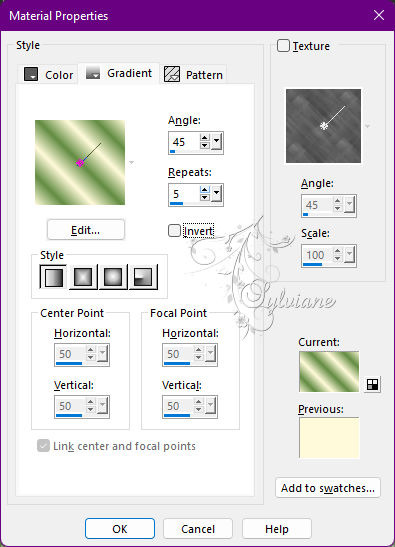
Prepare a linear gradient
Layer - New raster layer
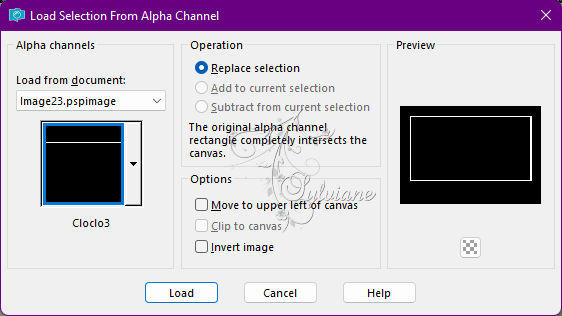
Selection – Load/Save Selection – Load Selection from Alpha Channel - Cloclo3
Fill in gradient
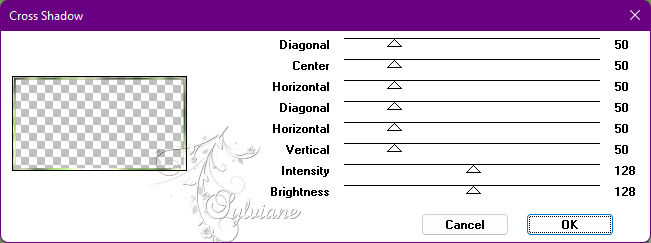
Plug-ins - Graphic plus - cross shadow - Default
Effects – 3D effects – inner bevel - As before it is in memory
Selection - Select None
Adjust – scharpness – scharpen
Effects - Effects 3 D Drop Shadow / 1 / 1 / 40 / 20 - color: Black
5.
Layer - New raster layer
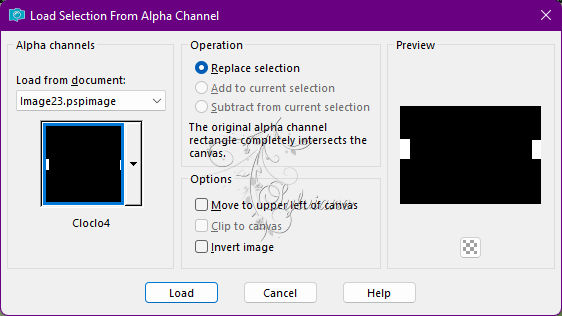
Selection – Load/Save Selection – Load Selection from Alpha Channel - Cloclo4
Fill in the gradient of the start - It is in memory
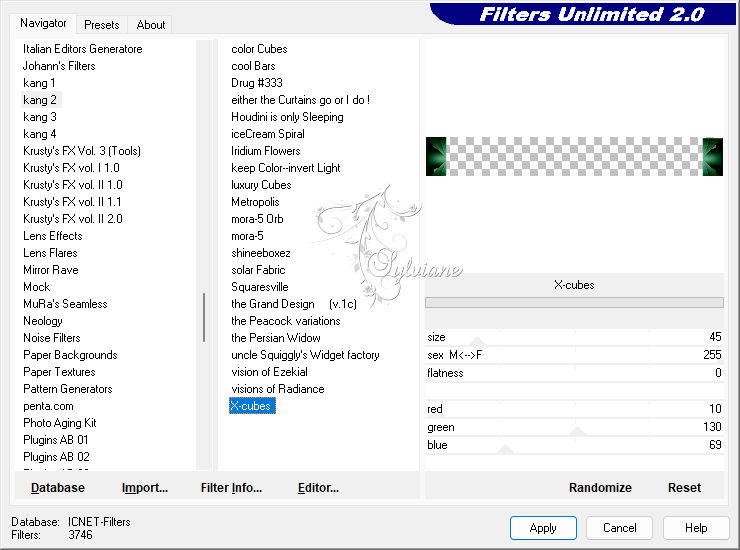
Plug-ins - I.C.NET software - Filters Unlimited 2.0 - Kang2
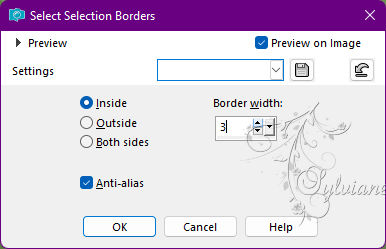
Selections - modify - select selection borders
Fill with white color
Effects – 3D effects – inner bevel - As before it is in memory
Selection - Select None
6.
Open deco Cloclo1.png
Edit - Copy
Edit - Paste as a new layer
Object - Align - Top
Open deco Cloclo2.png
Edit - Copy
Edit - Paste as a new layer
Activate selection tool (Press K on your keyboard)
And enter the following parameters:
Pos X : -1 – Pos Y : 255
Press M.
You position on the frame layer
Selection – Load/Save Selection – Load Selection from Alpha Channel - Cloclo5
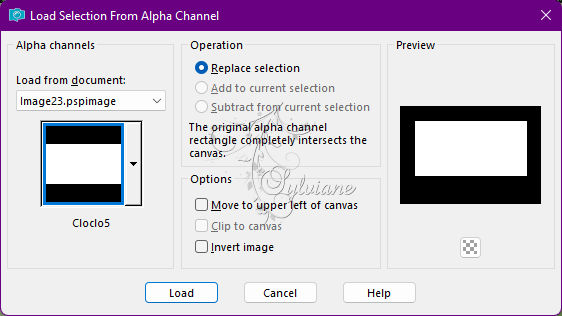
Layers - New raster layer
Fill with the start gradient
Adjust - blur - gaussian blur
Radius to 20
Adjust - Add / Remove Noise - Add Noise
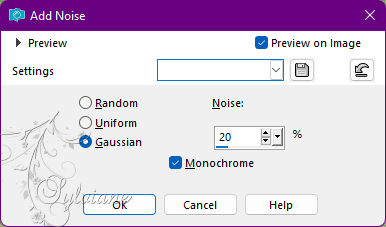
Keep select
Open misted Cloclo.png
Edit - Copy
Edit - Paste in selection
Adjust – scharpness – scharpen
Selection - Select None
Open deco Cloclo3.png
Edit - Copy
Edit - Paste as a new layer
Activate selection tool (Press K on your keyboard)
And enter the following parameters:
Pos X : -5 – Pos Y : 48
Press M.
6.
Layers - Merge - Merge visible layers
Edit - copy
Layer - New raster layer
Selection – Load/Save Selection – Load Selection from Alpha Channel - Cloclo7
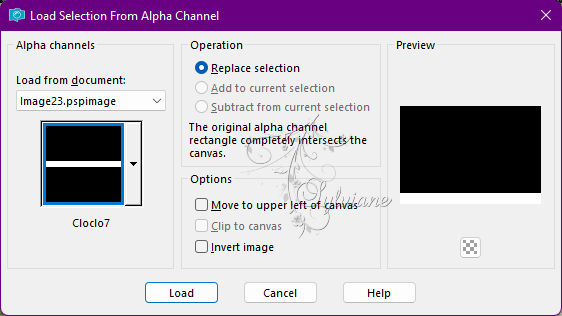
Edit - paste in selection
Plug-ins - MuR'as Meister - Perspective Tiling - Default
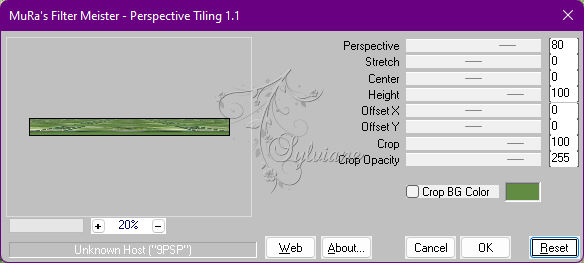
Selection - Select None
Effects - Effects 3 D - Drop Shadow / 3 / 3 / 70 / 40 - color: Black
Layers - Merge - Merge visible layers
7.
Edit - copy
Open cadre Cloclo.pspimage it is already select
Edit - paste in the selection
Selection - Select None
Open femme Cloclo.png
Edit - copy
Edit - paste as a new slap
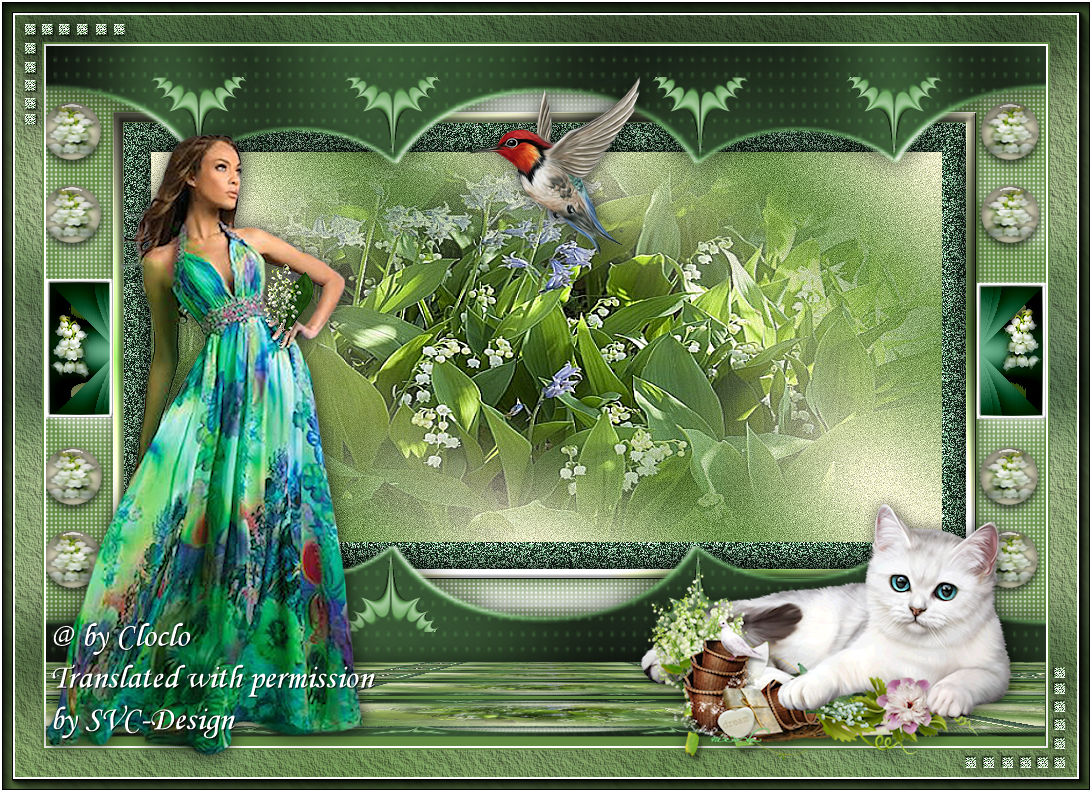
Place bottom left - See final
Open chat.png
Edit - copy
Edit - paste like a new slap
Place bottom right - See final
Open oiseau.png
Edit - Copy
Edit - Paste as a New Slap
Place Well - View Final
Open coin.png
Edit - copy
Edit - paste as a new slap
Do not move
Sign your work
Put my watermark
Your copyright if necessary
Layer – merge – merge all (flatten)
Image / Resize to 1000 pixels wide
And save in JPG
Back
Copyright Translation 2022 by SvC-Design