
This lesson is made with PSPX9
But is good with other versions.
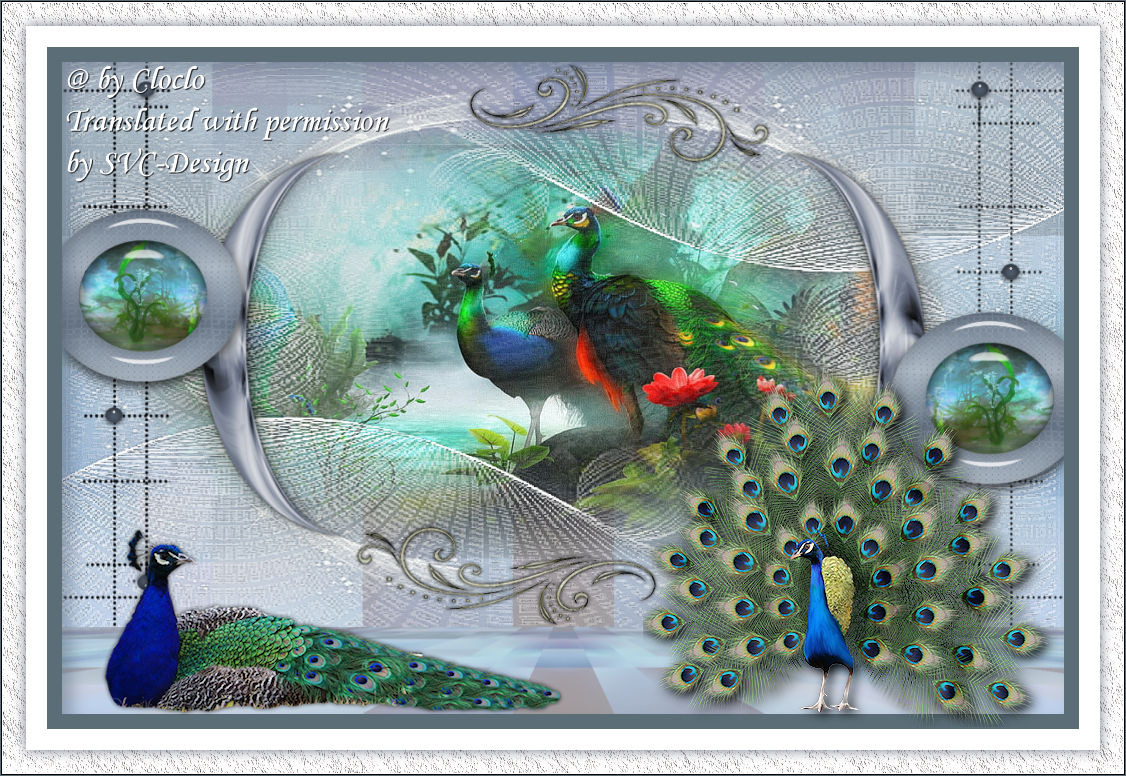
© by SvC-Design

Materialen Download :
Here
******************************************************************
Materials:
alpha_les_paons.pspimage
cadre.pspimage
deco Cloclo1.png
deco Cloclo2.png
deco Cloclo3.png
decoCloclo.png
fond.jpg
Glass_cloclo.f1s
image.jpg
misted_cloclo.png
Narah_Abstract020.jpg
paon Cloclo.png
paon cloclo1.png
Watermark_Pour tuto.png
******************************************************************
Plugin:
Plug-in - Medhi - Sorting Tiles
Plugin - Alien Skin Plug-ins - Eyes Candy5 / Impact Glass
plug-ins - MuR'as meister - Perspective tiling
******************************************************************
color palette
:
******************************************************************
methode
When using other tubes and colors, the mixing mode and / or layer coverage may differ
******************************************************************
General Preparations:
First install your filters for your PSP!
Masks: Save to your mask folder in PSP, unless noted otherwise
Texture & Pattern: Save to your Texture Folder in PSP
Selections: Save to your folder Selections in PSP
Open your tubes in PSP
******************************************************************
We will start - Have fun!
Remember to save your work on a regular basis
******************************************************************
1.
Palette
Foreground Color : #b8c4cf
Background Color : #627184
2.
Open alpha_les_paons.pspimage
Window – Duplicate
Minimize the original – we work on the copy
Rename the raster1
Selections - Select All
Open fond.jpg
Edit - copy
Edit - paste in selection
Selection - Select None
Adjust - blur - gaussian blur
Radius to 30
Plug-in - Medhi - Sorting Tiles

Effects - Reflection Effects - Rotating Mirror
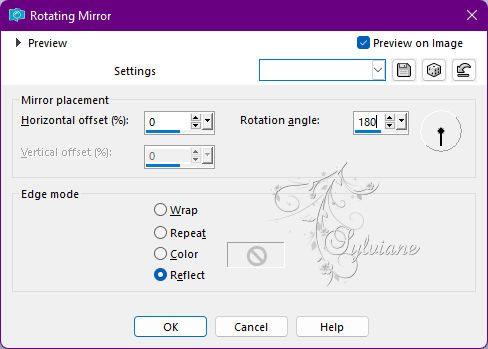
Image - Mirror - Vertical Mirror
3.
Open decoCloclo.png
Edit - copy
Edit - paste as a new layer
Do not move
Effects - 3D Effects - Drop Shadow / 0 / 0 / 40 / 35 - Color 2
Adjust – scharpness – scharpen
Open misted_cloclo.png
Edit - Copy
Edit - Paste as a New Layer
Activate selection tool (Press K on your keyboard)
And enter the following parameters:
Pos X : 79 – Pos Y : 79
Press M.
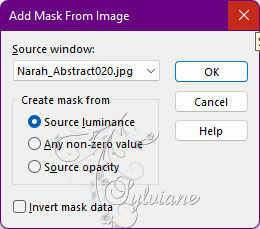
Open the Narah-Abstract020 mask
Layers - New raster layer
Fill with white color
Layers - New mask layer from image - Narah_Abstract020.jpg
Effects - Edge Effects - Enhance More
4.
Layers - Merge - Merge Group
Activate selection tool (Press K on your keyboard)
And enter the following parameters:
Pos X : -4 – Pos Y : 94
Press M.
Layers - Duplicate
Image - Mirror – mirror Horizontal
Image - Mirror - Vertical Mirror
Layers – merge – merge down
Effects - Edge Effects - Enhance
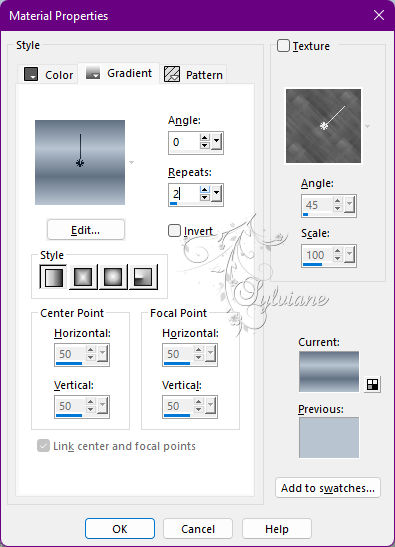
Prepare a linear gradient / Foreground color1 / Background2
5.
Layer - New raster layer
Selection – Load/Save Selection – Load Selection from Alpha Channel - Cloclo1

Fill with Linear gradient
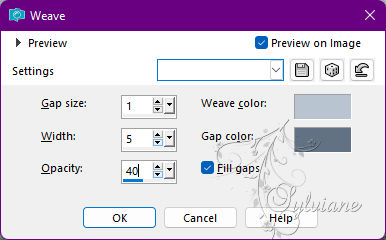
Effects - Texture Effects – wave
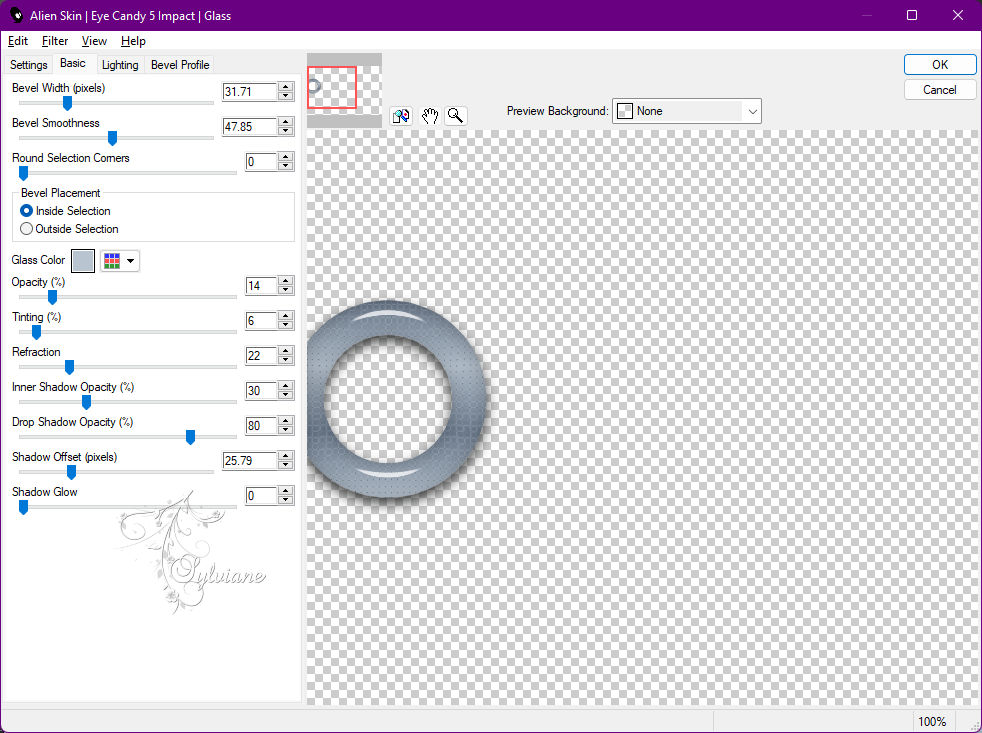
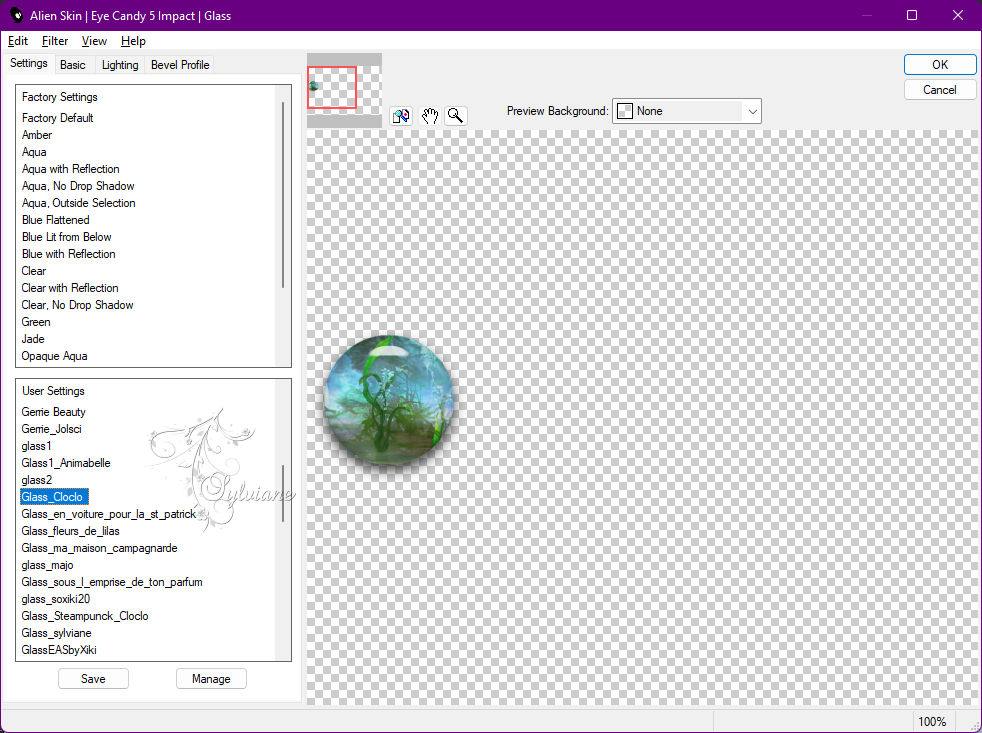
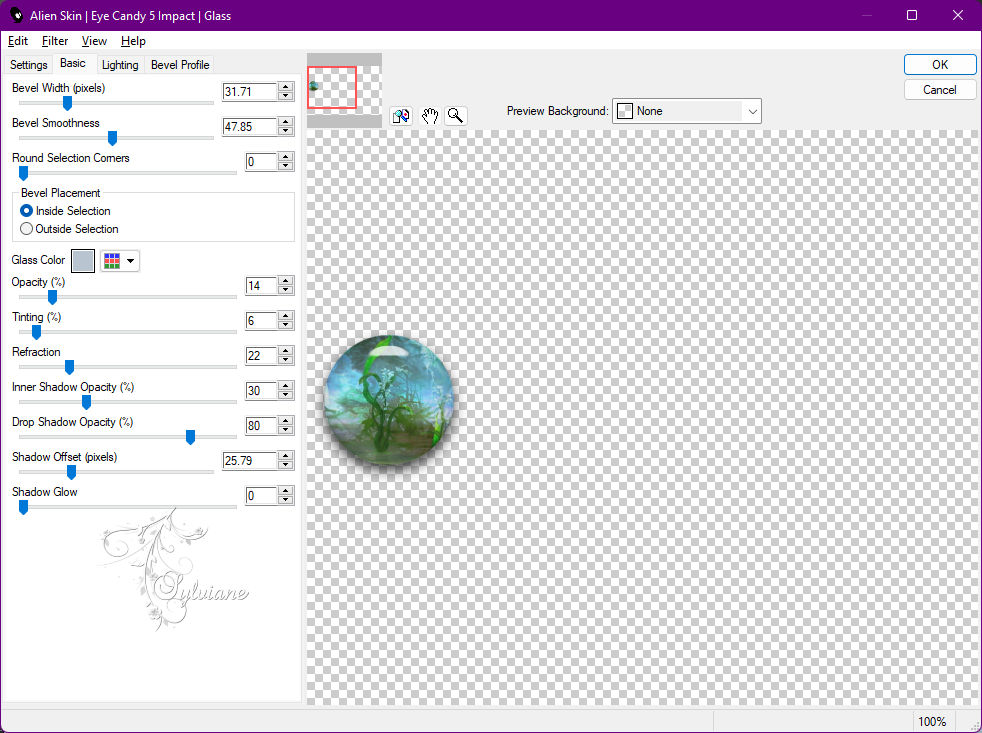
Plugin - Alien Skin Plug-ins - Eyes Candy5 / Impact Glass - Preset Glass_cloclo
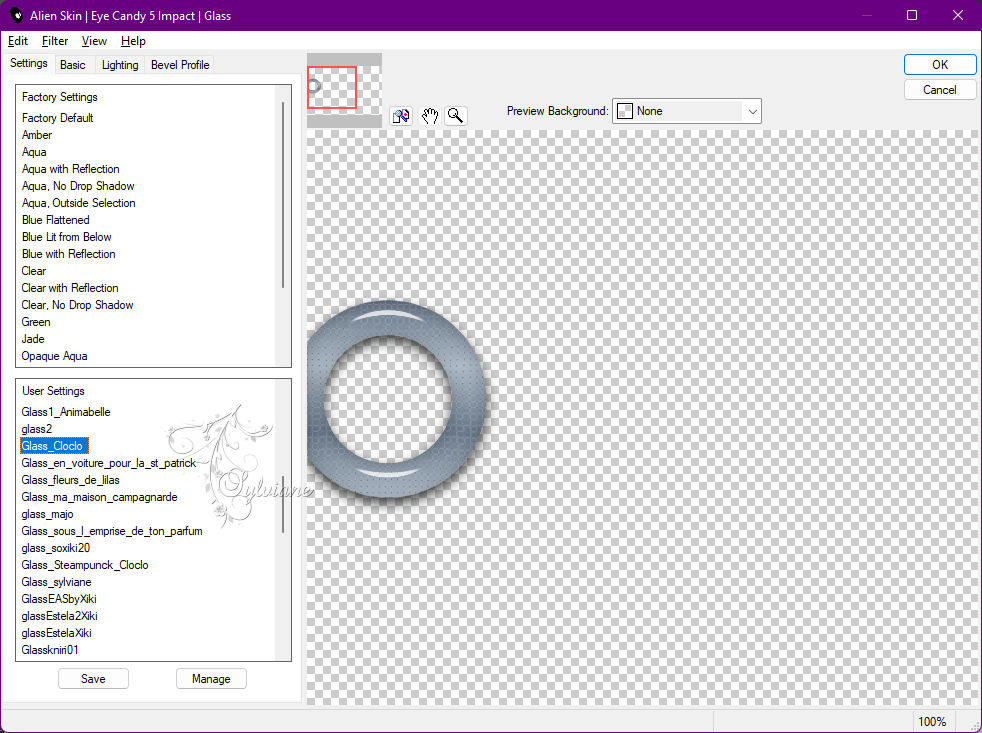
If you have a problem
Selection - Select None
6.
Layers - New raster layer
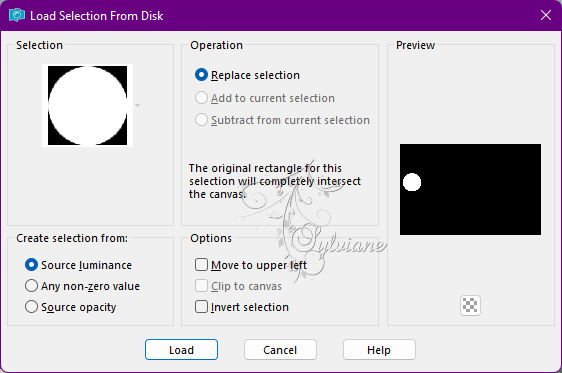
Selections - Load / Save - Load selection from disk - Cloclo2
Open image.jpg
Edit - copy
Edit - paste in the selection
Redo the Glass effect it is in memory
Selection - Select None
Layers – arrange – move down
Return to top layer
Layers – merge – merge down
Layers - Duplicate
Image - Mirror – mirror Horizontal
Activate selection tool (Press K on your keyboard)
And enter the following parameters:
Pos X : 808 – Pos Y : 275
Press M.
Layers – merge – merge down
7.
Open deco Cloclo2.png
Edit - copy
Edit - Paste as new layer
Layers – arrange – move down
Stay on this layer
Effects - 3D Effects - Drop Shadow / 0 / 0 / 40 / 35 - color: Black
Open deco Cloclo1.png
Edit - copy
Edit - Paste as new layer
Return to the top layer
Open deco Cloclo3.png
Edit - copy
Edit - Paste as new layer
Do not move
You position on the bottom layer
Edit - copy
Edit - paste as a new image
We'll come back to it / Go back to your tag
Layers - Merge - Merge visible layers
Image – canvas size

With the Magic Wand tolerance0
Click in the transparent part
Resume the image set aside
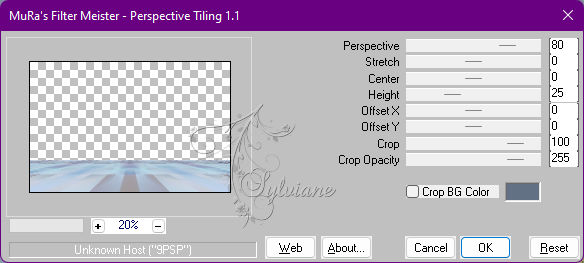
plug-ins - MuR'as meister - Perspective tiling
Edit - copy
Return to your tag
Edit - paste in the selection
Selections - Invert
Effects - 3D Effects - Drop Shadow / 0 / 0 / 40 / 35 - Color 2
Selection - Select None
Layer – merge – merge all (flatten)
8.
Edit - copy
Open cadre.pspimage it is select
Edit - paste in the selection
Layers - Duplicate
Effects - 3D effects – Cutout

Selection - Select None
Open paon Cloclo.png
Remove my signature
Edit - copy
Edit - paste as a new layer
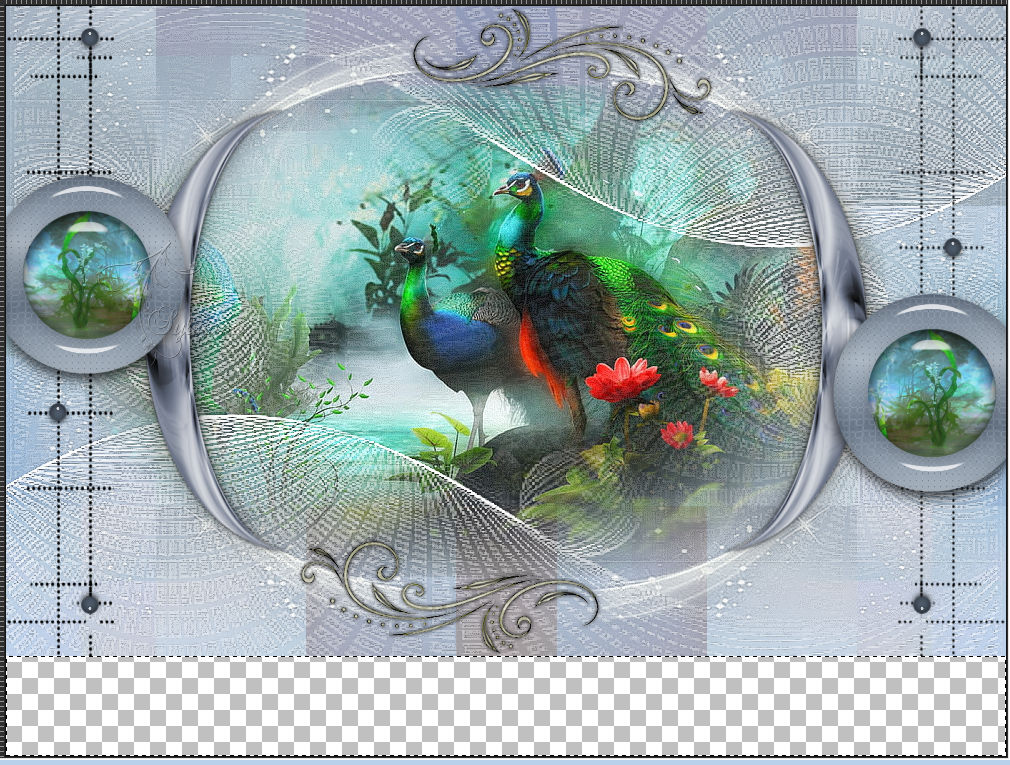
Place bottom left - See final
Open paon cloclo1.png
Remove my signature
Edit - copy
Edit - paste as a new layer
Place lower right - See final
Layer – merge – merge all (flatten)
Image - Resize to 1000 pixels wide
Put my watermark
Sign your work - Put your license if necessary
Save as JPG
Back
Copyright Translation 2022 by SvC-Design